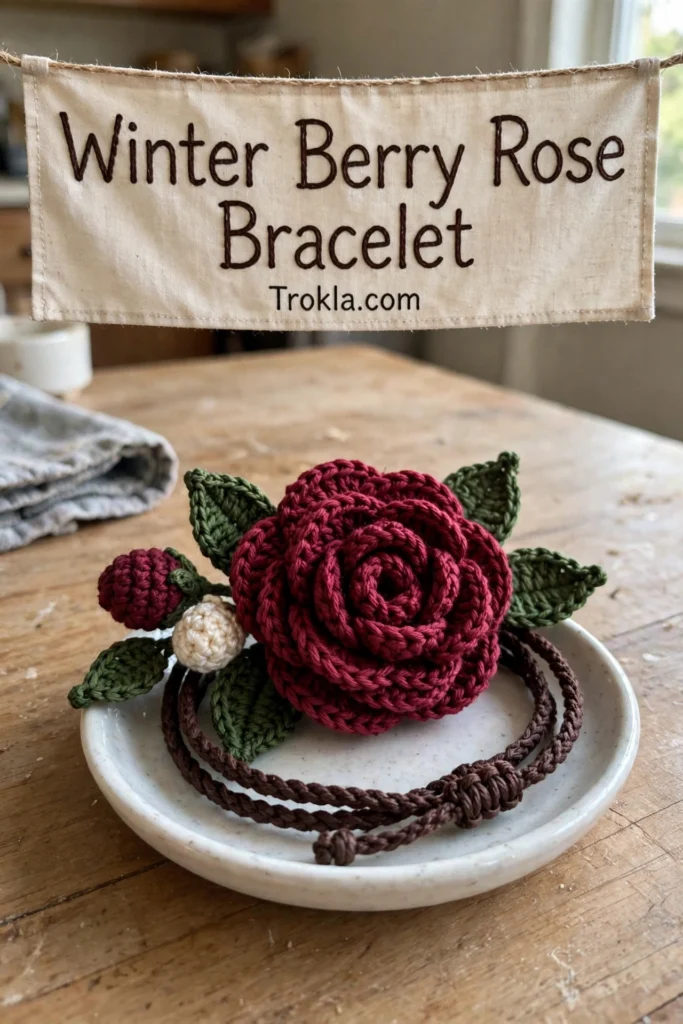
# Winter Berry Rose Bracelet Free Crochet Pattern
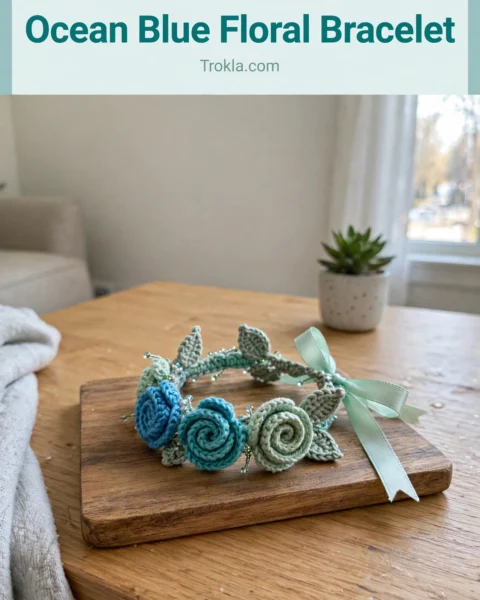
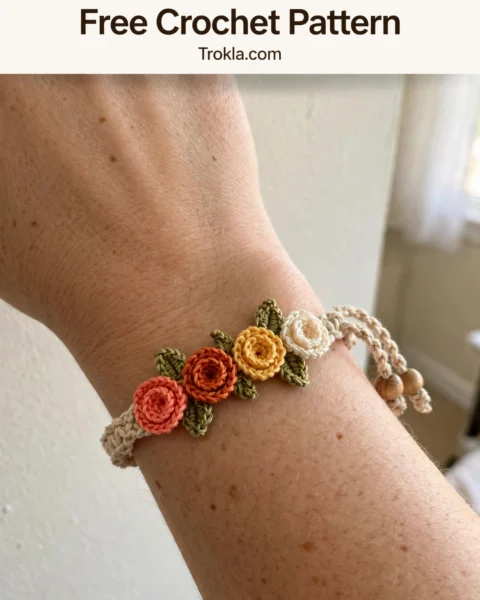
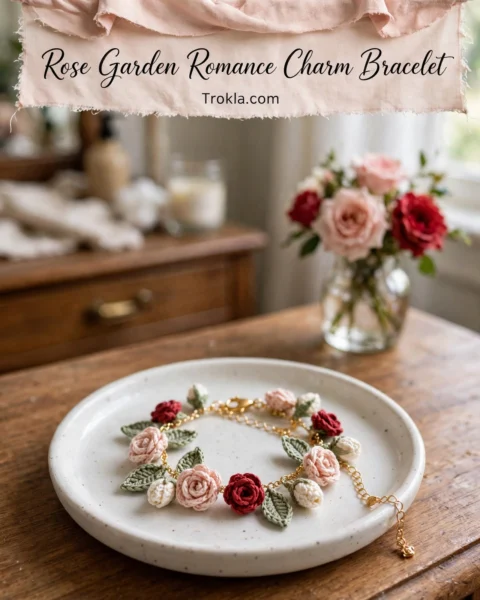
I am a firm believer that winter jewelry should look like the season feels — rich, a little dramatic, and glowing against all that grey. This bracelet is my answer: one lush berry-red rose, two tiny buds, and a swirl of deep green leaves, all gathered on an adjustable cord you can slide to fit any wrist.
The rose is the rolled-strip kind, which sounds fancy but is honestly just a wavy strip of petals that you coil up like a cinnamon roll. The wavy edge does all the work for you — roll it tight in the middle, let it relax toward the outside, and suddenly you have a rose. It is pure crochet magic, and it works up in an evening.
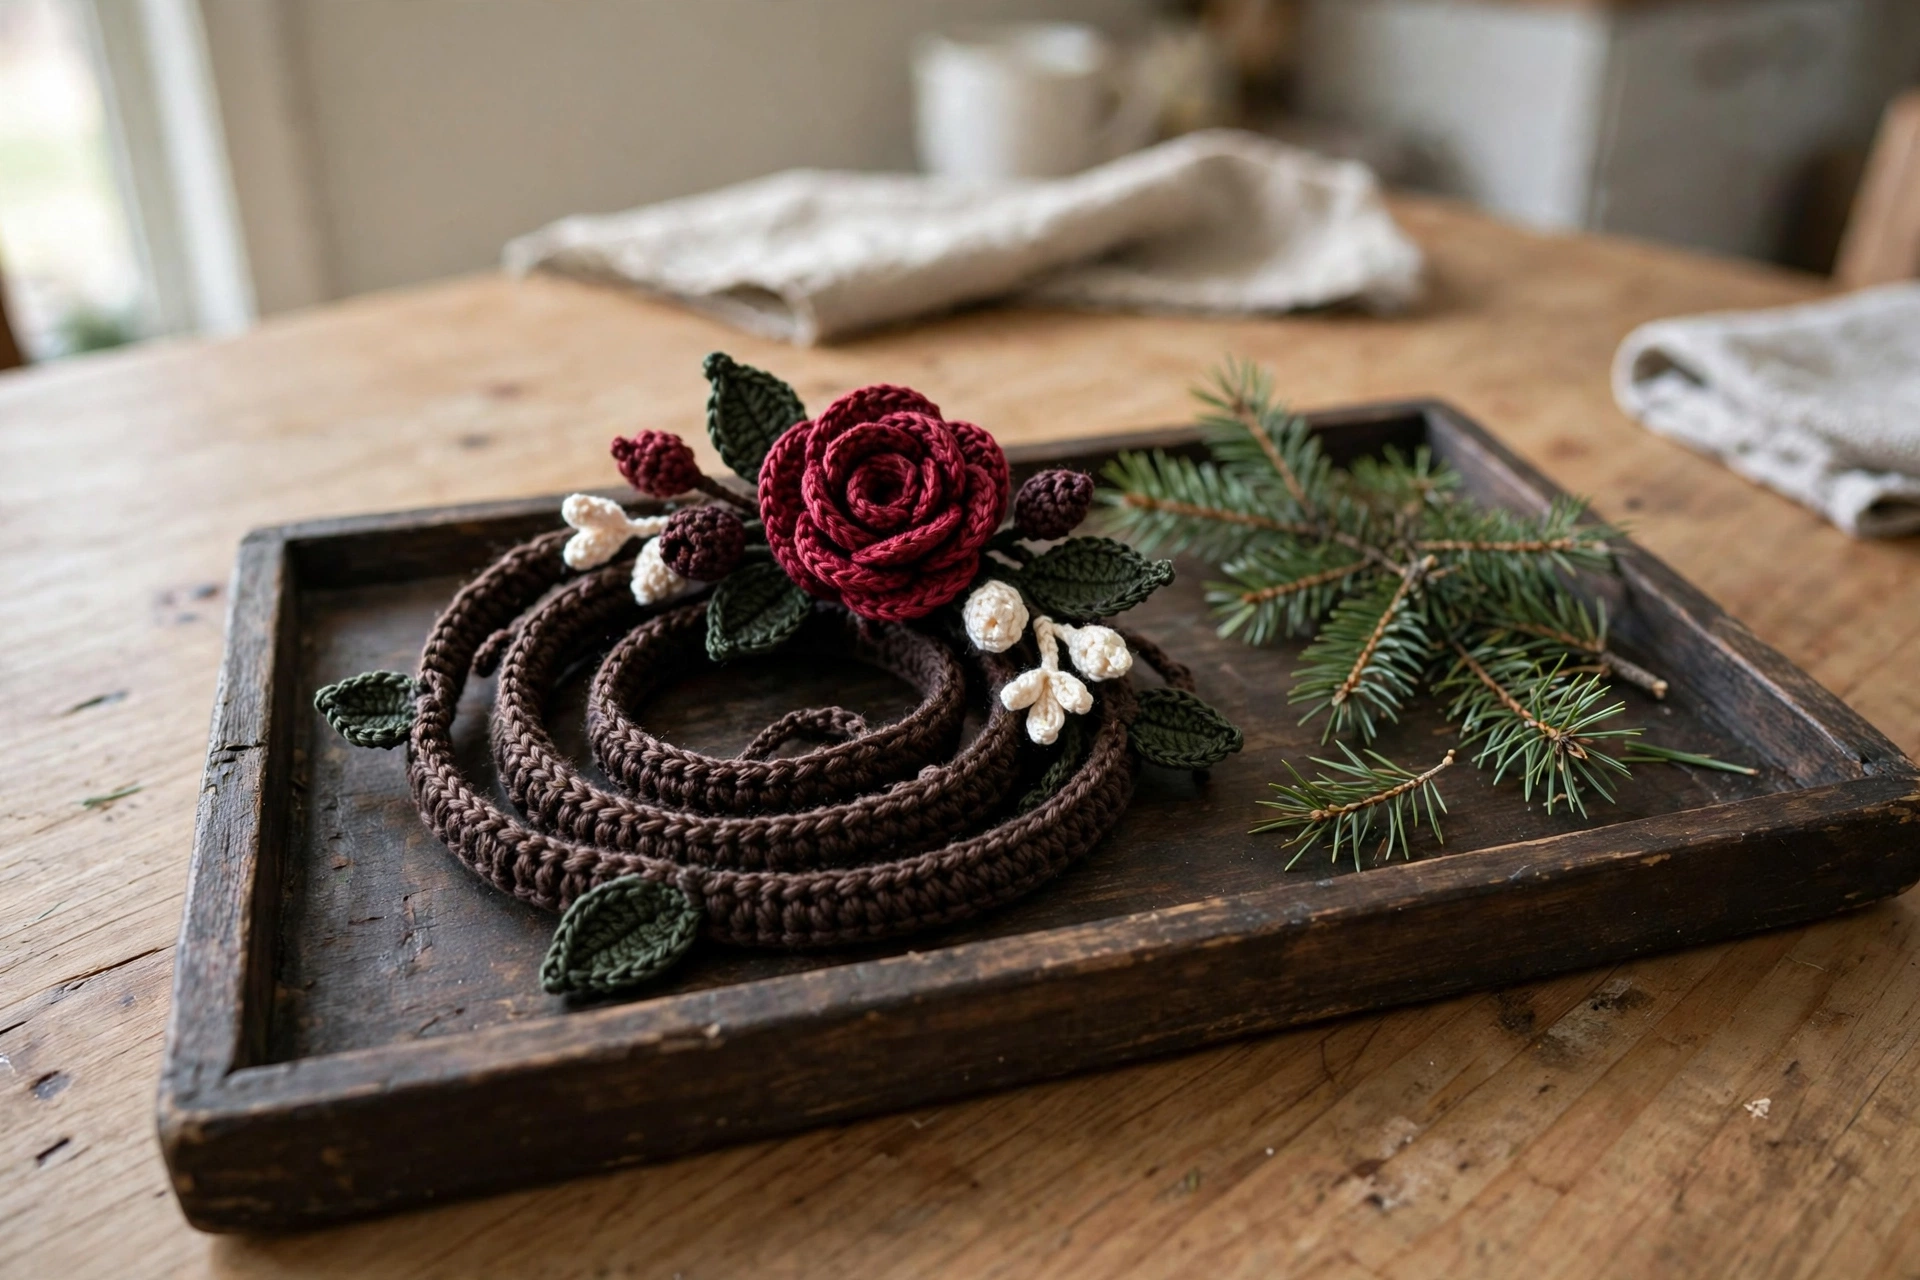
What You’ll Need
- Fingering weight (size 1) or crochet thread in the following colors:
- Berry red: approximately 20 yards (18 m)
- Deep burgundy: approximately 15 yards (14 m)
- Cream: approximately 10 yards (9 m)
- Forest green: approximately 15 yards (14 m)
- US D-3 / 3.25 mm crochet hook (for fingering weight), or a steel size 7 (1.65 mm) hook if using crochet thread
- Tapestry needle
- Scissors
- 24 inches of 2 mm cord in dark brown (leather or waxed cotton)
- 2 small wooden or glass beads with holes large enough for doubled cord
- Sewing needle and coordinating thread
- Fabric glue or clear nail polish for securing knots
Finished size:
- The rose measures about 1.25 inches (3 cm) across
- The floral cluster spans roughly 3 inches (7.5 cm), and the adjustable sliding-knot cord fits wrists from 6 to 7.5 inches (15 to 19 cm)
The Pattern
The Berry Rose (Make 1)
Row 1: With berry red, chain 36. Sc in the 2nd chain from the hook, then \*chain 2, skip 1 chain, sc in the next chain\* — repeat across. (18 sc, 17 chain-2 spaces)
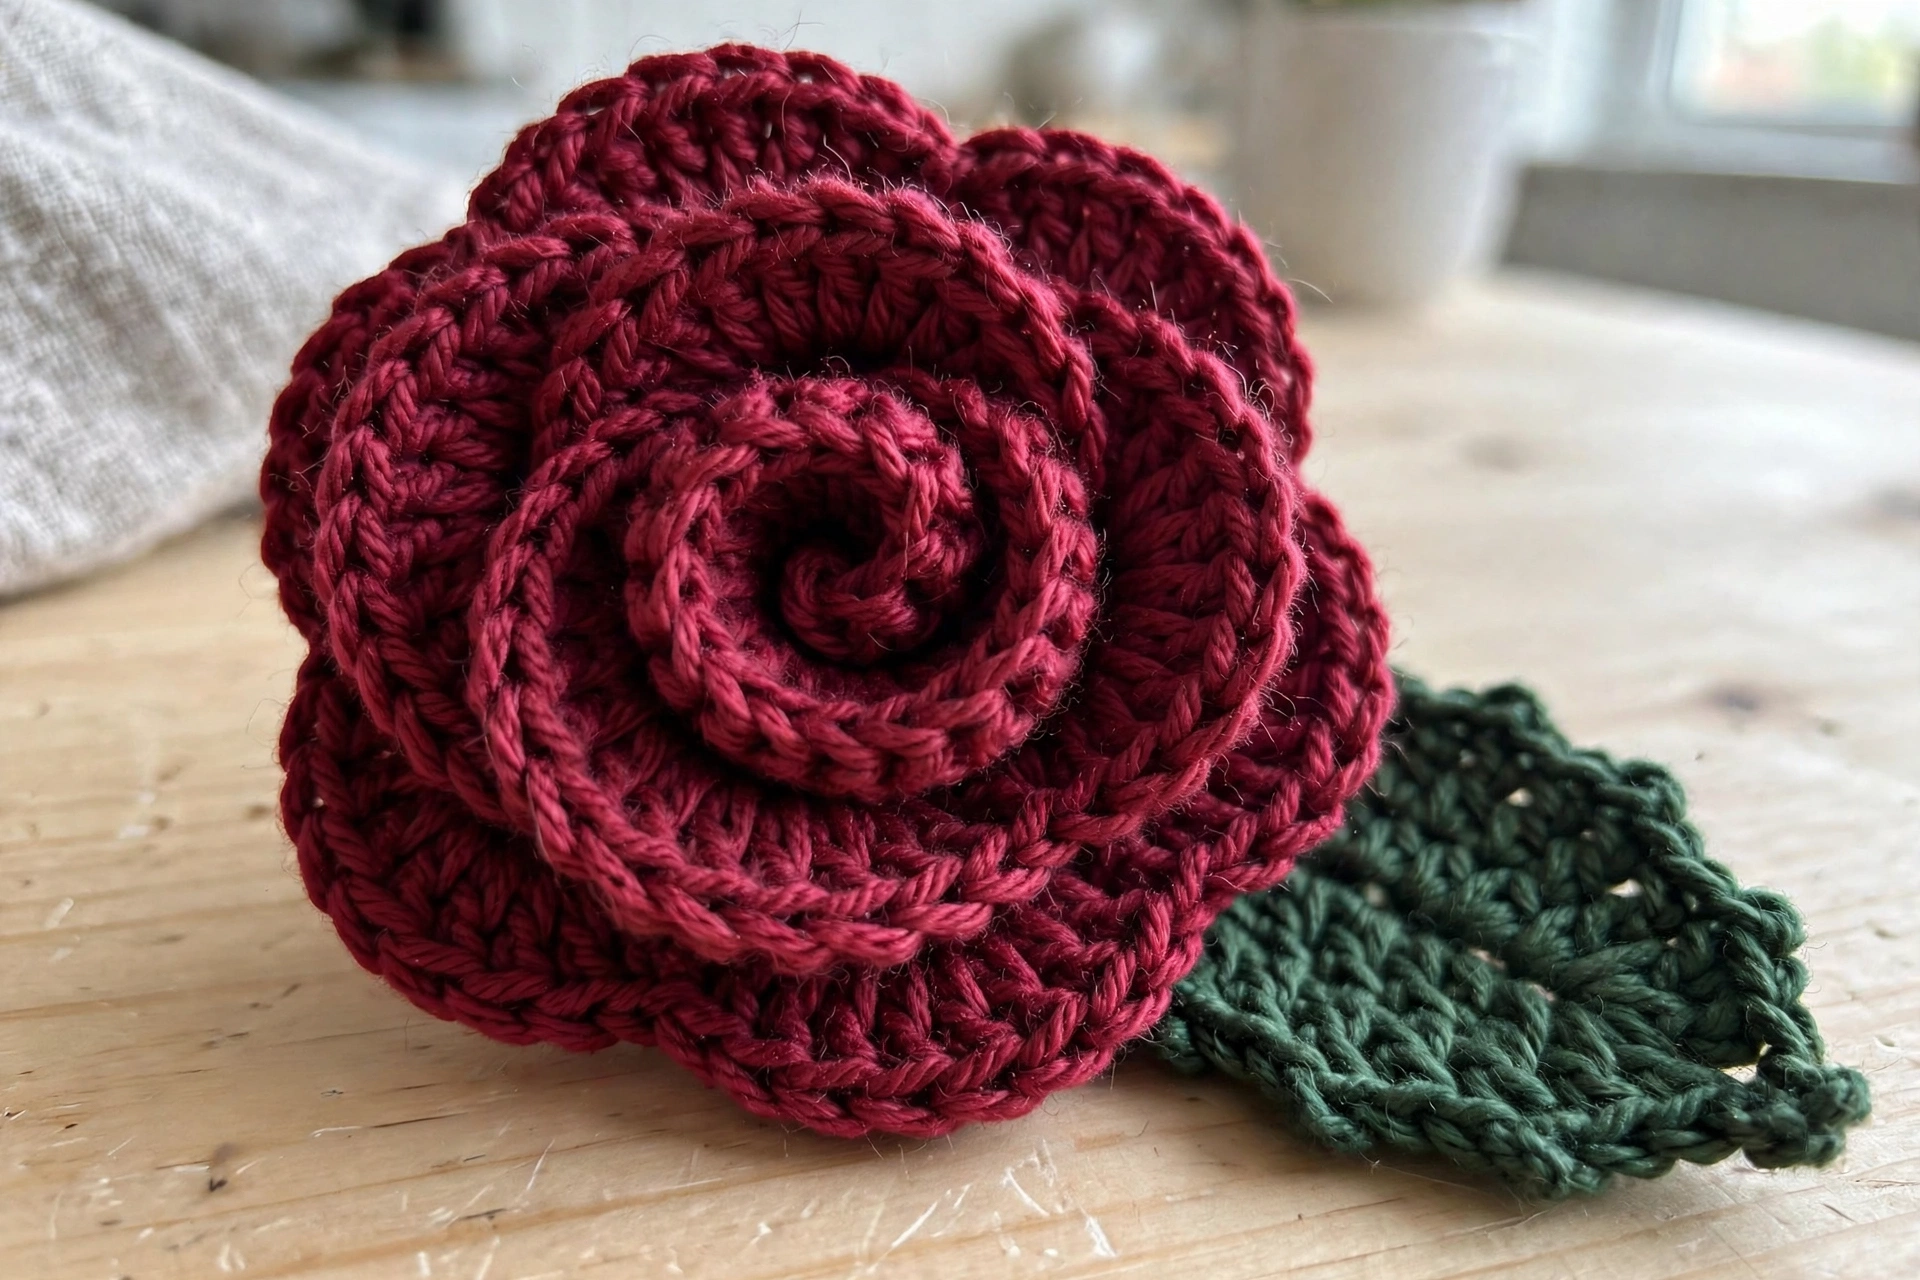
Row 2: Chain 1, turn. Sc in the first sc, then \*work (hdc, 3 dc, hdc) into the next chain-2 space (this forms a petal), skip the next sc, sc in the following sc\* — repeat across. Fasten off, leaving a 12-inch tail. (17 petals)
Shaping the rose: Starting at the beginning of Row 1, roll the strip tightly for the center, then more loosely as you work outward so the petals fan naturally. Use the yarn tail to stitch through the base every few rolls to hold the coil. Weave in the ends on the underside. Don’t fret if your first rose looks a little lopsided — they get better with practice, I promise.
The Rosebuds (Make 2: 1 Burgundy, 1 Cream)
Row 1: Chain 18. Sc in the 2nd chain from the hook, then \*chain 2, skip 1 chain, sc in the next chain\* — repeat across. (9 sc, 8 chain-2 spaces)
Row 2: Chain 1, turn. Sc in the first sc, then \*work (hdc, 2 dc, hdc) into the next chain-2 space, skip the next sc, sc in the following sc\* — repeat across. Fasten off, leaving a long tail. (8 petals)
Roll each strip up tightly into a bud shape and tack through the base with the tail to secure.
The Leaves (Make 6 in Forest Green)
Chain 9. Sc in the 2nd chain from the hook, hdc in the next chain, dc in the next 2 chains, hdc in the next 2 chains, sc in the next chain, then (sc, chain 2, sc) in the last chain to form the tip. Now work back along the other side of the chain: sc in the next chain, hdc in the next 2 chains, dc in the next 2 chains, hdc in the next chain, sc in the last chain. Slip stitch to the first sc to join. Fasten off, leaving a tail for sewing.
The Adjustable Cord
Cut the cord to 24 inches and thread both beads onto it before making the closure.
1. Overlap the two cord ends by about 4 inches, pointing in opposite directions.
2. Take the left cord end and wrap it around both cords 3 to 4 times, moving toward the center. Thread the end through the loops you created and pull tight.
3. Repeat with the right cord end, wrapping in the opposite direction.
4. Slide one bead onto each cord end and tie a simple overhand knot below each bead to secure.
5. Dab a little fabric glue on each knot and let it dry completely.
Test the closure by pulling the cord ends — the knots should slide smoothly to adjust the size.
Assembly
Lay the cord in a circle on your work surface. Arrange the berry rose as the centerpiece with the two buds tucked to either side, then fan the six leaves underneath and around the flowers so their tips peek out between the petals. Using your sewing needle and coordinating thread, stitch the rose to the cord first with several firm passes through its base, then secure the buds and tuck the leaves in, stitching each leaf base to the cord. Keep trying the bracelet on as you work — the cluster should curve naturally around your wrist.
Sophie’s Tips
- Roll the rose around your finger first to get a feel for the coil before you start stitching — it helps you find the prettiest petal arrangement.
- Keep your stitches snug on the rolled pieces. Tight little petals hold their shape; loose ones go floppy.
- This makes a gorgeous gift set paired with a matching berry-red headband or a simple pair of stud earrings.
Go wear something beautiful — winter deserves a little drama!