# Sunset Ombre Rose Bracelet Free Crochet Pattern
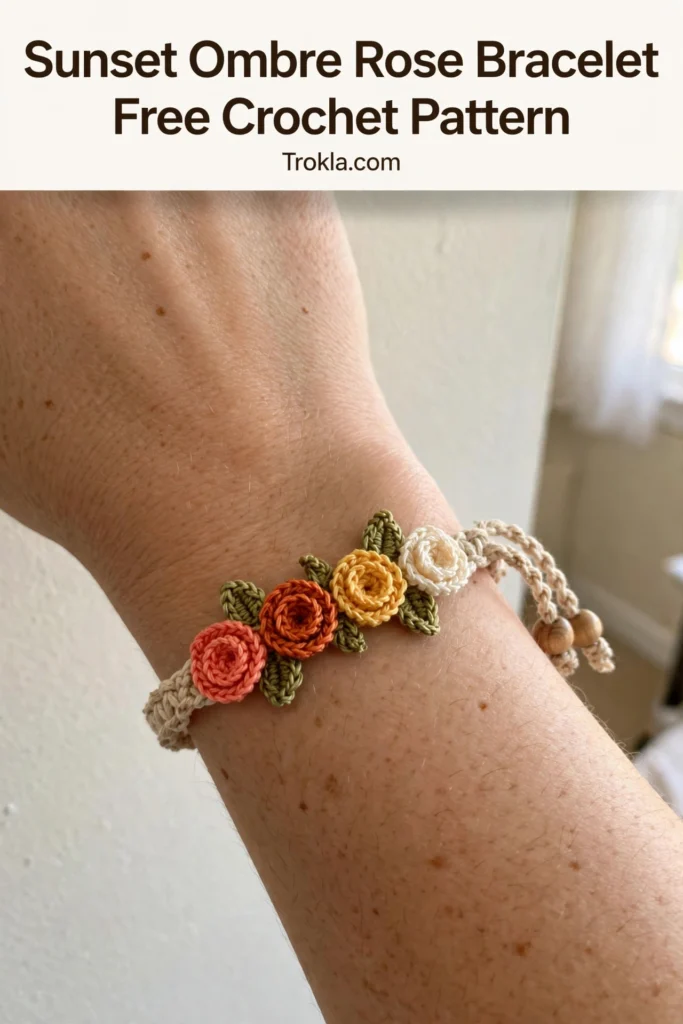
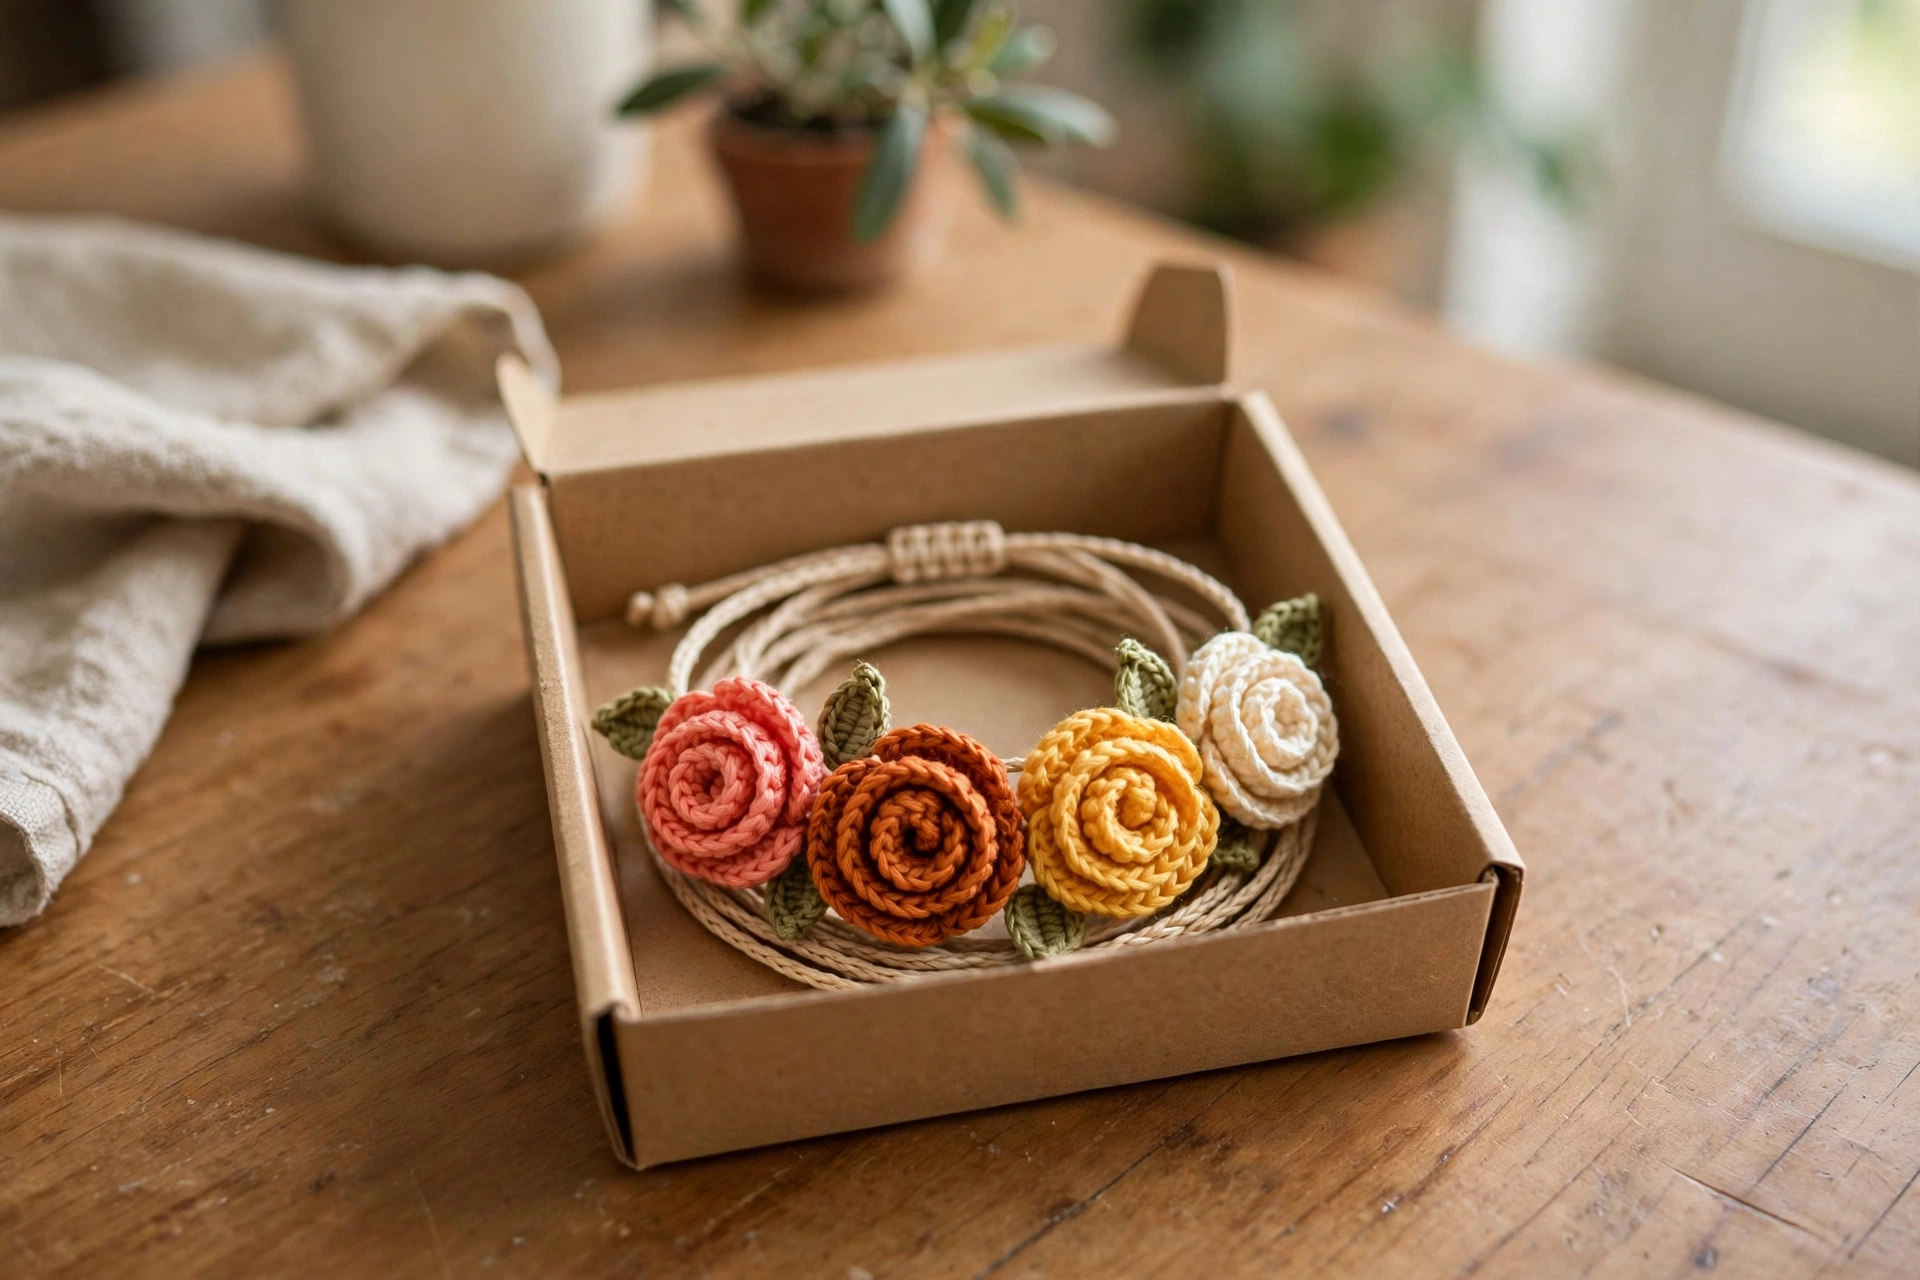
You know those little projects that look like they took a week but secretly work up in an evening? This bracelet is one of them. Four tiny spiral roses in a sunset gradient — coral, burnt orange, golden yellow, cream — tucked among little green leaves on an adjustable cord, and suddenly you’ve got a gift that looks straight out of a boutique.
I made my first one on a lazy Sunday afternoon and wore it to dinner the same night. It got compliments before the appetizers arrived. That’s the magic of thread crochet roses: they’re small, they’re fiddly in the most satisfying way, and the ombre effect does all the visual heavy lifting for you.
What You’ll Need
- Size 10 crochet cotton thread: coral red (~15 yards), burnt orange (~15 yards), golden yellow (~15 yards), cream (~15 yards), olive or sage green (~20 yards)
- US Steel 7 (1.65 mm) hook
- 1.5 mm natural braided cotton macrame cord, 24 inches long
- 2 wooden beads, 6 mm diameter
- Tapestry needle, sharp scissors, fabric glue (optional)
Finished size:
- Flower panel approx. 3.5 inches wide x 0.75 inch tall
- Adjustable closure fits wrists from approx. 5.5 to 8 inches
The Pattern
Skill note: Intermediate — the stitches are basic, but fine thread and tight tension are the whole game here. Each finished rose is about 0.75 inch across; each leaf about 0.5 inch long.
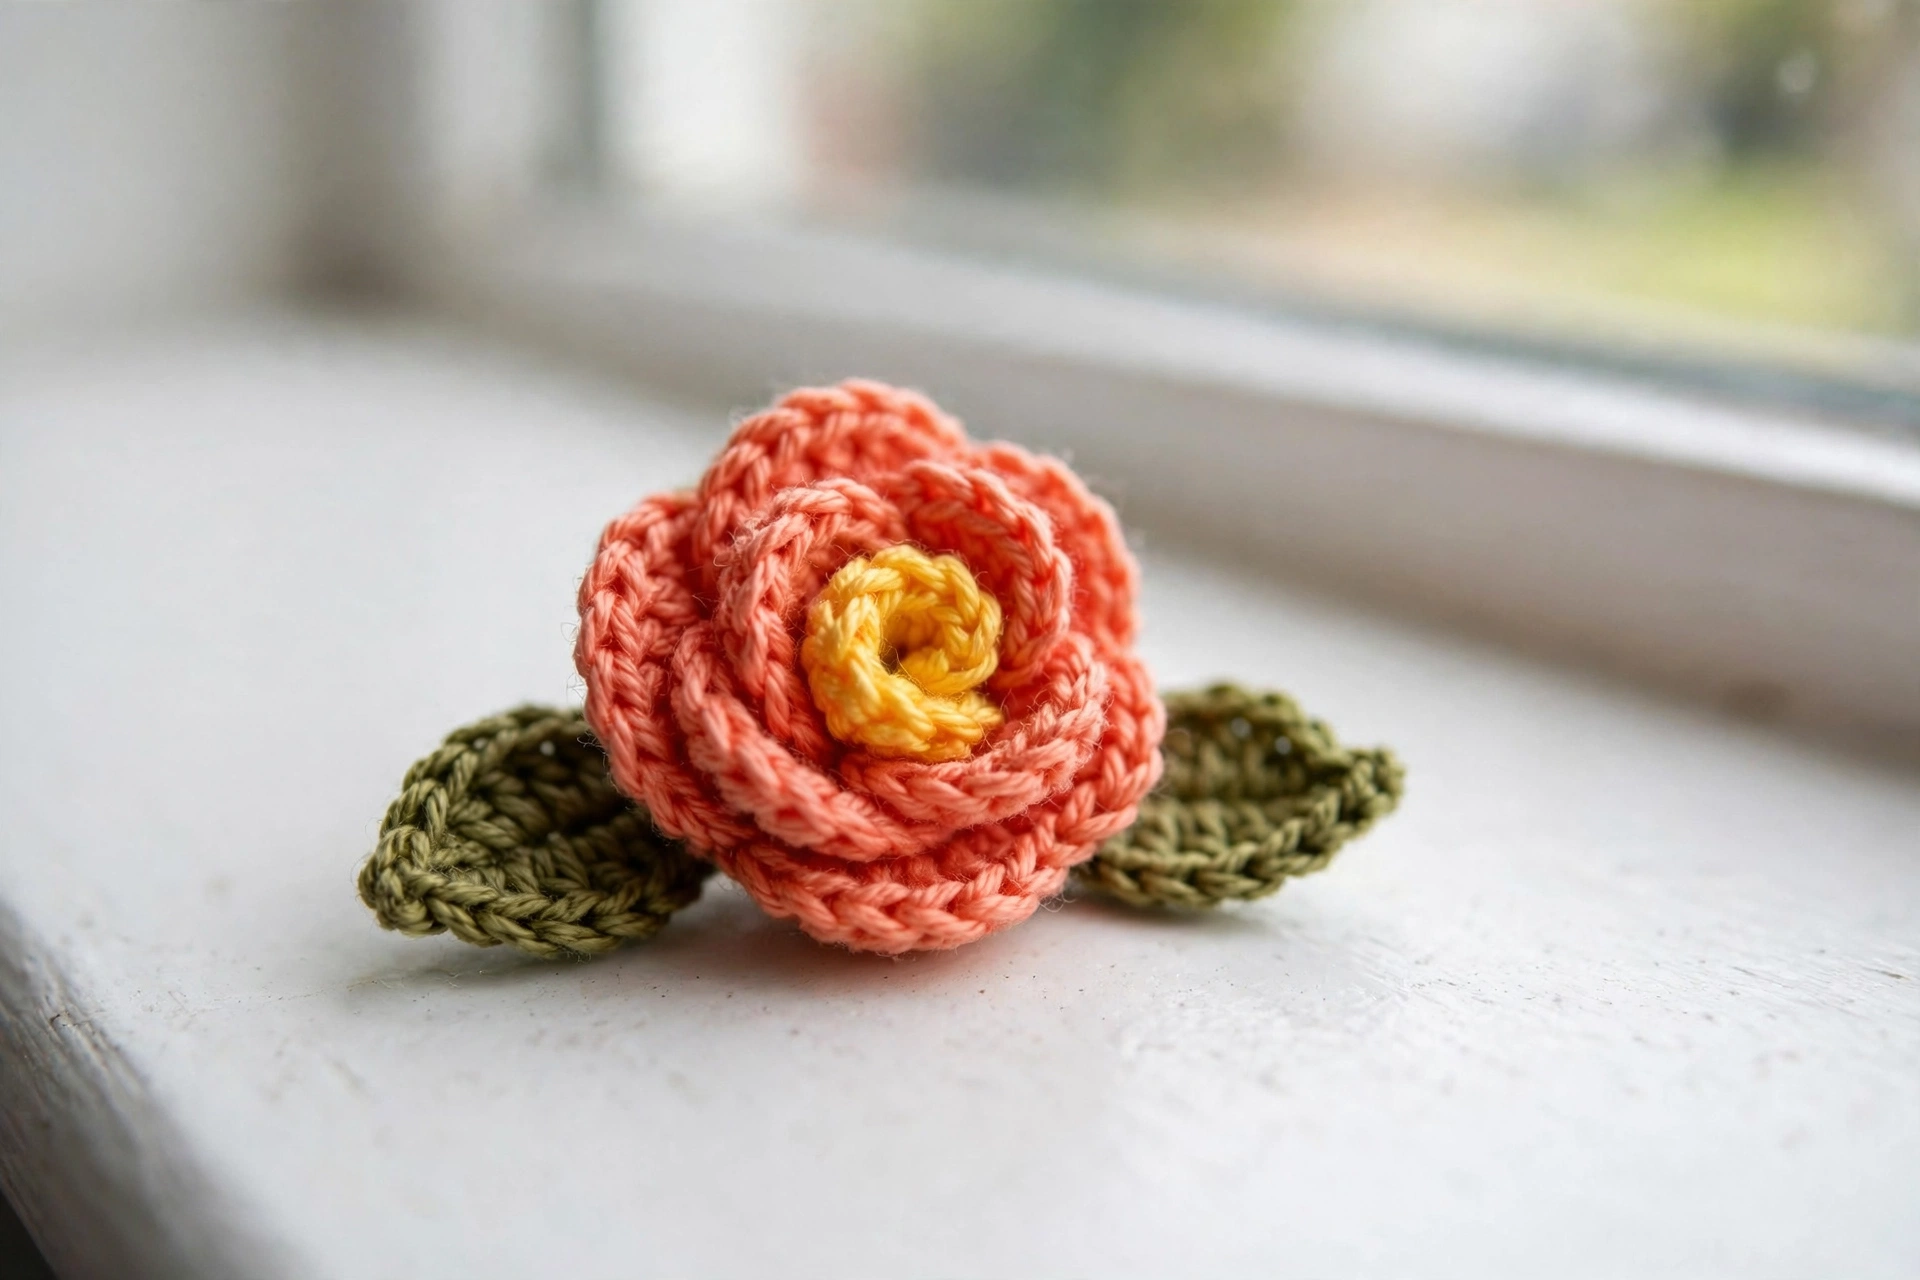
Roses (make 4 — one each in coral, orange, yellow, cream)
The rose is a strip that grows taller as you go; you roll it from the narrow end and the petals fan out.
Foundation: Ch 36.
Row 1: Work into the 2nd ch from hook: sc in next 6 ch (narrow section). Then (sc, hdc) in next ch, hdc in next ch, (hdc, sc) in next ch; repeat that 3-stitch unit once more over the next 3 ch (low petal section). Then (sc, dc, dc, sc) in next ch, sl st in next ch; repeat 5 more times over the next 10 ch (medium petal section). Then (sc, dc, tr, dc, sc) in next ch, sl st in next ch; repeat 4 more times over the next 10 ch, ending with (sc, dc, tr, dc, sc) in the final ch. Fasten off, leaving a 10-inch tail.
Your strip should be about 4.5 inches long flat — 0.25 inch tall at the narrow end, 0.75 inch at the wide end.
Rolling: Hold the strip with the petal loops facing away from you. Starting at the narrow end, roll it tightly toward yourself, keeping the base edges aligned. Every couple of rolls, hold the coil at the base. When fully rolled, thread the tail on your tapestry needle and sew back and forth through the base layers several times (not through the petal faces). Knot firmly — you’ll use the rest of the tail to sew the rose to the cord.
Leaves (make 6 in green)
Foundation: Ch 8.
Row 1: Starting in the 2nd ch from hook: sc, sc, hdc, dc, tr, dc, hdc, sc across. Rotate and work back along the underside: sc, sc, hdc, dc, sl st in the same ch where you worked the tr (this makes the pointed tip), dc, hdc, sc, sc, then sl st into the very first sc of the row to close. Fasten off, leaving a 10-inch tail. (12 sts around)
Optional: for a center vein, sl st up one side base-to-tip and back, pulling tight.
Assembly
1. Cut the cord to 24 inches and seal the ends with a dab of fabric glue.
2. Find the cord’s midpoint — that’s where the center of the flower panel sits. Lay out the four roses in gradient order (coral, orange, yellow, cream) and tuck the six leaves between and around them: one at each outer end and one between each pair of roses, with the sixth tucked behind a center rose for depth.
3. Sew the leaves on first, whipstitching their bases firmly around the cord. Then sew each rose down through its base, wrapping the thread around the cord several times so the rose sits flush. Weave in and glue-seal all tails.
4. Sliding knot closure: Hold the two cord ends pointing opposite directions. Take one end and wrap it around both parallel cords 4 times, pass it back through the wraps, and pull snug. Repeat on the other side with the other end. Pulling the knots toward each other tightens the bracelet; pulling the cord ends outward loosens it.
5. Thread a wooden bead onto each cord end, tie an overhand knot to stop the bead, and trim the cord to about 0.5 inch below the knot. A drop of glue on each knot keeps it secure.
Sophie’s Tips
- Keep your tension snug and even — the roses only hold their shape if the fabric is firm. If a rose comes out over 0.75 inch, go down a hook size.
- Stiffen the roses and leaves with a dab of clear-drying craft glue before sewing them on; it makes the petals stand up beautifully.
- Want a longer panel? Add a fifth rose and two more leaves, and cut the cord a couple inches longer.
Go make one for yourself first — then make three more, because these little beauties never seem to stay unclaimed for long!