# Bumblebee Baby Poncho Free Crochet Pattern
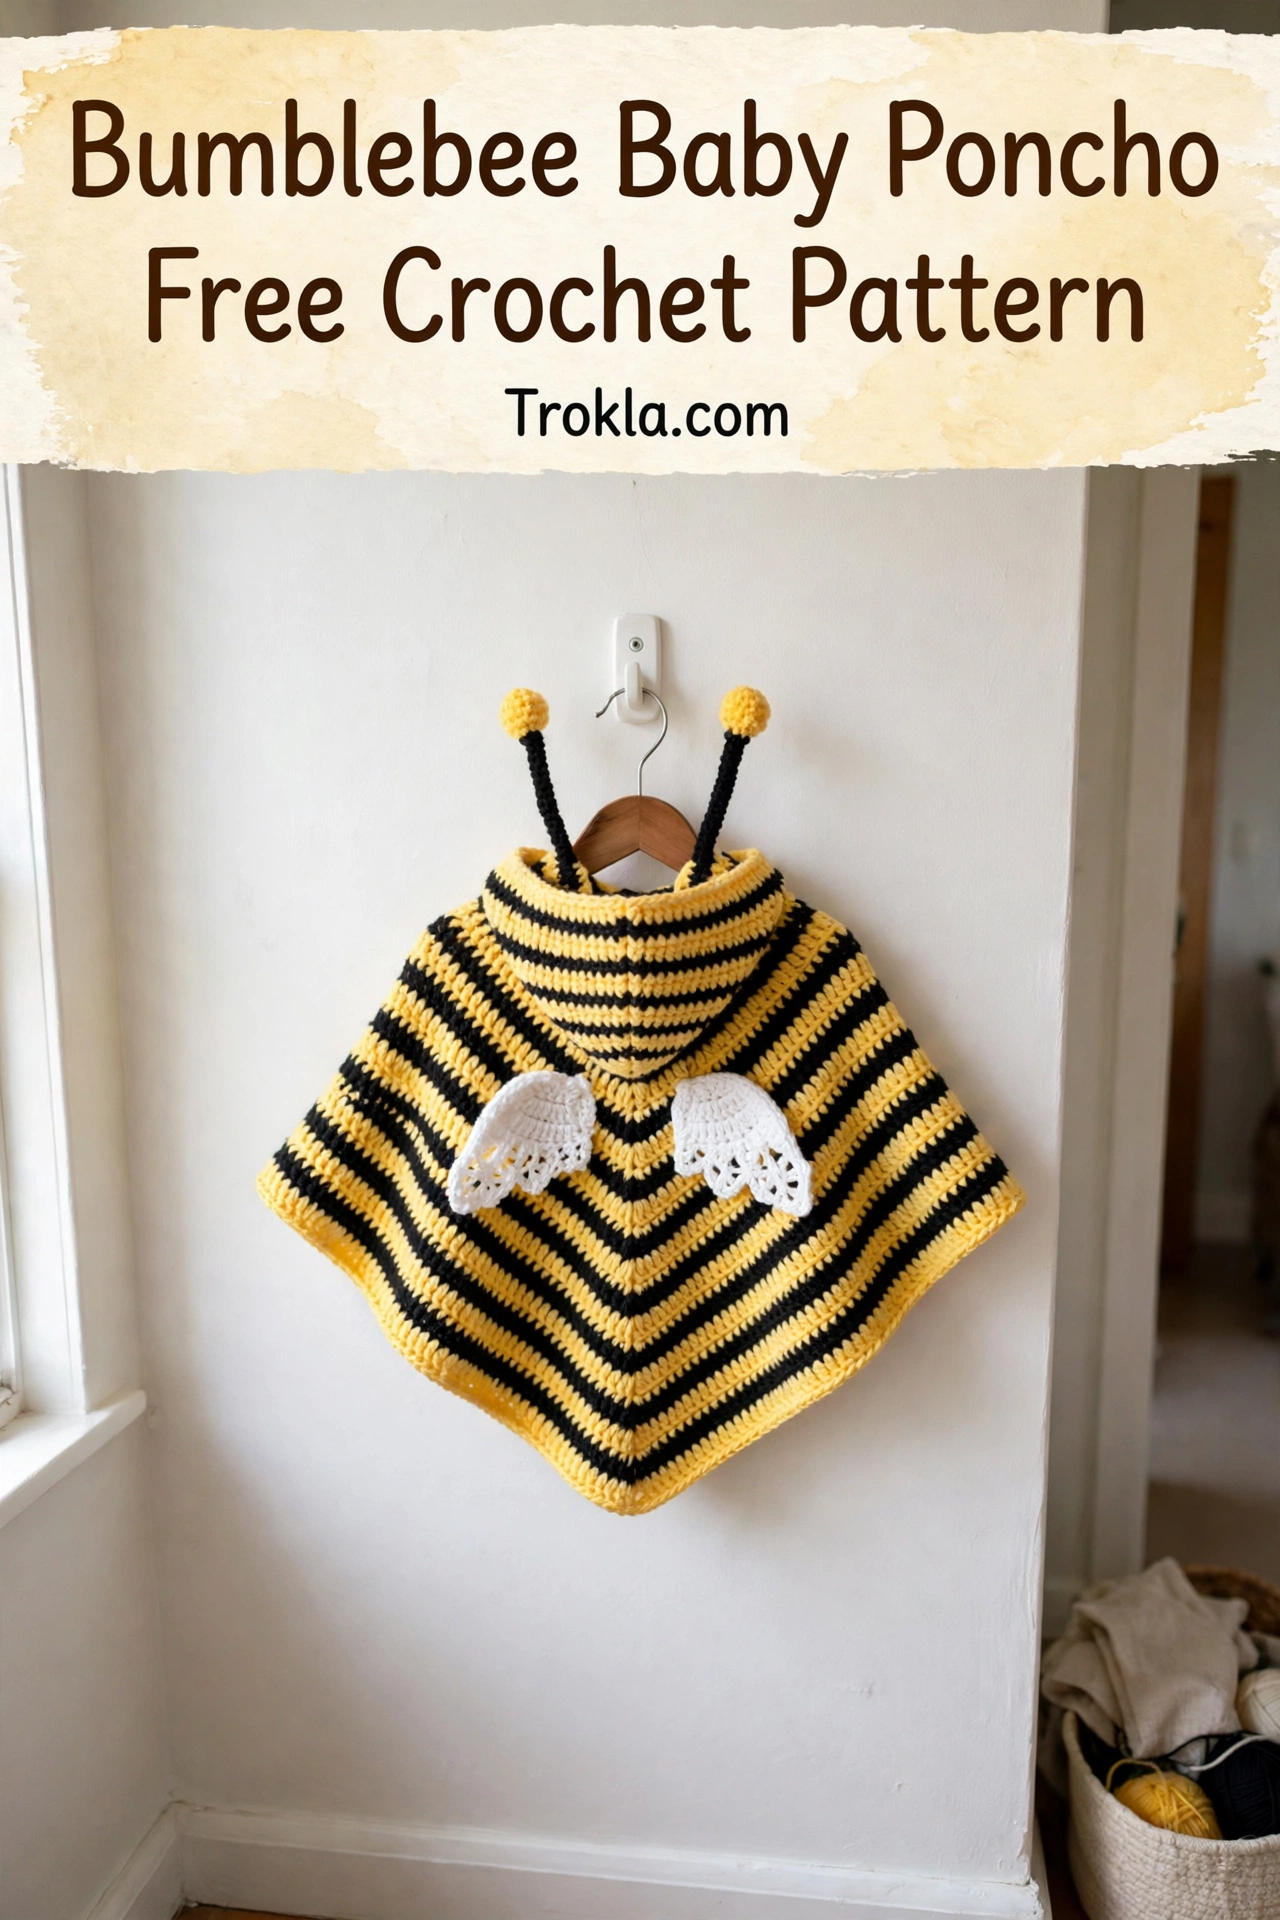
Okay, hear me out: a baby dressed as a bumblebee is objectively the funniest, cutest thing in the entire world, and I will not be taking questions. This little poncho has cheerful yellow-and-black stripes, a cozy hood with the silliest little antennae, and tiny white wings on the back. It pulls on over anything, keeps little shoulders warm, and photographs like an absolute dream.
The poncho itself is worked top-down in double crochet with increases at just two points (front and back), so it grows in a sweet swing shape with zero seaming. The stripes are just two-round color changes — no weaving in a million ends if you carry the yarn up the inside. The hood, antennae, and wings are all small add-ons you can finish in an evening. Total project time: one very happy weekend.
What You’ll Need
- Worsted weight yarn (category 4):
- Bright yellow: approximately 200 yards (poncho body, hood)
- Black: approximately 80 yards (stripes, antennae)
- White: approximately 20 yards (wings)
- H/8 (5.0 mm) crochet hook
- Tapestry needle, stitch markers, scissors
Finished size:
- 6–12 months. Neck approximately 13.5 inches around
- Poncho length approximately 11 inches
- Hem approximately 40 inches around
Gauge:
- 14 double crochet = 4 inches
The Pattern
Poncho Body
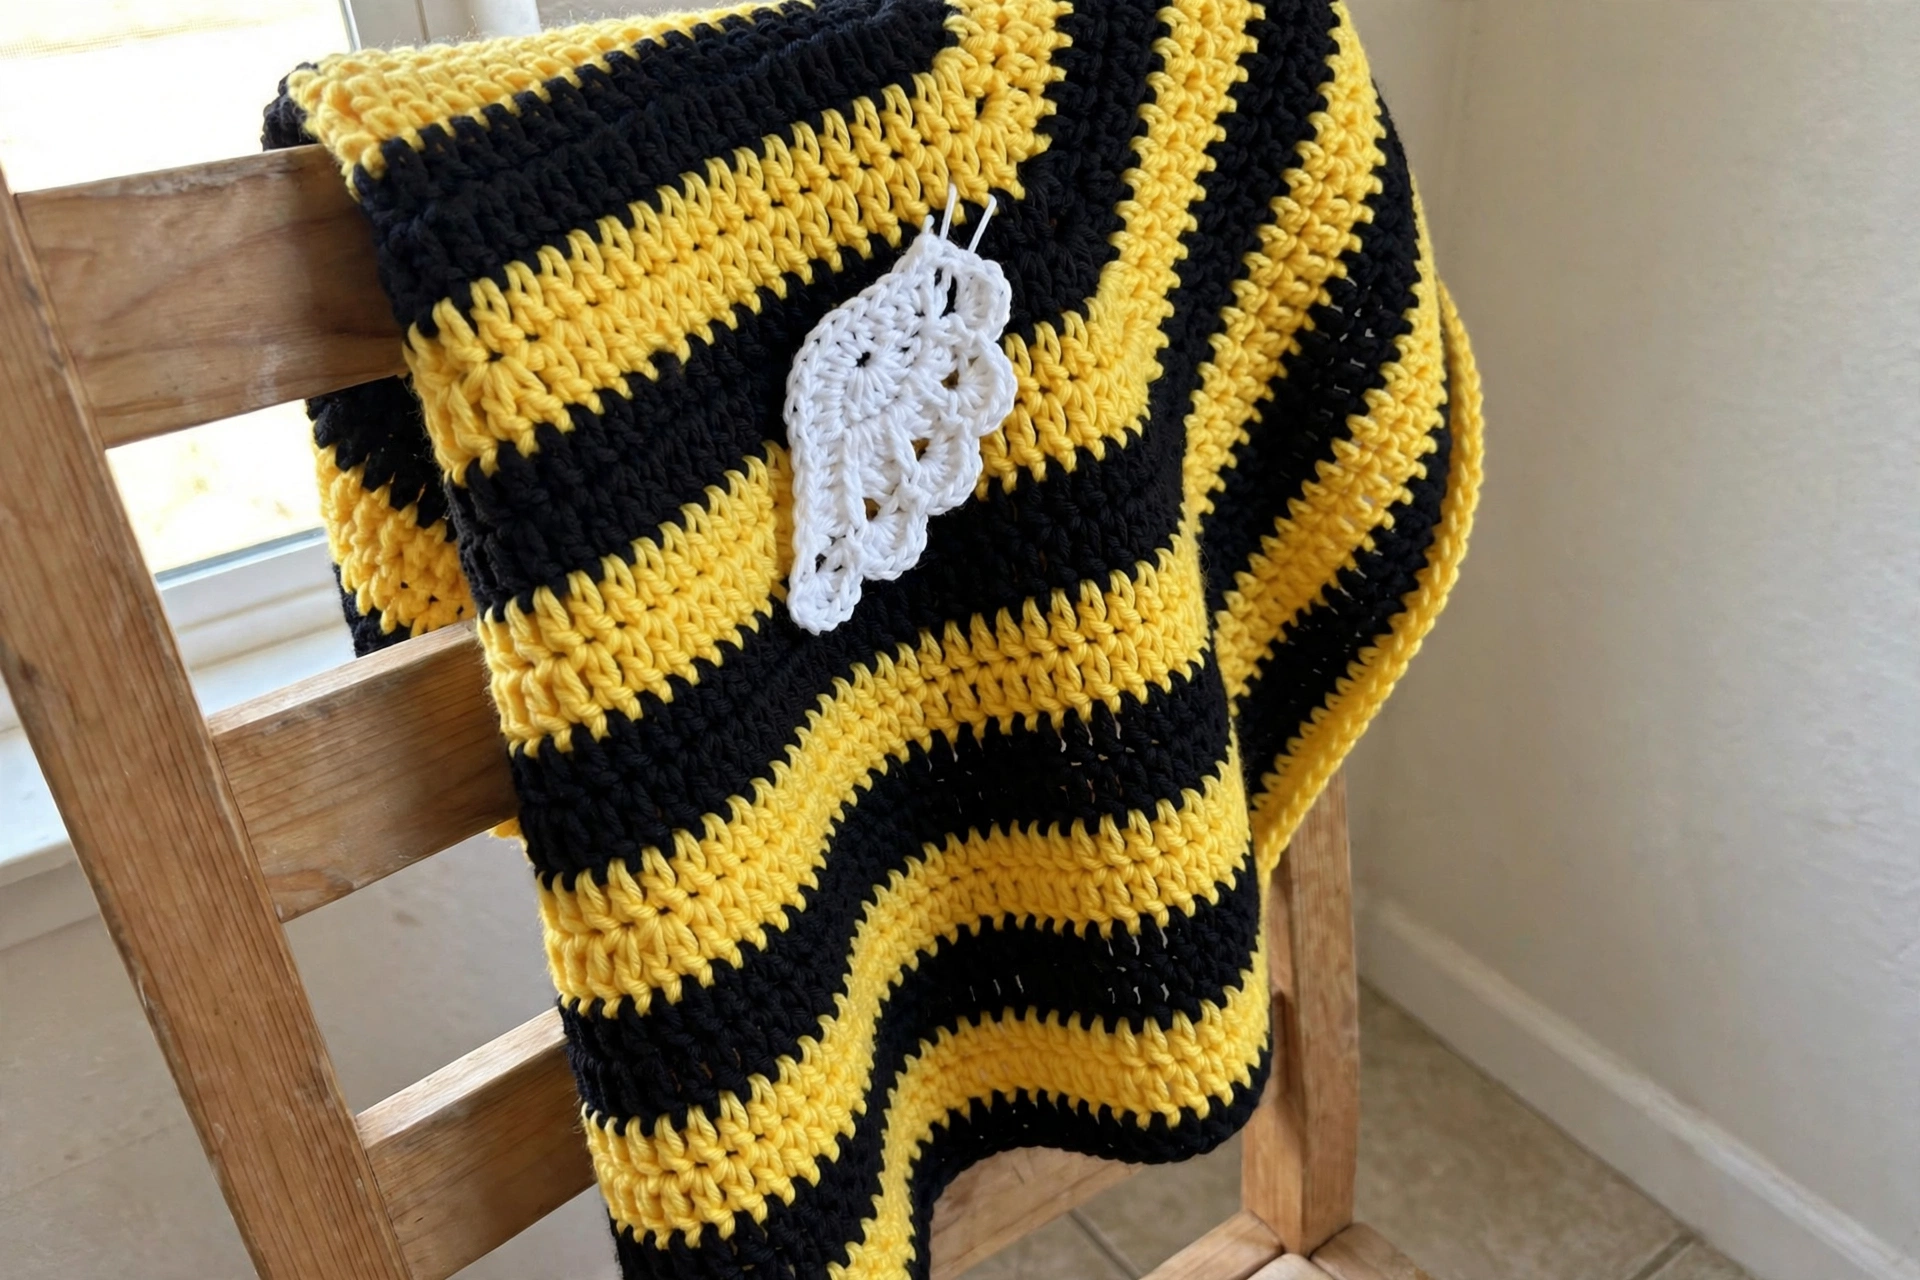
The stripes alternate every 2 rounds: 2 rounds yellow, 2 rounds black. Carry the unused color up the inside of the work to avoid a pile of ends — just give it a gentle tug every few rounds so it doesn’t pucker.
Ch 48. Join with a sl st to form a ring, being careful not to twist. Place a marker in the first stitch and in stitch 25 (the two opposite increase points: center front and center back).
Rnd 1 (yellow): Ch 3 (counts as dc), dc in each st around. Join. (48 dc)
Rnd 2 (yellow): Ch 3, (dc in each st to the marked st, (dc, ch 2, dc) in the marked st) twice, dc in remaining sts. Join. Move the markers into the ch-2 spaces. (52 dc)
Rnds 3–24: Ch 3, dc in each st around, working (dc, ch 2, dc) in each ch-2 space. Join, moving the markers up into each new ch-2 space. Each round adds 4 sts: rnd 3 = 56, rnd 4 = 60, and so on up to rnd 24 = 140 sts.
Keep the stripe rhythm going the whole way: rnds 1–2 yellow, 3–4 black, 5–6 yellow, 7–8 black, continuing to rnd 24.
Rnd 25 (black): Ch 1, sc in each st around. Join. (140 sts)
Rnd 26 (yellow scallop): (Sk 1 st, 5 dc in next st, sk 1 st, sl st in next st) around. Join. Fasten off and weave in ends.
Hood
Join yellow yarn at the center back neck edge.
Row 1: Ch 1, hdc in the next 30 sts across the back of the neck opening. Turn. (30 hdc)
Rows 2–4: Ch 2, hdc in each st across. Turn. (30 hdc)
Rows 5–6 (black stripe): Change to black. Ch 2, hdc in each st across. Turn. (30 hdc)
Rows 7–16 (yellow): Change back to yellow. Ch 2, hdc in each st across. Turn. (30 hdc)
Row 17: Ch 2, (hdc in next 3 sts, hdc2tog) 6 times. Turn. (24 hdc)
Fold the hood in half with right sides together and whip stitch the top seam closed. Turn right side out. Sew the hood’s bottom edge around the back half of the neck opening.
Antennae (Make 2)
With black yarn, ch 12. Sc in 2nd ch from hook and in each ch across (11 sc). Fasten off.
Tip bobble (make 2): With yellow yarn, make a magic ring and work 6 sc into it (6 sts). Work (3 dc cluster) — yarn over, insert hook, pull up a loop, yarn over, pull through 2 (twice in the same stitch), yarn over and pull through all 3 loops — 5 times into the ring, then pull the ring closed. Sew one yellow bobble to the end of each antenna, then sew the antennae to the top of the hood about 2 inches apart.
Wings (Make 2)
With white yarn, ch 10.
Rnd 1: sc in 2nd ch from hook, sc in next 7 ch, 3 sc in last ch, working along the opposite side: sc in next 7 ch, 2 sc in last ch. Join. (20 sc)
Rnd 2: sc in each st around. Join. (20 sc) Fasten off, leaving a long tail. Flatten each wing into an oval and sew both wings to the back of the poncho, angled slightly outward like they’re mid-flutter.
Sophie’s Tips
- Carry the stripe colors up the inside instead of cutting every two rounds — your future self, facing the weaving-in, thanks you.
- The hood seam goes at the very top center; double-check it’s centered before you stitch so the antennae sit straight.
- This poncho runs roomy by design (babies grow overnight), so don’t panic if it looks generous at first try-on.
Buzz on over to your hook, friend — this one’s pure joy.