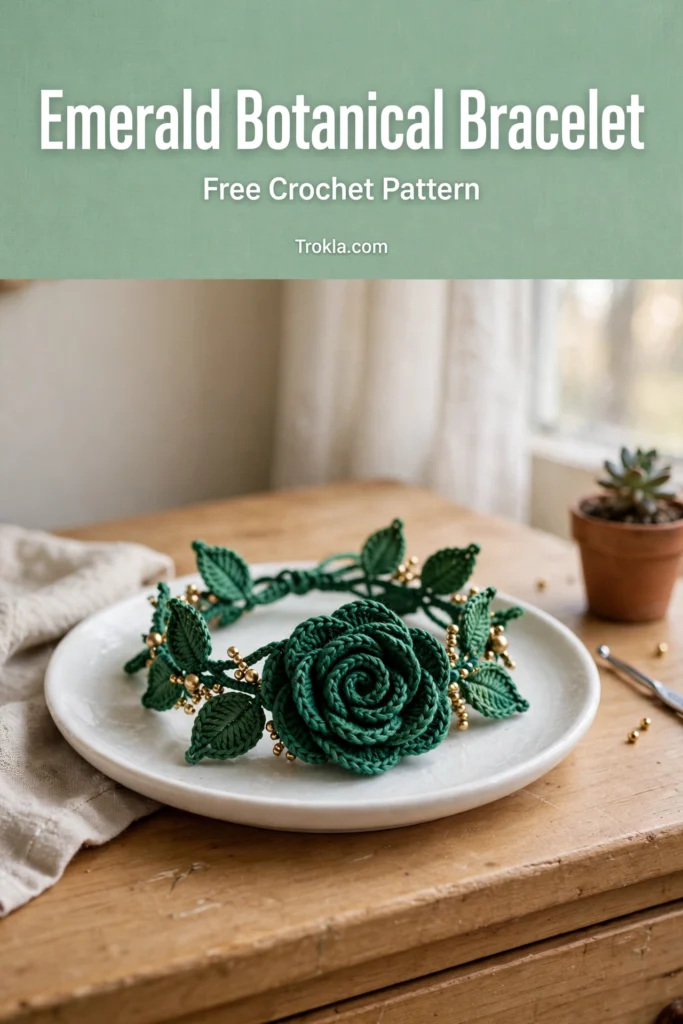
# Emerald Botanical Bracelet Free Crochet Pattern
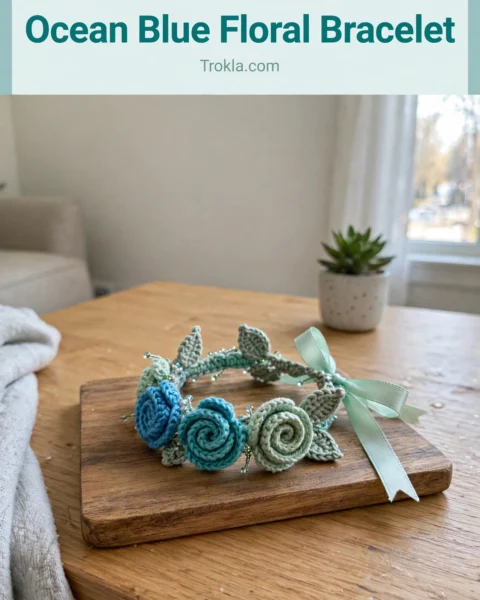
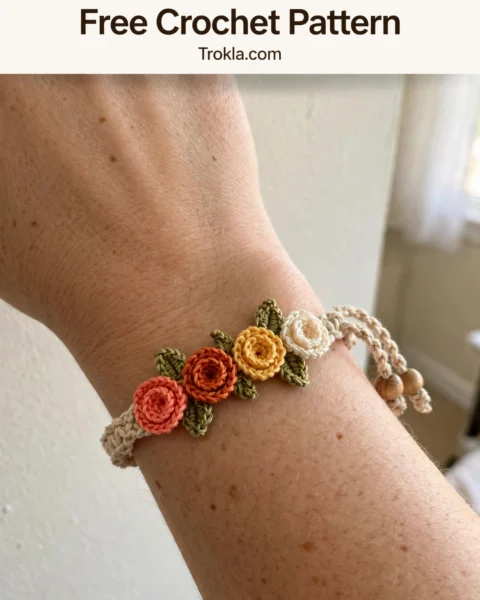
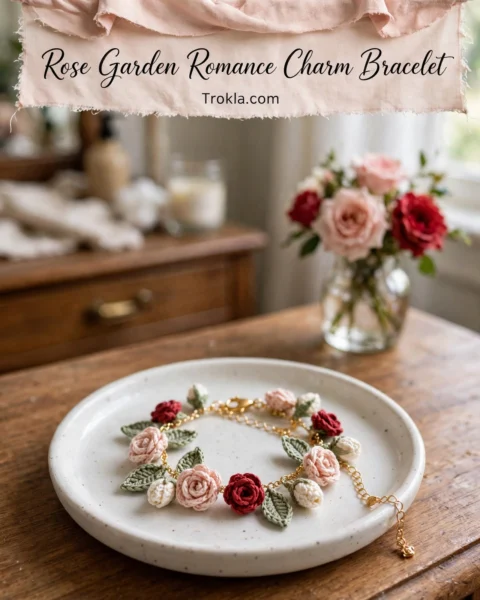
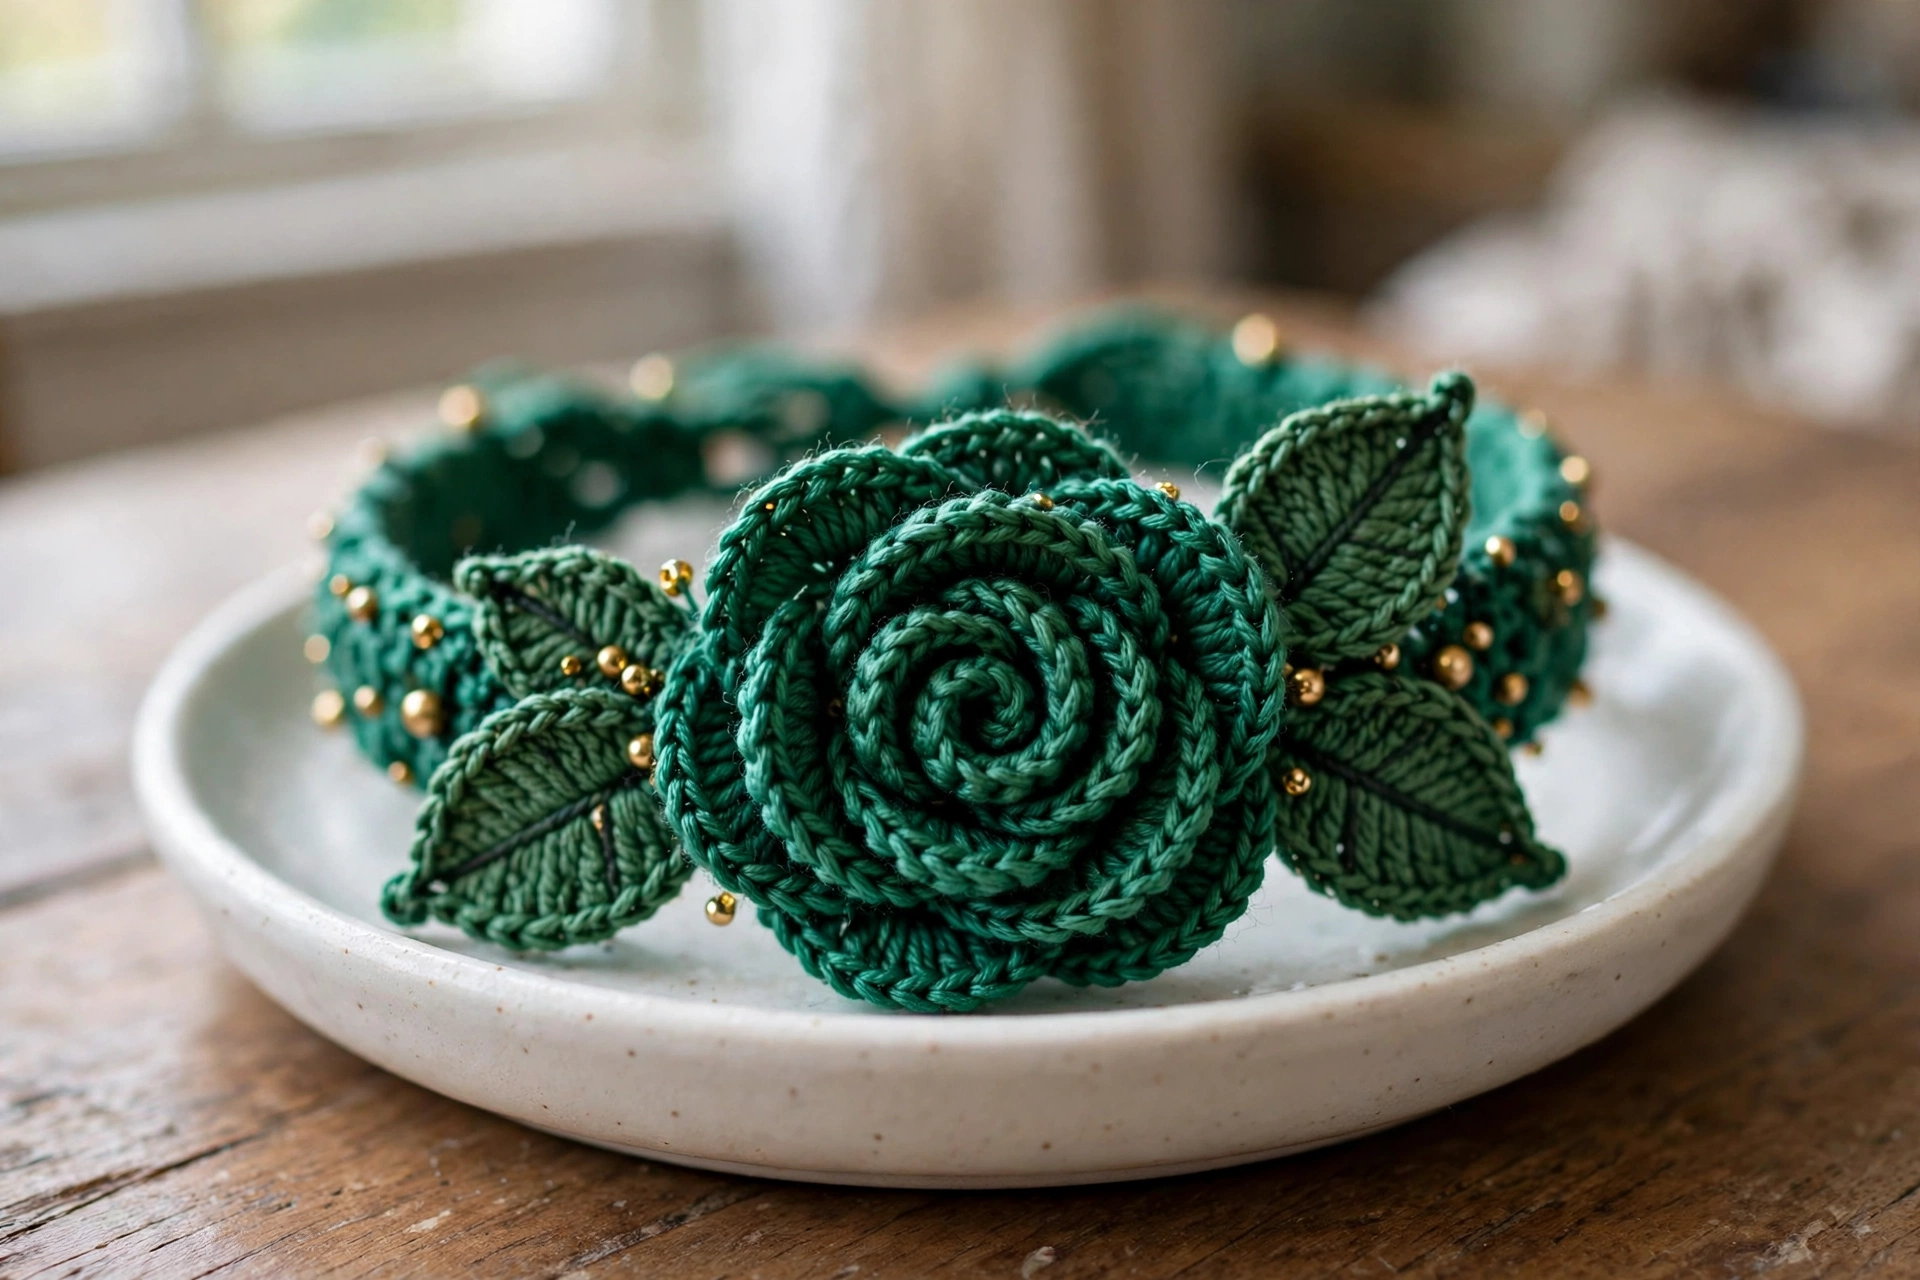
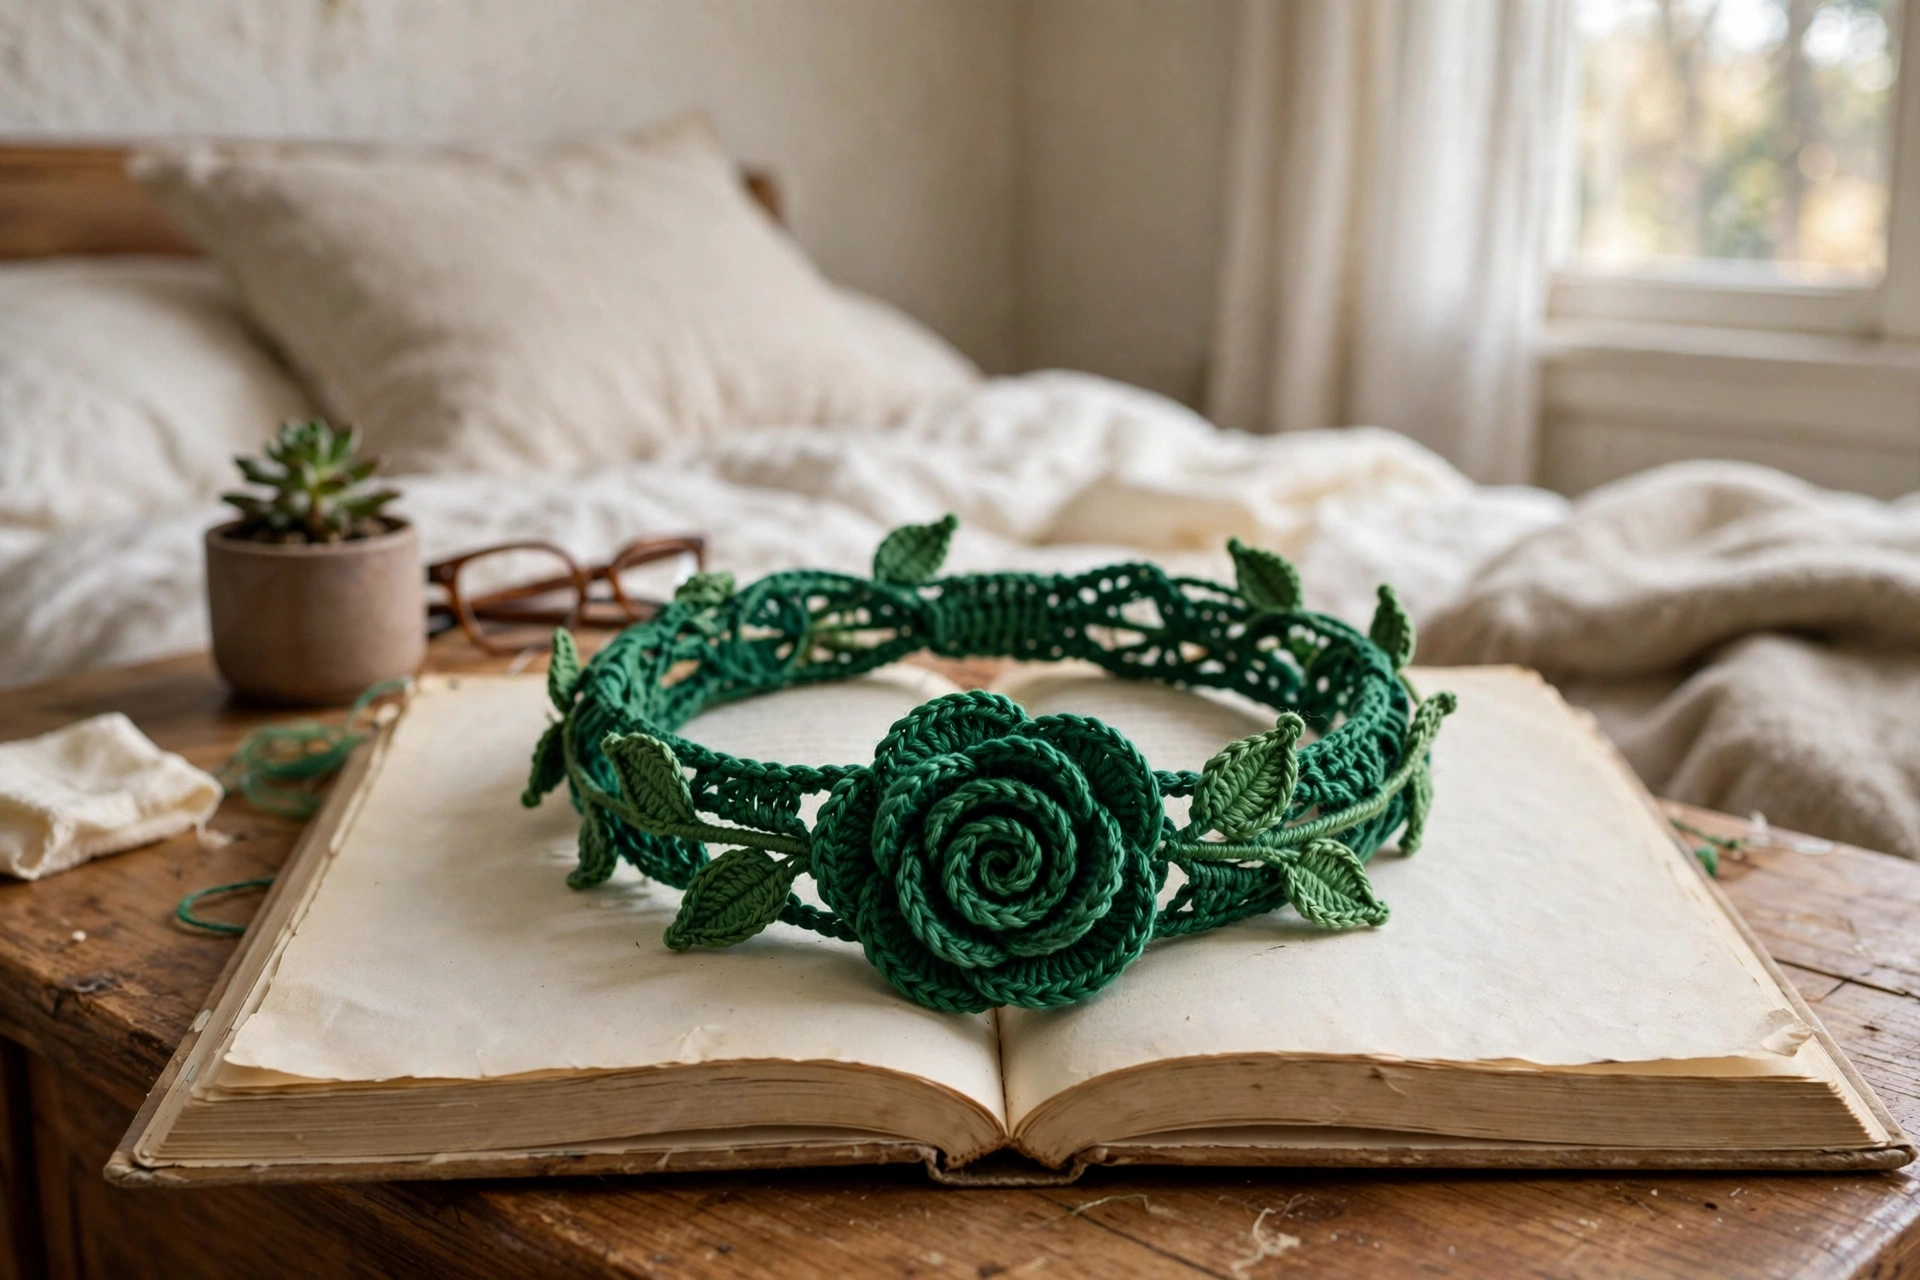
Oh, this one is pure wearable art, friends! An entire bracelet made from nothing but crochet — a dimensional spiral rose, detailed little leaves with embroidered veins, and an adjustable sliding closure that fits without any hardware clasp. The deep emerald thread held together with a whisper of gold metallic thread gives it this gorgeous botanical glow, like something you’d find in an enchanted greenhouse.
Fair warning: this is an advanced pattern. You’ll want confident control of tight tension and comfort working in continuous spirals — but if you’ve made a structured accessory or an amigurumi piece before, you will succeed with a little patience. The band takes about 45 minutes, each leaf 20 to 30 minutes, the rose about 90 minutes of focused work, and assembly another hour or two. Let’s make something beautiful!
What You’ll Need
- Size 10 crochet cotton thread in deep emerald green, one ball of approximately 300 yards (tight, smooth twist) — PLUS one spool of fine gold metallic thread (size 10 equivalent, approximately 50 yards). Hold both threads together throughout the entire project.
- Steel crochet hook size 7 (1.65 mm) — an inline head gives the cleanest results for tight cord work
- Gold metallic seed beads, size 8/0, approximately 40 beads
- Green metallic seed beads, size 8/0, approximately 12 beads
- Fine beading needle, tapestry needle, sharp scissors
- At least 4 stitch markers
- Blocking board and rust-proof pins, fine mist spray bottle
Finished size:
- The bracelet adjusts from 6 inches to 8 inches in circumference, fitting most wrists with no clasp. The decorative focal panel measures approximately 2.75 inches wide by 1.5 inches tall
- The rose bloom alone is about 1.25 inches in diameter
Gauge (both threads held together):
- 20 slip stitches over a tight foundation chain = 1 inch (2.5 cm)
- 18 single crochet rows = 1 inch (2.5 cm). Gauge is critical for the band length — the motifs are worked to shape, so small tension differences in the rose and leaves are fine as long as your band gauge is accurate. To swatch: chain 30 tightly, slip stitch back along the chain into the back bump only, count 20 stitches and measure
The Pattern
Abbreviations: ch = chain, ch-sp = chain space, dc = double crochet, hdc = half double crochet, sc = single crochet, sl st = slip stitch, st(s) = stitch(es), blo = back loop only, flo = front loop only, inc = increase (2 sc in same st), MR = magic ring, pm = place marker, rep = repeat, rnd = round, RS = right side, WS = wrong side, beg = beginning.
Special stitches: Cord slip stitch (CSS): insert the hook into the back bump of the chain only, yarn over and pull through both loops — keep tension very tight and even for a firm, rounded cord. Surface slip stitch (SSS): with RS facing, insert the hook from front to back through a stitch, draw up a loop from the wrong side, insert the hook one stitch forward and draw yarn through both loops — this makes the raised leaf veins. Picot-3: ch 3, sl st into the first chain. Beaded slip stitch (BSS): thread a bead onto the working yarn first, then work the slip stitch — the bead sits on the visible face.
Notes: Both threads are held together as one throughout unless stated otherwise. Make the band first as one long piece, then assemble — don’t skip ahead to the rose! All leaves are made separately and pinned to the band for positioning before any sewing, so you can adjust for perfect symmetry. The rose is worked in continuous rounds without joining — use a stitch marker at the start of each round. When the rose spiral curls inward naturally, don’t fight it — the curling creates the 3D bloom shape.
Section 1: The Band
The band is a two-layer cord structure: two identical cord strips, layered and joined for a smooth, slightly padded band.
Band Strip A: Chain 110 tightly. (110 ch)
Row 1 (CSS row): Working into the back bumps only, sl st in the 2nd ch from hook and in each ch across. Turn. (109 sl st)
Row 2: Chain 1 (does not count as a stitch anywhere in the band), working into the back loop only of each sl st, sl st in each st across. Turn. (109 sl st)
Row 3: Repeat Row 2. (109 sl st) Fasten off, leaving a 12-inch tail for seaming.
Band Strip B: Repeat Strip A exactly — but do not fasten off the second strip yet.
Checkpoint: Each strip should measure about 5.5 inches (14 cm) long and feel very firm. Longer than 6 inches means your tension is too loose; shorter than 5 inches means too tight. Adjust and redo before continuing.
Joining the strips: Hold Strip A and Strip B together with wrong sides facing each other (right sides face outward). Using the live yarn still attached to Strip B, insert the hook through the corresponding edge stitches of both strips at once and slip stitch through both layers across one full long edge, working through the outermost loop of each strip. (109 sl st joining seam) Fasten off and weave in this end. Using the tail from Strip A, join the opposite long edge the same way with a tapestry needle and whipstitch, keeping tension even and the band flat. Weave in all ends except the two original starting tails — these become the adjustable closure tails. Keep them at least 10 inches long; if shorter, thread a new 14-inch length through the band end.
Closure channel: At the center of the band, place a stitch marker on each side to mark the center 1.5-inch segment — this is where the rose attaches. Set the band aside.
Section 2: The Leaves (Make 4 Large and 4 Small)
Large leaf (make 4): Chain 14.
Row 1 (RS): Sc in 2nd ch from hook, sc in next 4 ch, hdc in next 2 ch, dc in next 2 ch, hdc in next 2 ch, sc in next ch, work 3 sc in the last ch (turns the corner at the leaf tip). Rotate and work back along the opposite side of the foundation chain: sc in next ch, hdc in next 2 ch, dc in next 2 ch, hdc in next 2 ch, sc in next 4 ch. Do not join. Place a marker in the first sc. (29 sts total around the leaf)
Row 2: Working in a continuous spiral, sl st in the first marked st, ch 1, sc in each st around the outer edge, working 3 sc into the center st of the 3-sc tip group. Join with sl st to first sc. (31 sc) Fasten off, leaving a 10-inch tail for sewing.
Veins (large leaf): Reattach yarn at the base of the leaf on the RS. Using surface slip stitch, work a center vein from base to tip — SSS in every other stitch along the center column (about 7 SSS). Fasten off. Reattach at one side of the center vein midpoint and work 3 SSS diagonally toward the edge for a side branch; repeat on the other side. Repeat for the lower portion of the leaf, making 2 more branch veins on each side closer to the base. Each large leaf gets 1 center vein and 4 side branches.
Small leaf (make 4): Chain 10.
Row 1 (RS): Sc in 2nd ch from hook, sc in next 2 ch, hdc in next 2 ch, sc in next 2 ch, work 3 sc in the last ch. Rotate and work back along the opposite side: sc in next 2 ch, hdc in next 2 ch, sc in next 2 ch. Do not join. (21 sts)
Row 2: Sl st in the first st at the base, ch 1, sc in each st around, working 3 sc into the center st of the tip group. Join. (23 sc) Fasten off, leaving a 10-inch tail.
Veins (small leaf): Reattach at the base on the RS. Work an SSS center vein base to tip (about 5 SSS), then 2 side branch veins on each side using 2 stitches per branch. Fasten off.
Checkpoint: You should have 4 large leaves (about 1 inch long by 0.5 inch wide) and 4 small leaves (about 0.75 inch by 0.4 inch), all veined. Pin them to a blocking board, mist lightly, and let dry fully before assembly.
Section 3: The Rose
The rose builds from a center spiral worked outward in increasing rounds, then two petal layers. Work in a continuous spiral without joining.
Rose center: Make a magic ring, ch 1, work 6 sc into the ring. Place a stitch marker in the first sc. Do not join. (6 sc) **Spiral
rnd 1: Increase in each of the 6 sc around. (12 sc) Spiral
rnd 2: (Sc in next st, inc in next st) 6 times. (18 sc) Spiral
rnd 3: (Sc in next 2 sts, inc in next st) 6 times. (24 sc) Spiral
rnd 4:** (Sc in next 3 sts, inc in next st) 6 times. (30 sc) The disc should measure about 0.75 inch in diameter and will have begun cupping upward at the edges.
**Petal layer 1 (inner petals) —
Rnd 5:** Working in the front loop only, (ch 3, sc in the blo of the next 2 sts) 10 times. (10 petal loops, 30 sts consumed)
Rnd 6: Still in flo, (ch 4, sc in blo of next 3 sts) 8 times, then ch 4, sc in blo of next 2 sts. (9 petal loops)
**Petal layer 2 (outer petals) —
Rnd 7:** Working in the remaining free front loops, (ch 5, sc in the next free loop) 12 times around. (12 outer petal loops)
Rnd 8: Into each ch-5 loop work (sc, hdc, 3 dc, hdc, sc) to form rounded outer petals. Join with a sl st to the first sc of the round. Fasten off, leaving a 12-inch tail for mounting.
Beaded center: Thread 3 gold seed beads onto the tail. Using the beading needle, take the tail up through the center of the rose and back down twice, pulling the beads snug into the heart of the bloom. Knot securely on the back.
Section 4: Assembly and Closure
Lay the band flat with the marked 1.5-inch center segment facing up. Pin the 4 large leaves first — two on each side of the center, tips pointing outward, slightly overlapping. Pin the 4 small leaves in pairs beyond the large ones, two per side. Step back and check the symmetry before sewing anything! Sew each leaf down with its 10-inch tail, then stitch a gold seed bead at every leaf-stem junction (8 beads).
Mount the rose at the exact center of the band with its long tail, stitching through the band several times so the bloom sits firmly. Weave in the tail.
Sliding closure: Take the two long closure tails at the band ends. Thread both tails through the center channel of the band from opposite ends so they cross inside, then slip-stitch each tail end into a small gathered loop around the band — this forms the sliding barrel knot. Pull both ends to tighten the bracelet; pull the individual ends to loosen. Finish each tail with a small beaded tassel: chain 12, then work 3 tiny chains of 8 off the main chain, threading a green metallic bead onto each tip and a gold bead at each tassel base. Knot, trim, and weave in the last threads.
Mist the finished bracelet lightly, pin the leaves flat, and let dry completely.
Sophie’s Tips
- Tight, even tension is everything in this project — the band should feel almost like paracord. If it feels floppy, go down a hook size or redo it tighter; a firm band makes the whole bracelet look professional.
- String your gold beads onto the metallic thread before you start the rose center and tassels. Beads threaded mid-project are fiddly; beads pre-loaded are a joy.
- An inline-head steel hook (rather than a tapered one) grabs that slippery metallic thread so much better. If your thread keeps sliding off, the hook shape is probably the culprit!
Wearable fiber art, friends — I hope this little emerald garden makes you feel fancy every time you clasp it on!