# Mint Chocolate Chip Turtle Free Crochet Pattern
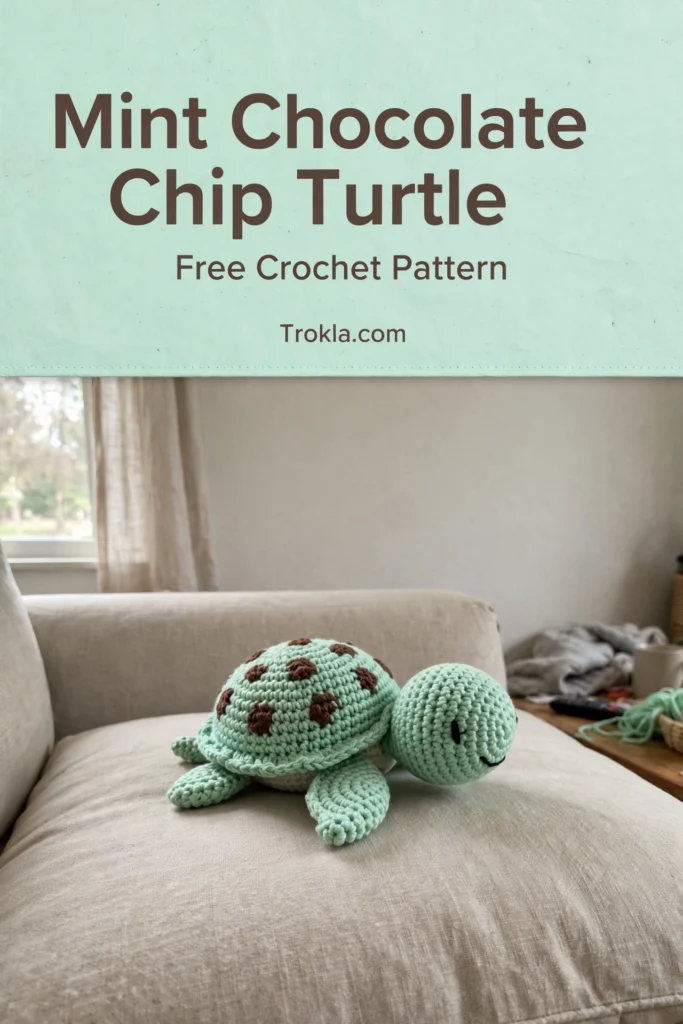
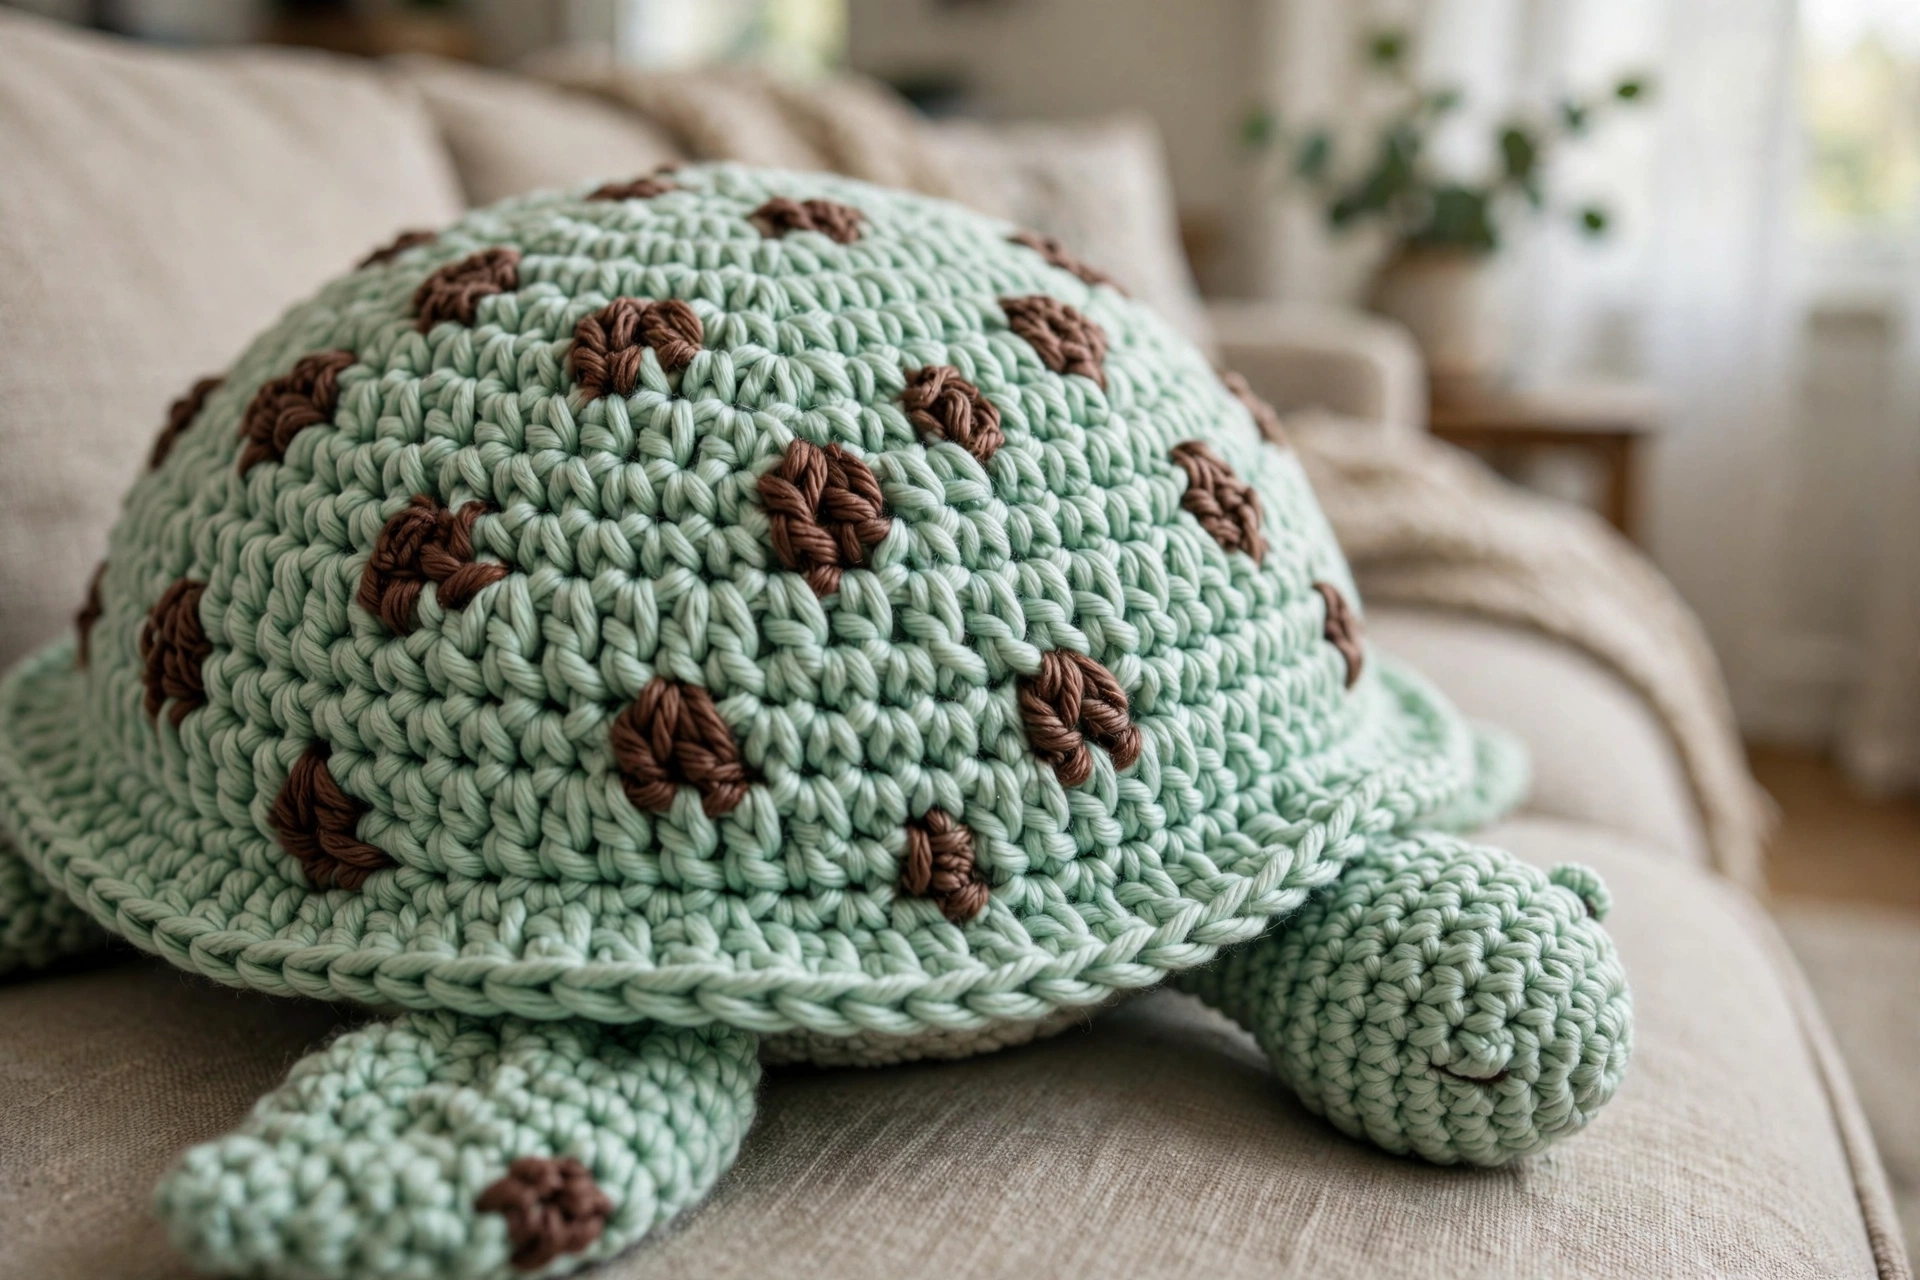
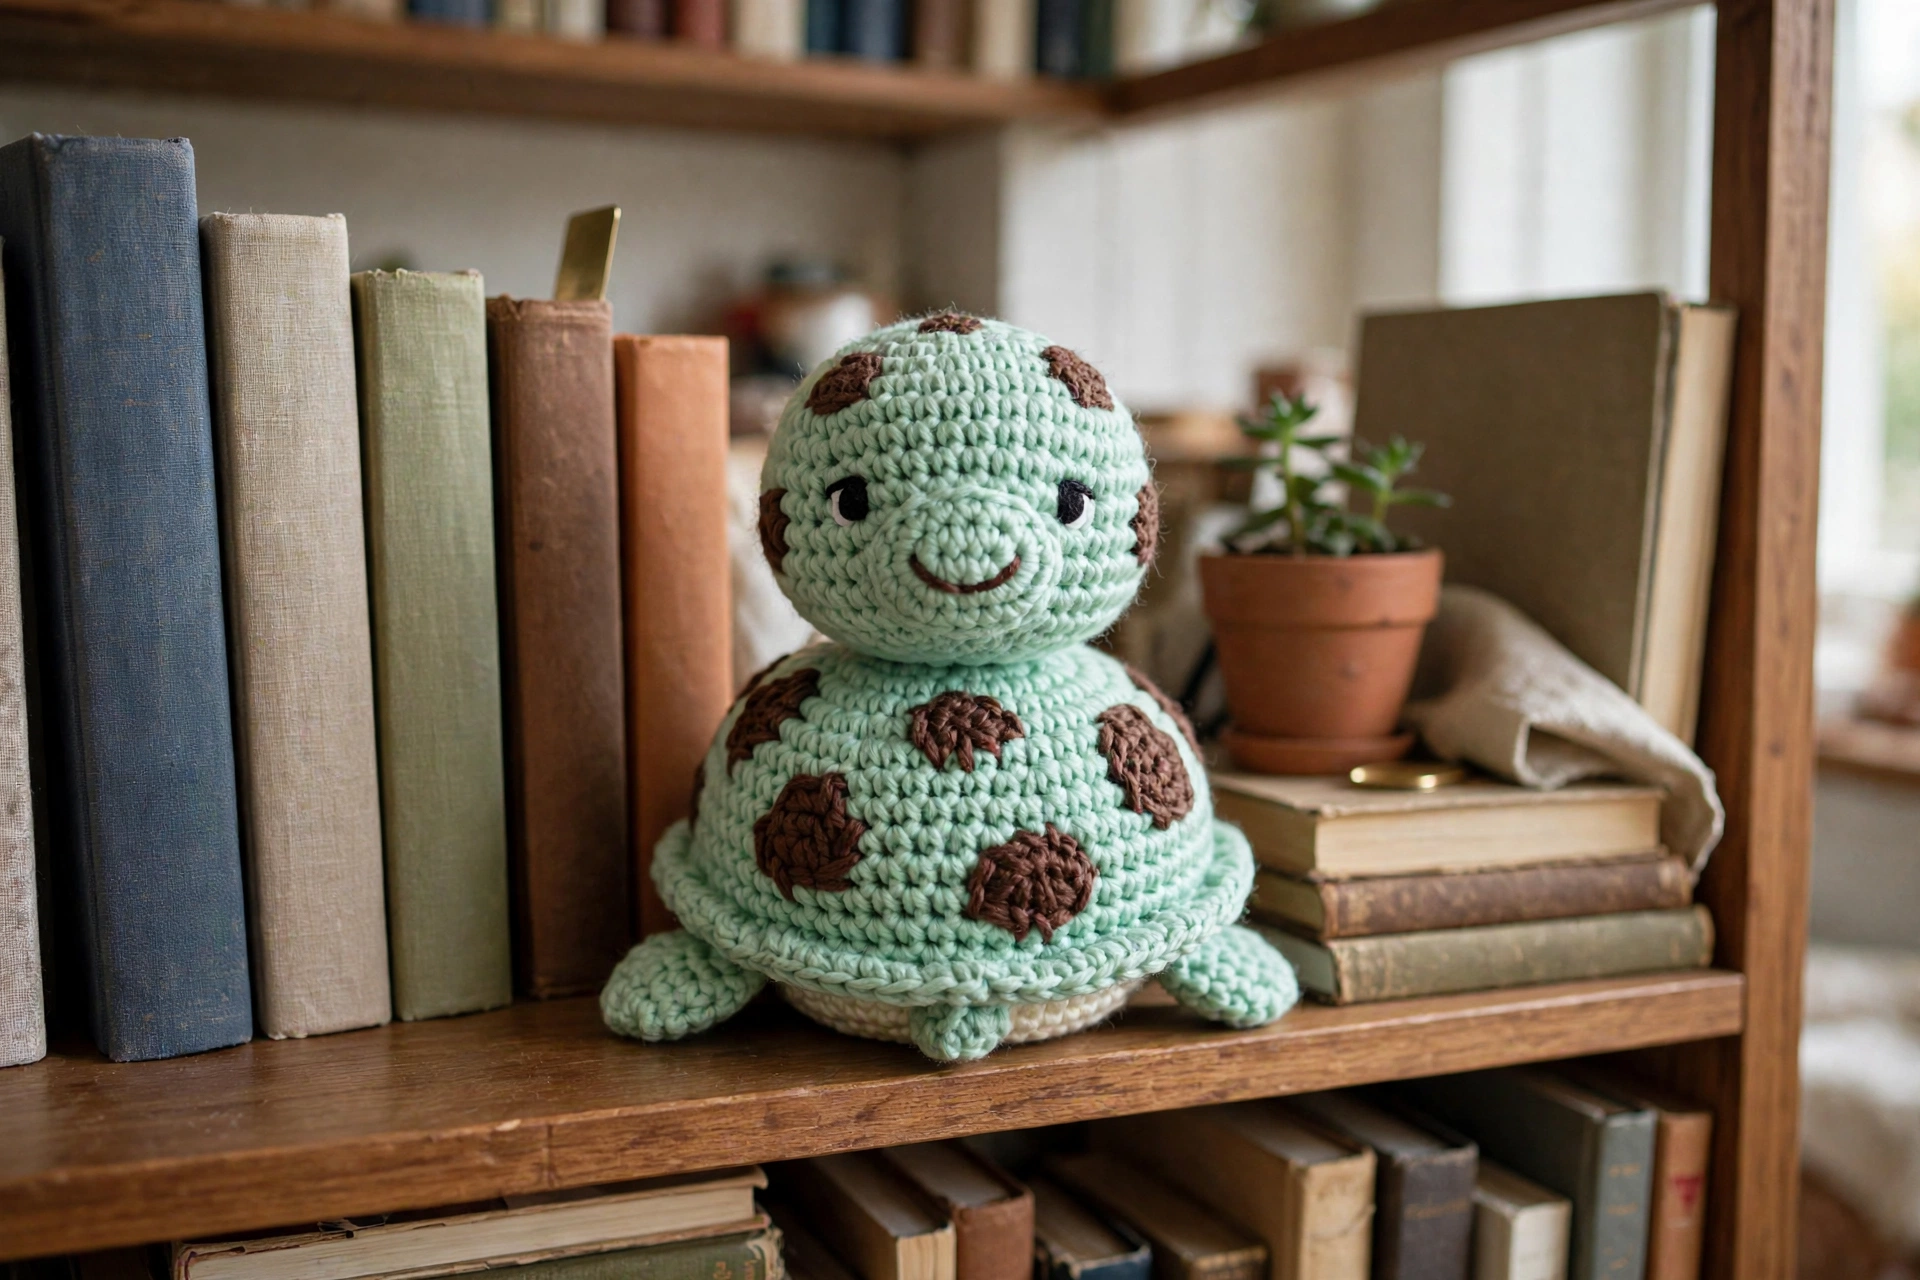
Oh my goodness, friends — this little guy is the sweetest thing I’ve made in ages! A mint green turtle with chocolate-brown spots, like your favorite ice cream flavor decided to become a stuffed animal. He’s the perfect size for little hands to carry around, and those spots are just small circles sewn onto the shell, so there’s nothing fussy here at all.
This mint chocolate chip turtle is a classic amigurumi project: the shell and body are worked in continuous spirals with simple increases and decreases, and the spots, head, legs, and tail are all separate little pieces you sew on at the end. If you can single crochet in the round, you can make this turtle. Let’s scoop one up together!
What You’ll Need
- Worsted weight (weight 4) yarn:
- Mint green: approximately 120 yards (shell, head, legs, tail)
- Chocolate brown: approximately 40 yards (spots)
- Cream: approximately 30 yards (belly)
- US size G-6 / 4.0 mm crochet hook
- Two 9 mm black safety eyes (or embroider eyes with black yarn)
- Polyester fiberfill stuffing
- Yarn needle, scissors, stitch marker
Finished size:
- Approximately 5 inches long from nose to tail tip and 3.5 inches wide across the shell
- The shell stands about 2.5 inches tall
Gauge:
- Gauge isn’t critical for amigurumi — just keep your stitches tight enough that the stuffing doesn’t show through. If you can see fiberfill peeking out, go down a hook size
The Pattern
Abbreviations: ch = chain, sc = single crochet, sl st = slip stitch, st(s) = stitch(es), inc = increase (2 sc in same st), dec = decrease (sc 2 together — insert hook in next st, pull up a loop, insert hook in following st, pull up a loop, yarn over and draw through all 3 loops), MR = magic ring, rep = repeat, rnd = round.
Notes: All pieces are worked in continuous spirals unless stated otherwise — do not join rounds; place a stitch marker in the first stitch of each round and move it up as you go. Stuff pieces firmly as you work, especially the shell and head.
Shell (Mint Green)
Rnd 1: MR, 6 sc into ring. (6 sc)
Rnd 2: Inc in each st around. (12 sc)
Rnd 3: (Sc in next st, inc in next st) 6 times. (18 sc)
Rnd 4: (Sc in next 2 sts, inc in next st) 6 times. (24 sc)
Rnd 5: (Sc in next 3 sts, inc in next st) 6 times. (30 sc)
Rnd 6: (Sc in next 4 sts, inc in next st) 6 times. (36 sc)
Rnds 7–10: Sc in each st around. (36 sc)
Rnd 11: (Sc in next 4 sts, dec) 6 times. (30 sc)
Rnd 12: Sc in each st around. (30 sc)
Rnd 13: (Sc in next 3 sts, dec) 6 times. (24 sc)
Rnd 14: (Sc in next 2 sts, dec) 6 times. (18 sc) — begin stuffing the shell firmly.
Rnd 15: (Sc in next st, dec) 6 times. (12 sc)
Rnd 16: Dec 6 times. (6 sc) Fasten off, thread the tail through the front loops of the remaining 6 sts, pull tight to close, and weave in.
Belly (Cream)
Rnd 1: MR, 6 sc into ring. (6 sc)
Rnd 2: Inc in each st around. (12 sc)
Rnd 3: (Sc, inc) 6 times. (18 sc)
Rnd 4: (Sc 2, inc) 6 times. (24 sc)
Rnd 5: (Sc 3, inc) 6 times. (30 sc) Fasten off, leaving a long tail. Sew the belly to the underside of the shell with whipstitch, stuffing lightly before closing.
Chocolate Spots (Make 7–8, Chocolate Brown)
Rnd 1: MR, 6 sc into ring. (6 sc)
Rnd 2: Inc in each st around. (12 sc) Fasten off, leaving a tail for sewing. For a couple of smaller spots, stop after Rnd 1 (6 sc). Sew the spots onto the top of the shell in a scattered pattern — I like one big spot in the center with smaller ones around it, like real chocolate chips!
Head (Mint Green)
Rnd 1: MR, 6 sc into ring. (6 sc)
Rnd 2: Inc in each st around. (12 sc)
Rnd 3: (Sc, inc) 6 times. (18 sc)
Rnd 4: (Sc 2, inc) 6 times. (24 sc)
Rnds 5–7: Sc in each st around. (24 sc)
Rnd 8: (Sc 2, dec) 6 times. (18 sc) — attach the safety eyes between Rnds 5 and 6, about 6 stitches apart, then stuff the head firmly.
Rnd 9: Sc in each st around. (18 sc)
Rnd 10: (Sc, dec) 6 times. (12 sc)
Rnd 11: Dec 6 times. (6 sc) Fasten off and close the same way as the shell. Sew the head to the front of the shell, slightly tucked under the shell’s front edge.
Legs (Make 4, Mint Green)
Rnd 1: MR, 6 sc into ring. (6 sc)
Rnd 2: Inc in each st around. (12 sc)
Rnds 3–4: Sc in each st around. (12 sc) Fasten off, leaving a tail. Stuff lightly and sew two legs to each side of the shell, toward the front and back.
Tail (Mint Green)
Rnd 1: MR, 6 sc into ring. (6 sc)
Rnd 2: Sc in each st around. (6 sc)
Rnd 3: (Sc, dec) 2 times. (4 sc) Fasten off. Sew to the back of the shell.
Assembly
Sew the belly under the shell, the head at the front, two legs on each side, and the tail at the back. Arrange and sew on the chocolate spots. Embroider a tiny smile with chocolate brown yarn if you like — it makes him extra sweet! Weave in all ends.
Sophie’s Tips
- Stuff as you go, friends — it’s much easier to get the shell nice and round when you add fiberfill gradually instead of trying to cram it all in at the end.
- Scatter those chocolate spots randomly rather than in a pattern. Real mint chip ice cream never has its chips in rows, and your turtle looks cuter au naturel!
- If this turtle is for a baby or toddler, skip the safety eyes and embroider the eyes with black yarn instead — just as cute, and completely chew-safe.
A little scoop of sweetness, friends — I hope this turtle finds the coziest spot on someone’s shelf!