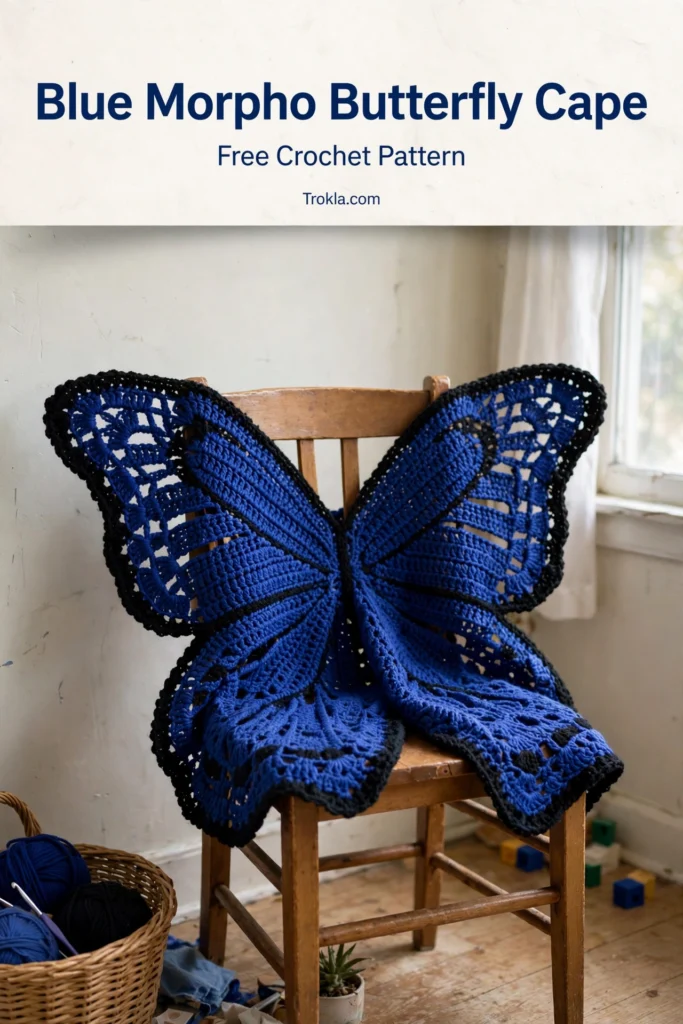
# Blue Morpho Butterfly Cape Free Crochet Pattern
Friends, I have always been obsessed with blue morpho butterflies — that impossible electric blue with the black edges — and I finally turned one into a wearable! This cape drapes like butterfly wings across a child’s shoulders, with a vivid royal blue body, dramatic black edging, and two big wing panels on the back that flutter when they run. (And they WILL run. Trust me.)
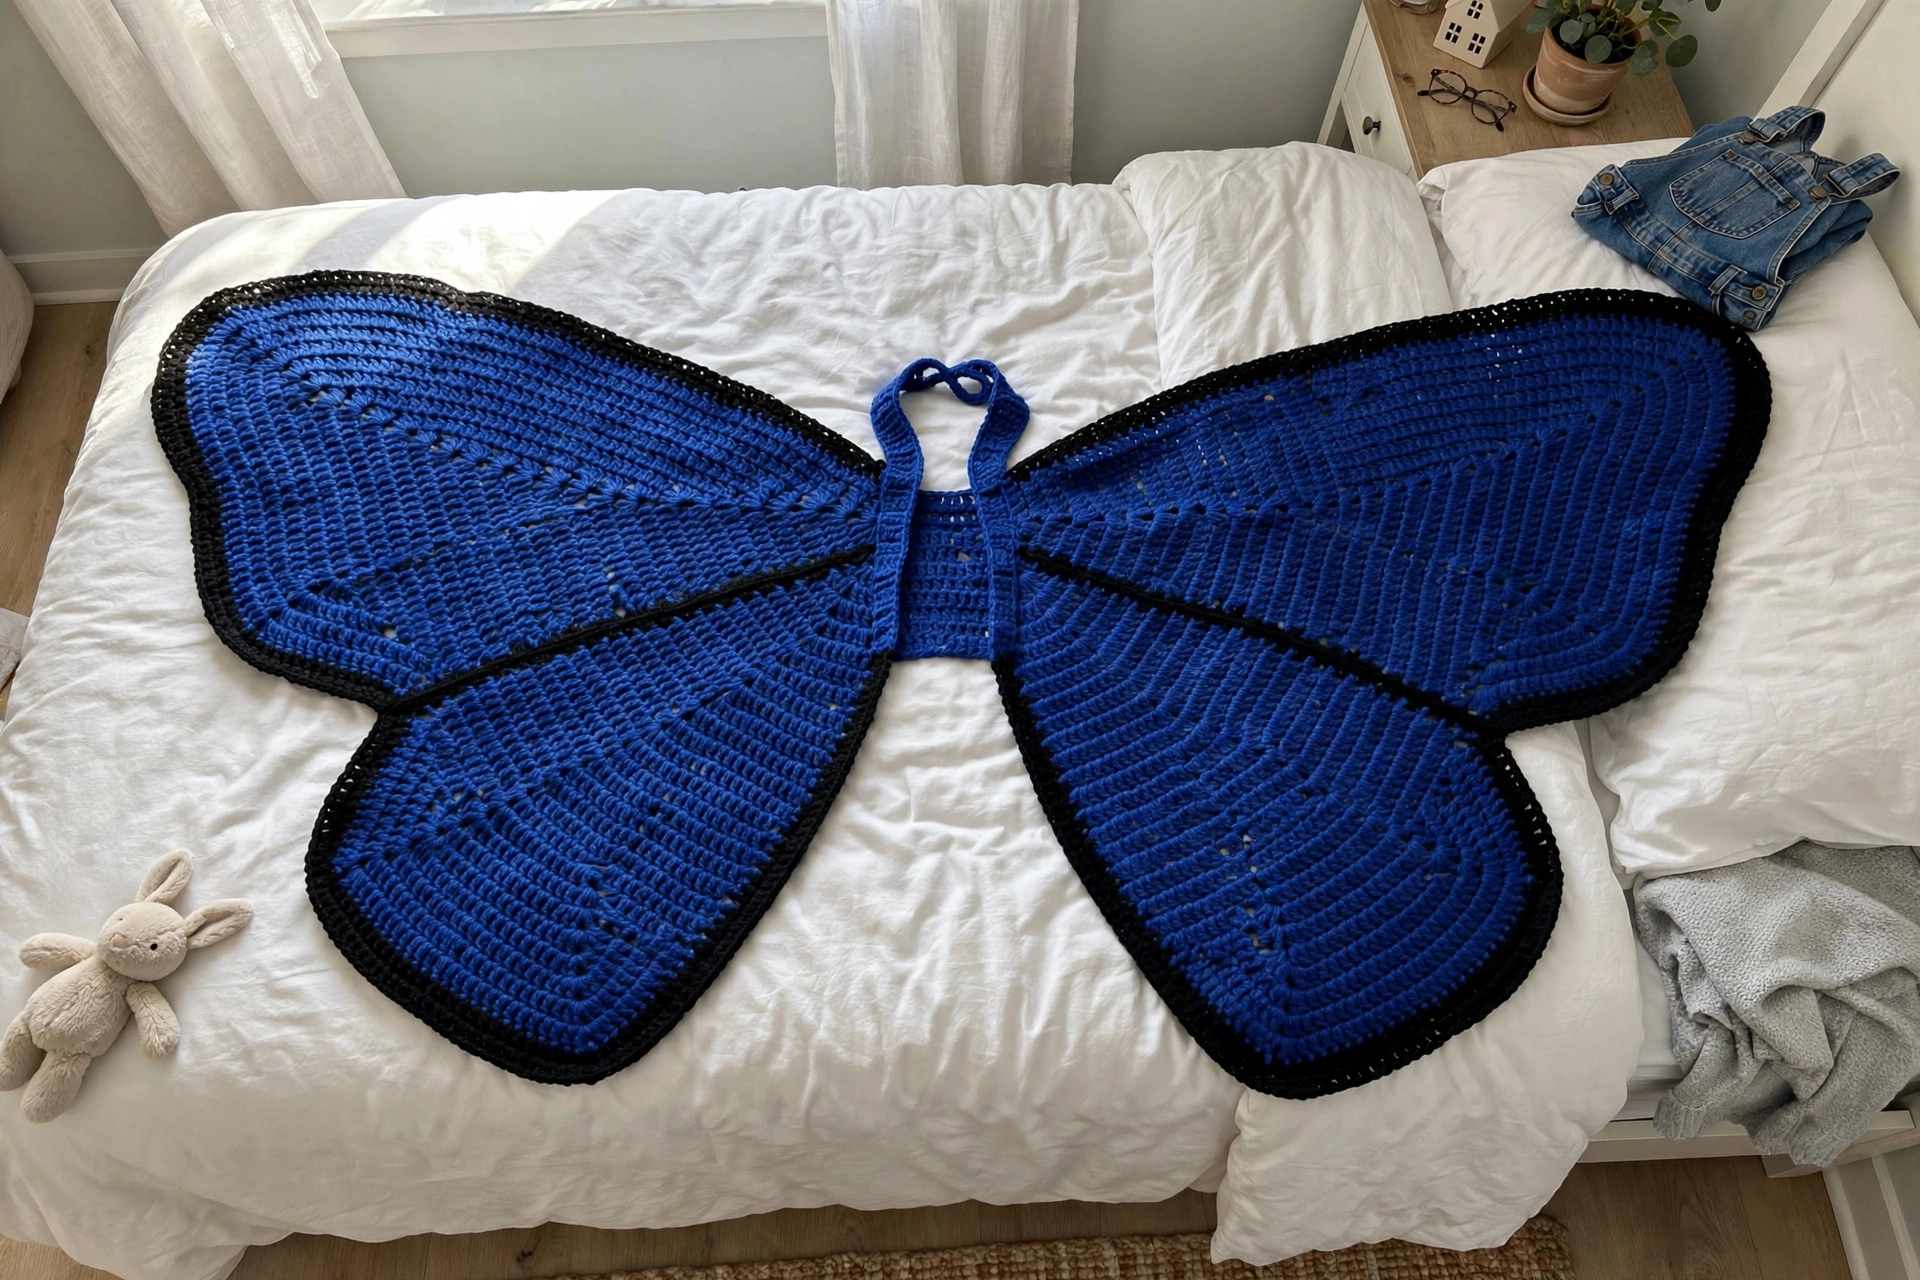
The construction is wonderfully simple: the cape body works top-down in granny clusters with corner-style increases, the hood is a plain rectangle folded and seamed, and the wing panels are two leaf-shaped pieces edged in black with little picots. It’s a perfect costume-season or dress-up-box project. Let’s make some wings!
What You’ll Need
- Worsted weight (weight 4) yarn:
- Royal blue: approximately 700 yards (cape body, hood, wings)
- Black: approximately 150 yards (edging, wing borders)
- US size J-10 / 6.0 mm crochet hook
- Yarn needle, scissors, 4 stitch markers
- 1 yard of black satin ribbon, 5/8 inch wide (neck closure)
Finished size:
- Fits a child approximately 3 to 5 years old
- Cape length from neck to hem: approximately 16 inches (41 cm)
- Wingspan across the back wings: approximately 24 inches (61 cm)
Gauge:
- 1 granny cluster (3 dc plus ch-1 space) = approximately 1 inch wide
- 4 rows = approximately 2 inches tall. Work a small swatch to check — the cape should lie flat as it grows
The Pattern
Abbreviations: ch = chain, sl st = slip stitch, sc = single crochet, dc = double crochet, sp = space, st(s) = stitch(es), sk = skip, RS = right side, WS = wrong side, cl = cluster (3-dc cluster: yo, insert hook, pull up a loop, yo pull through 2 — 3 times in same st/sp, yo pull through all 4 loops), CU = cluster unit (1 cl + ch-1 sp).
Special stitches: Picot: ch 3, sl st into the first chain. Wing edging: (sc, ch 1, picot, ch 1) worked along the wing edge.
Construction: the cape body is worked in joined rounds from the neck down with a ch-2 gap at center front every round (the open front). Increases of 8 cluster units per round keep it flaring into a circle. The hood is worked flat and seamed; the wings are worked flat and sewn to the back.
Cape Body
With royal blue, chain 56. Join with a sl st to the first chain, being careful not to twist.
Round 1: Ch 3 (counts as first dc of first cluster). Work 2 more dc into the ring to complete the first cluster. Ch 1. [1 cl into the ring, ch 1] 17 times. Sl st to top of beginning ch-3. (18 CU)
Round 2: Sl st into first ch-1 sp. Ch 3, 2 dc in same sp, ch 1 (first cl made). [1 cl in next ch-1 sp, ch 1] around. Sl st to join. (18 CU)
Round 3 (increase): Sl st into first ch-1 sp. Ch 3, 2 dc in same sp, ch 1. [(1 cl, ch 1, 1 cl) in next ch-1 sp, ch 1] 4 times, [1 cl in next ch-1 sp, ch 1] 10 times, [(1 cl, ch 1, 1 cl) in next ch-1 sp, ch 1] 4 times, [1 cl in next sp, ch 1] to last sp before gap, ch 2 (front gap). Sl st to join. (26 CU + ch-2 gap)
Rounds 4–12: Continue in pattern, adding 8 CU per round with increases evenly spaced and shifted each round:
Rnd 4: 34 CU,
Rnd 5: 42 CU,
Rnd 6: 50 CU,
Rnd 7: 58 CU,
Rnd 8: 66 CU,
Rnd 9: 74 CU,
Rnd 10: 82 CU,
Rnd 11: 90 CU,
Rnd 12: 98 CU. Work the ch-2 front gap every round. The cape should lie flat when spread out.
Round 13 (black trim round): Join black. Ch 1. Sc in every cl and every ch-1 sp around; work 2 sc in each ch-2 front gap corner. Sl st to join. (Approximately 196 sc)
Round 14 (shell hem, black): Ch 1. Sc in first sc. [Sk 2 sc, (2 dc, ch 1, 2 dc) in next sc, sk 2 sc, sc in next sc] repeat around, adjusting at the corners. Sl st to join. (49 shells + 49 sc) Fasten off.
Hood
With royal blue, ch 35.
Row 1 (WS): Dc in 4th ch from hook and in each ch across. Turn. (33 dc)
Rows 2–14: Ch 3 (counts as dc), dc in each st across. Turn. (33 dc each row) The panel should measure about 9 inches wide and 9 inches tall.
Fold the panel in half with right sides together, short ends aligned. Seam across the top with whipstitch. Turn right side out. With black, join at the bottom corner of the face opening and work 1 round of sc evenly around the opening (about 55 sc); join and fasten off. Pin the hood base to the cape neckline, centered at the back, and seam with mattress stitch.
Wing Panels (Make 2)
With royal blue, ch 25.
Row 1 (RS): Sc in 2nd ch from hook and in each ch across. Ch 1, turn. (24 sc)
Rows 2–5: Inc in first st, sc to last st, inc in last st. Ch 1, turn. (
Row 2: 26 sc,
Row 3: 28 sc,
Row 4: 30 sc,
Row 5: 32 sc)
Rows 6–9: Sc in each st across. Ch 1, turn. (32 sc)
Row 10: Sc2tog, sc to last 2 sts, sc2tog. Ch 1, turn. (30 sc)
Row 11: Sc across. (30 sc)
Row 12: Sc2tog, sc to last 2 sts, sc2tog. (28 sc)
Row 13: Sc across. (28 sc)
Row 14: Sc2tog, sc to last 2 sts, sc2tog. (26 sc)
Row 15: (Sc2tog) across. (13 sc) Fasten off.
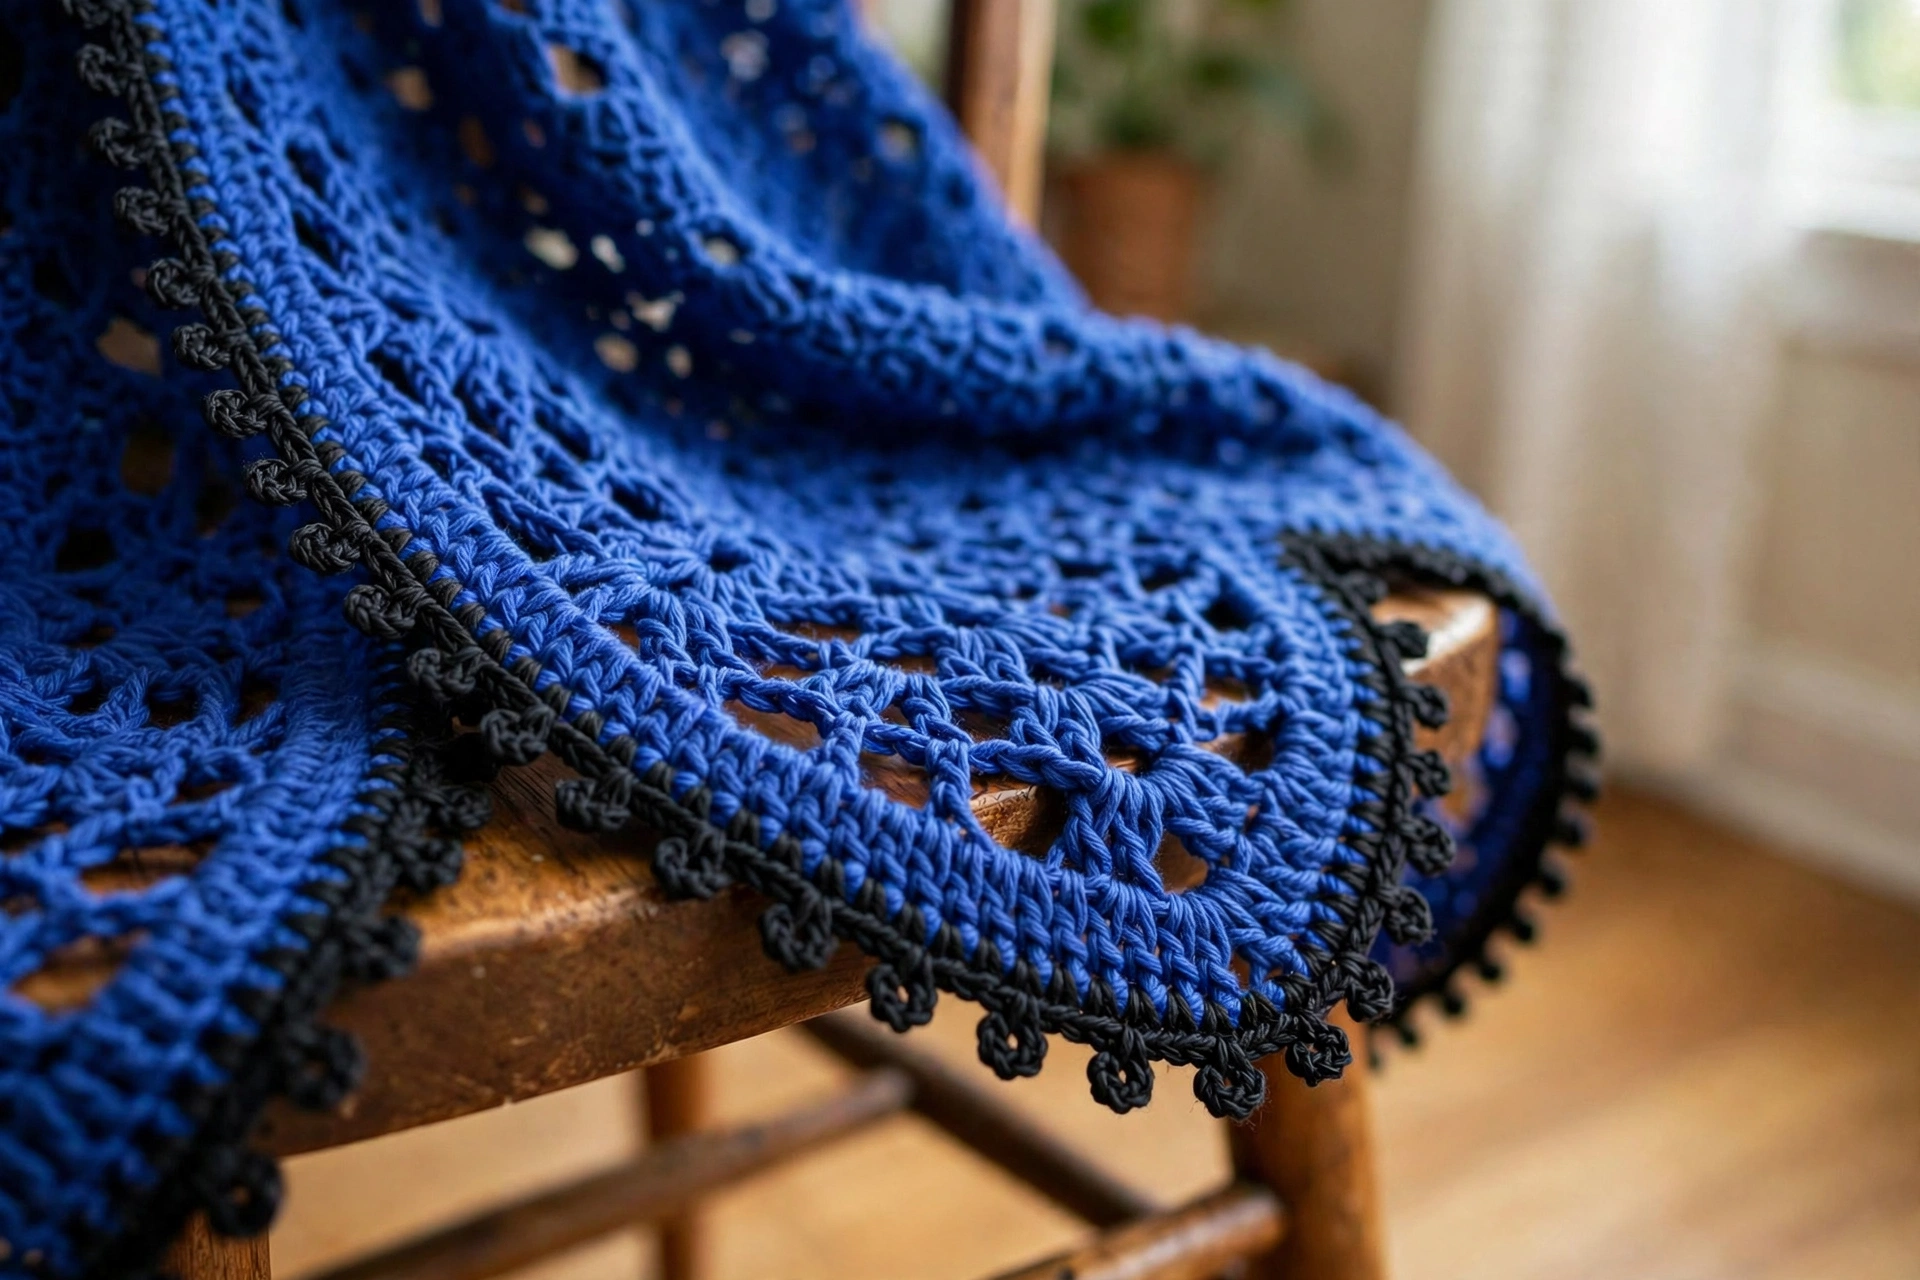
With black, join at the pointed tip and work the wing edging — (sc, ch 1, picot, ch 1) — evenly around the entire outer edge of the wing. Fasten off. Make a second wing identically.
Sew the two wings to the back of the cape, angled outward like an open butterfly, with the pointed tips at the top near the shoulders. Thread the black ribbon through the neckline spaces and tie in a bow at the front. Weave in all ends.
Sophie’s Tips
- Shift your increase points every round — if the increases stack up in columns, the cape will cup instead of lying flat. A quick spread on the table every few rounds tells you everything.
- That black picot edging on the wings is what sells the whole morpho look, so don’t rush it. Even little picots make the wings look finished and fluttery.
- For extra wing flutter, starch or lightly stiffen just the wing panels (not the cape body) — they’ll hold their shape and wave beautifully when your little butterfly runs!
Spread those wings, little butterfly — the dress-up box will never be the same!