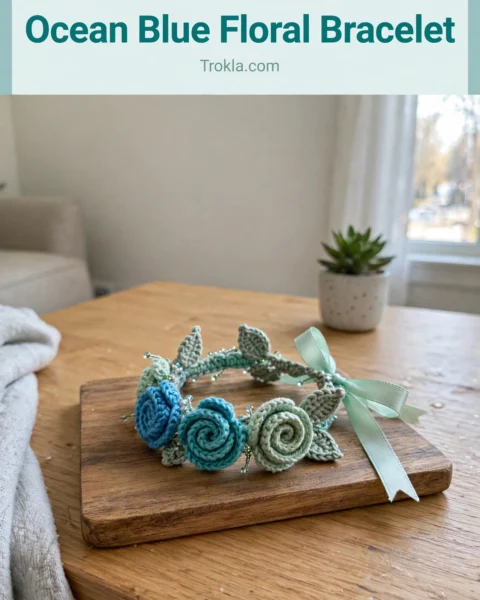
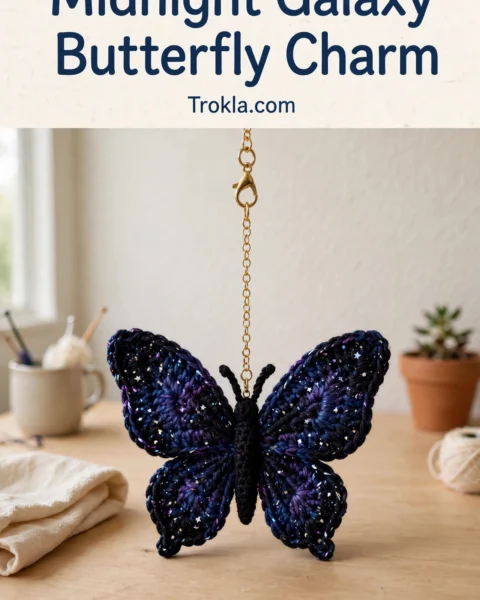
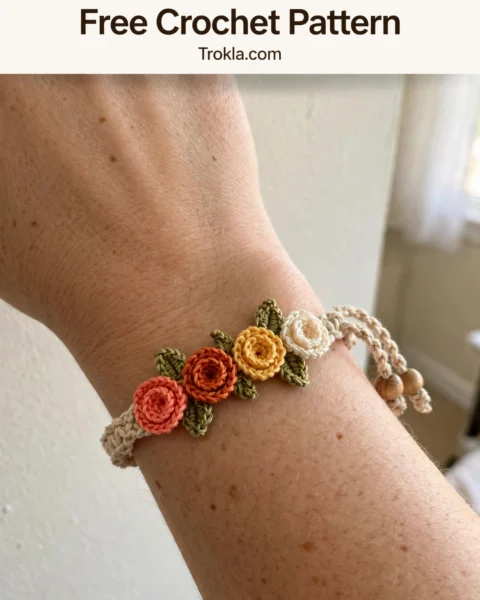
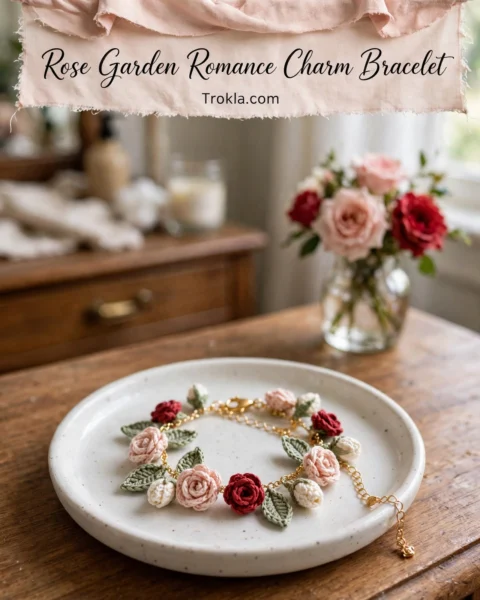
Go dig through your stash right now. That tiny bit of brown crochet thread you’ve been saving? The scraps of rust and gold too small for anything else? This is the project for them. This charm bracelet combines mini amigurumi acorns and tiny oak leaves in fall colors into wearable art. The construction is surprisingly straightforward once you understand how each element works. You’ll be crocheting in tiny continuous rounds for the acorns, then switching to flat work for the leaves. I’ll be honest with you: this is an intermediate project that requires patience and a steady hand with fine thread. But if you’ve mastered basic amigurumi, you absolutely can do this.
Why This Crochet Charm Bracelet Makes a Stunning Handmade Gift
Jewelry made from crochet thread feels special in a way that store-bought pieces simply cannot match. Each tiny acorn on this bracelet takes only about 15 minutes once you get the rhythm. The oak leaves work up in under 5 minutes each.
This crochet charm bracelet pattern creates something truly unique. When someone asks where you got it, you get to say you made it yourself. That never gets old.
The finished bracelet adjusts to fit most wrist sizes thanks to the chain and clasp system. You can add more charms or fewer depending on your preference. Some people like a fuller look with charms close together. Others prefer spacing them out for a more delicate appearance.
Materials You’ll Need
Crochet Thread:
- Size 10 crochet cotton thread in warm brown (approximately 20 yards) — acorn nuts
- Size 10 crochet cotton thread in dark brown (approximately 10 yards) — acorn caps
- Size 10 crochet cotton thread in rust (approximately 10 yards) — oak leaves
- Size 10 crochet cotton thread in golden yellow (approximately 10 yards) — oak leaves
- Size 10 crochet cotton thread in burnt orange (approximately 10 yards) — oak leaves
- Size 10 crochet cotton thread in olive green (approximately 10 yards) — oak leaves
Hook:
- Steel crochet hook size 7 (1.65mm) or size needed to achieve tight stitches
Jewelry Findings:
- Gold-tone chain bracelet base with lobster clasp (7-8 inches)
- 15-20 small jump rings (4-6mm)
- Small gold or wooden beads (optional, for added warmth)
- Jewelry pliers (round nose and flat nose)
Other Supplies:
- Polyester fiberfill stuffing (tiny amounts)
- Tapestry needle
- Small scissors
- Stitch marker
Gauge and Finished Size
Gauge is not critical for this project, but your stitches should be tight enough that stuffing does not show through.
Finished charm sizes:
- Each acorn measures approximately 1 inch (2.5 cm) long
- Each oak leaf measures approximately 0.75 inch (2 cm) long
Abbreviations and Stitch Definitions
Ch (chain): Wrap yarn over hook, pull through loop on hook. This creates the foundation for most crochet work.
Sl st (slip stitch): Insert hook into stitch, yarn over, pull through both the stitch and the loop on your hook in one motion. Used to join rounds or move across stitches invisibly.
Sc (single crochet): Insert hook into stitch, yarn over and pull up a loop (two loops on hook), yarn over and pull through both loops. The most basic stitch that creates a tight, dense fabric.
Inc (increase): Work two single crochet stitches into the same stitch. This adds one stitch to your count.
Dec (decrease): Insert hook into first stitch and pull up a loop, insert hook into next stitch and pull up a loop (three loops on hook), yarn over and pull through all three loops. This removes one stitch from your count and is sometimes called sc2tog (single crochet two together).
Hdc (half double crochet): Yarn over, insert hook into stitch, yarn over and pull up a loop (three loops on hook), yarn over and pull through all three loops.
Dc (double crochet): Yarn over, insert hook into stitch, yarn over and pull up a loop (three loops on hook), yarn over and pull through two loops (two loops remain), yarn over and pull through remaining two loops.
Magic ring: An adjustable starting loop that can be pulled tight to close the center hole. Also called a magic circle or adjustable ring.
Step-by-Step Crochet Pattern Instructions
Mini Crochet Acorn (Make 4-5)
These tiny acorns are worked in continuous rounds. Do not join rounds. Use a stitch marker to track the beginning of each round.
Acorn nut — with warm brown thread:
Round 1: Make a magic ring, work 6 sc into the ring. Pull ring closed. (6 sts)
Round 2: Inc in each st around. (12 sts)
Round 3: Sc in next st, inc in next st repeat around. (18 sts)
Rounds 4-6: Sc in each st around. (18 sts)
Round 7: Sc in next st, dec repeat around. (12 sts)
Begin stuffing the acorn lightly with fiberfill. Don’t overstuff. You want it to hold its shape but remain soft.
Round 8: Dec repeat around. (6 sts)
Round 9: Sc in each st around, pulling stitches slightly to shape the little tip at the bottom of the acorn. (6 sts)
Round 10: Dec 3 times. (3 sts)
Fasten off, leaving a 6-inch tail. Thread tail through remaining stitches and pull tight to close. Weave in end.
Acorn cap — with dark brown thread:
Round 1: Make a magic ring, work 6 sc into the ring. Pull ring closed. (6 sts)
Round 2: Inc in each st around. (12 sts)
Round 3: Sc in next st, inc in next st repeat around. (18 sts)
Round 4: Sc in back loop only of each st around. (18 sts) — this creates the little ridge where the cap meets the nut.
Round 5: Sc in each st around. (18 sts)
Fasten off, leaving a 10-inch tail. Slip the cap over the top of the acorn nut so it covers the first three rounds, and sew in place with the tail.
Stem: With dark brown thread, ch 4, sl st in 2nd ch from hook and in each ch across. Fasten off, leaving a tail. Sew the stem to the top center of the cap, then use the remaining tail to attach a jump ring for connecting to the bracelet chain.
Small Crochet Oak Leaf (Make 6-8)
These leaves fill in the gaps between the acorns and bring all those gorgeous fall colors to your crochet charm bracelet. Work them in a mix of rust, golden yellow, burnt orange, and olive green — no two alike, just like real fall leaves.
With your chosen leaf color:
Row 1: Ch 7.
Row 2: Starting in 2nd ch from hook: sl st, sc, hdc, dc, hdc, sc. (6 sts worked into chain)
Row 3: Ch 1, turn. Working back along the opposite side of the foundation chain: sc, hdc, dc, hdc, sc, sl st. (6 sts)
This creates a symmetrical leaf shape. Fasten off, leaving a 6-inch tail for attaching to bracelet.
For variety, make some leaves slightly longer by starting with ch 9 and adding an extra sc at each end.
Assembling Your Charm Bracelet
Step 1: Lay out your chain bracelet base on a flat surface. Arrange your completed charms beside it to plan placement. I recommend alternating: acorn, leaf, acorn, leaf — mixing up the leaf colors as you go.
Step 2: Using jewelry pliers, open a jump ring by twisting the ends apart (never pull them straight apart). Thread the jump ring through the yarn tail loop at the top of your first charm, then through a link in your bracelet chain. Close the jump ring by twisting the ends back together.
Step 3: Continue attaching charms, spacing them approximately 0.5 to 0.75 inches apart.
Step 4: If using gold or wooden beads, attach them with jump rings between the crochet charms for extra warmth.
Step 5: Check the bracelet on your wrist. Add or remove charms as needed for the best balance and fit.
Helpful Tips for Crochet Jewelry
Working with crochet thread this fine can feel frustrating at first. Here are some tricks I’ve learned.
Lighting matters more than you think. Work near a bright lamp or window. Your eyes will thank you.
Take breaks. Tiny stitches strain your hands and eyes. Stand up and stretch every 20 minutes.
Keep your tension consistent but not too tight. If you struggle to get your hook into stitches, loosen up slightly.
Block your leaves. Pin them flat while damp, let them dry, and they’ll hold their shape beautifully.
Use quality findings. Cheap jump rings open and lose charms. Invest in sturdy jewelry supplies.
Customization Ideas for Your Bracelet
Want a spring version? Use fresh greens for the leaves and swap the acorns for tiny white blossoms.
Prefer silver to gold? Simply swap out your chain and jump rings.
Making this as a gift? Create a matching necklace by using a longer chain and adding more charms.
For a simpler bracelet, use only acorns and leaves in two colors. Still gorgeous, but faster to complete.
Care Instructions
Handmade crochet jewelry needs gentle care to last.
Store your bracelet flat in a jewelry box or pouch. Tangled chains can stretch the jump rings and damage the charms.
Spot clean the crochet elements with a damp cloth if needed. Avoid submerging in water.
Keep away from perfume, hairspray, and lotions. These can discolor the thread and tarnish the metal findings.
With proper care, your bracelet will bring joy for years.
Final Thoughts
Creating jewelry with crochet thread opens up a whole world of possibilities. Once you’ve made your first tiny acorn, you’ll find yourself eyeing every oak tree for inspiration.
I hope this pattern brings you hours of happy crafting. The moment you clasp that finished bracelet around your wrist and see those tiny acorns and fall leaves dangling there, you’ll feel incredibly proud. You should. This is real craftsmanship.
Thank you so much for choosing this pattern. It means the world when you trust me with your creative time. If you make this bracelet, I would absolutely love to see it! Tag me on Instagram or share your photo in our Facebook group. Seeing your creations brightens my entire day.
If this pattern helped you, I’d really appreciate it if you saved it to your Pinterest boards so you can find it again later. And please drop a comment below to let me know how your bracelet turned out. I read every single one and love hearing from you!