# Crochet Fall Leaf Hat With Pinecone Pom Pom Free Crochet Pattern
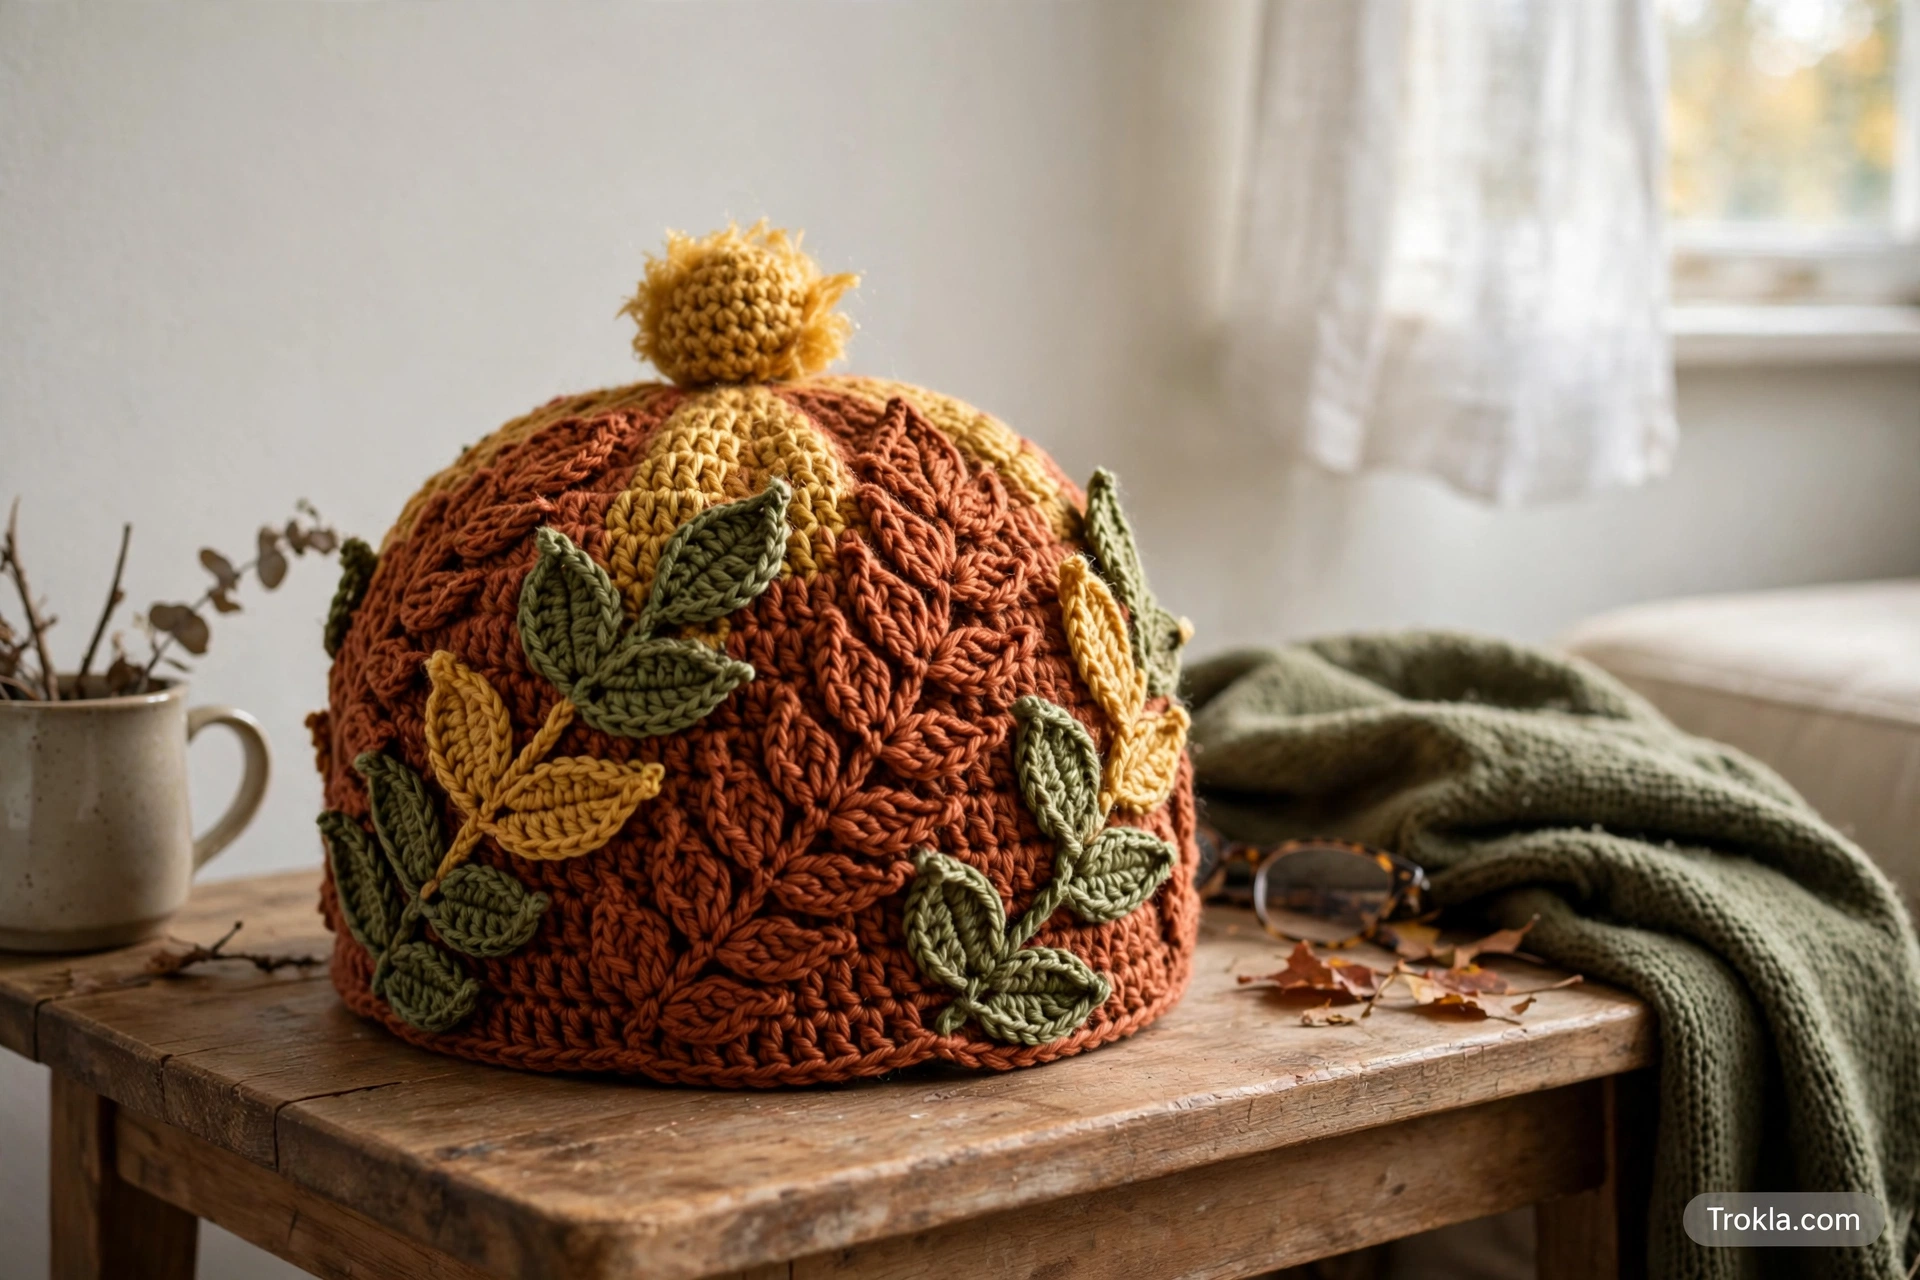
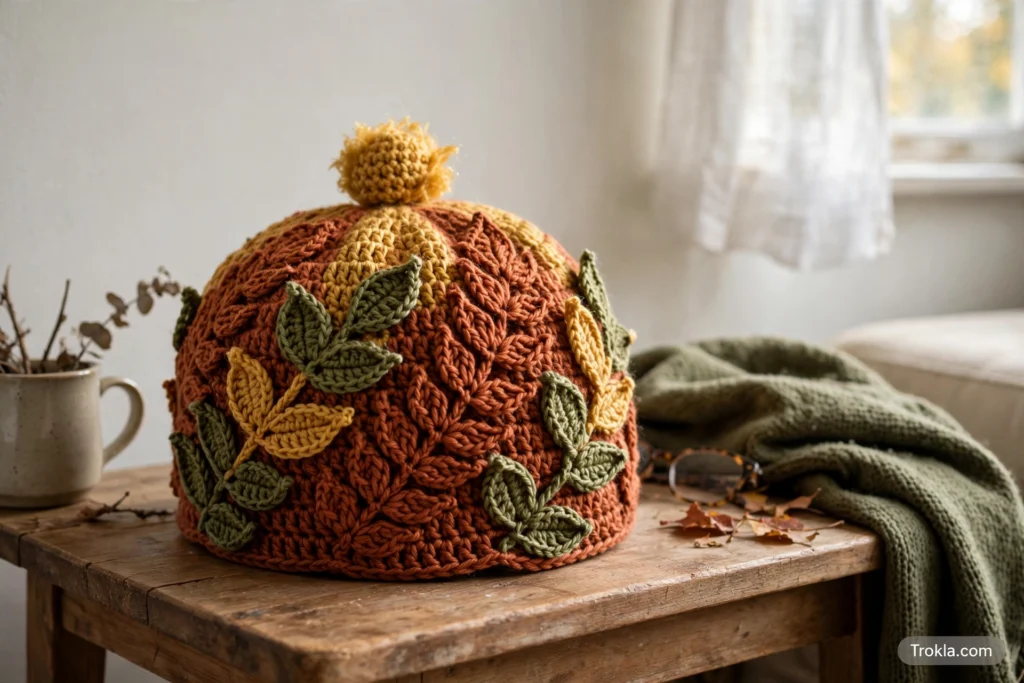
This hat is basically fall in wearable form! Leaf stitches dance all around the body, little crocheted leaves get sewn on between them, and the whole thing is crowned with the cutest pinecone pom pom you’ve ever seen. It’s worked from a stretchy ribbed brim upward, and you can tweak everything — more leaves, fewer leaves, a different pom pom, or none at all.
Grab two skeins of fall-colored yarn and let’s make some autumn magic.
Materials
- Lion Brand Color Theory Yarn (100 g), worsted (#4) — 1/2 skein (solid color; canyon used in the original)
- Lion Brand Ice Cream Roving Yarn (200 g), worsted (#4) — 1/2 skein (multi-color; double bubble used in the original)
- 4.5 mm crochet hook (or your favorite size for the yarn you picked)
- Scissors
- Tapestry needle
*Yarn amounts listed are for an adult hat. Worsted weight yarn from your stash works great too!*
Gauge & Size
- Gauge: 4 sts x 2 rows = 1 square inch
- Size: 9 x 8.5 inches (adult)
Stitches Used (US terms)
st/sts, ch, sc, sk (skip), hdc, dc, tr, sl st, ATC (alternative turning chain), yo sl st (yarn over slip stitch, also called hdc sl st), and the leaf stitch: *yo, “front post way” around the dc 2 rounds below, pull up a loop, repeat from * one time, yo, pull through 4 loops, yo, pull through 2 loops.
Hat Ribbing
Start with the solid color!
Chain 20 for a fold-over ribbing or chain 10 for a non-fold-over ribbing — pick one version.
We’ll use the yo sl st for the ribbing.
R1: Starting from the 2nd ch from the hook, work 1 yo sl st per st, ch 1, turn.
R2: 1 yo sl st in the blo per st, ch 1, turn.
Repeat R2 until you have a multiple of 20 rows and the correct measurement for your ribbing. Take the head circumference number and subtract about 2–3 inches for the ribbing length. For an adult size, that’s 80 rows and about 19 inches — but measurement matters more than row count, so aim for 17–19 inches for an adult hat.
Now fold the ribbing over and slip stitch the first and last rows together.
Fall Leaf Hat Body
R1: Work 1 sc per ribbing row, so you have a multiple of 20 (for an adult hat that’s 80 sts). Sl st to the first st. If you have fewer than 80 rows, just add a few extra sc’s evenly around to reach 80 (or any multiple of 20).
Fasten off this color and switch to the multi-colored yarn.
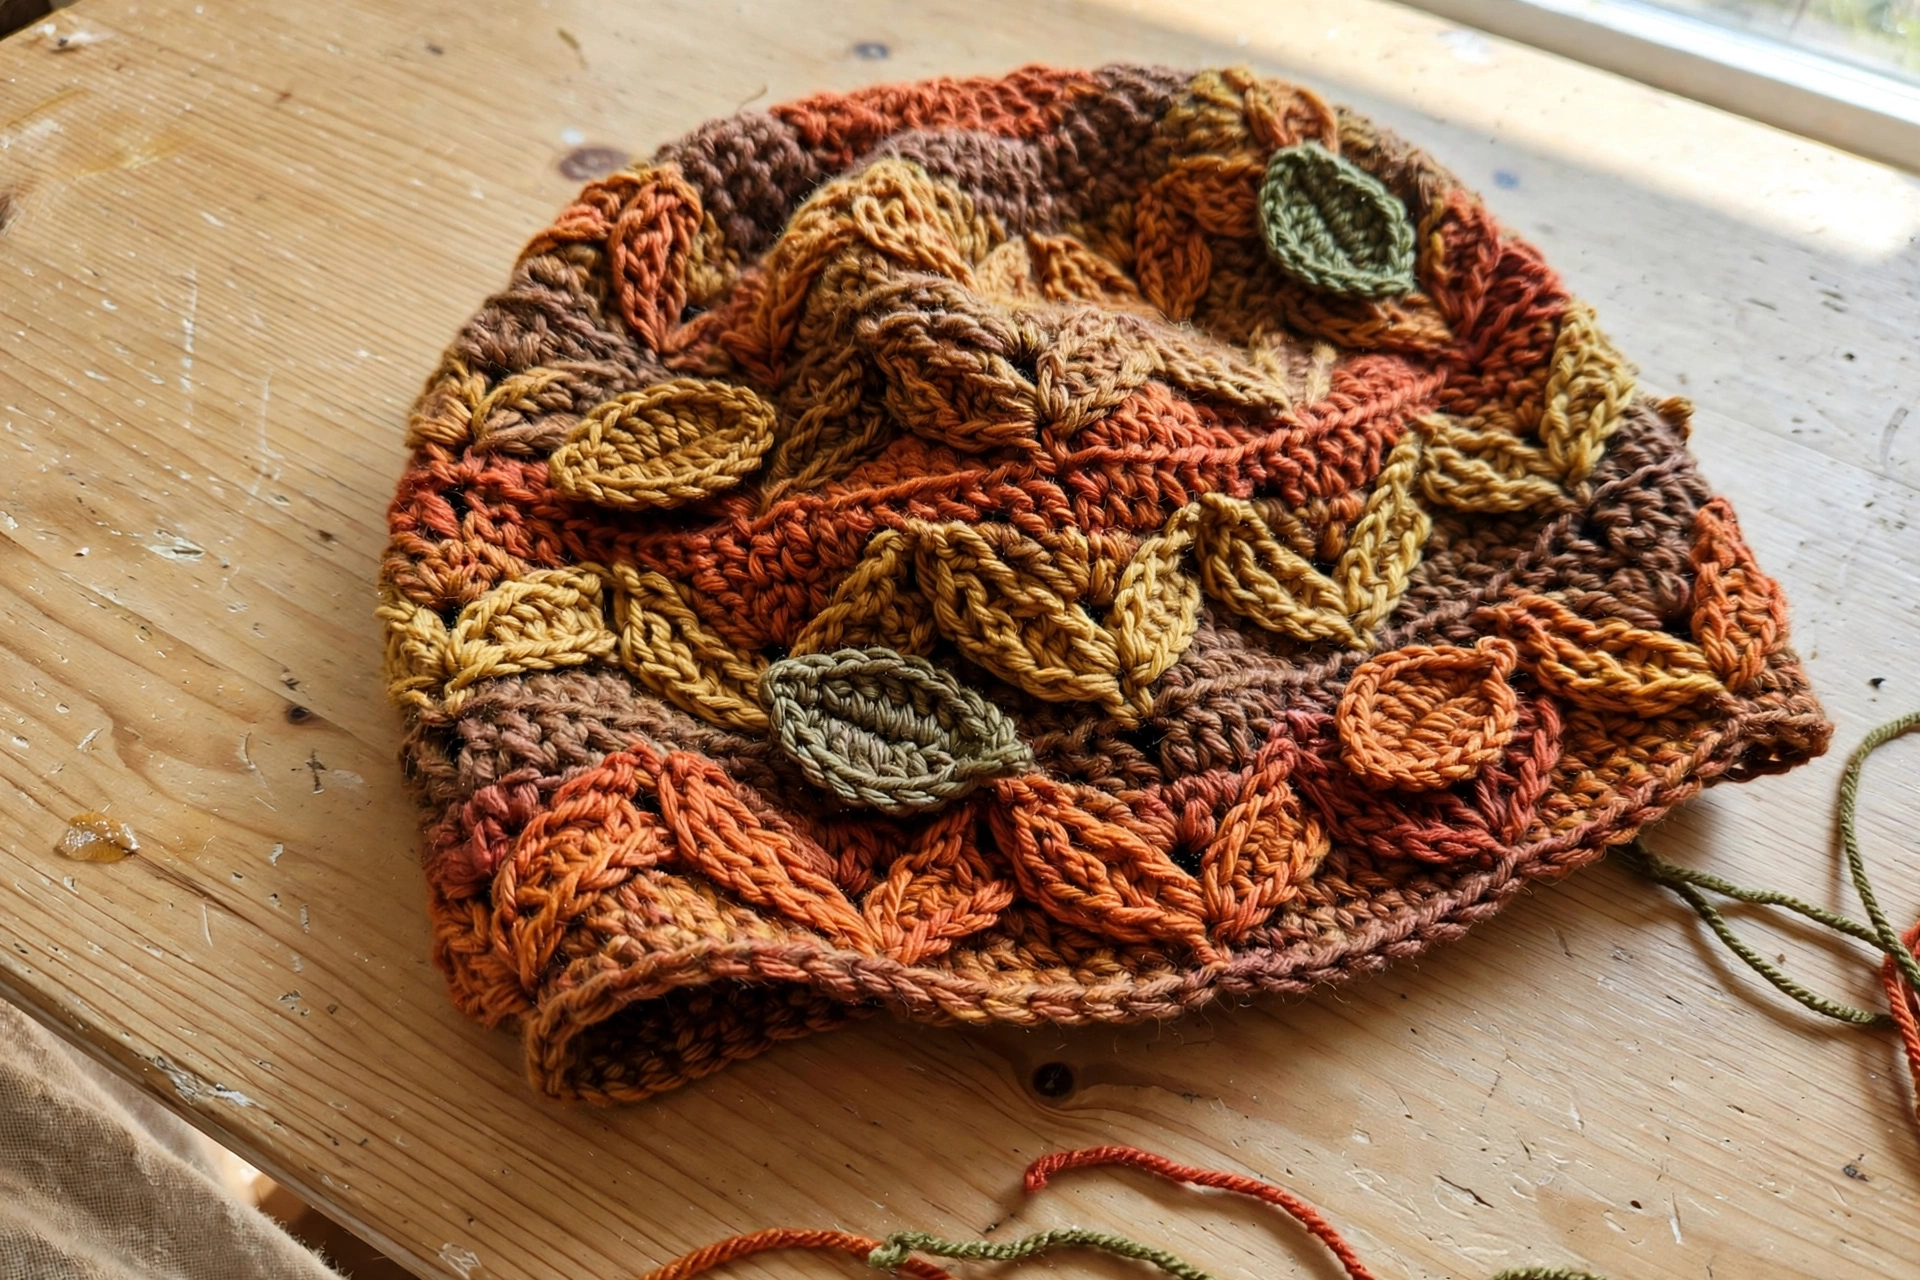
Now for the fun part — the leaf stitches! (The first dc of every round can be made as an ATC or a ch 3, and it counts as a stitch. For sc rounds, skip the turning chain to prevent bulk.)
R2: 1 sc per st, sl st to the first st.
R3: *1 dc in the next 3 sts, 1 leaf stitch around the st 2 rounds down.* Repeat from * until the end of the round.
R4: Repeat R2.
R5: 1 dc, *1 leaf stitch around the st 2 rounds down, 1 dc in the next 3 sts.* Repeat from * until you have 2 sts left, then 1 dc in each of the last 2 sts, sl st to the first st.
R6: Repeat R2.
R7: ^ *1 dc in the next 3 sts, 1 leaf stitch around the st 2 rounds down.* Repeat from * 3 more times, then 1 dc in the next 4 sts. Repeat from ^ until the end of the round.
R8: Repeat R2.
R9: ^ 1 dc in the next 2 sts, *1 dc in the next 3 sts, 1 leaf stitch around the st 2 rounds down.* Repeat from * 2 more times, then 1 dc in the next 6 sts. Repeat from ^ until the end of the round.
R10: Repeat R2.
R11: ^ 1 dc in the next 7 sts, 1 leaf stitch around the st 2 rounds down, 1 dc in the next 3 sts, 1 leaf stitch around the st 2 rounds down, 1 dc in the next 8 sts. Repeat from ^ until the end of the round.
R12: Repeat R2.
R13: ^ 1 dc in the next 9 sts, 1 leaf stitch around the st 2 rounds down, 1 dc in the next 10 sts. Repeat from ^ until the end of the round.
R14: Repeat R2.
R15: 1 dc per st, sl st to the first stitch.
R16: Repeat R2.
R17: Repeat R15.
R18: Repeat R2.
Check your hat height as you go — you may not need all the rounds listed. The pattern as written makes an adult hat in 18 rounds.
Crochet Leaves
Using the solid color, crochet one leaf for each multiple of 20 in your hat. An adult hat with 80 sts per round has 4 multiples of 20, so you’ll make 4 leaves.
Ch 15.
R1: Working into the back bump, starting from the 2nd ch from the hook: 1 sc in the first st, 1 hdc in the following st, 1 dc in the next 3 sts, 1 tr in the next 4 sts, 1 dc in the next 3 sts, 1 hdc, 1 sc, ch 3. Turn and crochet on the opposite side of your chain now: 1 sc in the first st, 1 hdc in the following st, 1 dc in the next 3 sts, 1 tr in the next 4 sts, 1 dc in the next 3 sts, 1 hdc, 1 sc, ch 3, sl st to the first st.
R2: *1 sc in the next 2 sts, ch 3, 1 sl st to the first ch.* Repeat from * until you reach the next ch-3 space, finishing with 1 sc into the ch-3 space. Ch 4, sl st to the 2nd ch, ch 1, 1 sc into the ch-2 space, ch 3, 1 sl st to the first ch. 1 sc in the next 2 sts, ch 3, 1 sl st to the first ch.* Repeat from until you reach the next ch-3 space, sl st.
Fasten off and sew each leaf in the area between the leaf stitches on the hat.
To close the top: weave your yarn every 2–4 stitches around the last round, synch it and pull the yarn to close, fasten off, and weave in your ends.
Pinecone Pom Pom
You could absolutely use a faux fur pom pom, a classic yarn pom pom, or skip the topper altogether — but this little pinecone is worth it!
Ch 20.
Sl st to the 3rd ch from the hook, then add the following repeat 4 times to the 3rd ch from the sl st: 1 dc, ch 3, sl st to the 3rd ch.
Now into each ch of the rest of the long chain, add this repeat 5 times: 1 dc, ch 3, sl st to the 3rd ch.
After you finish, roll the long piece up in a spiral and sew it layer by layer together so it won’t come undone. Fasten off and sew the pinecone pom pom to the top of the hat.
Now go enjoy your fabulous new fall hat!
Sophie’s Tips
- This pattern is endlessly customizable: add leaf stitches all the way around, scatter on extra leaves, or try a fluffy faux fur pom pom instead.
- The variegated yarn does all the color work for you — pick the fall-iest skein you can find.
- When sewing on the leaves, a few small stitches at the center are plenty; let the edges curl naturally like real leaves.
Happy hooking — crunch those leaves and stitch something beautiful!