# Blush Pink Peony Table Runner Free Crochet Pattern
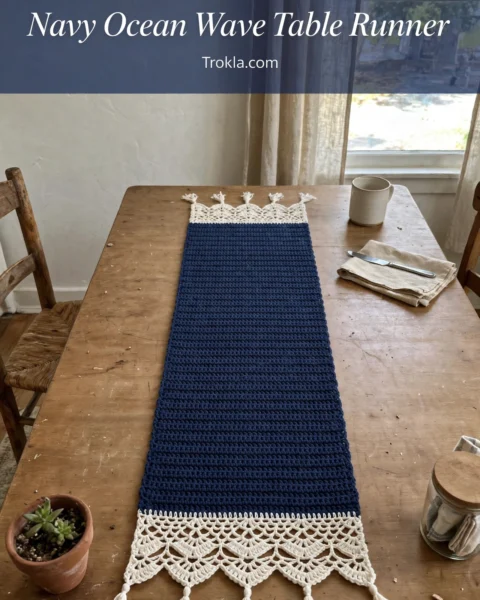
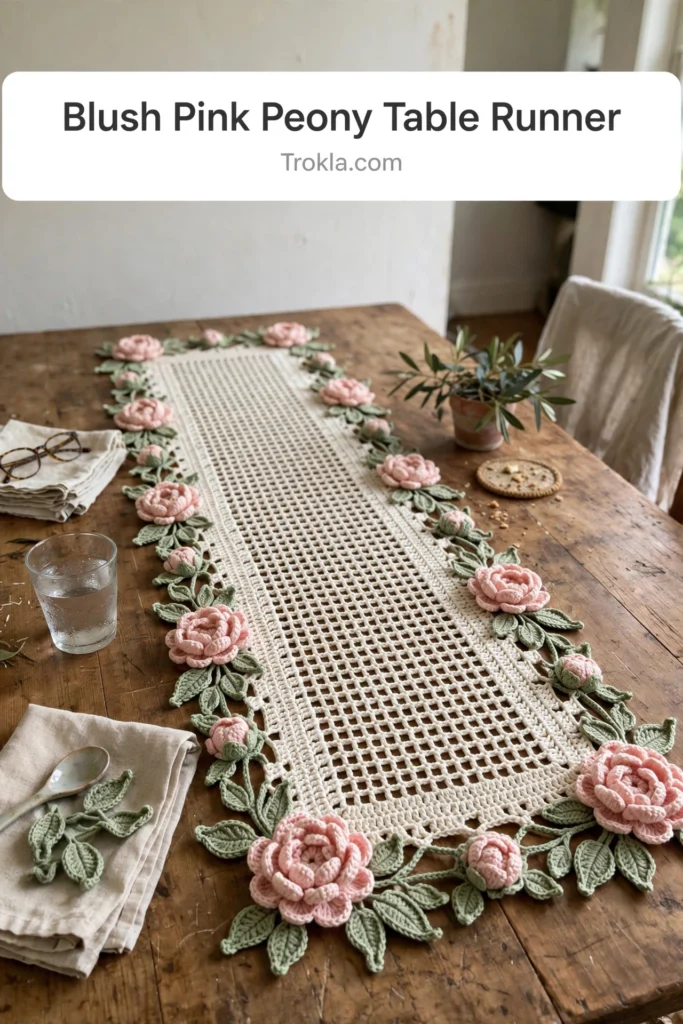
Friends, this is the heirloom piece. I have been dreaming of a table runner with real, dimensional roses — the kind that look like they just bloomed — and this blush pink peony version is everything I hoped for. A delicate cream filet mesh center, a sturdy solid border, and twenty-six little roses that practically pop right off the fabric.
I’ll be honest with you: this is an intermediate project and it takes some patience (I made all 26 roses in front of the TV over a week). But the construction is so satisfying — lattice panel first, border around it, then each rose and leaf sewn on by hand. Your dining table is about to get a serious glow-up.
What You’ll Need
- Main Color (MC): Cream or off-white worsted weight cotton yarn — approximately 500 yards
- Contrast Color A (CCA): Blush pink or dusty rose worsted weight cotton yarn — approximately 300 yards
- Contrast Color B (CCB): Sage green worsted weight cotton yarn — approximately 100 yards
- US Size G-6 (4.0 mm) crochet hook
- Yarn needle for seaming and weaving ends
- Scissors
- Rust-proof pins for blocking
- Measuring tape
- At least 4 stitch markers
Finished size:
- Approximately 14 inches wide by 40 inches long after blocking
- The mesh panel itself spans about 9 inches wide by 35 inches long, with the border adding roughly 2.5 inches on all sides
- In filet mesh: 4 mesh repeats by 5 mesh rows = 4 inches by 4 inches, blocked
The Pattern
Mesh Center Panel
With MC, ch 111.
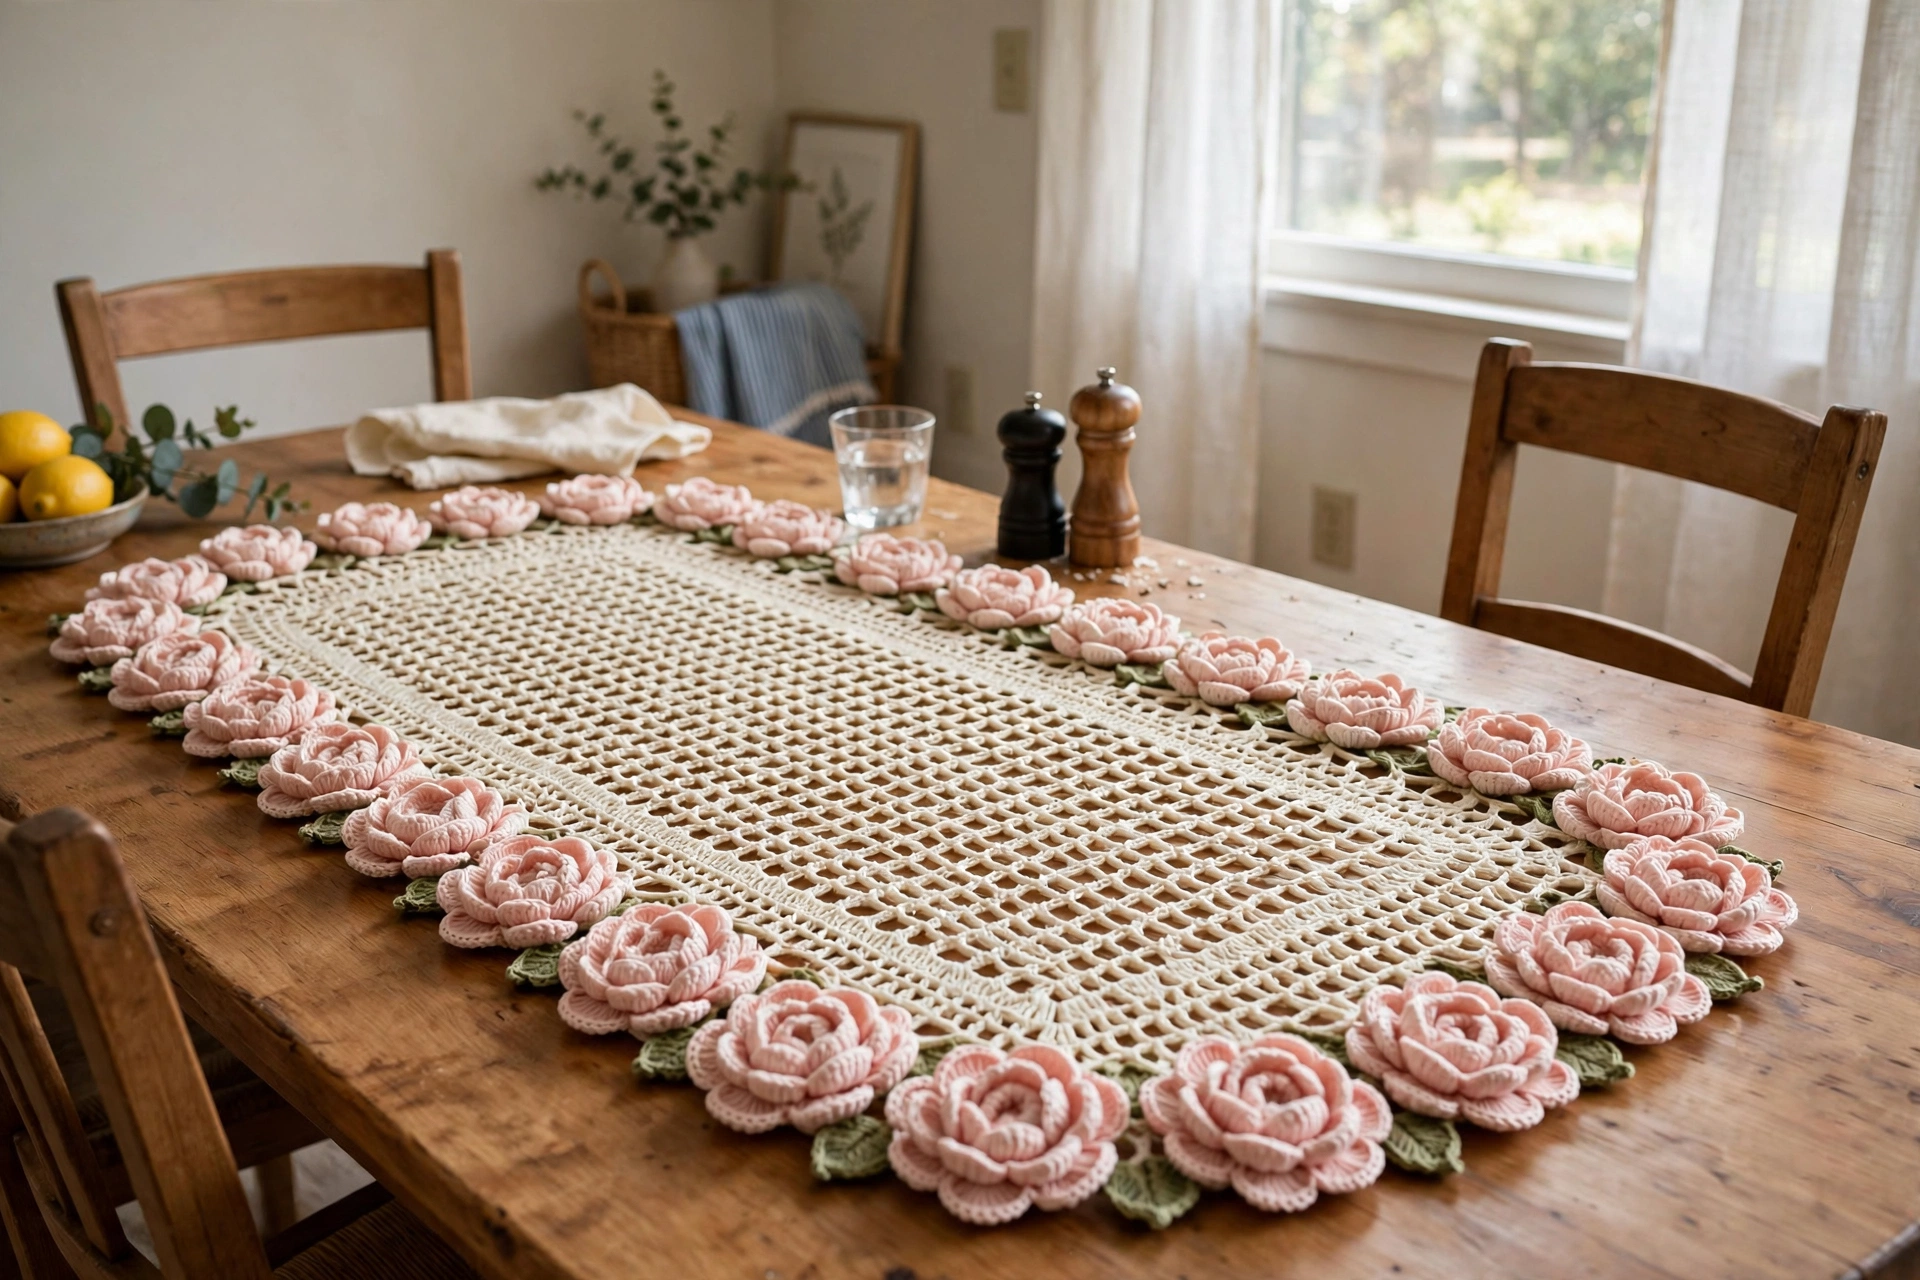
Row 1 (RS): Dc into the 6th chain from the hook (counts as dc, ch-2, dc for the first mesh). *Ch 2, skip 2 ch, dc into next ch.* Repeat from * to * across to the end. Turn. (36 mesh squares — check that you end with a dc into the last chain)
Row 2: Ch 5 (counts as dc plus ch 2), turn. Dc into next dc. *Ch 2, dc into next dc.* Repeat from * to * across, ending with a dc into the top of the turning chain. Turn. (36 mesh squares)
Rows 3–43: Repeat Row 2. (36 mesh squares per row)
After Row 43, do not fasten off — proceed to the border. The mesh panel should measure approximately 9 inches wide by 35 inches long when blocked flat with light pinning.
Border
Worked in rounds around the perimeter of the mesh panel. Do not turn at the end of rounds; join each round with a slip stitch to the first stitch.
Round 1: Ch 1. Work sc evenly around the entire perimeter: 3 sc into each corner, 2 sc across each mesh square along the top and bottom (approximately 109 sc each), 2 sc for every mesh row down each side (approximately 86 sc each). Mark the center stitch of each corner group. (402 sc)
Round 2: Ch 3 (counts as first dc). Dc in each sc around, working 3 dc into the center sc of each corner group. Join. (410 dc)
Round 3: Ch 1. Sc in each dc around, working 3 sc into the center dc of each corner group. Join. (418 sc)
Round 4: Ch 3. Dc in each sc around, working 3 dc into the center sc of each corner. Join. (426 dc)
Round 5: Ch 1. Sc in each dc around, working 3 sc into corner centers. Join. (434 sc)
Round 6: Ch 3. Dc in each sc around, working 3 dc into corner centers. Join. (442 dc)
Round 7: Ch 1. Sc in each dc around, working 3 sc into corner centers. Join. (450 sc) Fasten off and weave in ends.
The runner should now measure approximately 14 by 40 inches.
Peony Roses (Make 26)
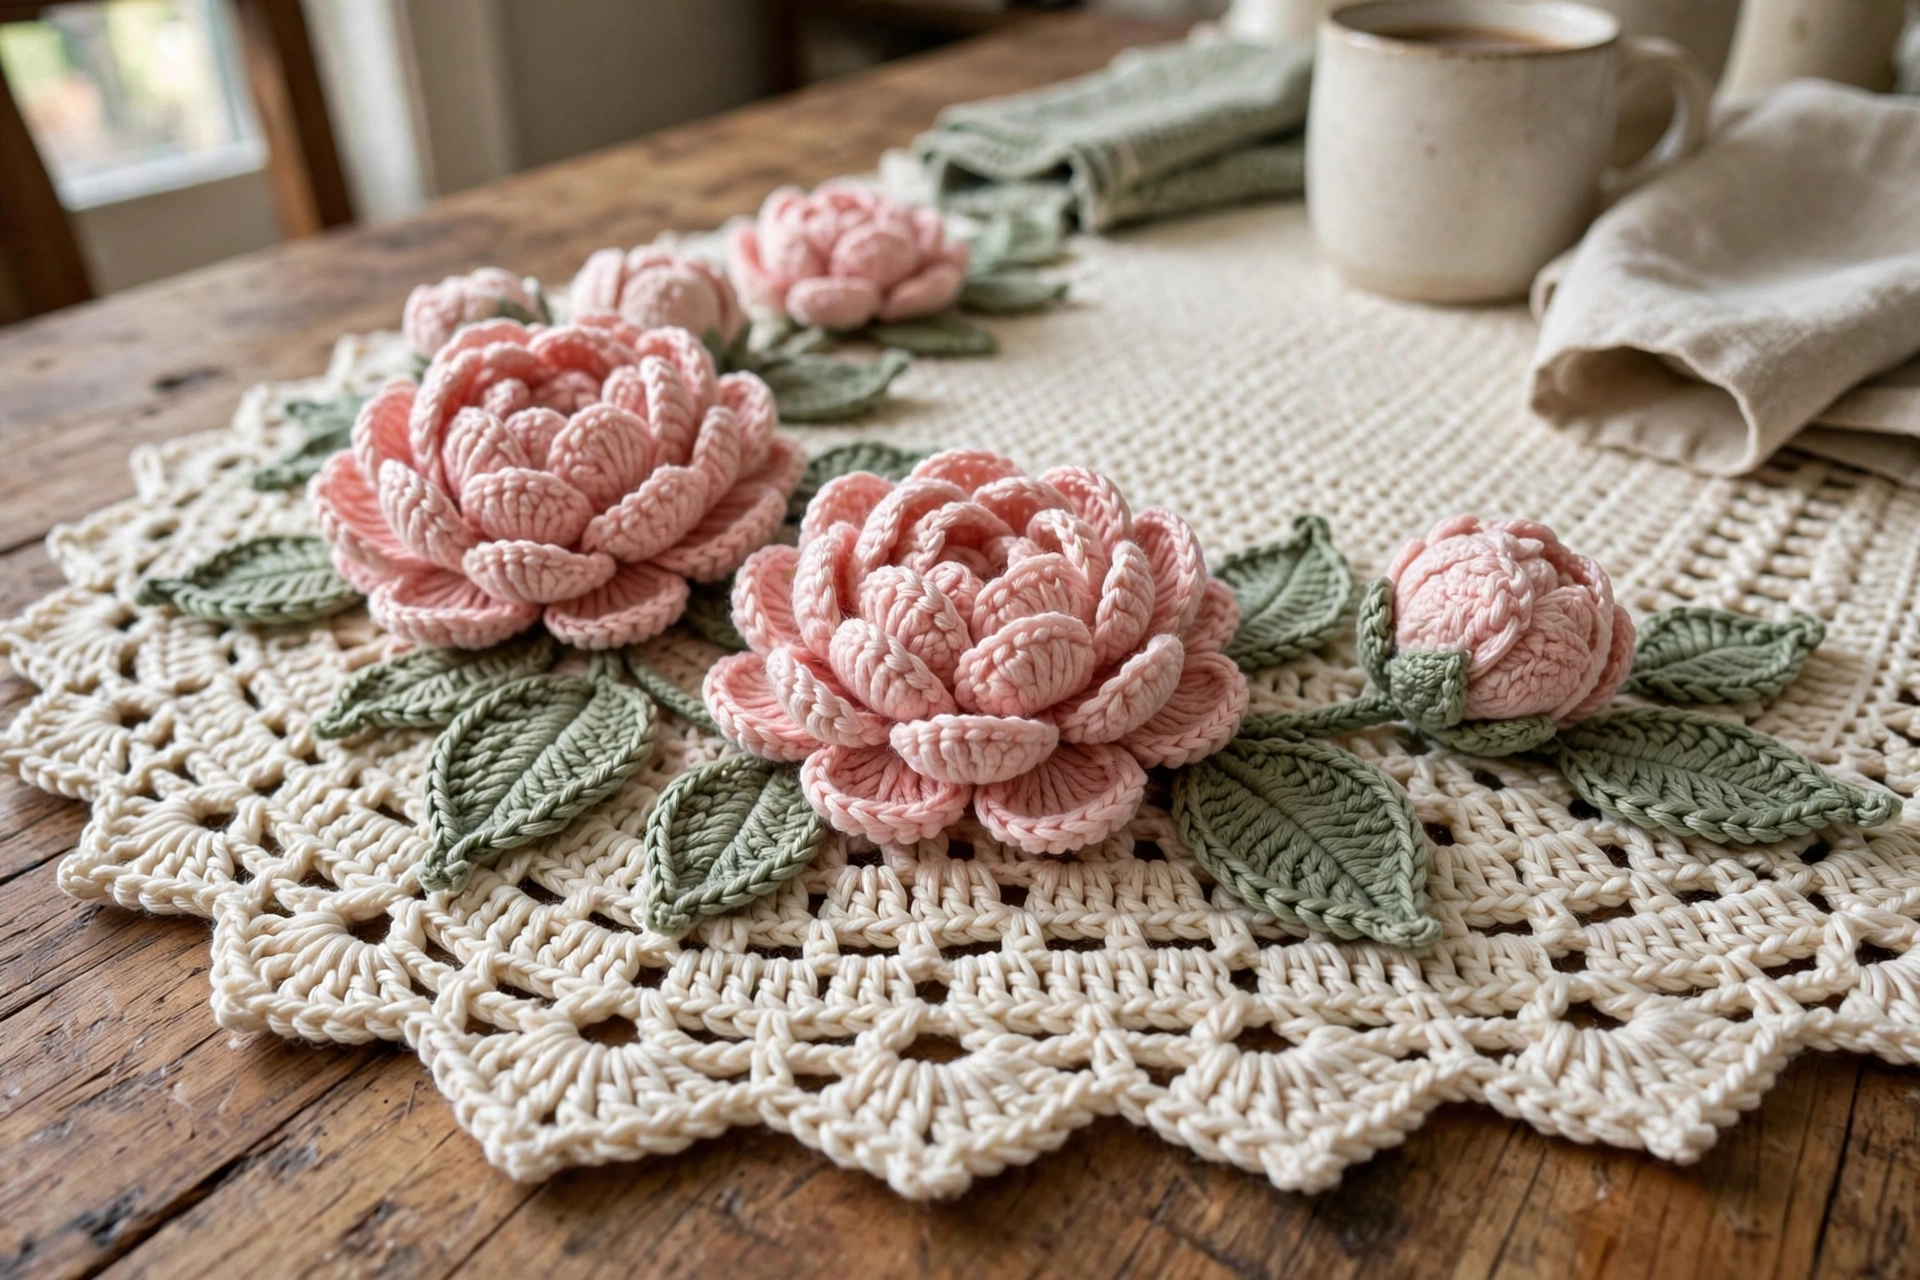
Each rose is worked in CCA. Begin with a magic ring (or ch 4 and join to form a ring).
Round 1: Ch 1. Work 10 sc into the ring. Join with sl st to first sc. (10 sc)
Round 2: Ch 1. *(Sc, ch 2, sc) into each sc around.* Join with sl st. (10 petal arches)
Round 3: Slip stitch to position yourself behind the Round 2 petals. Working from back to front into the gaps between the Round 1 sc stitches: *(sl st, ch 4, dc, tr, dc, ch 4, sl st)* into each gap. (10 larger petals)
Round 4: Slip stitch from behind to a position further back in the base ring. *(Sl st, ch 5, dc, tr, tr, dc, ch 5, sl st)* into each of 10 evenly spaced gaps. (10 large outer petals)
Round 5 (optional fullness): Slip stitch again behind all layers to the base ring. *(Sl st, ch 6, dc, tr, tr, tr, dc, ch 6, sl st)* into each of 10 positions evenly around the outside. (10 outermost petals)
Fasten off, leaving a 12-inch tail for sewing. Shape the petals with your fingers so they fan outward. Each finished rose measures approximately 2.5 to 3 inches in diameter.
Leaves (Make 30)
Make 26 leaves (one per rose) plus 4 accent leaves for the corners, all in CCB.
Ch 12.
Row 1: Sc in 2nd ch from hook, hdc in next ch, dc in next 3 ch, hdc in next ch, sc in next ch, hdc in next ch, dc in next ch, (dc, ch 2, dc) in the last ch (leaf tip). Now working back along the opposite side of the chain: dc in next ch, hdc in next ch, sc in next ch, hdc in next ch, dc in next 3 ch, hdc in next ch, sc in last ch. Join with sl st to first sc. Fasten off, leaving a 10-inch tail. Each leaf measures approximately 2.25 inches long and 0.75 inch wide.
Assembly
Wet block the runner base before attaching anything: soak in cool water 15 minutes, gently squeeze (don’t wring), lay flat, pin to 14 by 40 inches, and dry completely.
Arrange the roses in a continuous border on top of the crocheted border: 8 roses per long side (evenly spaced, approximately 4.5 inches center to center), 3 roses per short end, and 1 rose at each of the 4 corners. Tuck a leaf beside each rose to frame the blooms naturally, pin everything in place, then sew each rose and leaf down with its tail.
Sophie’s Tips
- Each round of rose petals is worked slightly *behind* the previous round — always insert your hook from the back of the work to reach the base round, or the petals will lie flat instead of layering.
- Swatch one leaf and one rose before making all of them so you can check the sizes against each other.
- Test your pink yarn for colorfastness before starting — blush pinks can bleed, and you don’t want them tinting your cream mesh.
I still stop and smile every time I walk past my dining table. I hope yours makes you just as happy!