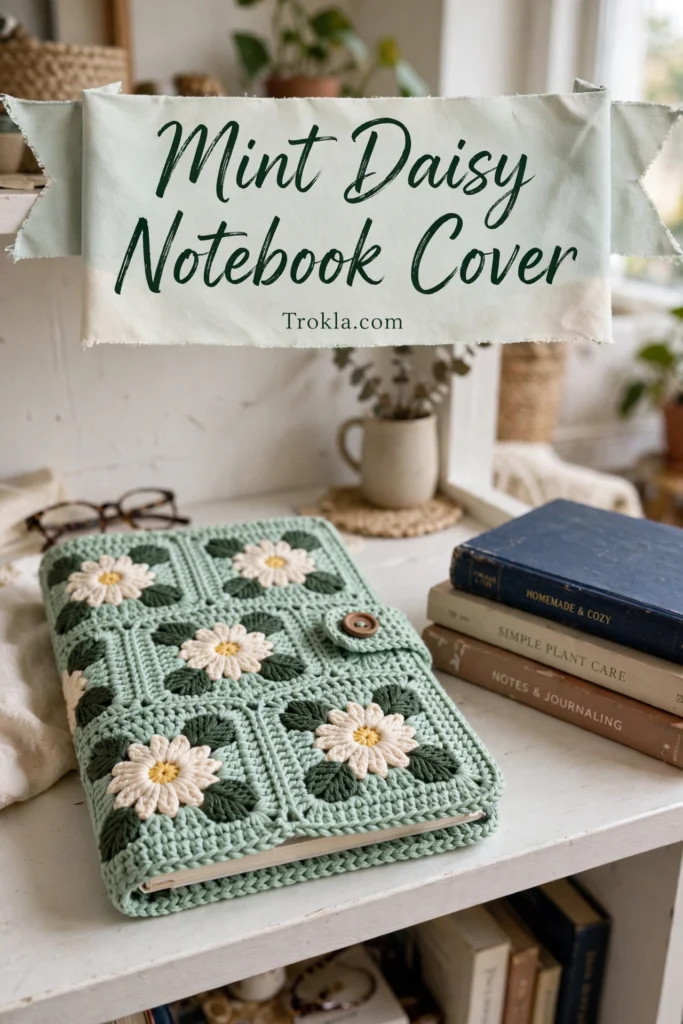
# Fresh Mint Daisy Notebook Cover Free Crochet Pattern
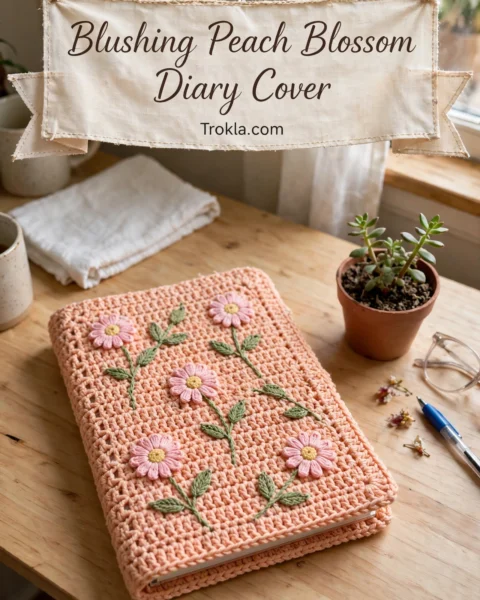
I have been hunting for the perfect notebook cover for ages, and oh my goodness, this mint green beauty checks every single box. Soft mint, sweet scattered daisies, a clever little button closure — this is my favorite kind of project: practical, pretty, and so satisfying to stitch up.
The construction is refreshingly simple once you see the layout. One big flat piece wraps your whole journal, the cover slides in through interior pocket flaps (no sewing directly onto your book, promise), and the daisies are just tiny motifs you sew on at the end. If you are making a gift for a stationery lover — or treating yourself, which I fully support — let me walk you through it.
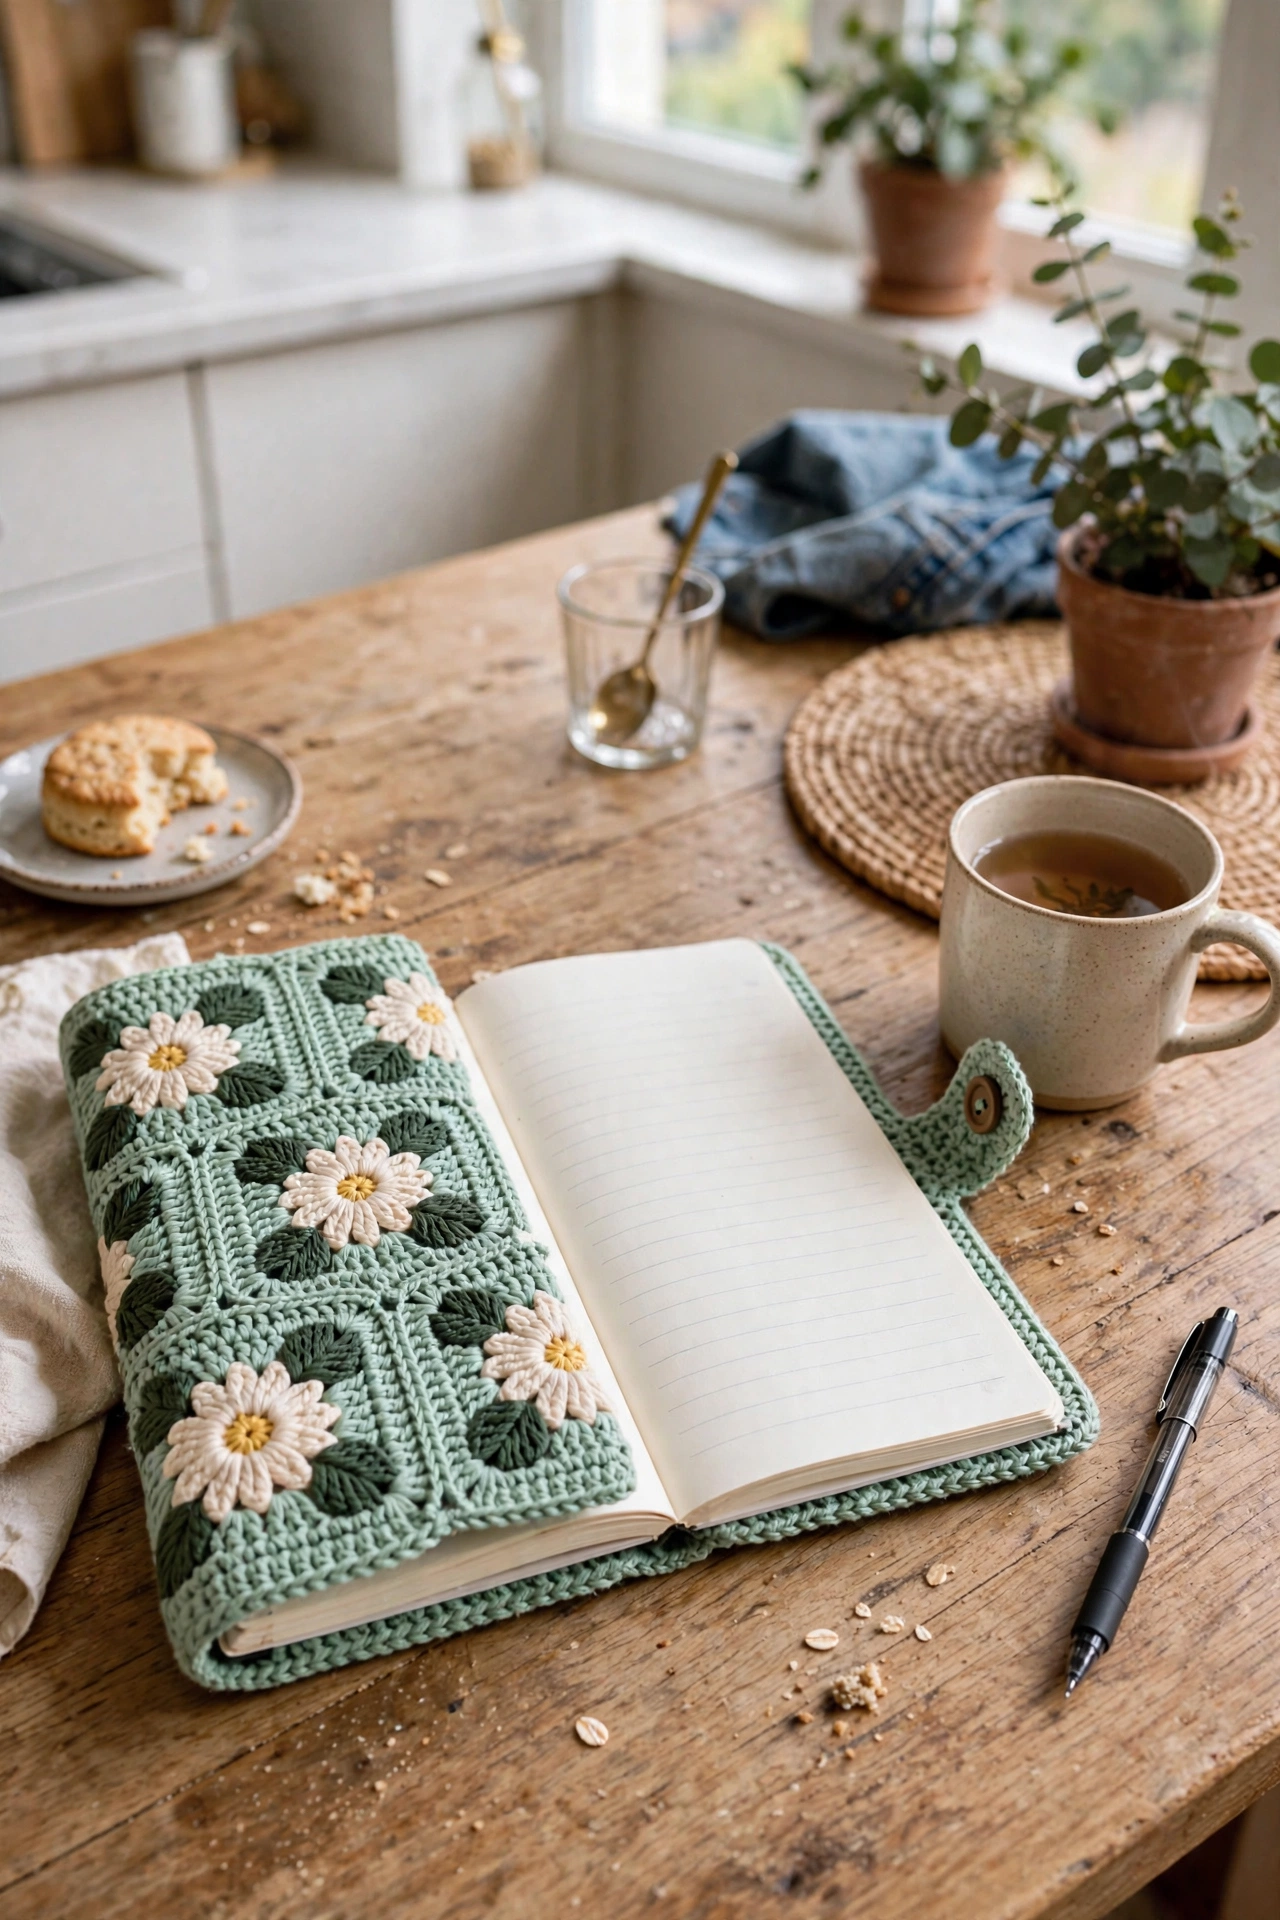
What You’ll Need
- Mint green DK weight cotton or cotton-blend yarn, approximately 180 yards (165 m)
- Cream or off-white DK weight cotton, approximately 60 yards (55 m)
- Dark green DK weight cotton, approximately 15 yards (14 m), for the embroidered leaves
- Yellow yarn, a small amount, for the daisy centers
- US size D-3 (3.25 mm) crochet hook
- Tapestry needle
- One wooden button, approximately 0.75 inch (2 cm) diameter
- Stitch markers, scissors, and pins for blocking
Finished size:
- Fits a standard A5 hardcover notebook (approximately 5.5 x 8.25 inches / 14 x 21 cm) with a spine of about 0.75 inch (2 cm)
- The open cover measures approximately 12.25 x 9 inches (31 x 23 cm), including the interior flap allowance
The Pattern
Gauge:
- 22 sc x 26 rows = 4 x 4 inches (10 x 10 cm) in single crochet with the D-3 hook, blocked
- Work a swatch of at least 5 x 5 inches, block it, and measure — gauge is critical here, since the cover must fit snugly without stretching or buckling
Work all chains loosely to keep the fabric tension even. A turning chain of ch 1 counts as the first sc throughout this pattern.
Main Cover Strip
The main strip is worked as one flat rectangle spanning: front pocket flap + front panel + spine + back panel + back pocket flap, all in horizontal rows.
With mint green, chain 83 (this gives you 82 working stitches).
Row 1 (RS): Sc in 2nd ch from hook and in each ch across. Turn. (82 sc)
Rows 2-54: Ch 1, sc in each st across. Turn. (82 sc)
After Row 54, fasten off and weave in ends. The strip should measure approximately 14.75 x 8.25 inches (37.5 x 21 cm). Lay your open notebook on top to verify the fit.
Use stitch markers to divide the strip into sections from right to left: back pocket flap (sts 1-8, about 1.5 inches), back panel (sts 9-38, about 5.5 inches), spine (sts 39-43, about 0.75 inch), front panel (sts 44-73, about 5.5 inches), and front pocket flap (sts 74-82, about 1.5 inches). The pocket flap sections will fold inward to hold the notebook covers.
Cream Border Strip
The cream strip runs vertically along the left edge of the front panel.
With cream yarn, chain 6.
Row 1 (RS): Sc in 2nd ch from hook and in each ch across. Turn. (5 sc)
Rows 2-54: Ch 1, sc in each st across. Turn. (5 sc)
Fasten off, leaving a long tail for sewing. The strip should measure approximately 0.85 x 8.25 inches (2.2 x 21 cm).
Closure Tab
The closure tab is a small pointed tongue worked in mint green.
Chain 9.
Row 1 (RS): Sc in 2nd ch from hook and in each ch across. Turn. (8 sc)
Rows 2-6: Ch 1, sc in each st across. Turn. (8 sc)
Row 7: Ch 1, sc2tog, sc in each st to last 2 sts, sc2tog. Turn. (6 sc)
Row 8: Ch 1, sc in each st across. Turn. (6 sc)
Row 9: Ch 1, sc2tog, sc in each st to last 2 sts, sc2tog. Turn. (4 sc)
Row 10: Ch 1, sc in each st across. Turn. (4 sc)
Row 11: Ch 1, sc2tog twice. Turn. (2 sc)
Row 12: Ch 1, sc2tog. (1 sc)
Fasten off, leaving a tail for sewing.
Button loop: Join mint green at the tip center stitch, ch 8, sl st back into the same stitch. Fasten off and weave in ends. The loop should pass snugly over your wooden button.
Daisy Motifs (make 12)
Each daisy is a small flat motif with a raised center and six petal loops.
Round 1: With cream, make a magic ring. Work 6 sc into the ring. Pull the tail to close. Do not join. (6 sc)
Round 2: Ch 5, sl st into the same st (first petal made). *Ch 5, sl st into next st.* Repeat from * until 6 petals total are worked, ending with a sl st into the first st of Round 2. Fasten off, leaving a 6-inch tail for sewing.
Center: Thread yellow yarn on a tapestry needle and work 3 to 4 satin stitches across the center of the motif (or make a small French knot cluster). The center should be about 0.2 inch across.
Assembly
Step 1: Block all pieces. Wet or steam block the main strip and the cream strip, pin to measurements, and let dry completely.
Step 2: With RS facing, pin the cream strip to the left portion of the front panel section (just to the right of where the front pocket flap begins, around stitch 74 of the main strip), centered vertically. Whipstitch or mattress stitch along both long edges using cream.
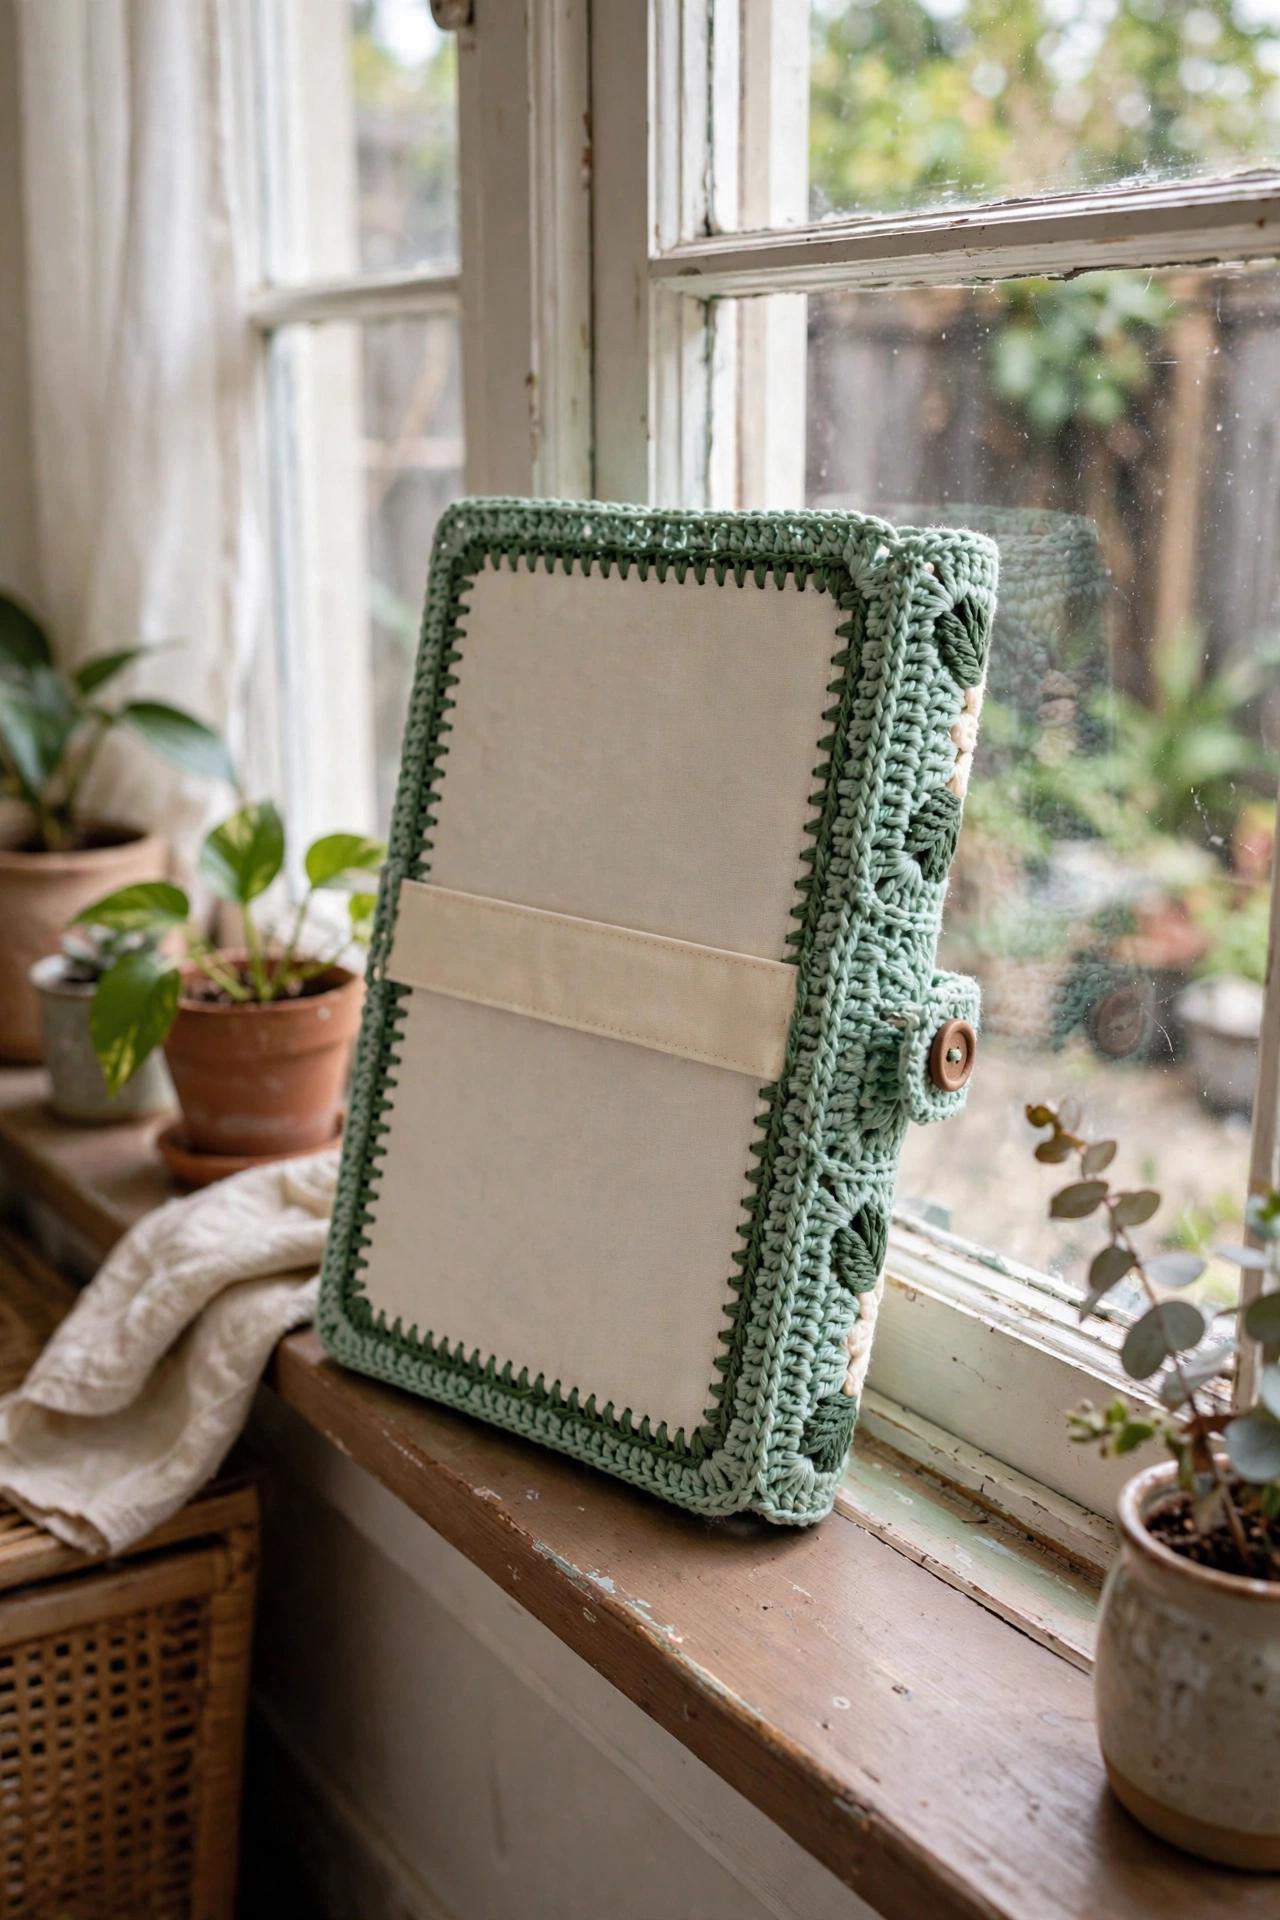
Step 3: Fold the main strip so the pocket flaps fold to the WS — the front flap folds back along the vertical fold line at stitch 74, the back flap along the fold line at stitch 8. Pin in place.
Step 4: With mint green and a tapestry needle, whipstitch the top and bottom edges of each pocket flap to the WS of the corresponding panel, forming the pockets. Do not seam the vertical open edges — those are the openings your notebook covers slide into.
Step 5: Pin the closure tab to the RS of the front panel at the center right edge, wide base aligned with the right edge. Sew the base (Row 1 of the tab) securely with whipstitch.
Step 6: Slide the notebook in — front cover into the front pocket, back cover into the back pocket.
Step 7: Mark where the button loop rests naturally on the front panel (about 0.75 inch / 2 cm from the right edge at vertical center). Remove the notebook and sew the button securely through both layers of the front panel, taking several passes through the button holes.
Daisy and Leaf Placement
Place the daisies on the front panel (RS facing); positions are approximate, so arrange to your taste.
On the cream strip: 5 daisies, evenly spaced from top to bottom, centered on the strip.
On the mint panel: 7 daisies scattered at varying heights — upper left near the cream strip, upper center, center left, center, lower left, lower center right, and the bottom right corner area.
Sew each motif flat, catching the sl st base of each petal. Then embroider the leaves with dark green: each leaf pair is two straight stitches angled outward from a shared base point, about 0.4 inch long, forming a V shape. Work them directly into the fabric between or beside the daisies.
Sophie’s Tips
- Stitch markers are your best friend here — mark the panel boundaries on the main strip before you fold anything, and the assembly becomes foolproof.
- Steam blocking works wonders on cotton: the daisies will lie perfectly flat and the pockets hold their shape.
- Photograph your daisy layout before sewing. Your camera catches spacing weirdness your eyes skip right over.
Now go dress up that plain old notebook — you are going to love writing in it!