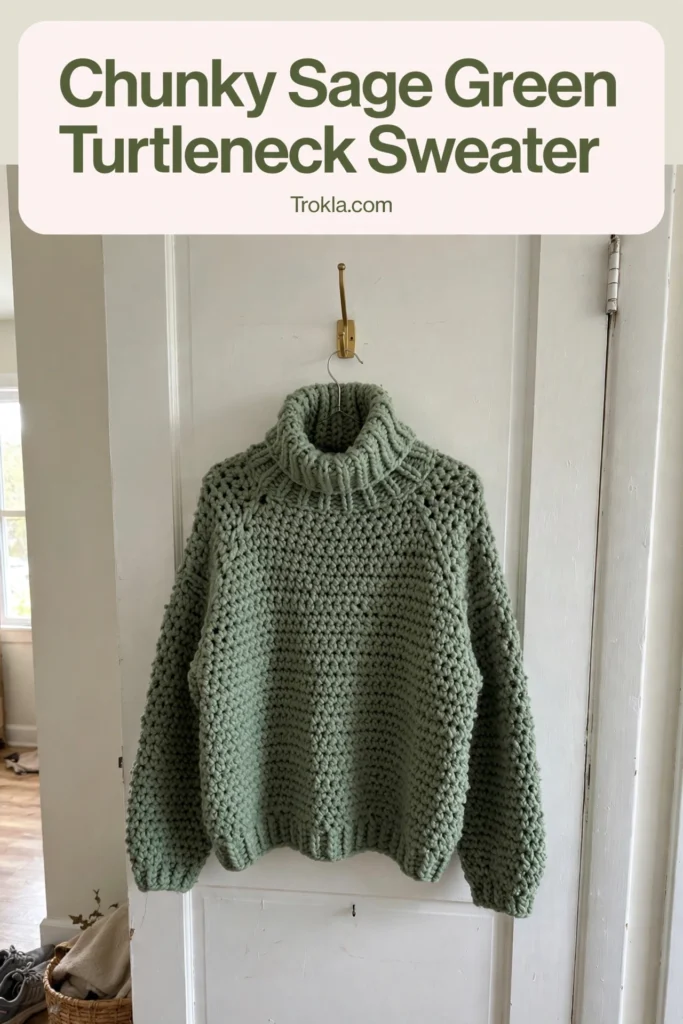
# Chunky Sage Green Turtleneck Sweater Free Crochet Pattern
I have a confession: I reach for this sweater more than anything else in my closet from October through March. There is nothing like a chunky turtleneck on a chilly morning — it is basically a wearable hug. And in this soft sage green? It goes with literally everything I own.
This is a top-down raglan, which means no seaming at the end (my favorite kind of project). You work the yoke, divide for the sleeves, and then it is smooth sailing down the body. The half double crochet gives it that gorgeous chunky texture that looks impressive but works up fast. I finished mine in a long weekend!
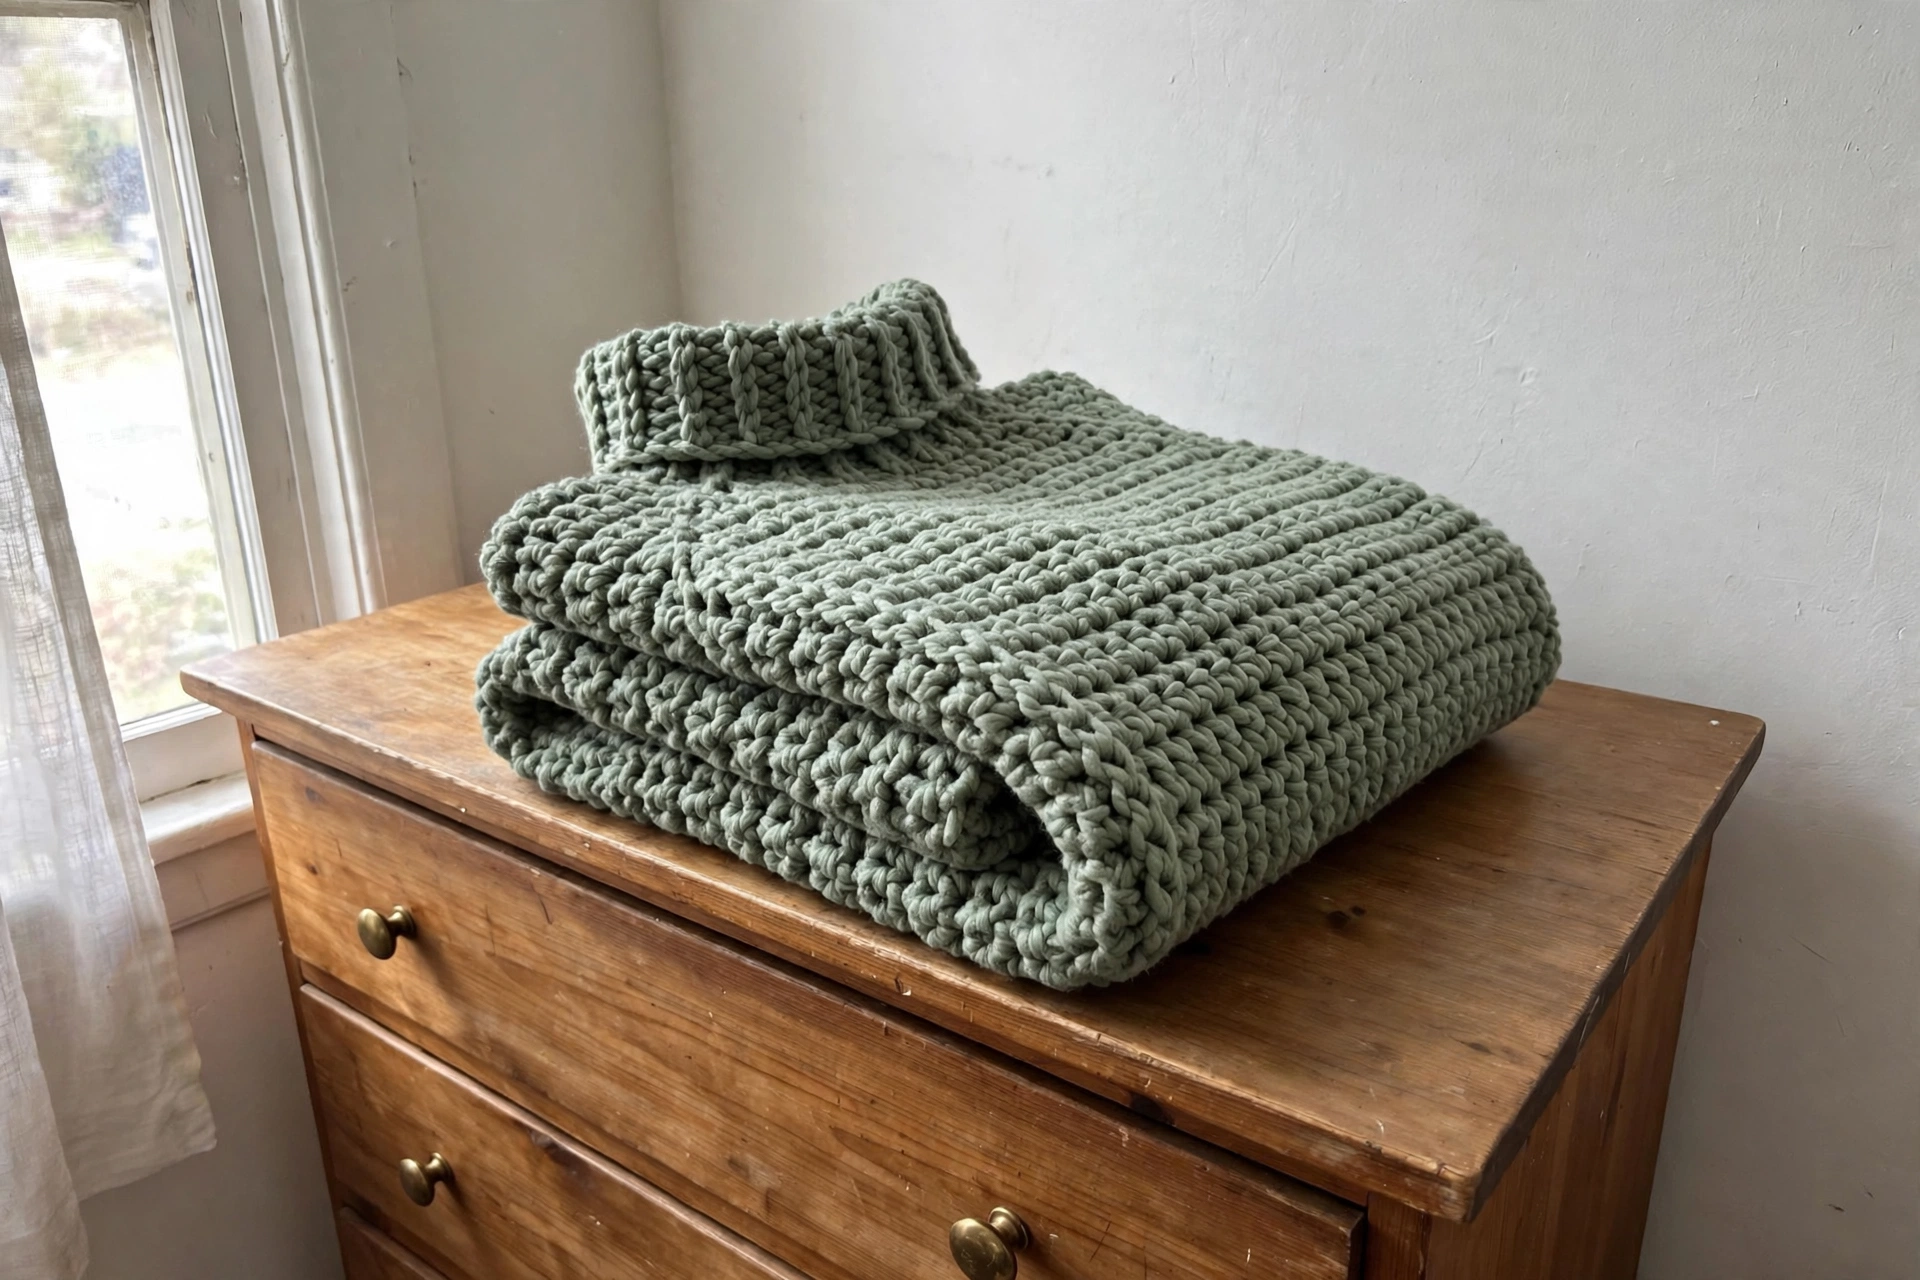
What You’ll Need
- Bulky weight (#5) yarn in sage green: approx. 900 yds (I used a soft acrylic-wool blend)
- Size L-11 (8 mm) crochet hook
- Stitch markers (4)
- Tapestry needle
Finished size:
- Women’s size M — bust 40 inches, body length 24 inches from underarm, sleeve length 19 inches
- The raglan shaping makes it easy to adjust
The Pattern
Yoke
Chain 64, join with sl st to form a ring, being careful not to twist.
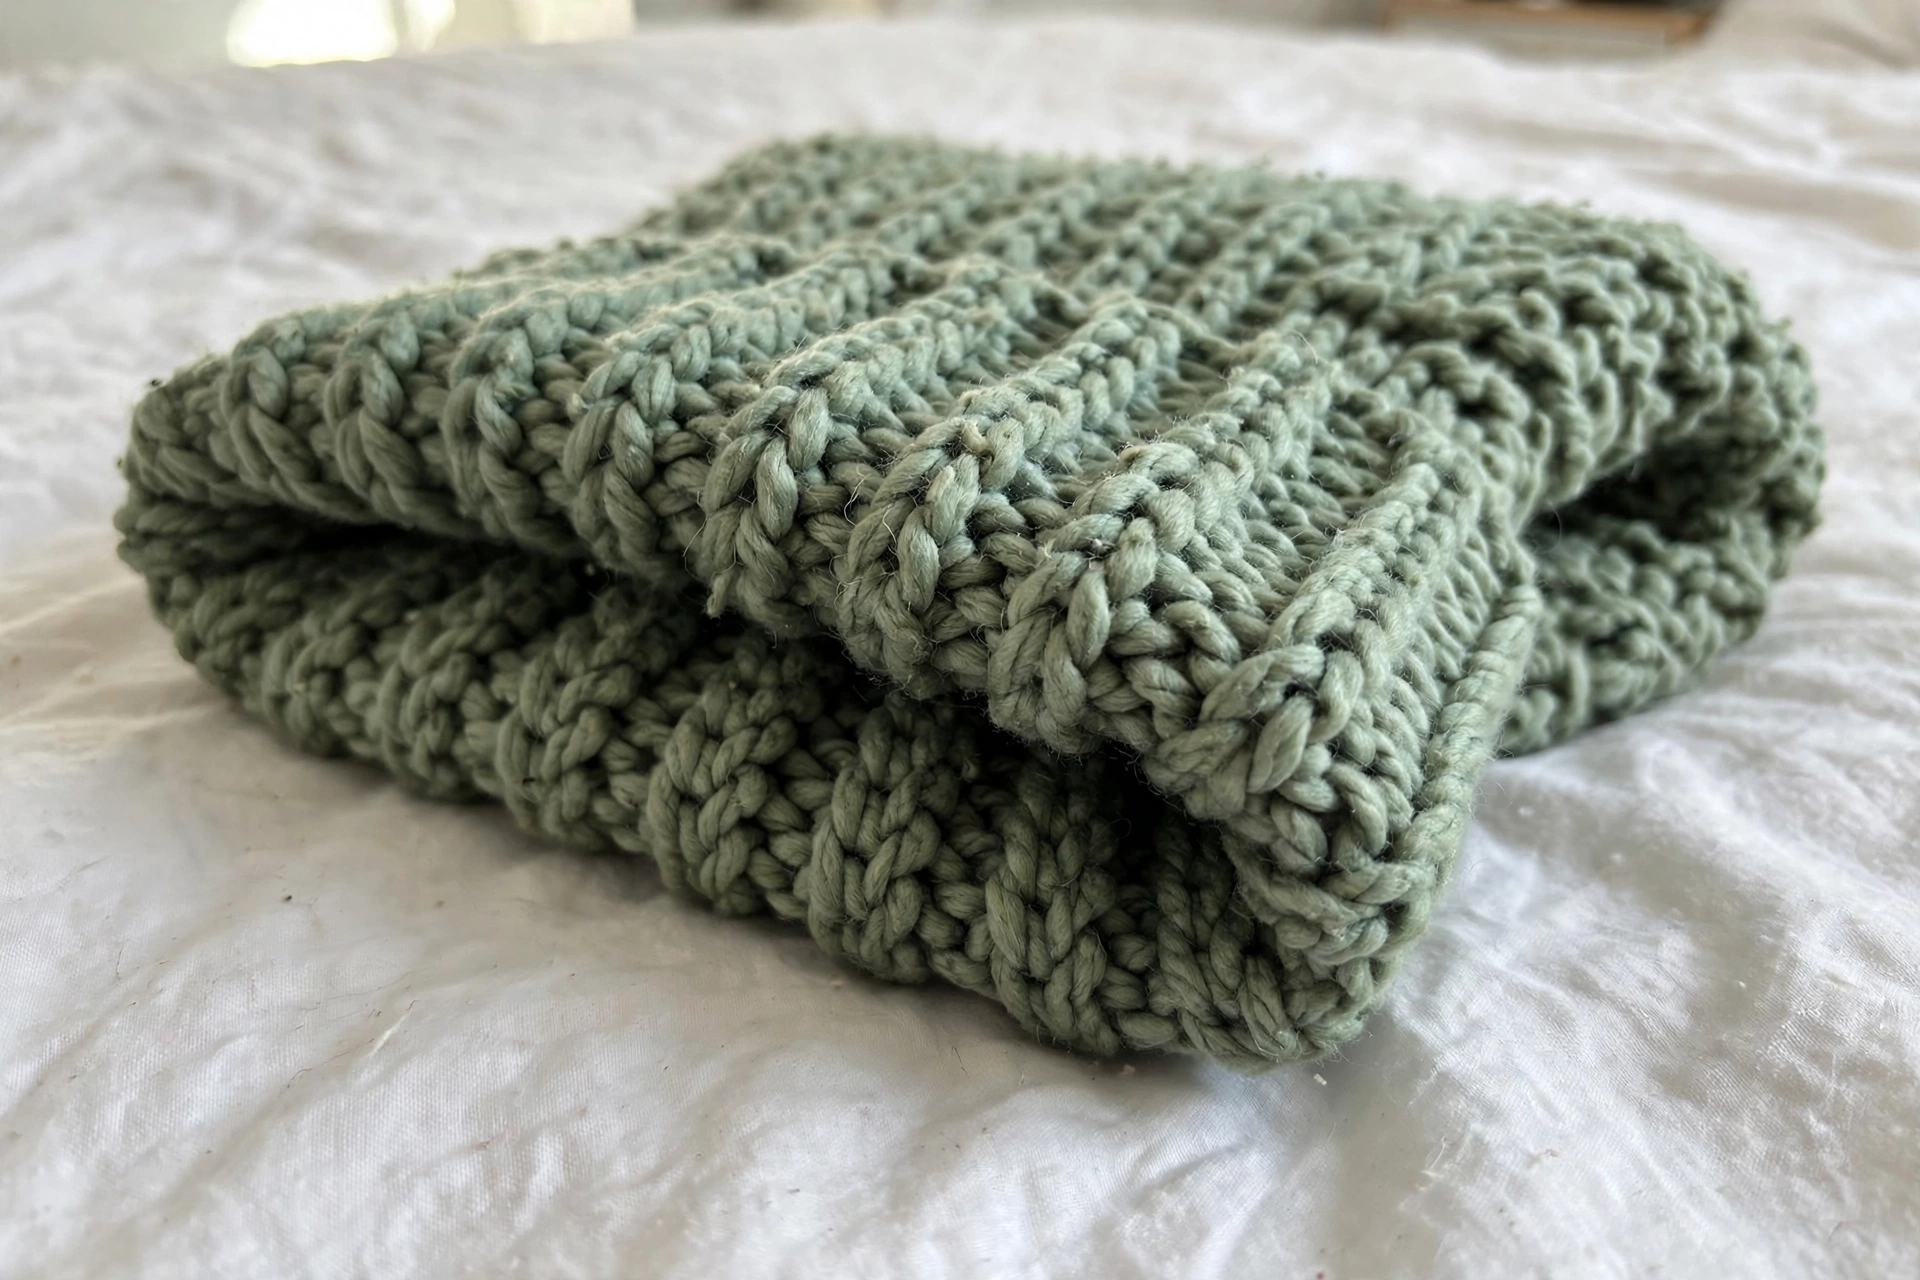
Rnd 1: Ch 2 (counts as hdc), hdc in each ch around, join. (64 hdc)
Place markers to divide the yoke: count 20 sts for the back, place marker; 10 sts for the first sleeve, place marker; 20 sts for the front, place marker; 10 sts for the second sleeve, place marker. The 4 marked sts are the raglan lines.
Rnds 2–11 (raglan increases): Ch 2, \*hdc to the marked st, (hdc, ch 1, hdc) in the marked st; repeat from \* around, hdc in remaining sts, join. Each round adds 8 sts. After Rnd 11 you will have 144 sts: back 40, each sleeve 30, front 40.
Divide for Body and Sleeves
Next rnd: Ch 2, hdc across the 40 back sts, chain 8 (underarm), skip the 30 sleeve sts, hdc across the 40 front sts, chain 8, skip the 30 sleeve sts, join. (96 sts)
Body
Rnds 1–24: Ch 2, hdc in each st around, join. (96 hdc)
Hem ribbing: Work 4 rounds alternating front-post and back-post hdc around for a stretchy ribbed hem. Fasten off.
Sleeves (make 2)
Join yarn in the center of an underarm chain. Work 38 sts around the armhole opening (30 sleeve sts + 8 underarm sts).
Rnds 1–14: Ch 2, hdc in each st around, join. (38 hdc)
Rnd 15: Ch 2, \*hdc in next 8 sts, hdc2tog; repeat from \* around, join. (34 hdc)
Rnds 16–20: Ch 2, hdc in each st around, join. (34 hdc)
Cuff ribbing: Work 4 rounds of alternating front-post and back-post hdc. Fasten off.
Turtleneck Collar
Join yarn at the back of the neckline. Work 64 hdc evenly around the neck opening.
Rnds 1–12: Ch 2, alternate front-post and back-post hdc around for a cozy ribbed collar, join. Fold the collar down and you are done. Weave in all ends.
Sophie’s Tips
- Try the yoke on as you go — when it comfortably reaches your underarms, it is time to divide for the sleeves.
- The post-stitch ribbing looks fancy but is just hdc worked around the post instead of the top — give it a try, you will love the result.
- For a longer tunic length, simply add more rounds to the body before the hem ribbing.
Stay warm and stylish, friend — this one is a keeper!