# Botanical Sage Green Granny Backpack Free Crochet Pattern
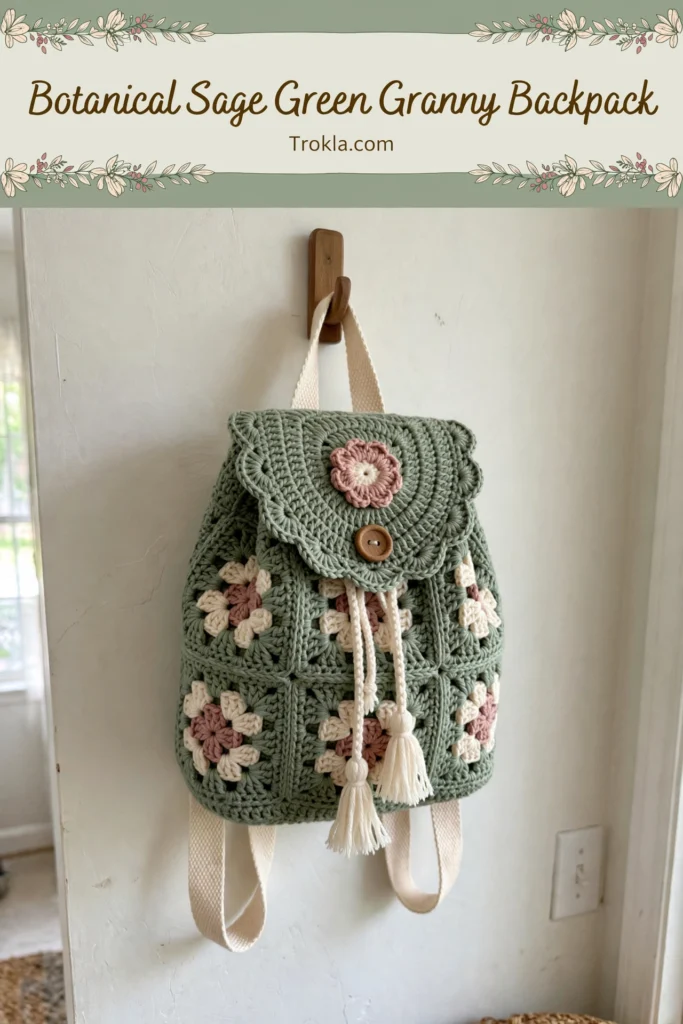
Oh friends, this is the bag I have been dreaming about for nearly three years! I sketched her in a worn notebook one rainy weekend, picturing something that felt vintage and fresh at the same time, like my grandmother’s garden in sage green. I finally hooked her up last month and honestly, she turned out even lovelier than I imagined. If you have been waiting for the perfect excuse to make a wearable granny square project, Meadow is calling your name.
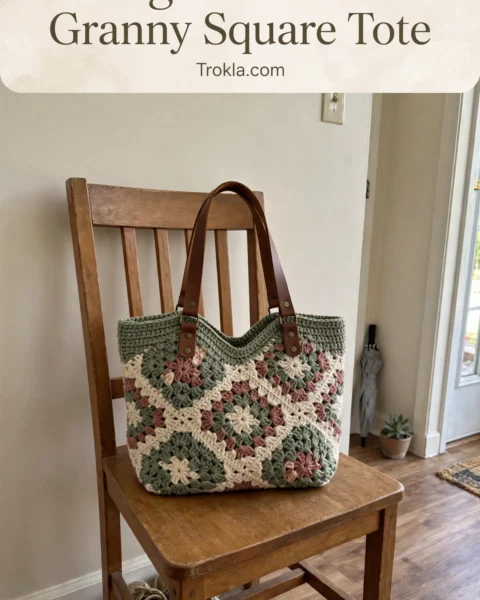
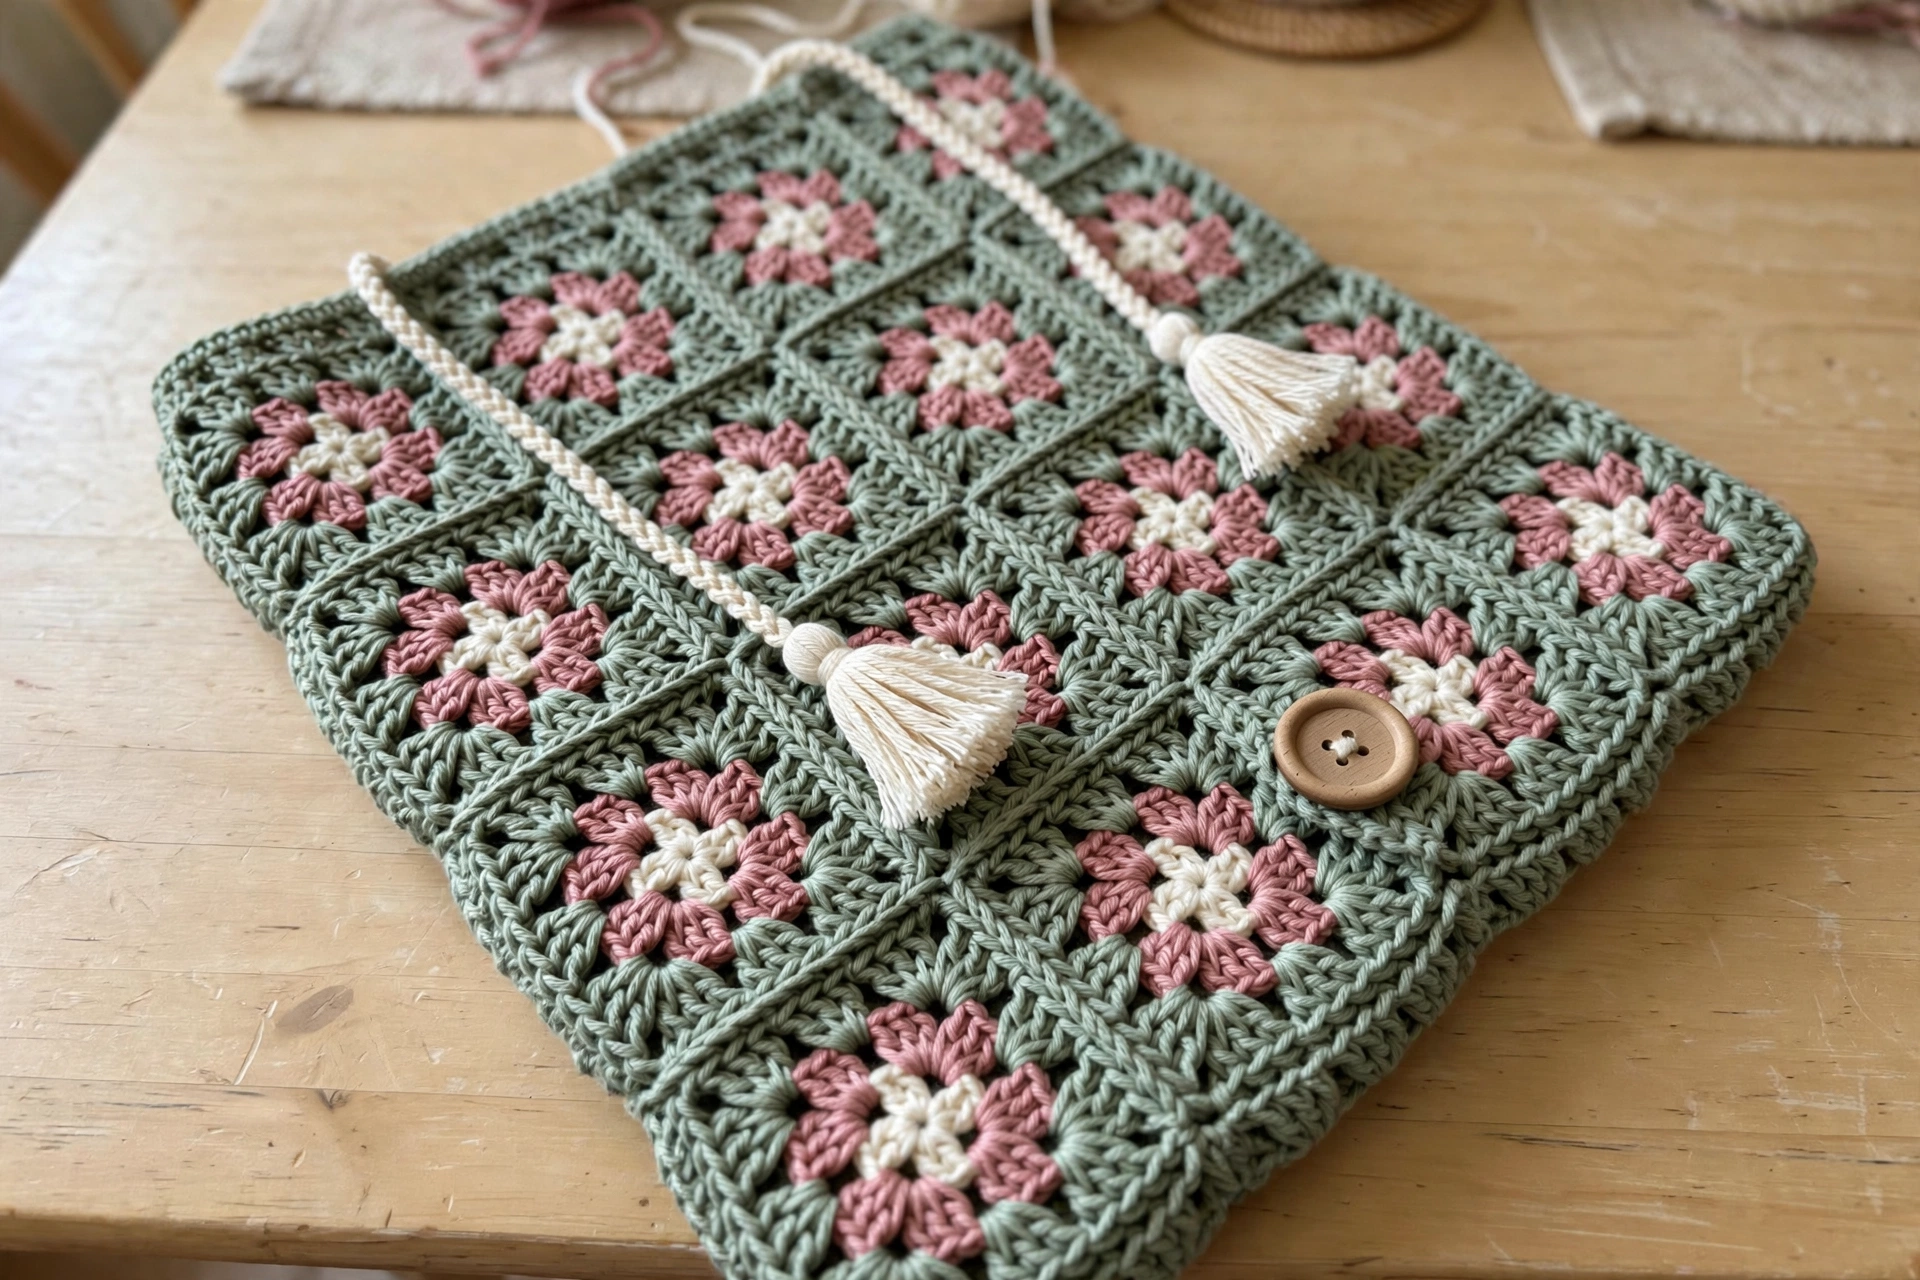
The magic here is in the flower motifs — each square blooms with cream or dusty rose petals around a golden yellow center, then gets framed in soft sage green. You join them in a clever cross layout, add a drawstring top with tassels, sturdy straps, and the sweetest scalloped flap with a flower of its own. It looks incredibly intricate, but it breaks down into repeatable, relaxing steps. I made most of mine on the couch with a good podcast.
What You’ll Need
- Main Color (MC): approximately 400 yards worsted weight yarn in sage green
- Contrast Color 1 (CC1): approximately 150 yards worsted weight yarn in cream or off-white
- Contrast Color 2 (CC2): approximately 50 yards worsted weight yarn in golden yellow
- Contrast Color 3 (CC3): approximately 40 yards worsted weight yarn in dusty rose
- Size H/8 (5.0 mm) crochet hook, or size needed to achieve gauge
- Tapestry needle, scissors, stitch markers, measuring tape
- One wooden button, approximately 1 inch in diameter
Finished size:
- One completed flower granny square measures approximately 4 inches by 4 inches after blocking
- The finished backpack body (before straps) is about 12 inches wide and 12 inches tall, not including the flap
The Pattern
This backpack uses 18 flower granny squares for the body, plus one extra square for the front pocket. Each square begins with a flower center, builds petals outward, and finishes with a sage green border. Gauge: one blocked square should measure 4 inches by 4 inches. If yours are too big, the bag goes floppy; too small and it turns stiff.
Flower Granny Square (make 19)
#### Round 1 — Flower Center
With CC2 (golden yellow), make a magic ring. Chain 3 (counts as first dc throughout), work 11 dc into the ring. (12 dc)
Slip stitch to the top of the beginning chain-3 to join. Pull the magic ring closed and fasten off CC2.
#### Round 2 — Petals
Join CC1 (cream) or CC3 (dusty rose) to any stitch with a slip stitch. For variety, alternate cream and dusty rose flowers across your squares — I used 12 cream and 6 dusty rose.
In the same stitch, work (sc, hdc, dc, hdc, sc) to make one petal. Slip stitch into the next stitch. Repeat around. (6 petals)
Fasten off the petal color.
#### Round 3 — Behind the Petals
Join MC (sage green) to any slip stitch between petals, working into the back of Round 1.
Chain 4, *sc into the next slip stitch (between petals), chain 3.* Repeat around. End with a slip stitch to the first chain of the beginning chain-4. (6 chain-3 spaces)
#### Round 4 — First Sage Border
Working into the chain spaces from
Round 3: chain 3, 2 dc in the same chain space, chain 2, 3 dc in the same chain space (first corner made). *Chain 1, (3 dc, chain 2, 3 dc) in the next chain space.* Repeat around. Chain 1, slip stitch to the top of the beginning chain-3. (6 corners)
#### Round 5 — Squaring Off
Chain 3, dc in the next 2 dc, *(2 dc, chain 2, 2 dc) in the corner chain-2 space, dc in the next 3 dc, dc in the chain-1 space, dc in the next 3 dc.* Repeat around, adjusting the final repeat to slip stitch to the top of the beginning chain-3. (4 corners established)
#### Round 6 — Final Border
Chain 3, dc in each dc around, working (2 dc, chain 2, 2 dc) in each corner chain-2 space. Slip stitch to join. (17 dc per side, plus corners)
Fasten off and weave in ends. Block every square to 4 inches before joining — even a light spritz-and-pin makes assembly so much easier.
Assembling the Backpack Body
Lay your squares in a cross shape:
- Back panel: 3 squares across by 3 tall (9 squares)
- Bottom: 1 row of 3 squares attached to the bottom of the back panel
- Front panel: 3 squares across by 2 tall (6 squares) attached to the front edge of the bottom
Join with a slip stitch join through the back loops only: hold squares with wrong sides together, right sides facing out, and slip stitch across matching stitch for stitch, chaining 1 at corners. Work all horizontal seams first, then vertical seams, so everything stays aligned.
Fold the cross so the back and front panels meet at the sides; the bottom panel becomes the base. Seam the side edges closed with the same slip stitch join. Your bag now stands up as a rectangular pouch.
Drawstring Top Edge
Join MC to any stitch at the top edge of the bag.
Round 1: Chain 1, sc evenly around the entire top opening, working approximately 3 sc per square edge and 1 sc in each corner. Slip stitch to join. Count your stitches and adjust so you have an even number.
Rounds 2–4: Chain 1, sc in each sc around. Slip stitch to join.
Round 5 (Eyelet Round): Chain 1, *sc in the next 2 sc, chain 2, skip 2 sc.* Repeat around. Slip stitch to join. These little gaps hold your drawstring.
Rounds 6–8: Chain 1, sc in each stitch and chain around. Slip stitch to join. Fasten off.
Drawstring cord: With CC1, chain 150 (until the cord measures approximately 36 inches). Slip stitch in the second chain from the hook and in each chain across. Fasten off. Thread through the eyelet round, starting and ending at center front, and knot a tassel on each end (cut 20 strands of MC, 8 inches each, folded and attached with a lark’s head knot, trimmed evenly).
Backpack Flap
The flap is a half-circle with a scalloped edge and a flower in the center.
With MC, chain 4 and slip stitch to the first chain to form a ring.
Row 1: Chain 3, 6 dc in the ring, turn. (7 dc)
Row 2: Chain 3, dc in the same stitch, 2 dc in each dc across, turn. (14 dc)
Row 3: Chain 3, dc in the same stitch, *dc in the next dc, 2 dc in the next dc.* Repeat across, turn. (21 dc)
Row 4: Chain 3, dc in each dc across, turn. (21 dc)
Row 5: Chain 3, dc in the same stitch, *dc in the next 2 dc, 2 dc in the next dc.* Repeat across, turn. (28 dc)
Rows 6–10: Continue increasing every other row until the flap measures approximately 7 inches across the straight edge and 5 inches from straight edge to curved edge.
Scalloped edge: Join CC1 along the curved edge. *Skip 2 stitches, 5 dc in the next stitch (shell made), skip 2 stitches, slip stitch in the next stitch.* Repeat along the entire curved edge. Fasten off.
Center flower: Work one flower following Rounds 1 and 2 of the granny square pattern and sew it to the center of the flap. Sew the straight edge of the flap to the top back seam of the bag.
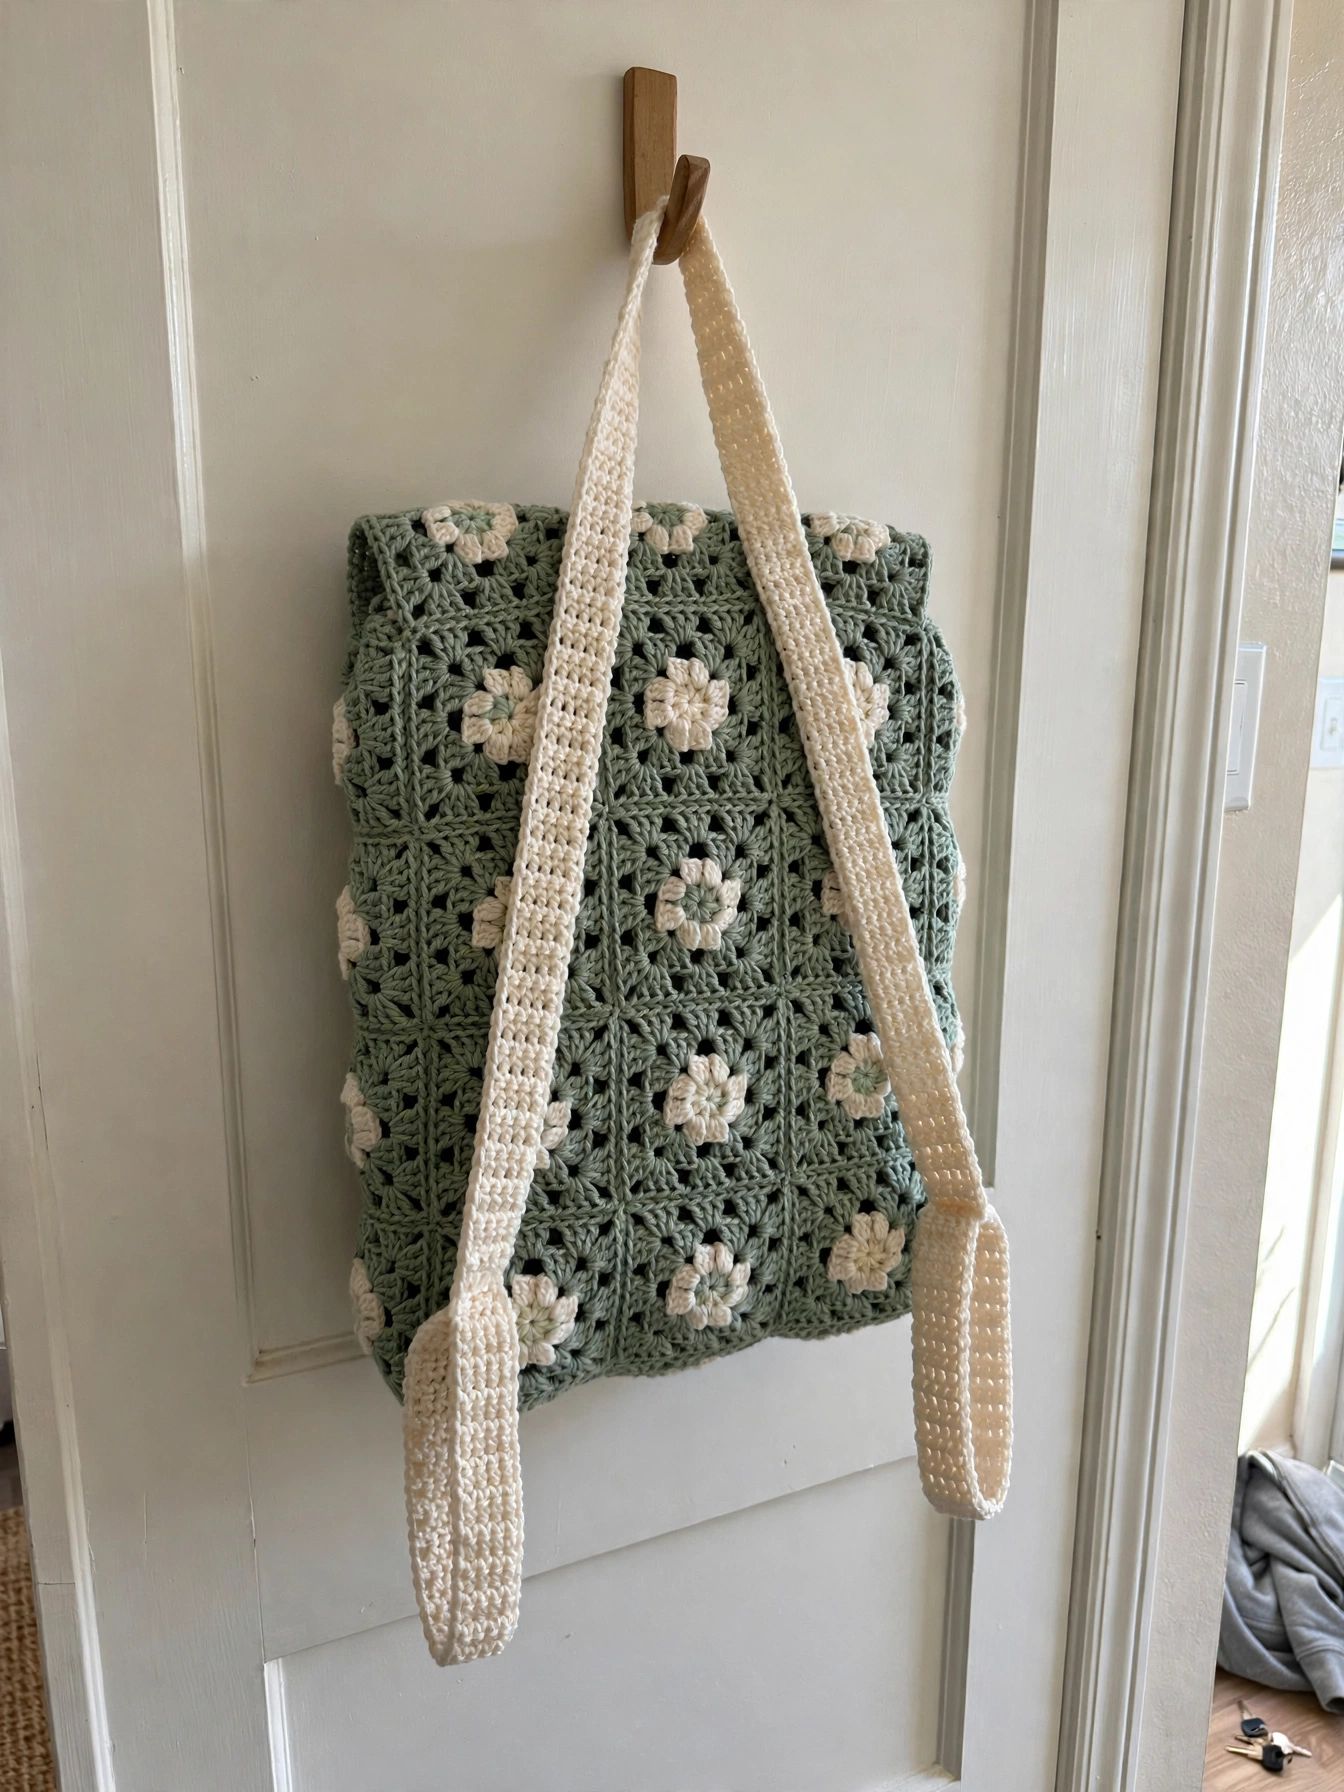
Backpack Straps (make 2)
With CC1, chain 8.
Row 1: Sc in the second chain from the hook and in each chain across, turn. (7 sc)
Rows 2–85: Chain 1, sc in each sc across, turn. (7 sc)
Each strap should measure approximately 24 inches. Fasten off, leaving a long tail. Sew the top ends to the top corners of the back panel about 4 inches apart, and the bottom ends to the bottom corners of the back panel. Try them on before you sew — strap length is personal.
Front Pocket and Closure
Make one more full granny square. With MC, add a border of 2 rounds of sc around all four sides. Center the pocket on the front panel just below the middle and sew the sides and bottom edge in place, leaving the top open.
Button loop: With MC, chain 15 and slip stitch to the first chain to form a loop. Sew it to the center underside of the flap. Sew the wooden button to the front of the bag where the loop reaches it comfortably when the flap closes.
Weave in all ends. I like to add a simple fabric lining so little things don’t poke through — a plain drawstring fabric bag in a coordinating color works beautifully.
Sophie’s Tips
- Consistent tension is everything here. If your tension drifts, make a few extra squares and pick the best-matching 18 — your seams will thank you.
- Use 100% cotton or a cotton blend if you can. It holds the bag’s shape and won’t stretch out the way acrylic does under daily use.
- Try on the straps before sewing them down for real. Everyone carries a backpack a little differently.
Go make yourself a garden you can carry on your back!