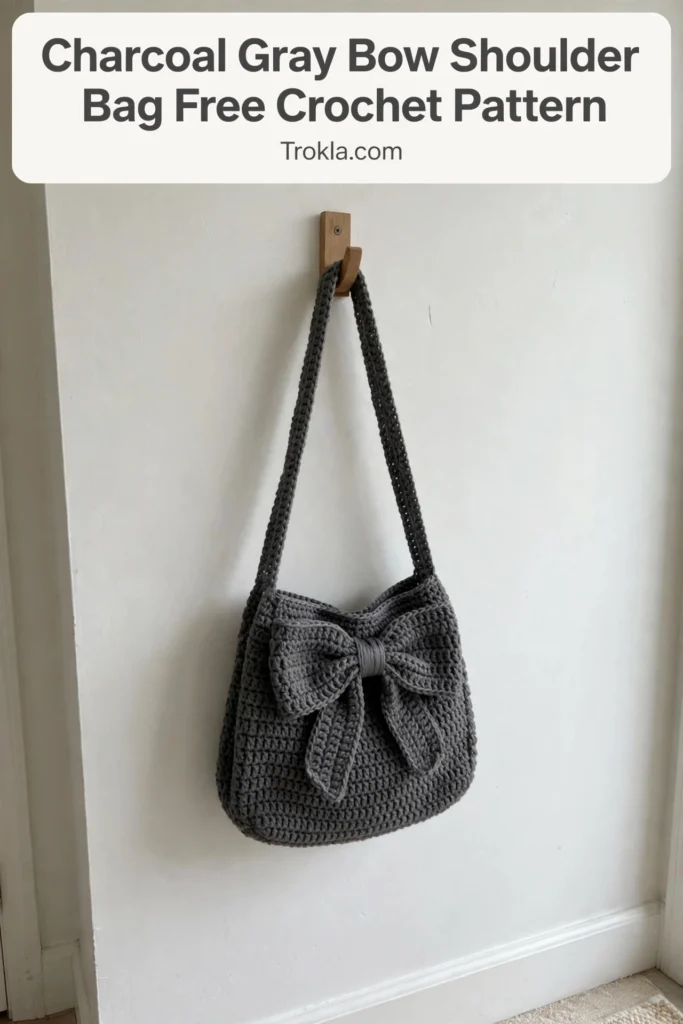
# Charcoal Gray Bow Shoulder Bag Free Crochet Pattern
I have been on the hunt for the perfect statement bag pattern for ages, and this bow shoulder bag is my absolute favorite find. That oversized, sculptural bow shape is playful and feminine, it works for brunch with friends or an evening out, and it looks like something you’d find in a boutique. Best of all? The construction is surprisingly straightforward.
The secret to the structure is simple: single crochet worked tightly throughout gives you that dense, sturdy fabric, and the clever assembly does the rest. You’re essentially making two rounded panels that get cinched in the middle to create the bow effect, with a center wrap band pulling everything together into that signature pinched waist. Mine is in charcoal gray — sleek, chic, and goes with literally everything I own.
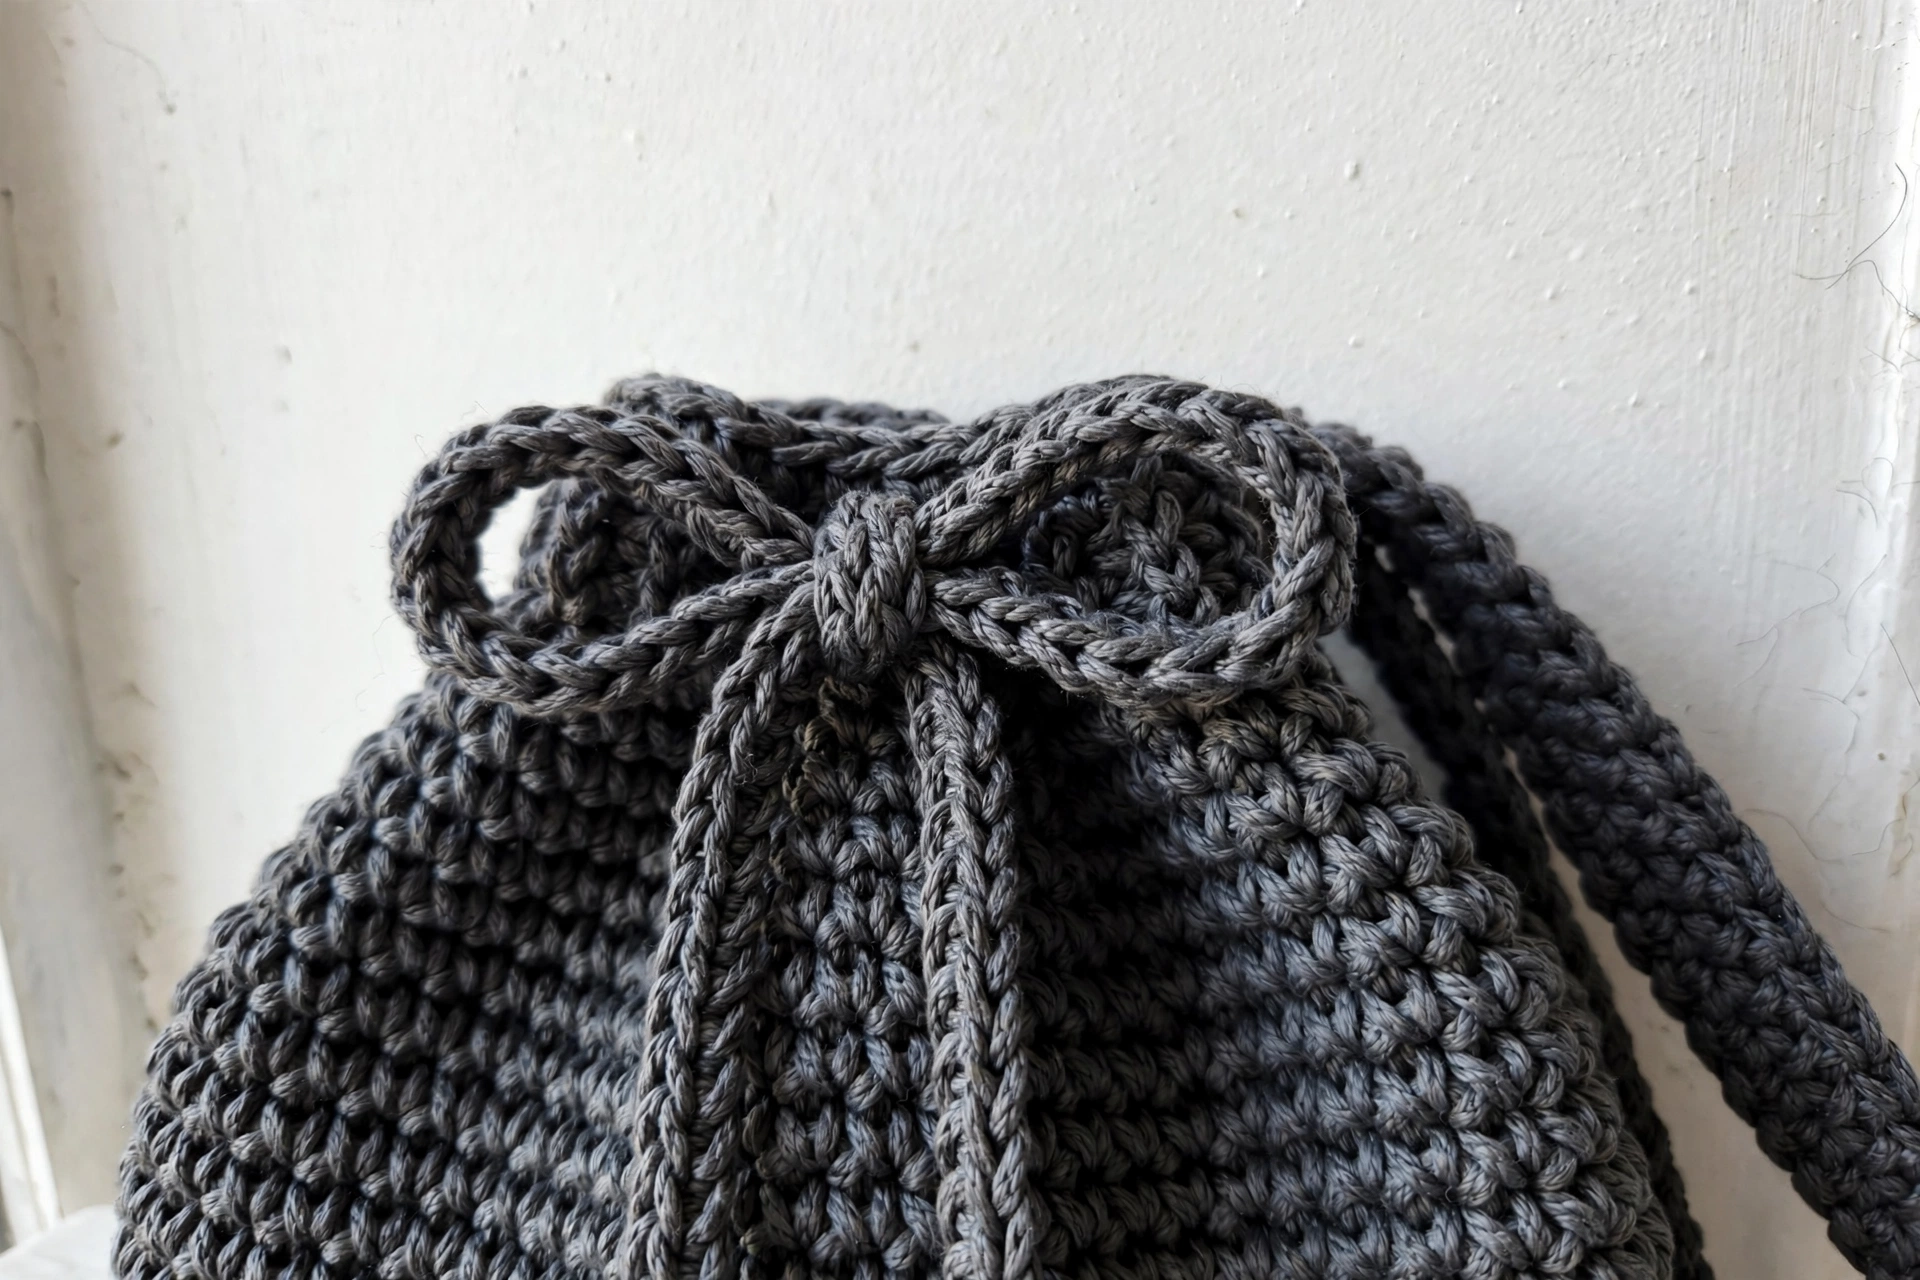
What You’ll Need
- Approximately 250-300 yards of worsted weight cotton yarn or cotton blend in charcoal gray (cotton or cotton-acrylic blends work best for structure and durability)
- US 4.0 mm (G/6) crochet hook (adjust if needed to achieve a firm, dense fabric)
- Tapestry needle, stitch markers, scissors
- Magnetic snap closure or decorative twist lock (optional)
- Small decorative charm or flower embellishment (optional)
- Matching thread and sewing needle for hardware
Finished size:
- Approximately 12 inches (30 cm) wide at the widest point of the bow, 7 inches (18 cm) tall at the center, with a handle drop of approximately 6 inches (15 cm)
The Pattern
Gauge:
- 18 stitches and 20 rows = 4 inches (10 cm) in single crochet
- Gauge matters — a loose gauge will result in a floppy bag that won’t hold the bow shape
- If your swatch is too loose, go down a hook size
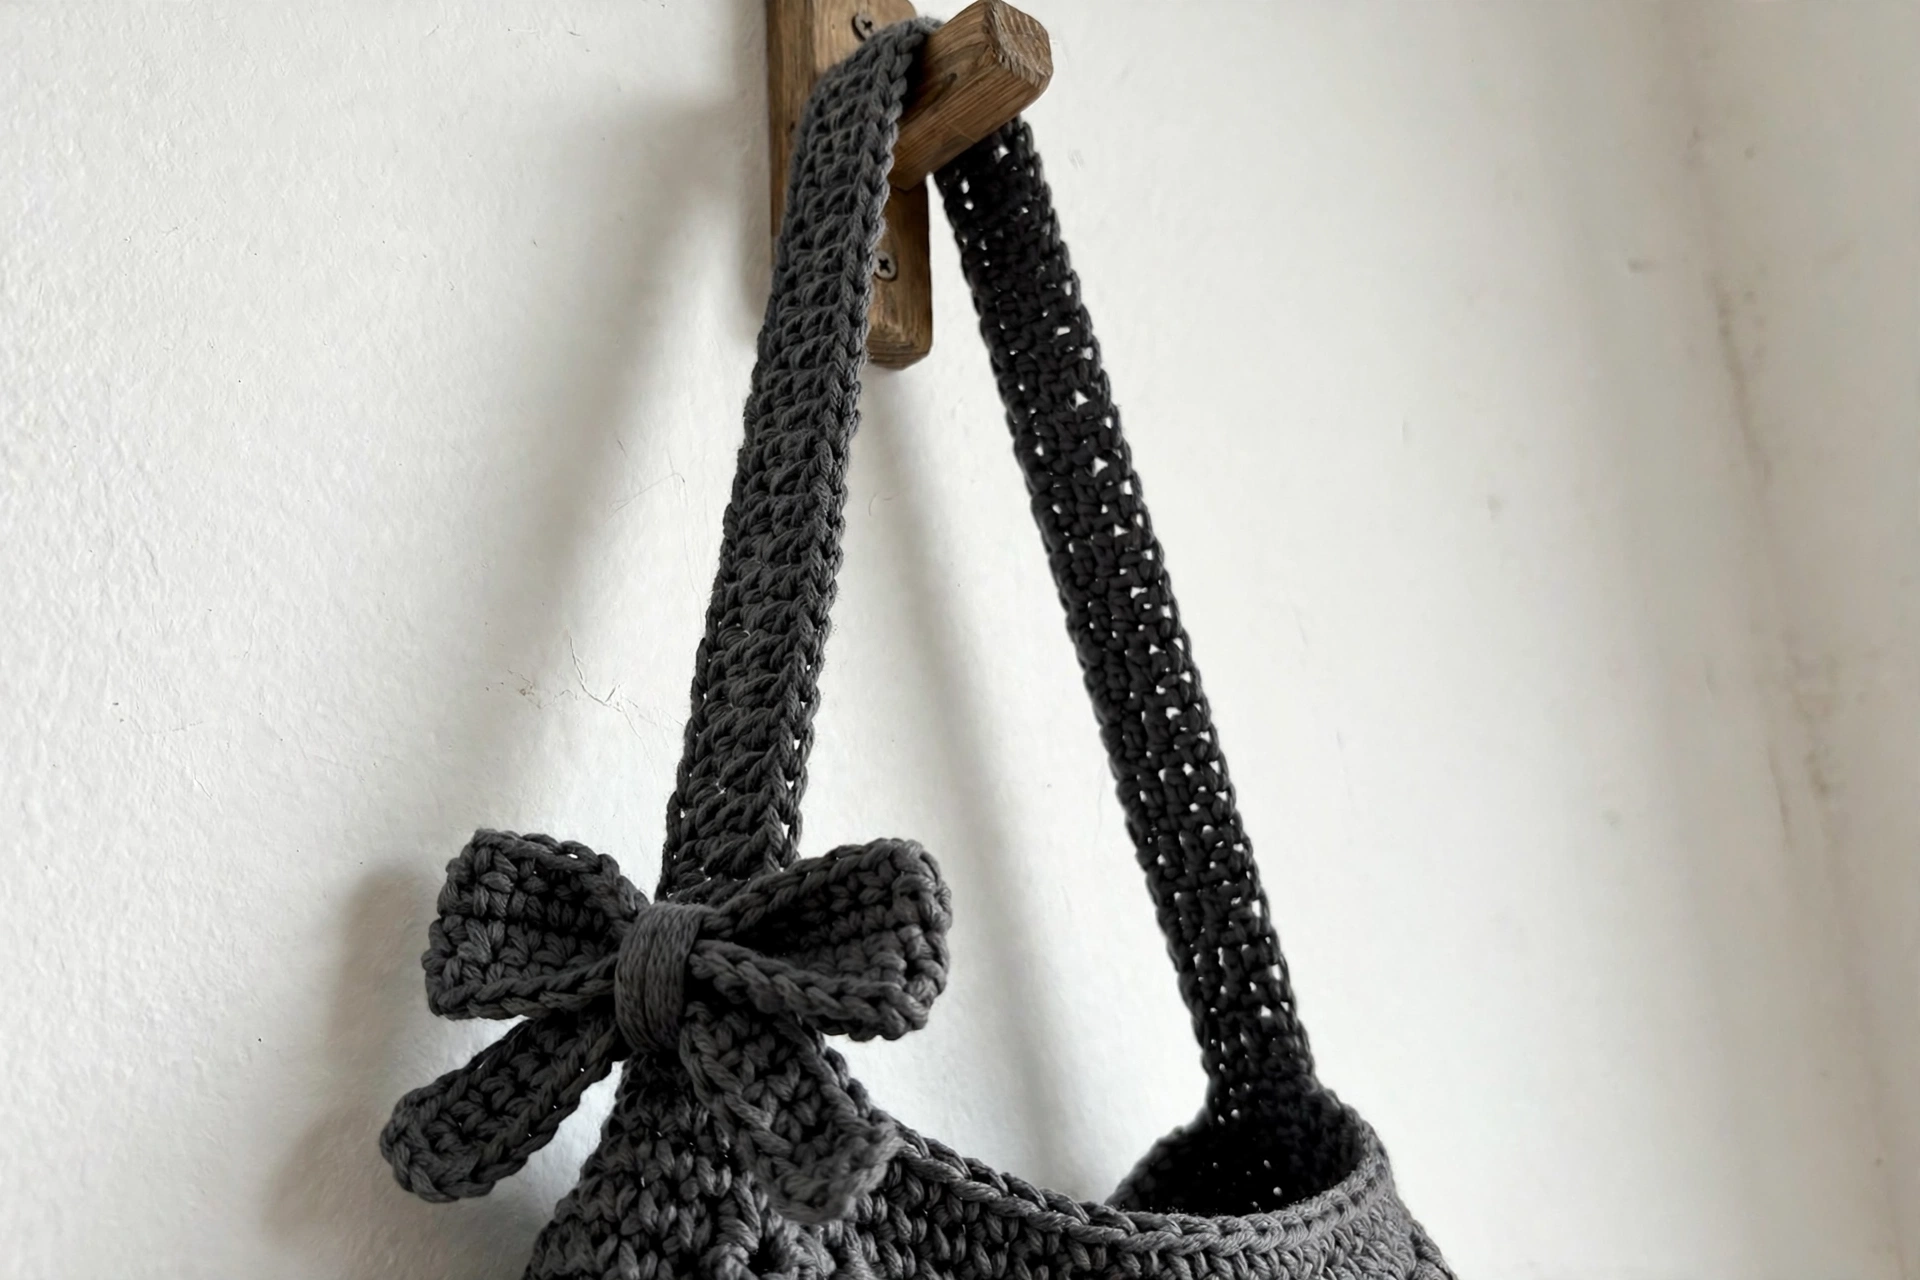
Notes: The bag is constructed from two identical bow panels, a center wrap band, a strap, and an optional lining panel. Work in rows, turning at the end of each row. Chain 1 at the beginning of rows does NOT count as a stitch. Maintain firm, even tension throughout.
Bow Panel (Make 2)
Foundation: Chain 41.
Row 1 (RS): Sc in 2nd ch from hook and in each ch across. (40 sts)
Row 2: Ch 1, turn. Sc in each st across. (40 sts)
Rows 3-8: Repeat Row 2. (40 sts)
Row 9 (begin shaping): Ch 1, turn. Inc in first st, sc in each st to last st, inc in last st. (42 sts)
Row 10: Ch 1, turn. Sc in each st across. (42 sts)
Rows 11-12: Repeat Rows 9-10. (44 sts after Row 11)
Row 13: Ch 1, turn. Inc in first st, sc in each st to last st, inc in last st. (46 sts)
Rows 14-16: Ch 1, turn. Sc in each st across. (46 sts)
Row 17: Ch 1, turn. Inc in first st, sc in each st to last st, inc in last st. (48 sts)
Rows 18-22: Ch 1, turn. Sc in each st across. (48 sts)
This is the widest point of your panel.
Row 23 (begin decreasing): Ch 1, turn. Dec, sc in each st to last 2 sts, dec. (46 sts)
Rows 24-26: Ch 1, turn. Sc in each st across. (46 sts)
Row 27: Ch 1, turn. Dec, sc in each st to last 2 sts, dec. (44 sts)
Row 28: Ch 1, turn. Sc in each st across. (44 sts)
Rows 29-30: Repeat Rows 27-28. (42 sts after Row 29)
Row 31: Ch 1, turn. Dec, sc in each st to last 2 sts, dec. (40 sts)
Rows 32-38: Ch 1, turn. Sc in each st across. (40 sts)
Fasten off, leaving a long tail for seaming. Make a second identical panel.
Center Wrap Band
This narrow band wraps around the middle of the bow to create the pinched effect.
Foundation: Chain 9.
Row 1: Sc in 2nd ch from hook and in each ch across. (8 sts)
Rows 2-50: Ch 1, turn. Sc in each st across. (8 sts)
The band should be long enough to wrap snugly around the gathered center of your bow. Test fit and add or remove rows as needed — you want it tight enough to create a nice cinch. Fasten off, leaving a long tail for seaming.
Strap
The strap is worked in the round over a foundation to create a sturdy, tubular handle.
Foundation: Chain 4, sl st to first ch to form a ring.
Round 1: Ch 1, work 6 sc into ring. Do not join. Place marker in first st. (6 sts)
Rounds 2-90: Sc in each st around, moving marker up as you go. (6 sts)
Continue until the strap measures approximately 14-16 inches or your desired length. The strap should be firm and rope-like. Sl st to next st. Fasten off, leaving a long tail.
Alternative: If working in the round feels too fiddly, crochet a flat strip 6 stitches wide for the same length, then fold it in half lengthwise and whip stitch the edges together.
Assembly
Take your time with this section — this is where the magic happens.
Step 1: Lay both panels flat with right sides facing up. Fold each panel in half lengthwise to find the center and mark the center of each short edge with a stitch marker.
Step 2: Place the two panels with wrong sides together. Using a tapestry needle and yarn, whip stitch or mattress stitch around the outer edges, leaving the top edge open. This creates the bag body. Leave approximately 6 inches open at the top center for access to the bag interior.
Step 3: Pinch the center of the bag together, gathering the fabric. The sides will puff out to create the bow lobes.
Step 4: Wrap the center band tightly around the gathered middle of the bag. Overlap the ends at the back and stitch them securely together, then tack the band to the gathered bag fabric in a few spots to keep everything in place.
Step 5: Position the strap ends at the top back corners of the bag, just behind where the center wrap sits. Stitch securely, going through the strap multiple times for strength.
Step 6 (optional): If using a magnetic snap, install it on the inside of the bag opening before the final assembly. For a decorative twist lock, position it on one side of the bow and attach according to package directions.
Step 7 (optional): Add a small charm near the strap — I added a delicate pearl flower — or leave the bag simple and let the bow shape speak for itself.
Sophie’s Tips
- Blocking helps. Before assembly, lightly steam block your panels to even out the stitches and help the pieces lie flat.
- While figuring out the bow shape, temporarily stuff the sides with tissue paper or small towels. It helps you see the finished bow and makes positioning the center band much easier.
- Reinforce stress points — go over your strap attachment stitches several times. That area takes the most strain when you carry the bag.
This bag looks so impressive but is genuinely achievable for anyone comfortable with basic crochet. Enjoy every compliment!