# Peach Shell Baby Poncho Free Crochet Pattern
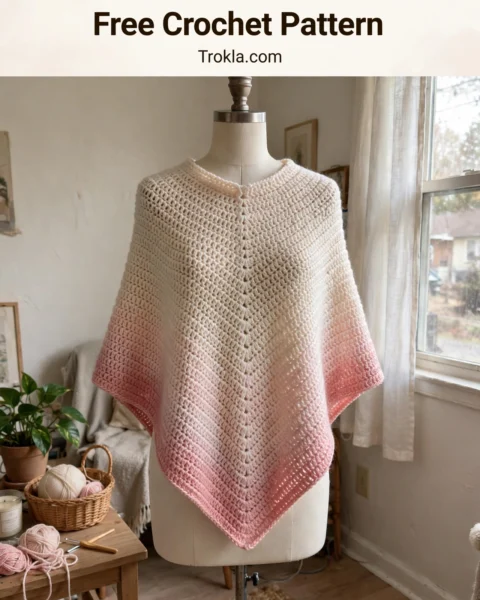
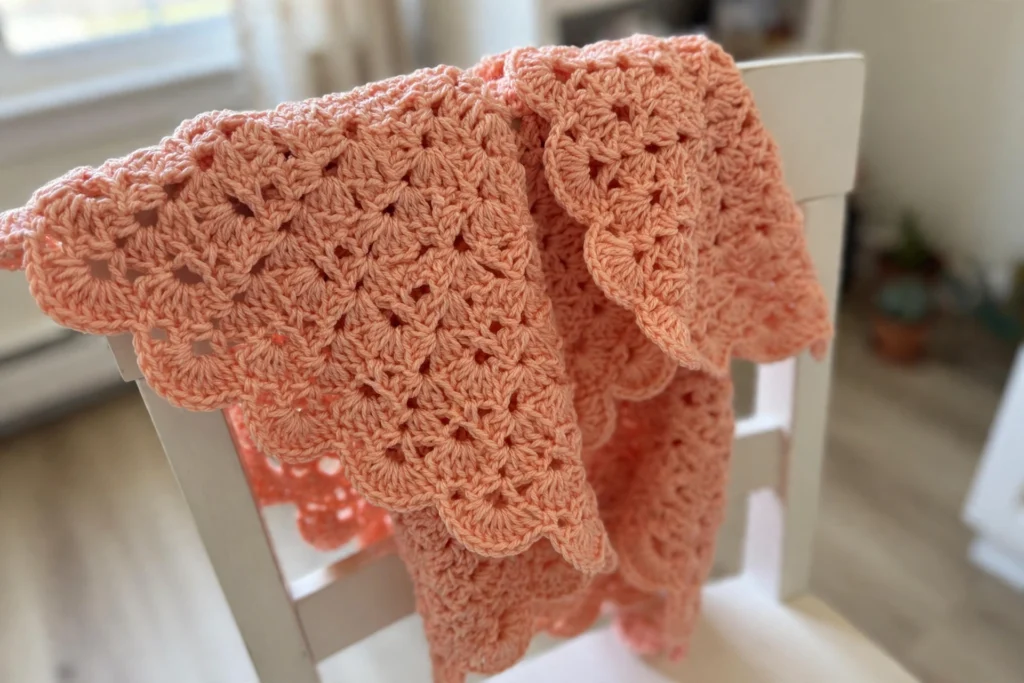
Some projects just make you happy to look at, and this is one of them. Soft peach shells stacked in neat little fans, a scalloped hem that swings when a baby toddles, and a cozy cowl neckline that keeps little chins warm. It looks like a boutique piece, but the construction is wonderfully simple: two rectangles, a little seaming, and a cowl. That’s the whole secret.
The shell stitch does all the heavy lifting here — five double crochets fanned into one stitch, and suddenly you have texture, drape, and that gorgeous scalloped edge with zero extra effort. Work it in peach like mine, or raid your stash for any soft color. This one is sized for 6 to 12 months and works up fast enough to finish before the baby shower.

What You’ll Need
- Worsted weight yarn (category 4) in peach: approximately 350 yards
- H/8 (5.0 mm) crochet hook
- Tapestry needle, stitch markers, scissors
Finished size:
- 6–12 months. Neck opening approximately 13 inches around
- Length from neck to hem approximately 11 inches
- Hem approximately 38 inches around
Gauge:
- 14 double crochet = 4 inches. One 6-stitch shell repeat measures about 1.75 inches wide

The Pattern
Rectangles (Make 2)
Both rectangles are identical. Shell = 5 double crochet worked into the same stitch. The ch-3 at the start of a shell row counts as a double crochet.
Ch 67.
Row 1: Sc in 2nd ch from hook and in each ch across. Turn. (66 sc)
Row 2 (shell row): Ch 3 (counts as dc), [sk 2 sts, shell in next st, sk 2 sts, sc in next st] 10 times, sk 2 sts, shell in next st, sk 1 st, dc in last st. Turn. (11 shells)
Row 3: Ch 1, sc in each st across (work 1 sc into every dc and every sc, including the top of the turning ch-3). Turn. (66 sc)
Rows 4–31: Repeat Rows 2 and 3, ending with a Row 3. You will have 15 shell rows and 16 sc rows. The rectangle measures about 19 inches wide and 11.5 inches long.
Fasten off the first rectangle. Work the second rectangle the same way but do not fasten off at the end of Row 31 — you will use this yarn to start the shoulder seam.
Shoulder Seams and Neck Opening
Lay the two rectangles on top of each other with right sides together, long edges aligned. The top edge of each rectangle is the neckline side.
Starting at one top corner, whipstitch the two layers together along the top edge for 6 inches. Skip the next 10 inches (this is the neck opening — place markers at each end so you don’t lose it). Whipstitch the remaining 6 inches of the top edge closed.
Turn right side out. The poncho now has a 10-inch neck opening with 6-inch seams on each shoulder.
Cowl Neckline
Join yarn with a sl st at the back of the neck opening.
Rnd 1: Ch 1, work 40 sc evenly around the neck opening (about 1 sc per row end along the unseamed edges, plus across the rectangle top edges). Join with sl st. (40 sc)
Rnds 2–9: Ch 2 (does not count as a st), hdc in each st around. Join. (40 hdc)
Rnd 10: Ch 1, sc in each st around. Join. Fasten off and weave in ends. The cowl stands about 3 inches tall and folds over softly.
Hem Edging
Join yarn at any point along the bottom edge of the poncho.
Edging rnd: Ch 3 (counts as dc), [sk 2 sts, shell in next st, sk 2 sts, sc in next st] around the entire hem, working the final repeat as: sk 2 sts, shell in next st, sk 1 st, sl st to top of beginning ch-3. Fasten off and weave in ends.
Sophie’s Tips
- Mark both ends of the neck opening before you seam the shoulders — it is very easy to stitch it a little too far and end up with a turtleneck situation.
- When working the cowl, keep your hdc stitches relaxed; a tight cowl will not fold over and it will fight you every time the baby moves.
- This poncho is a fantastic stash project — the two rectangles use the same repeat, so even a slightly variegated peach yarn looks intentional and pretty.
Sweet, simple, and snuggly — go make one for the littlest peach in your life!