# Mistletoe Christmas Wreath Free Crochet Pattern
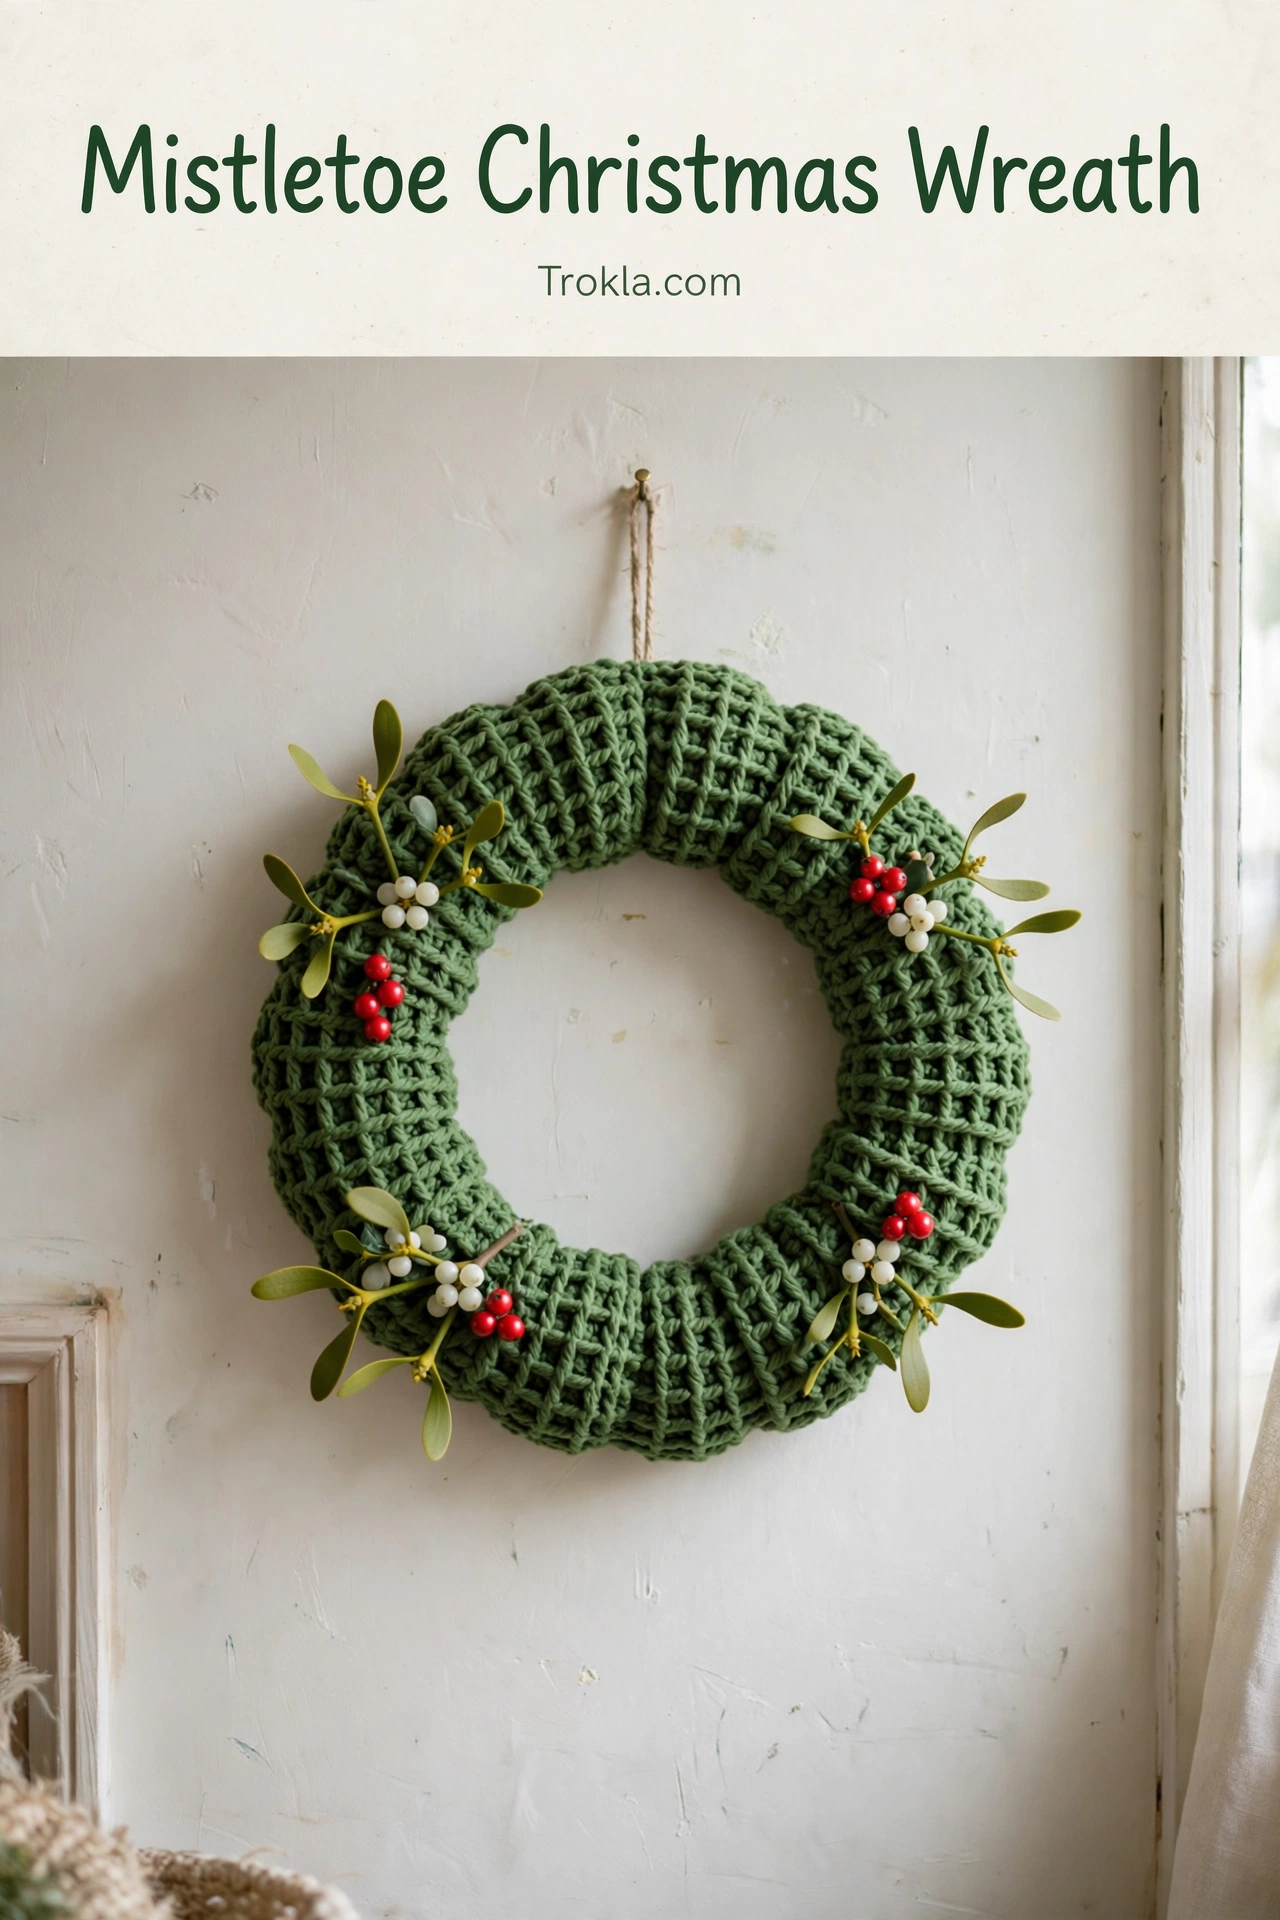
This mistletoe wreath is my not-so-traditional holiday statement piece. Instead of the usual red and green overload, it features a gorgeous C2C waffle stitch texture that looks almost knitted, dotted with little mistletoe sprigs. It hangs on my wall all December and honestly, it looks chic enough to stay up through January.
The star technique here is the corner-to-corner waffle stitch — it sounds fancy, but it’s just simple stitches worked in a clever way, and I’ll walk you through every step. And here’s the fun part: you can play with your favorite color combinations to make this as traditional or as modern as you like. I went classic green and white, but imagine it in icy blues or even blush pink!
What You’ll Need
- Worsted weight (#4) yarn in your main color (green used here, about 200 yards), plus white and small amounts of red for the mistletoe berries
- Size H-8 (5 mm) crochet hook
- 10-inch polystyrene wreath ring
- Tapestry needle
- Ribbon for a hanging loop
Finished size: Approximately 13 inches across when finished.
The Pattern
The Waffle Stitch Base
The base is worked flat in rows, then wrapped around the ring.
Chain 40.
Row 1: DC in the 3rd chain from the hook and in each chain across (38 DC), chain 2, turn.
Row 2:
- \*FPDC in the next 2 stitches, DC in the next stitch\* across (38 stitches), chain 2, turn
Row 3:
- \*DC in the next 2 stitches, FPDC in the next stitch\* across (38 stitches), chain 2, turn
Rows 4-30: Repeat Rows 2 and 3 alternately. You should have a textured rectangle about 30 rows deep — long enough to wrap around your 10-inch polystyrene ring with a little overlap.
Fasten off, leaving a long tail. Wrap the rectangle around the ring, textured side out, and whipstitch the long edges together around the back. Sew the short ends together where they meet.
Mistletoe Sprigs (make 8)
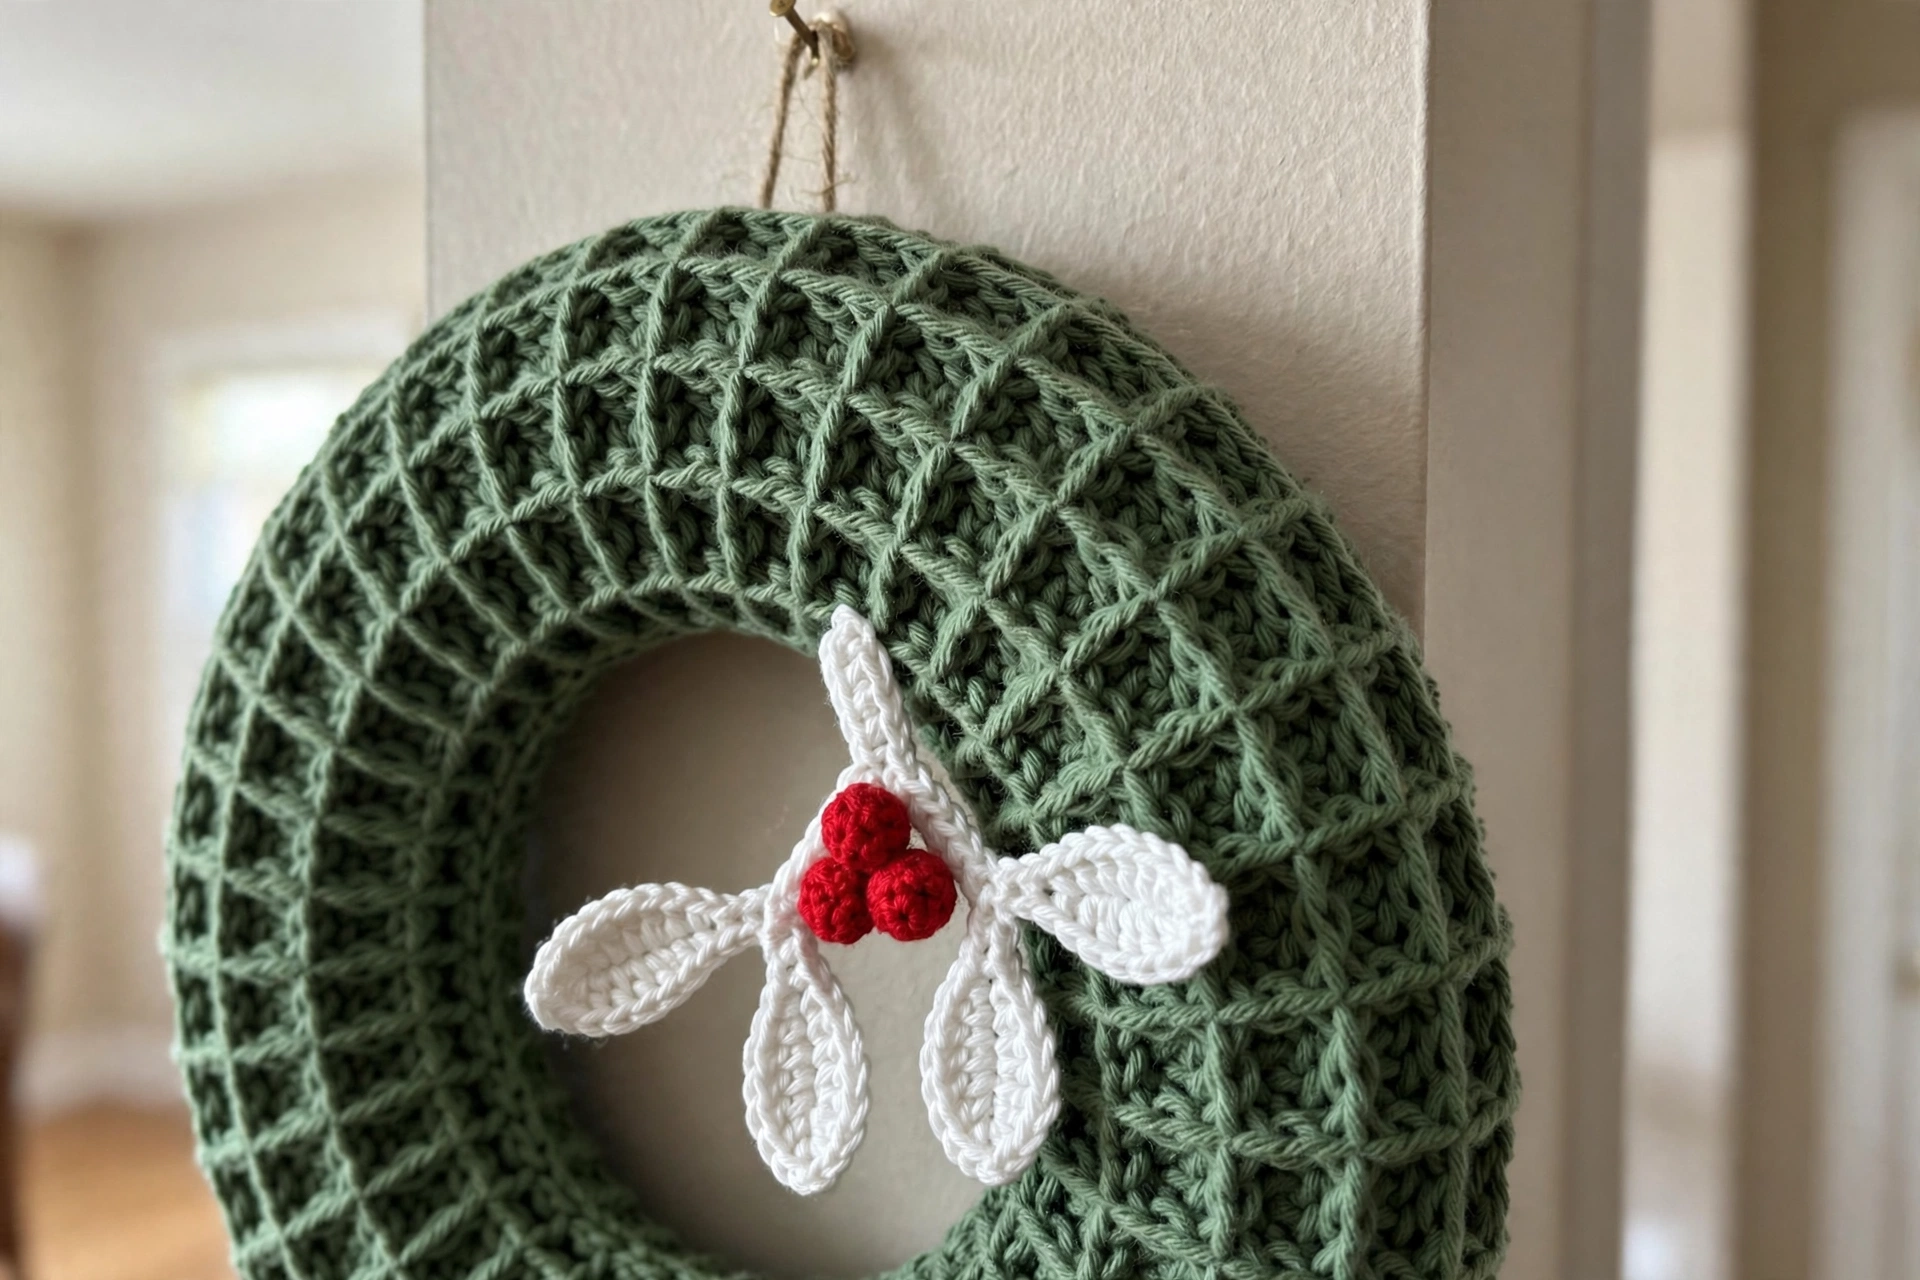
Leaves (make 2 per sprig): With white or pale green yarn, chain 9. SC in the 2nd chain from the hook, HDC in the next 2 chains, DC in the next 3 chains, HDC in the next chain, SC in the last chain. Fasten off, leaving a tail.
Berries (make 3 per sprig): With red yarn: magic ring, 5 SC into the ring.
Round 2: SC in each (5 SC). Fasten off and pull tight.
Sew the 2 leaves together at the base in a V shape, then stitch the 3 berries in the crook of the V.
Assembly
Space your 8 mistletoe sprigs evenly around the wreath and sew each one through the waffle texture to the base. I like to angle them all in the same direction for a swirling, dynamic look. Add a ribbon loop at the top — and maybe hang it somewhere you’ll get a kiss or two!

Sophie’s Tips
- The waffle stitch eats up yarn, so don’t be surprised if your skein disappears fast — 200 yards is a safe amount.
- Block your rectangle lightly before wrapping the ring; it makes the whipstitching much neater.
- Try this in cream with gold berries for an elegant New Year’s version!
A little mistletoe, a lot of texture, and zero traditional rules — my kind of Christmas.