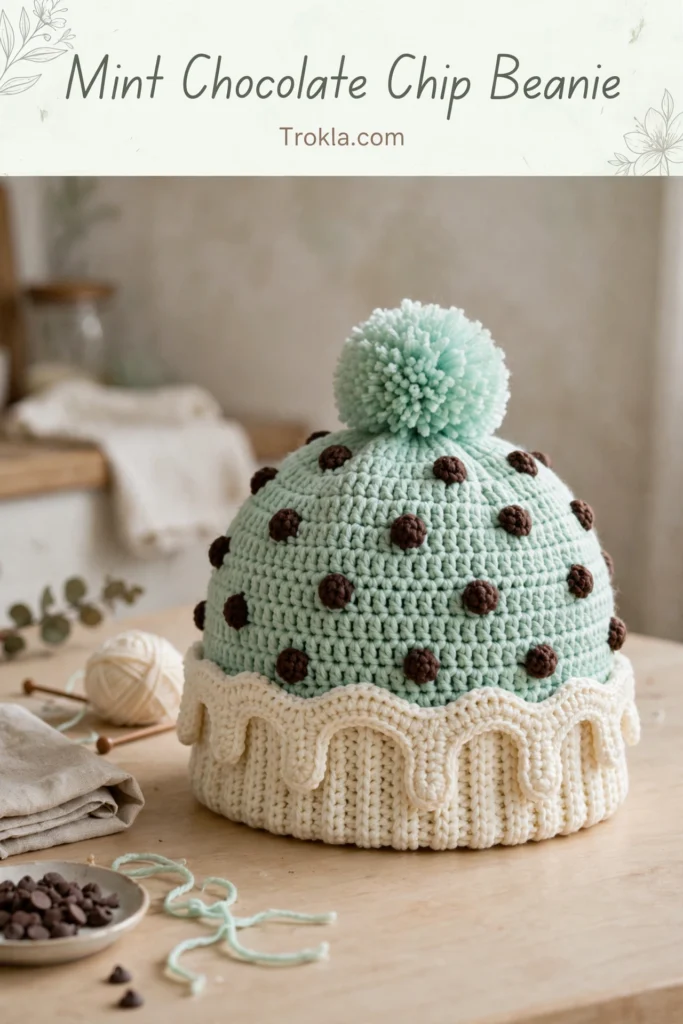
# Mint Chocolate Chip Beanie Free Crochet Pattern
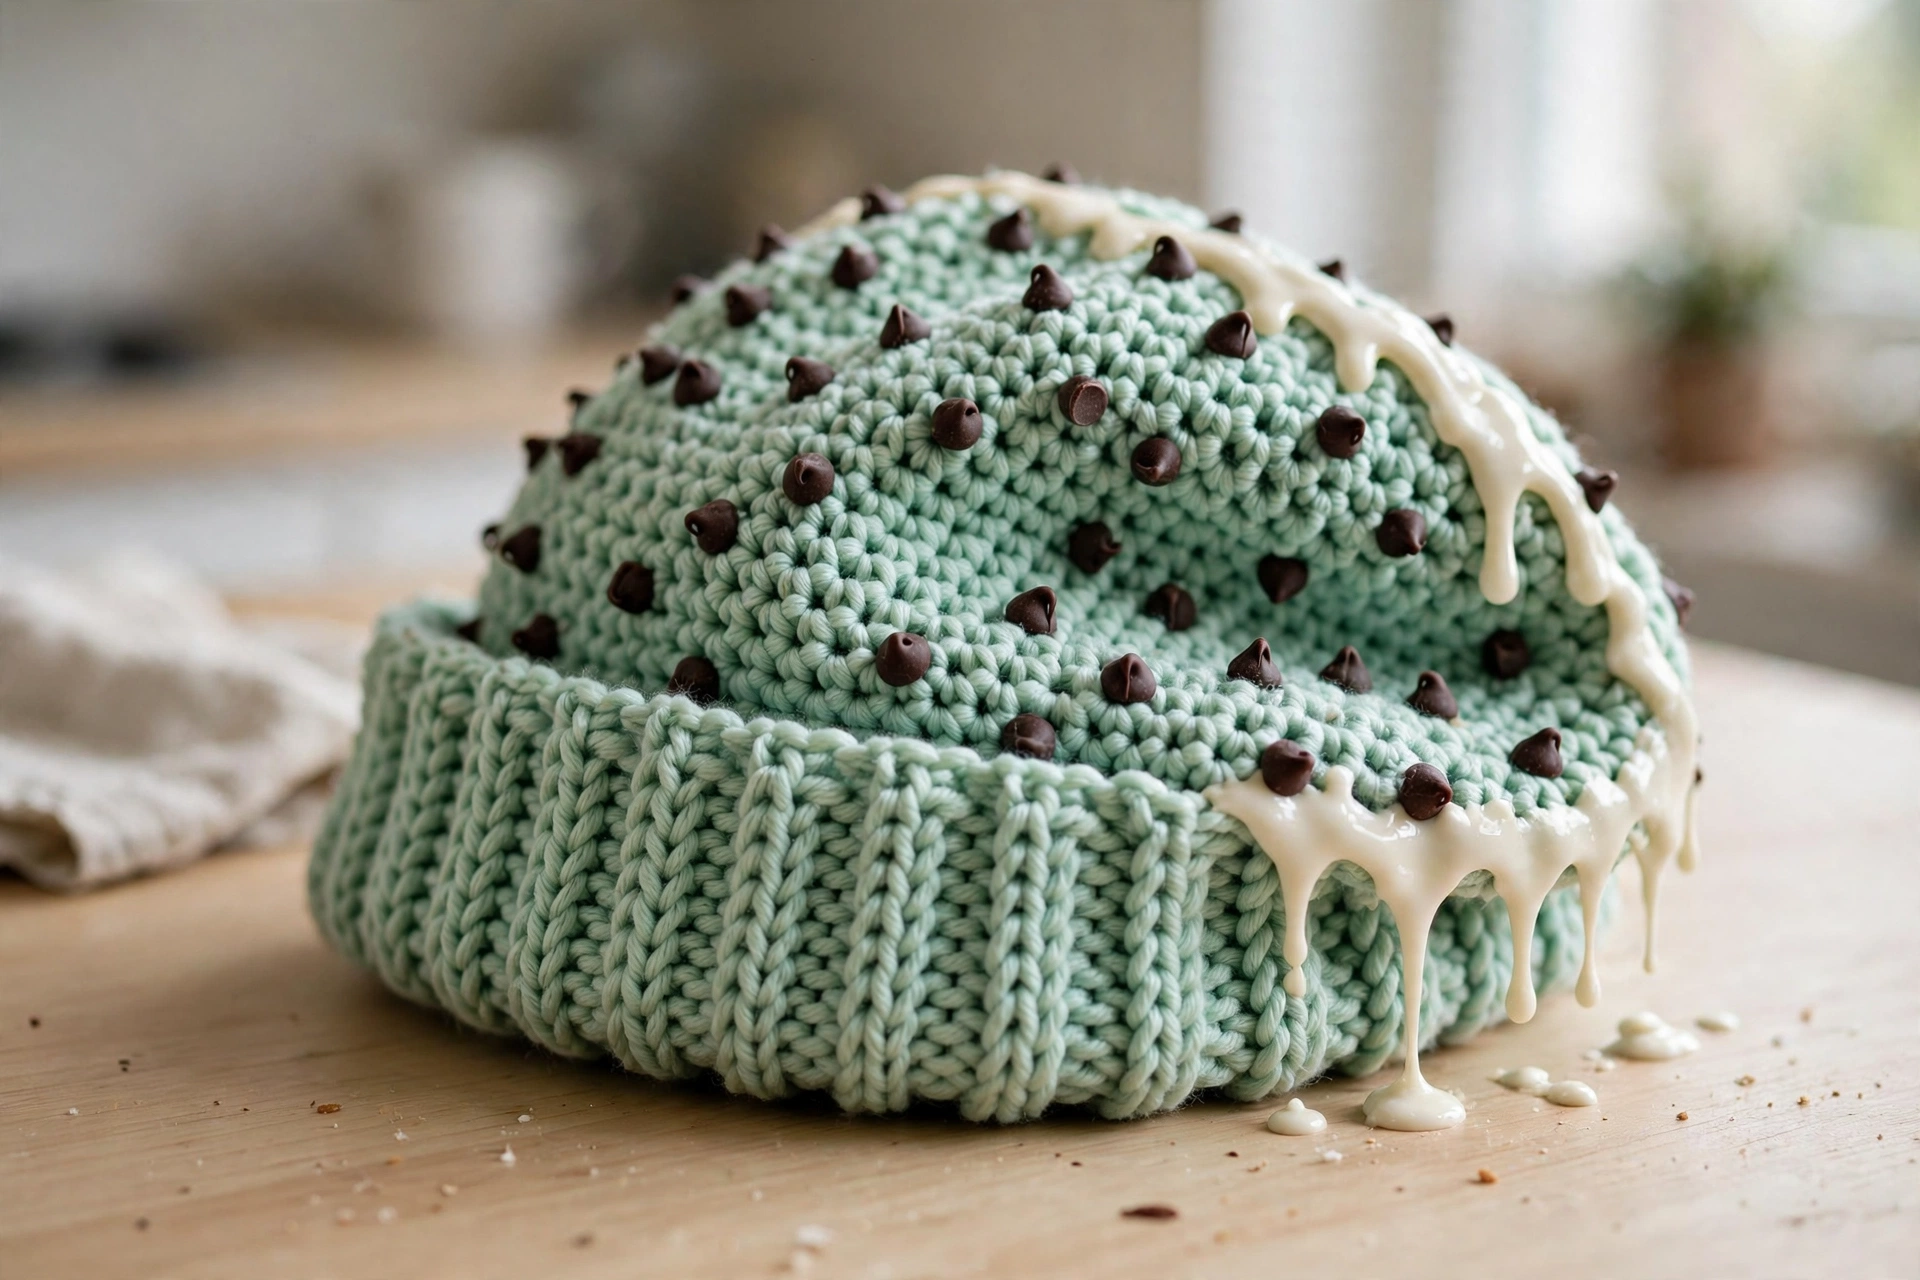
Last winter, my niece announced that her favorite ice cream flavor was mint chocolate chip. Not just her favorite — her *only* acceptable flavor. She wore a mint green sweater three days in a row and demanded everything in her lunchbox be green. I knew what I had to do. I grabbed my hook and some yarn, and this beanie was born.
It looks exactly like a scoop of mint chocolate chip ice cream: a cream ribbed brim for the cone, a mint green body studded with chocolate chip bobbles, a cream “drip” applique that looks like melting ice cream, and a fluffy mint pom pom on top. She wore it every single day until spring. If you have a mint chocolate chip enthusiast in your life — or you just want a hat that makes people smile — this pattern is for you. Plan on 6 to 9 hours including all the finishing.
What You’ll Need
- Yarn A (Cream/off-white): approximately 130 yards (119 m), worsted weight (category 4)
- Yarn B (Mint green): approximately 180 yards (165 m), worsted weight (category 4)
- Yarn C (Dark brown): approximately 15 yards (14 m), worsted weight (category 4)
- Extra Yarn B: approximately 30 yards (27 m) additional mint green for the pom pom
- US size J-10 / 6.0 mm crochet hook
- Yarn needle, stitch markers (at least 4), scissors, pins for blocking
- Pom pom maker (3 inch / 7.5 cm diameter recommended) or two cardboard circles
Finished size:
- Adult medium, fitting a head circumference of approximately 21 to 22 inches (53 to 56 cm)
- Hat height from brim fold to crown (excluding pom pom): approximately 9.5 inches (24 cm)
- Brim folded height: approximately 2 inches (5 cm)
- The hat has 1 to 2 inches of negative ease so it grips comfortably
Gauge:
- 16 single crochet and 18 rows = 4 inches (10 cm), worked in the round in single crochet with the J-10 hook, after blocking. The stitch count is calculated for a specific circumference, so please swatch — at least 20 sc wide and 20 rows tall, measuring the center 4 inches
The Pattern
Chocolate Chip Bobble Stitch
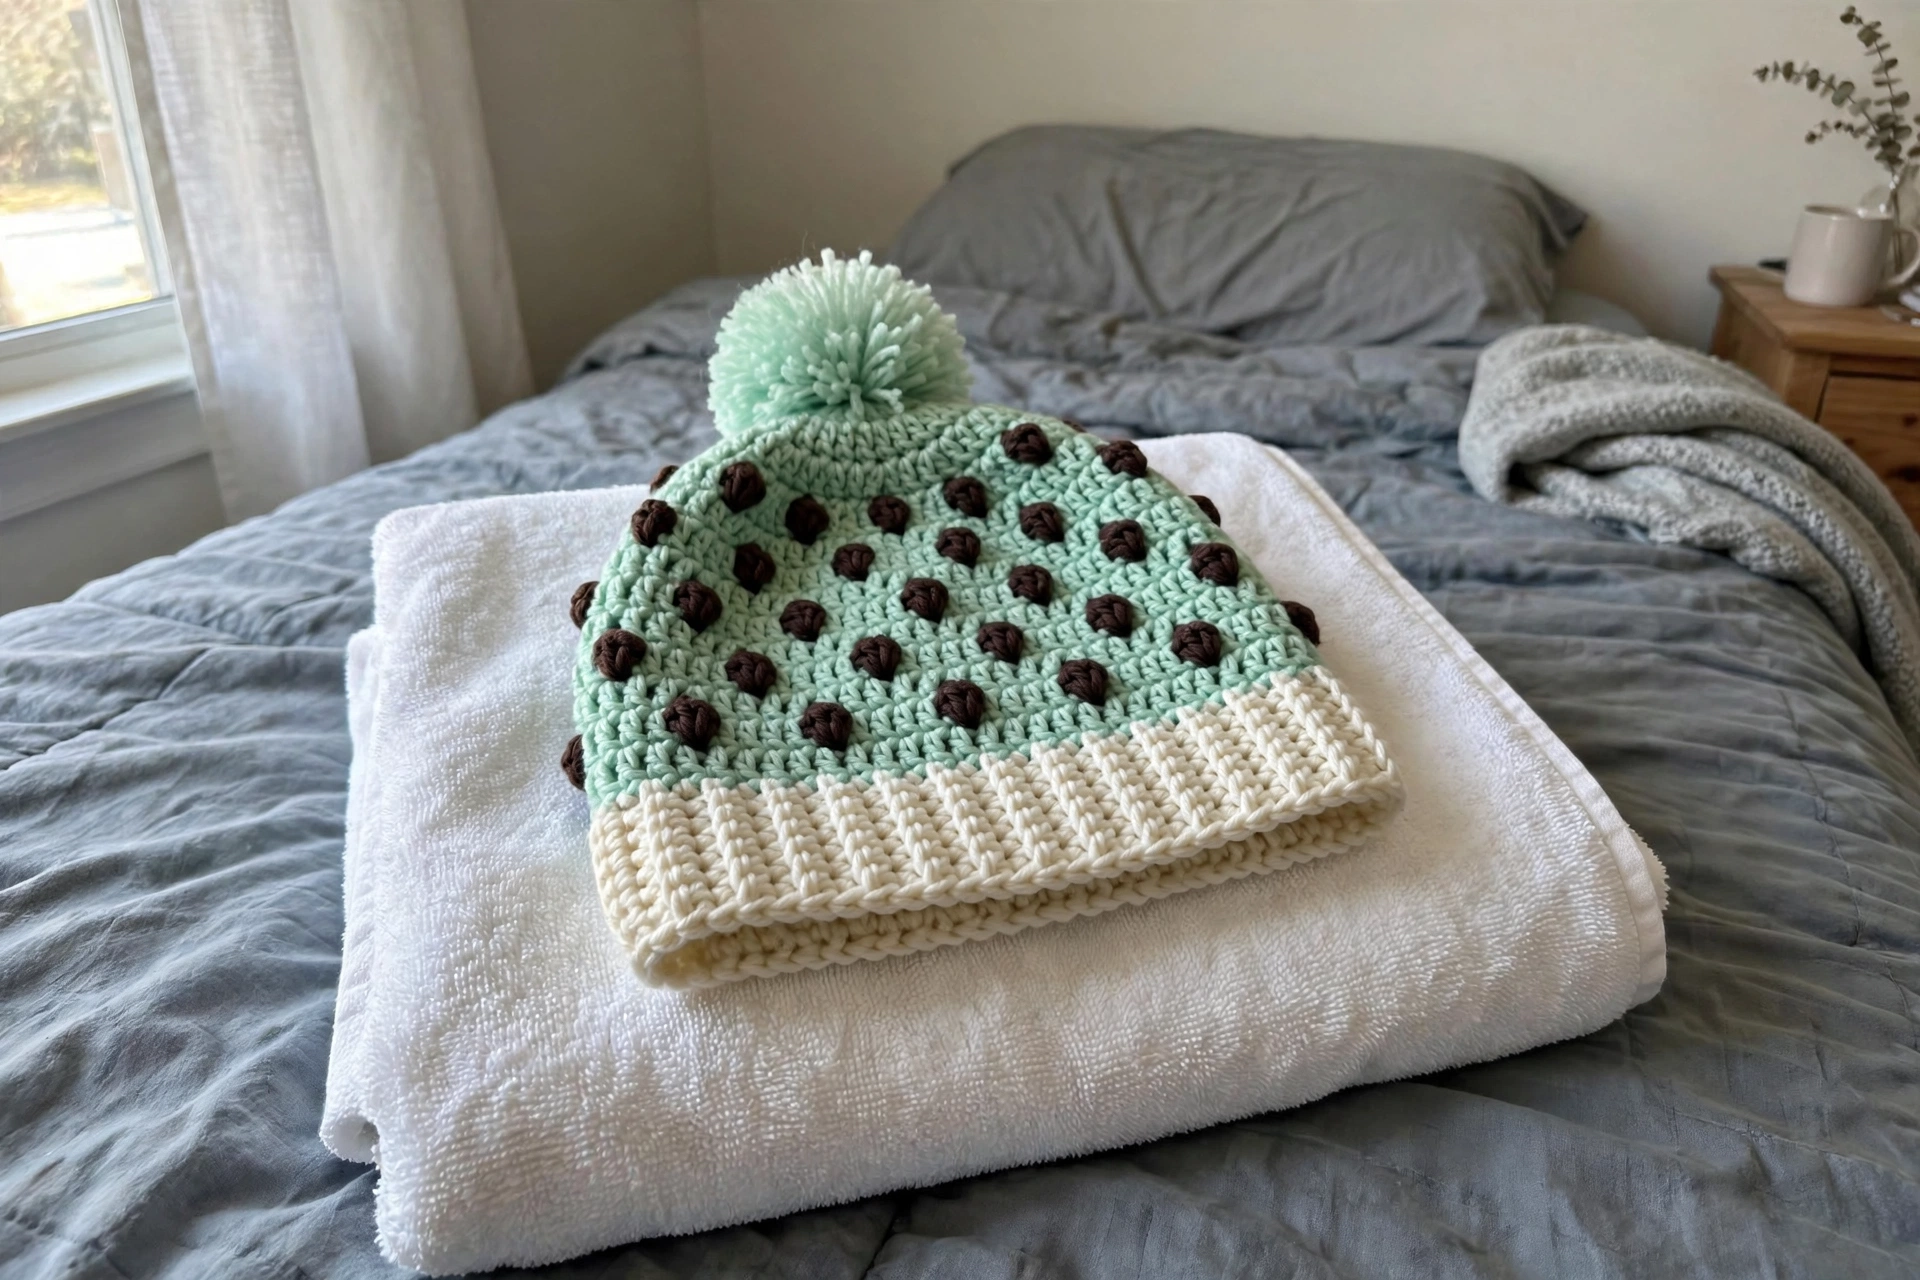
This is a 5-double-crochet bobble worked into a single stitch — your chocolate chip. Insert the hook into the indicated stitch, yarn over, pull up a loop, yarn over, pull through 2 loops (1 incomplete dc). Repeat four more times in the same stitch — you now have 6 loops on the hook (5 incomplete dc). Yarn over and pull through all 6 loops, then chain 1 to close and secure (the closing chain doesn’t count as a stitch). The bobble puffs toward the right side; if it flips inward, just push it out with your finger.
Section 1 — The Brim
The brim is a ribbed rectangle worked flat, then seamed into a ring.
With Yarn A, chain 13.
Row 1 (RS): Sc in the 2nd chain from the hook and in each chain across. Turn. (12 sc)
Row 2: Chain 1, sc in the back loop only of each stitch across. Turn. (12 sc)
Repeat Row 2 until the piece measures 20.5 inches (52 cm) from the beginning, ending after a WS row — this will be approximately 93 rows.
Checkpoint: the strip is 12 stitches wide and 20.5 inches long.
Seam: With a yarn needle and Yarn A, whipstitch or mattress stitch the first and last rows together to form a ring, keeping the seam neat and stretchy. Weave in ends.
Section 2 — Hat Body Setup Round
Hold the brim ring with the seam at one side. With Yarn B, join at the seam with a slip stitch through one of the edge stitches.
Setup Round: Chain 1 (doesn’t count as a stitch), sc evenly around the top edge — 82 sc evenly spaced, skipping approximately 1 row end every 11 stitches to reduce from 93 row ends to 82. Slip stitch to the first sc to join and place a marker in the first stitch. (82 sc)
Section 3 — Hat Body
All body rounds begin with chain 1 (doesn’t count) and join with a slip stitch to the first sc. Move the marker up each round. All body rounds are right-side rounds, so the bobbles puff outward naturally.
Rounds 1–4: Chain 1, sc in each stitch around, slip stitch to join. (82 sc each round)
Round 5 (Bobble Round 1): Chain 1, sc in the next 5 sts, bobble in the next stitch, (sc in the next 10 sts, bobble in the next stitch) 6 times, sc in the next 5 sts, slip stitch to join. (75 sc, 7 bobbles = 82 total)
Rounds 6–7: Chain 1, sc in each stitch around, slip stitch to join. (82 sc each round)
Round 8 (Bobble Round 2): Chain 1, sc in the next 10 sts, bobble in the next stitch, (sc in the next 10 sts, bobble in the next stitch) 6 times, sc in the remaining 5 sts, slip stitch to join. (75 sc, 7 bobbles = 82 total)
Rounds 9–10: Chain 1, sc in each stitch around, slip stitch to join. (82 sc each round)
Round 11 (Bobble Round 3): Chain 1, sc in the next 2 sts, bobble in the next stitch, (sc in the next 12 sts, bobble in the next stitch) 5 times, sc in the next 9 sts, slip stitch to join. (76 sc, 6 bobbles = 82 total)
Rounds 12–13: Chain 1, sc in each stitch around, slip stitch to join. (82 sc each round)
Round 14 (Bobble Round 4): Chain 1, sc in the next 7 sts, bobble in the next stitch, (sc in the next 13 sts, bobble in the next stitch) 5 times, sc in the next 6 sts, slip stitch to join. (76 sc, 6 bobbles = 82 total)
Rounds 15–16: Chain 1, sc in each stitch around, slip stitch to join. (82 sc each round)
Round 17 (Bobble Round 5): Chain 1, sc in the next 4 sts, bobble in the next stitch, (sc in the next 11 sts, bobble in the next stitch) 6 times, sc in the next 7 sts, slip stitch to join. (75 sc, 7 bobbles = 82 total)
Rounds 18–19: Chain 1, sc in each stitch around, slip stitch to join. (82 sc each round)
Checkpoint: after Round 19 the body should measure approximately 4.25 inches (10.8 cm) tall.
Section 4 — Upper Body and Transition
Rounds 20–21: Chain 1, sc in each stitch around, slip stitch to join. (82 sc each round)
At the end of Round 21, change to Yarn A (cream) by completing the last slip stitch join with Yarn A. Cut Yarn B, leaving a 6-inch tail.
Rounds 22–23 (Yarn A): Chain 1, sc in each stitch around, slip stitch to join. (82 sc each round)
Section 5 — Crown Shaping
**Crown
Round 1:** Chain 1, (sc in the next 11 sts, decrease over the next 2 sts) 6 times, sc in the remaining 4 sts, slip stitch to join. (76 sc)
**Crown
Round 2:** Chain 1, sc in each stitch around, slip stitch to join. (76 sc)
**Crown
Round 3:** Chain 1, (sc in the next 10 sts, decrease over the next 2 sts) 6 times, sc in the remaining 4 sts, slip stitch to join. (70 sc)
**Crown
Round 4:** Chain 1, sc in each stitch around, slip stitch to join. (70 sc)
**Crown
Round 5:** Chain 1, (sc in the next 9 sts, decrease over the next 2 sts) 5 times, sc in the next 8 sts, decrease over the next 2 sts, slip stitch to join. (64 sc)
**Crown
Round 6:** Chain 1, (sc in the next 8 sts, decrease over the next 2 sts) 6 times, sc in the remaining 4 sts, slip stitch to join. (58 sc)
**Crown
Round 7:** Chain 1, (sc in the next 5 sts, decrease over the next 2 sts) 8 times, sc in the remaining 2 sts, slip stitch to join. (50 sc)
**Crown
Round 8:** Chain 1, (sc in the next 3 sts, decrease over the next 2 sts) 10 times, slip stitch to join. (40 sc)
**Crown
Round 9:** Chain 1, (sc in the next 2 sts, decrease over the next 2 sts) 10 times, slip stitch to join. (30 sc)
**Crown
Round 10:** Chain 1, (sc in the next 1 stitch, decrease over the next 2 sts) 10 times, slip stitch to join. (20 sc)
**Crown
Round 11:** Chain 1, (decrease over the next 2 sts) 10 times, slip stitch to join. (10 sc)
Fasten off Yarn A, leaving a 12-inch tail. Thread it on a yarn needle, run it through the front loop of each remaining 10 stitches, pull tight to close the crown, and secure with several stitches on the inside. Weave in the end.
Section 6 — Ice Cream Drip Applique
With Yarn A, chain 85.
Foundation Row: Sc in the 2nd chain from the hook and in each chain across. Turn. (84 sc)
Row 1: Chain 1, sc in each stitch across. Turn. (84 sc)
Drip Row: Sc in the first 6 stitches. Work a drip extension: chain 7, sc in the 2nd chain from the hook and in each of the next 5 chains, slip stitch back to the base stitch. *Sc in the next 13 stitches, work a drip extension.* Repeat 3 more times. Sc in the remaining 6 stitches. Fasten off.
Tip for natural variation: make some drips longer (chain 9 for 8 sc) and some shorter (chain 5 for 4 sc), just like real melting ice cream.
Section 7 — Pom Pom
Using Yarn B, make a large pom pom approximately 3 to 3.5 inches (7.5 to 9 cm) in diameter: wrap yarn densely around your pom pom maker or cardboard circles (at least 100 wraps), cut through the loops around the outer edge, tie a 12-inch length of yarn tightly around the center before removing the cardboard, then fluff and trim into a round shape. Use the long tie ends to sew the pom pom securely to the crown.
Section 8 — Finishing
Weave in any remaining ends on the inside. Pin the drip applique strip around the hat, lining up its straight top edge with the color change between Rounds 21 and 22, with the longer drips toward the front. With Yarn A and a yarn needle, sew the top edge of the drip strip to the hat with small whipstitches. Attach the pom pom to the crown. Fold the brim up approximately 2 inches and tack the fold at the seam if you like.
Sophie’s Tips
- Use a smooth yarn for the mint body. Textured or fuzzy yarns swallow the bobble “chips,” and you want those little bumps to pop.
- To change colors cleanly, finish the last stitch of the old color until 2 loops remain, then draw the new color through both loops.
- For the brown chips, cut and rejoin Yarn C as needed rather than carrying long floats across the back — floats love to snag on fingers.
Go make the happiest hat in the freezer aisle!