# Crocheted Fall Leaf Garland Free Pattern
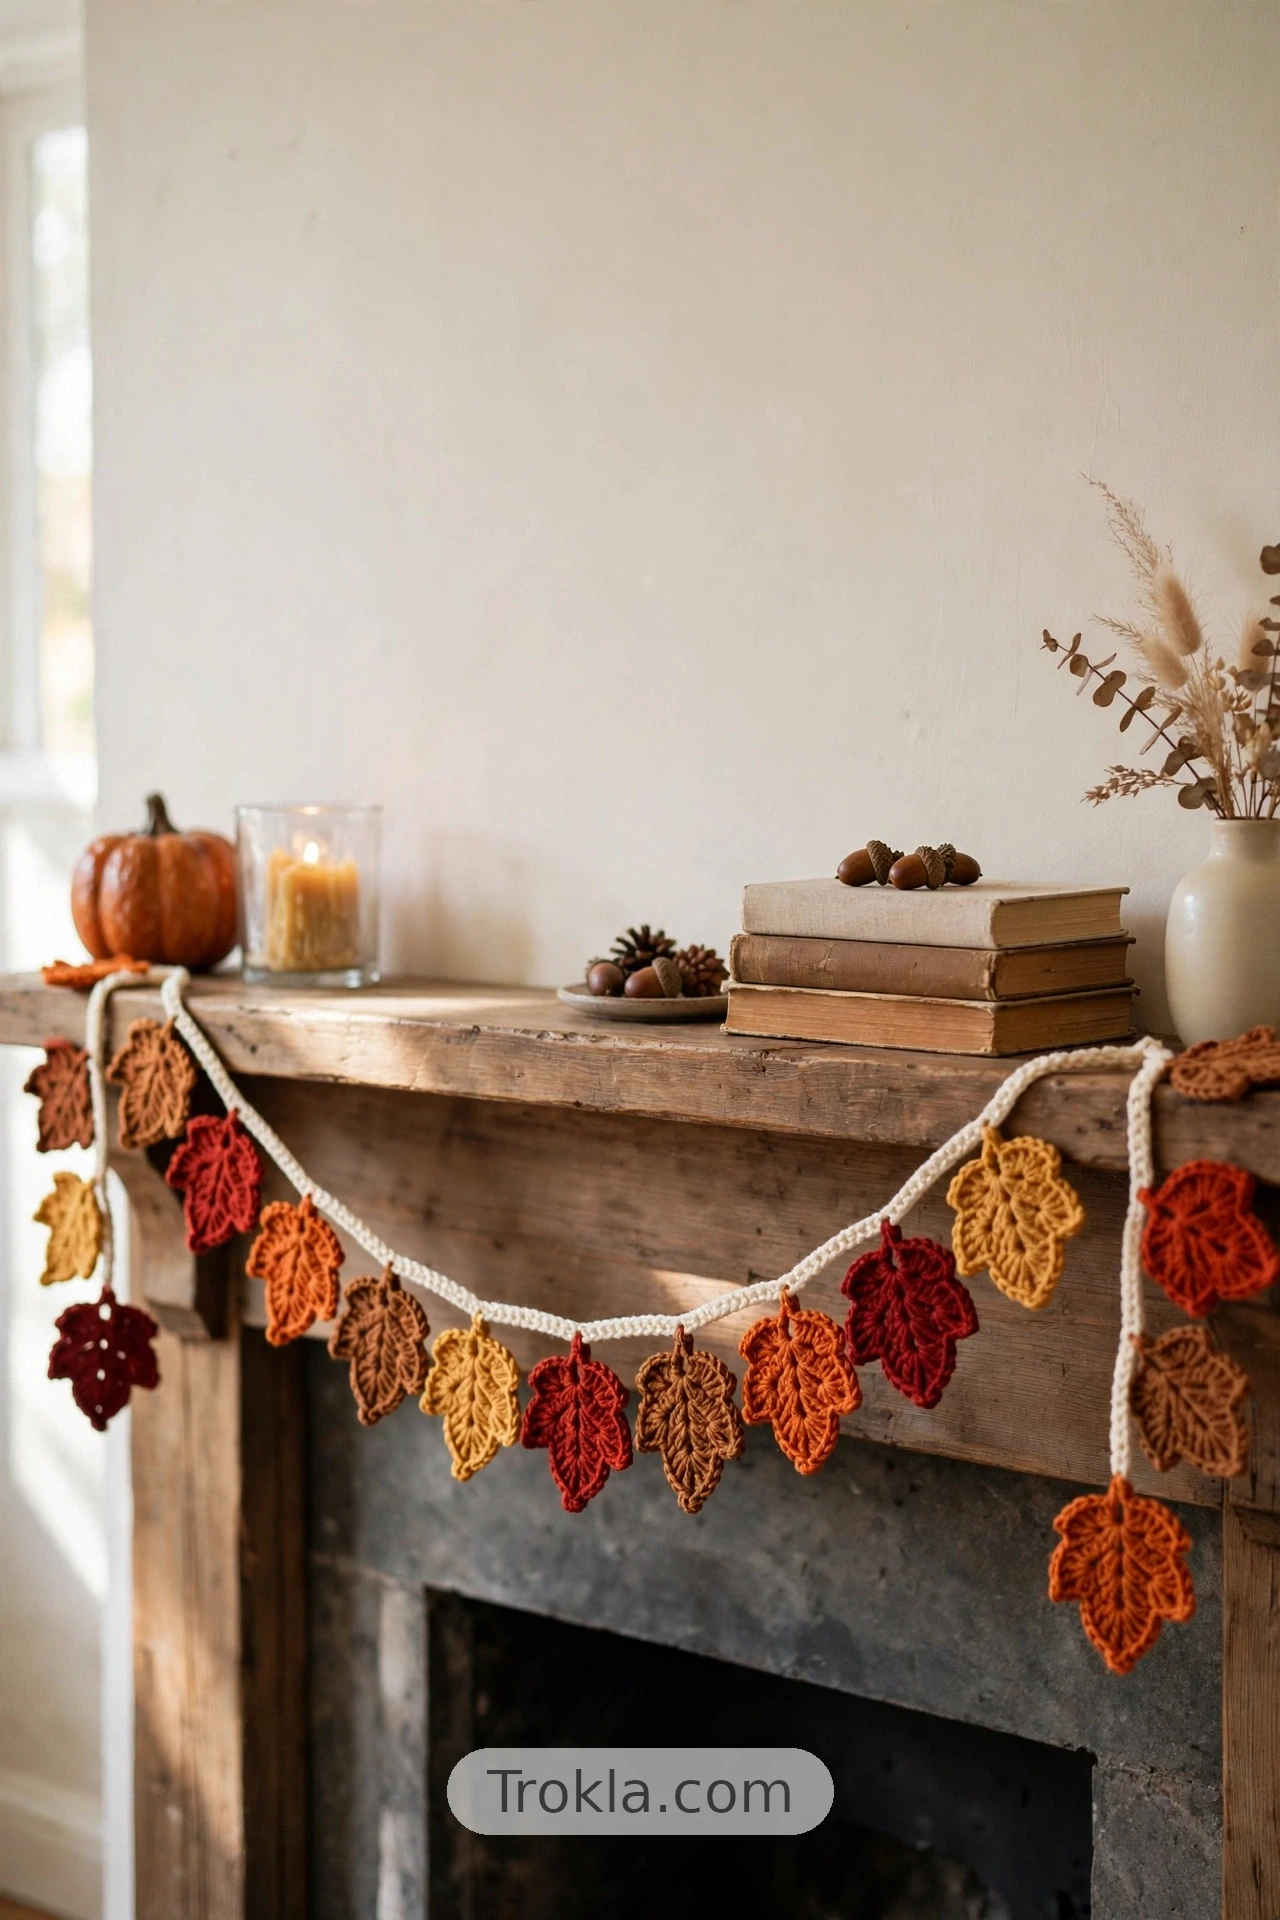
I have a confession: fall foliage makes me swoon. Those brilliant reds, golds, and oranges — I wish I could keep them around all year. So I did the next best thing and crocheted them! This fall leaf garland strings together sweet little leaves in all your favorite autumn shades, and each leaf is worked in one piece — no sewing whatsoever. (This lazy crocheter approves.)
It’s also a perfect stash-buster: every leaf takes just a few yards of scrap yarn. Dig through that scrap basket and let’s make some magic.
What You’ll Need
- Worsted weight scrap yarn for the leaves (about 3.5 yds per leaf)
- A little bit of worsted weight yarn for the garland string
- Size H (5.0 mm) crochet hook
- Tapestry needle for weaving in ends
Stitch Glossary
- st(s) = stitch(es)
- ss = slip stitch
- ch = chain
- sc = single crochet
- hdc = half double crochet
- dc = double crochet
- tr = treble (triple) crochet
The Leaf Base
Chain 10. We’re going to work stitches down one side of the chain and then back up the other side — I recommend working into just one loop of the chain as you go, so it’s easier to keep track of your stitches.
Ss in the 2nd ch from the hook, sc in the next st, hdc in the next 2 sts, dc in the next 2 sts, tr in the next 2 sts, work [dc, dc, hdc] all in the last ch. Now we’re going to work back up the chain using the remaining loops.
Working on the other side of the chain: work [hdc, dc, dc] in the first st, tr in the next 2 sts, dc in the next 2 sts, hdc in the next 2 sts, sc in the next st, ss in the last st, then ss to the first ss to join.
Don’t fasten off yet — now we’re adding the stem!
The Stem
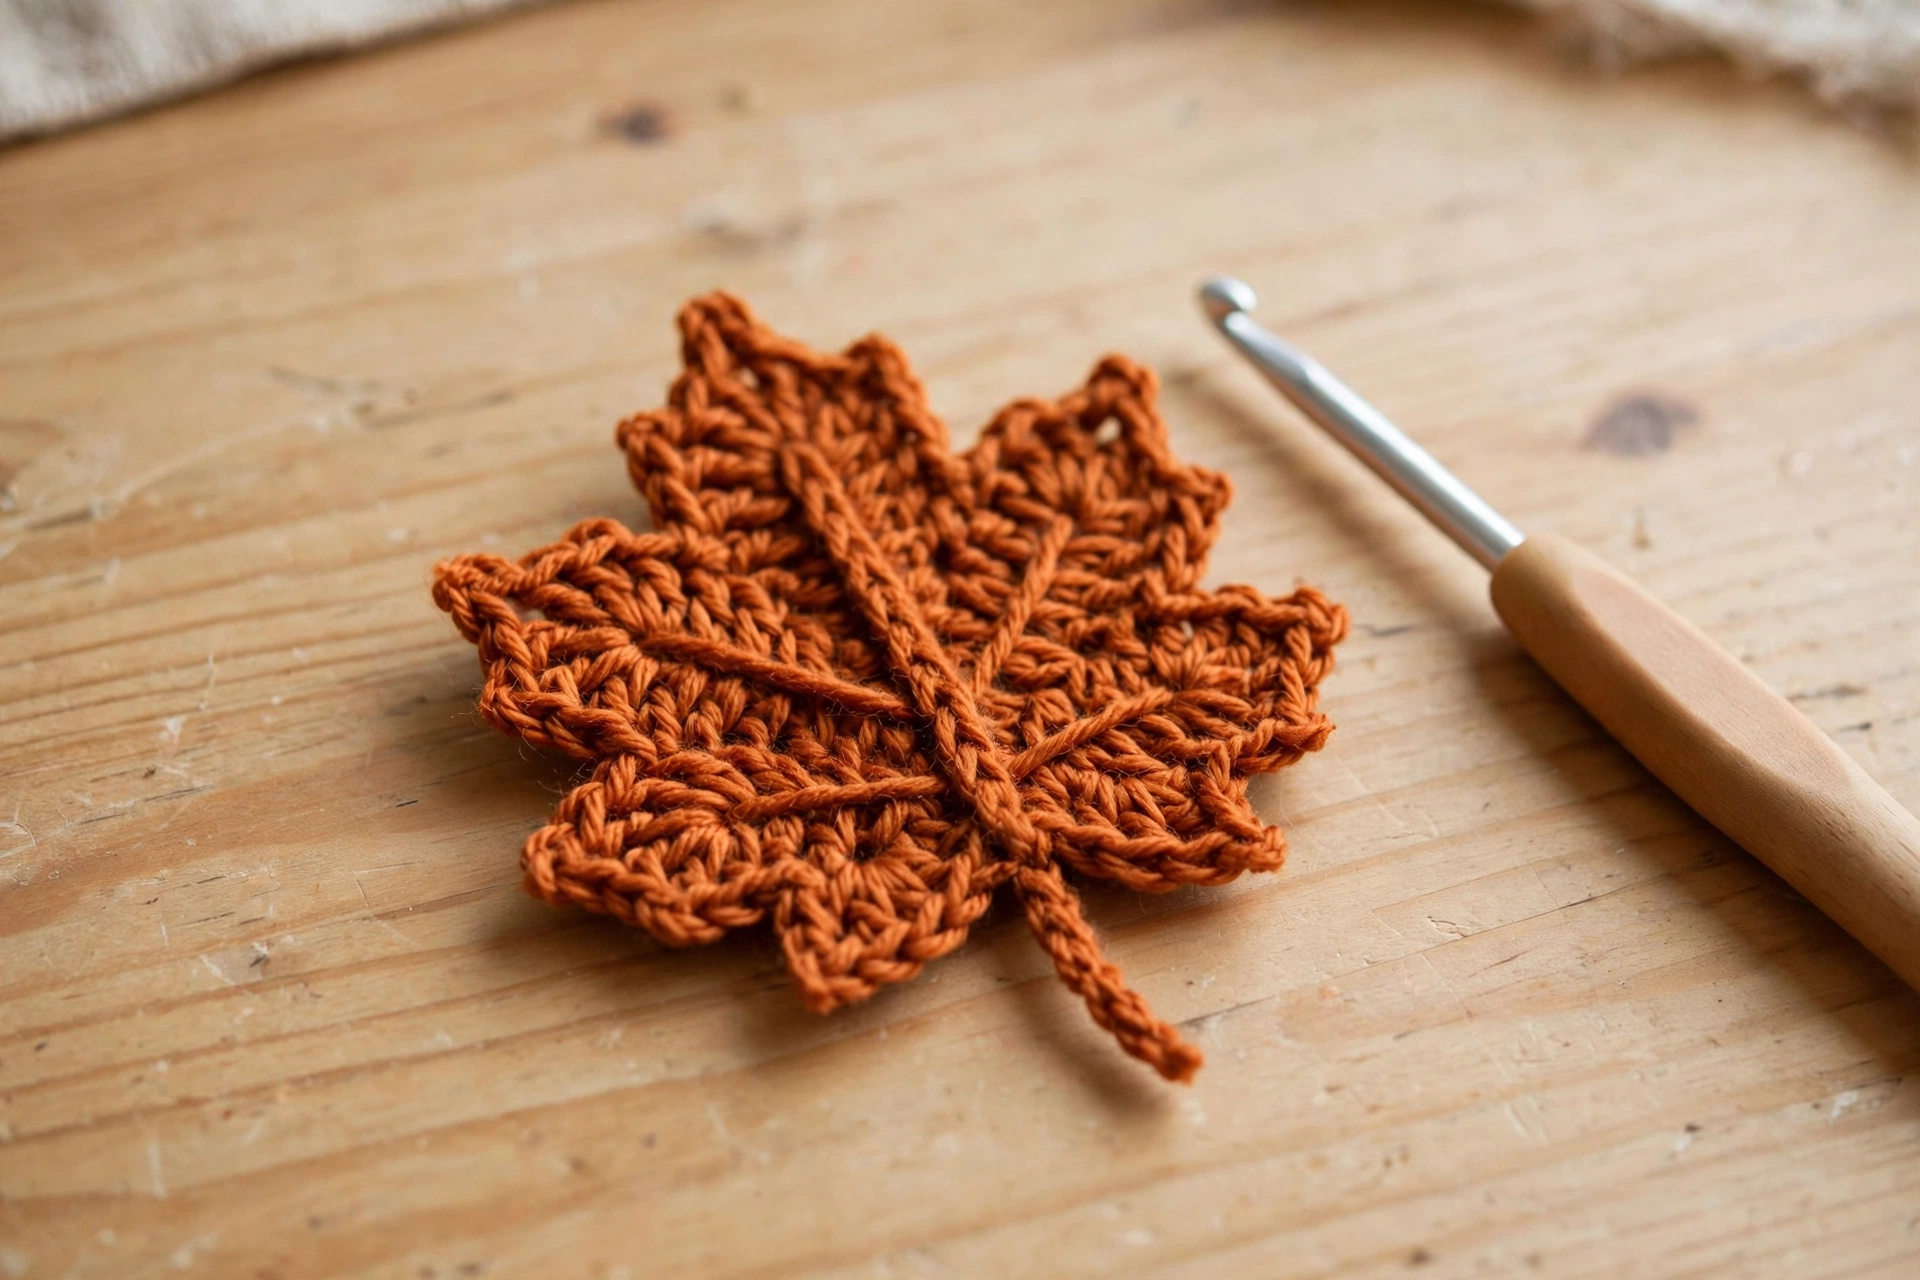
Insert your hook into the center of the leaf, just below the tip. Yarn over and pull through the leaf and the loop on your hook (that’s your first surface crochet). Continue to surface crochet down the center of the leaf until you get to the far end.
At the far end of the leaf, chain 4. Ss in the 2nd ch from the hook and in the next 2 sts, then ss to the leaf base to join. Fasten off and weave in the ends.
You did it — one leaf down! Make as many as you like in all your favorite fall colors.
The Garland String
Chain 20 (or more or fewer, depending on how long you want the hanging ends to be). Take one of your leaves and insert your hook through the end of the stem — or through another point of the leaf if you want a different orientation. Yarn over and pull through the stem and the loop on your hook. The leaf is now attached!
Chain 10 and repeat with the next leaf. Make sure all your leaves have the right side facing you while you’re slip stitching through the stems, so they all face the same way on the finished garland. (I first tried spacing mine 5 chains apart, but it looked too crowded — 10 chains apart is the sweet spot.)
Once you’ve attached all your leaves, chain 20 and fasten off. Weave in the ends.
And there you have it — a gorgeous fall leaf garland that brings a little autumn magic indoors!
Sophie’s Tips
- These leaves make adorable appliqués too — sew one onto a hat, a tote bag, or a greeting card.
- Try a gradient: start with deep red leaves on one end and fade through orange to gold on the other. Stunning!
- Block your leaves if they curl — a quick steam and press under a heavy book works wonders.
Happy hooking! 🍁