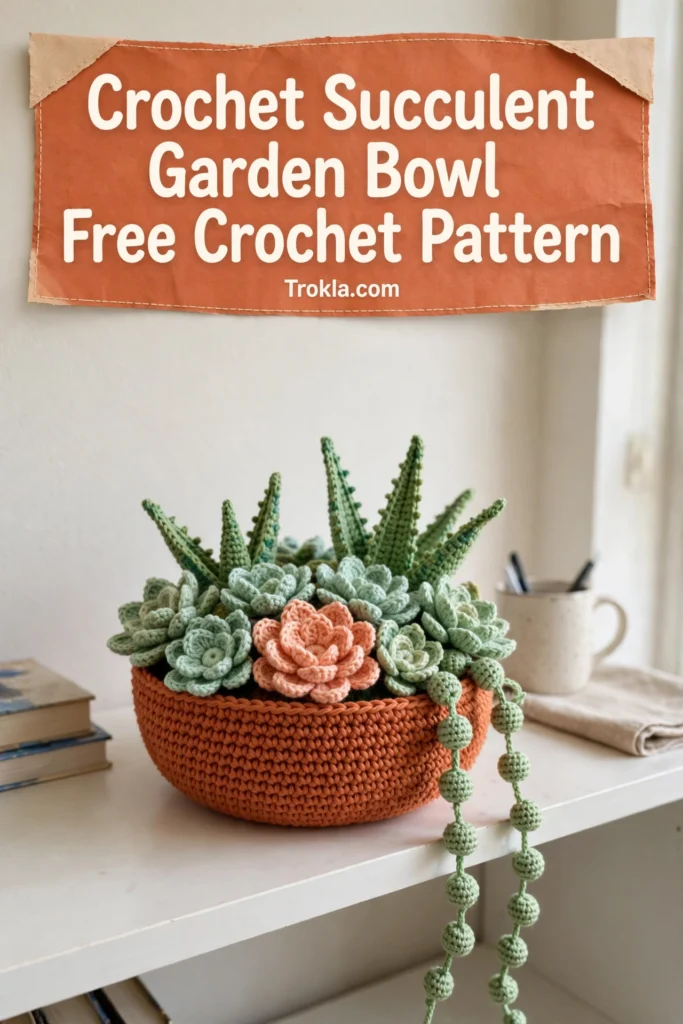
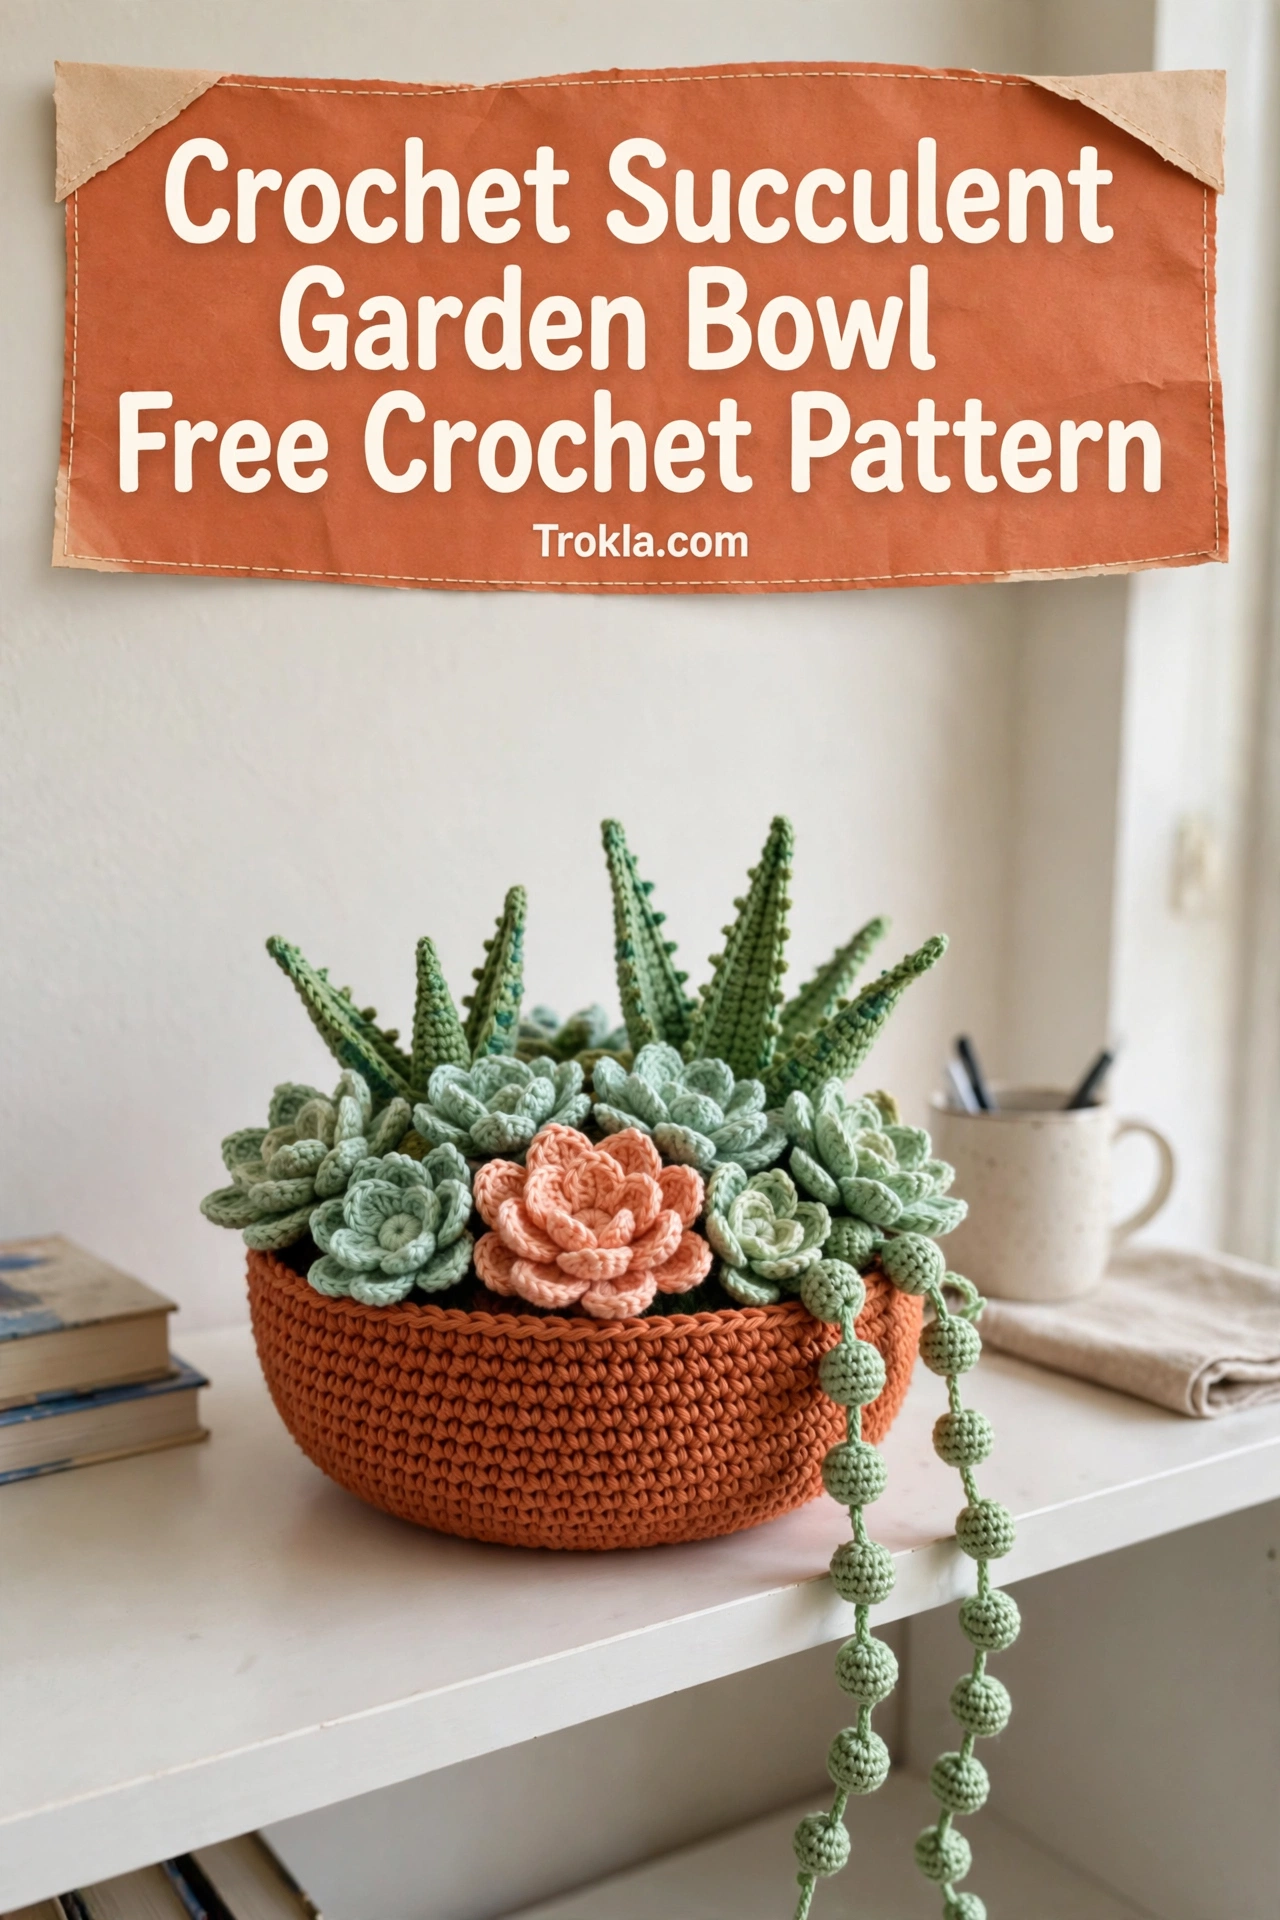
I have a confession: I am a plant serial killer. Not on purpose, I swear! I just forget to water things, and somehow even the “unkillable” succulents never survive me. So when I finished this little crocheted succulent garden, I genuinely laughed out loud. A garden I cannot kill. Perfection.
This one is really a bunch of tiny projects in a trench coat: a terracotta pot, three rosettes, spiky aloe leaves, a trailing string of pearls, and a pile of little pebbles. Each piece on its own is simple — mostly single crochet in the round — and putting it all together feels like arranging real flowers. Mine lives on my bookshelf, and I smile every single time I walk past it. It also makes the sweetest gift for plant lovers who travel too much to keep the real thing alive.
What You’ll Need
- Worsted weight yarn (category 4) — I used 100% cotton for that clean, matte botanical look:
- Terracotta or rust orange: approximately 80 yards (bowl)
- Mint green: approximately 40 yards (large rosette)
- Dusty pink or peach: approximately 30 yards (medium rosette)
- Sage green: approximately 25 yards (aloe plant)
- Teal or dusty blue: approximately 30 yards (trailing succulents and small rosette)
- Tan or beige: approximately 20 yards (pebble filler)
- Taupe or gray-brown: approximately 15 yards (additional pebbles)
- Small amounts of pink for accent stitching on leaf tips
- 3.5 mm (E/4) crochet hook
- Tapestry needle
- Polyester fiberfill stuffing
- Stitch markers
- Scissors
- Small cardboard circle (about 5 inches across) for bowl base stability — optional but recommended
Finished size: Bowl measures approximately 6 inches (15 cm) wide and 2.5 inches (6 cm) tall. Gauge isn’t critical for this decorative project — if your bowl looks about right, you’re golden.
The Pattern
Terracotta Bowl
Worked in continuous rounds from the center base outward, then up the sides.
Rnd 1: Magic ring, 6 sc into ring, pull tight. (6 sts)
Rnd 2: Inc in each st around. (12 sts)
Rnd 3: (Sc 1, inc) around. (18 sts)
Rnd 4: (Sc 2, inc) around. (24 sts)
Rnd 5: (Sc 3, inc) around. (30 sts)
Rnd 6: (Sc 4, inc) around. (36 sts)
Rnd 7: (Sc 5, inc) around. (42 sts)
Rnd 8: (Sc 6, inc) around. (48 sts)
Rnd 9: Working in back loops only, sc in each st around. (48 sts) — this creates the bottom edge ridge of your pot. Very satisfying.
Rnds 10–11: Sc in each st around. (48 sts)
Rnd 12: (Sc 7, inc) around. (54 sts)
Rnds 13–15: Sc in each st around. (54 sts)
Rnd 16: (Sc 8, inc) around. (60 sts)
Rnd 17: Sc in each st around. (60 sts)
Rnd 18: Working in front loops only, sc in each st around. (60 sts) — this makes the rim detail at the top of your pot.
Rnd 19: Sl st in each st around. Fasten off and weave in ends. (60 sts)
Tuck the cardboard circle into the bottom of the bowl for stability — it keeps everything standing tall once the bowl is filled.
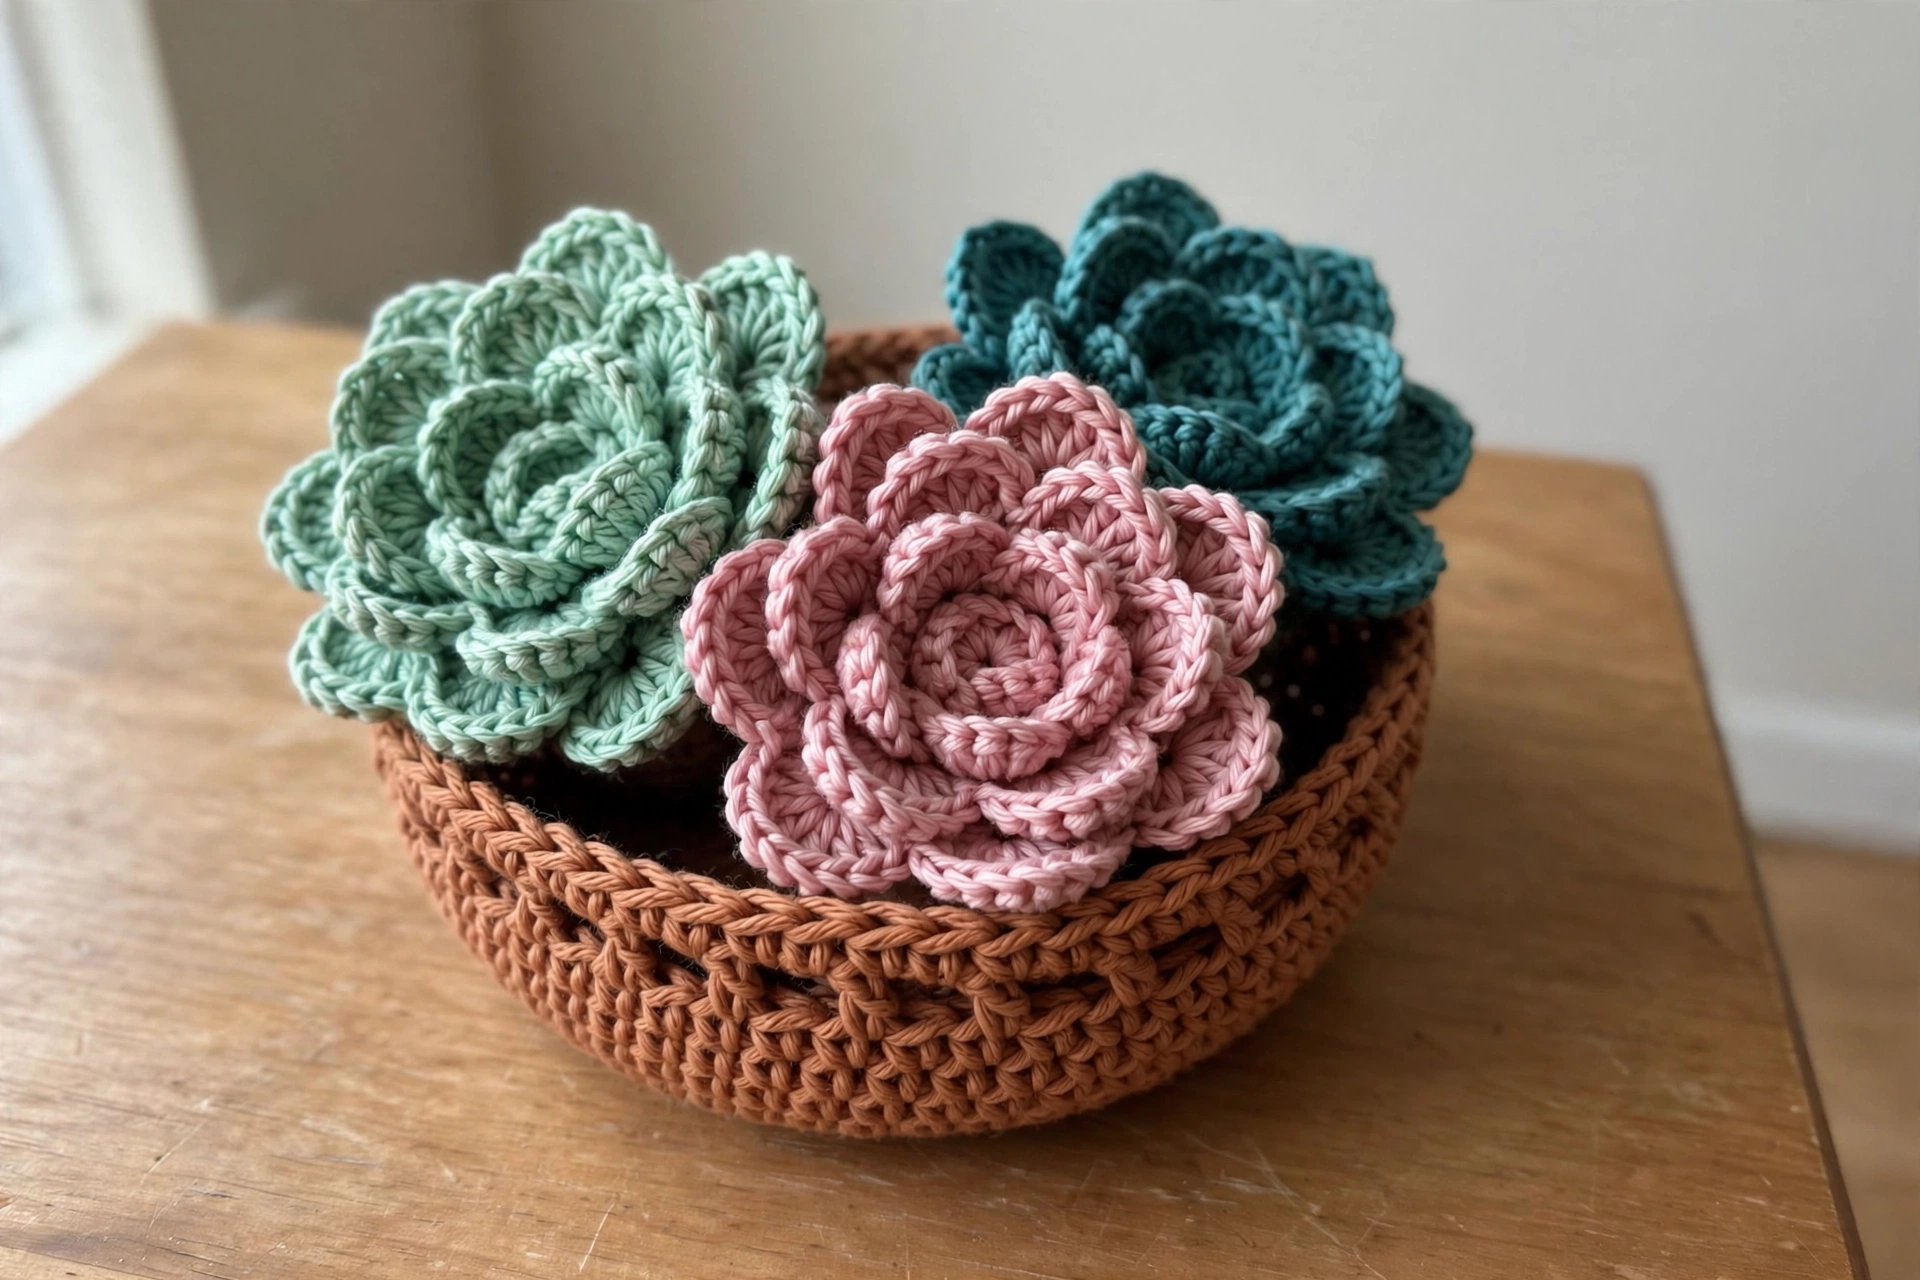
Large Mint Rosette
Your centerpiece succulent — three layers of petals that stack into a realistic echeveria shape.
Center spiral: Ch 20. Starting in 2nd ch from hook: sc 1, hdc 1, dc 2, (2 dc in next ch) 4 times, dc 2, hdc 2, sc 2. Do not turn. Roll this strip into a tight spiral starting from the single crochet end and stitch the bottom closed with your tapestry needle. This is the tight center bud.
Inner petals (make 5): Magic ring, work 4 sc into ring. (4 sts) Rnd 2: inc in each st. (8 sts) Rnd 3: (Sc 1, inc) around. (12 sts) Rnd 4: sc in each st around. (12 sts) Rnd 5: (Sc 1, dec) around. (8 sts) Stuff lightly, flatten and pinch the base, and leave a long tail for sewing.
Outer petals (make 7): Magic ring, work 6 sc into ring. (6 sts) Rnd 2: inc in each st. (12 sts) Rnd 3: (Sc 1, inc) around. (18 sts) Rnds 4–5: sc in each st around. (18 sts) Rnd 6: (Sc 1, dec) around. (12 sts) Rnd 7: dec around. (6 sts) Stuff lightly before closing and fasten off with a long tail.
Arrange the 5 inner petals around the center spiral in a circle, overlapping slightly, and stitch in place. Then arrange the 7 outer petals around the inner layer, staggering them so they peek between the inner petals. For realism, add a tiny bit of pink yarn at the petal tips — real echeveria often have pinkish edges.
Medium Peach Rosette
Follow the same construction as the large rosette, scaled down: center spiral ch 15 instead of 20, 4 inner petals instead of 5, and 5 outer petals instead of 7. This smaller rosette nestles in nicely beside the main one.
Aloe Leaves (Make 5–6)
These spiky leaves add wonderful textural contrast.
Row 1: Ch 18.
Row 2: Starting in 2nd ch from hook: sl st 1, sc 2, hdc 3, dc 5, hdc 3, sc 2, sl st 1. (17 sts)
Row 3: Ch 1, turn. Working in back loops only: sl st 1, sc 2, hdc 3, dc 5, hdc 3, sc 2, sl st 1.
Fasten off with a long tail. The leaf will curl slightly on its own — that’s exactly what you want. Bundle the leaves together at their bases, fanning them upward and outward like a real aloe, and stitch the bases together tightly.
String of Pearls (Make 2–3)
The cascading element that spills over the pot edge. So charming.
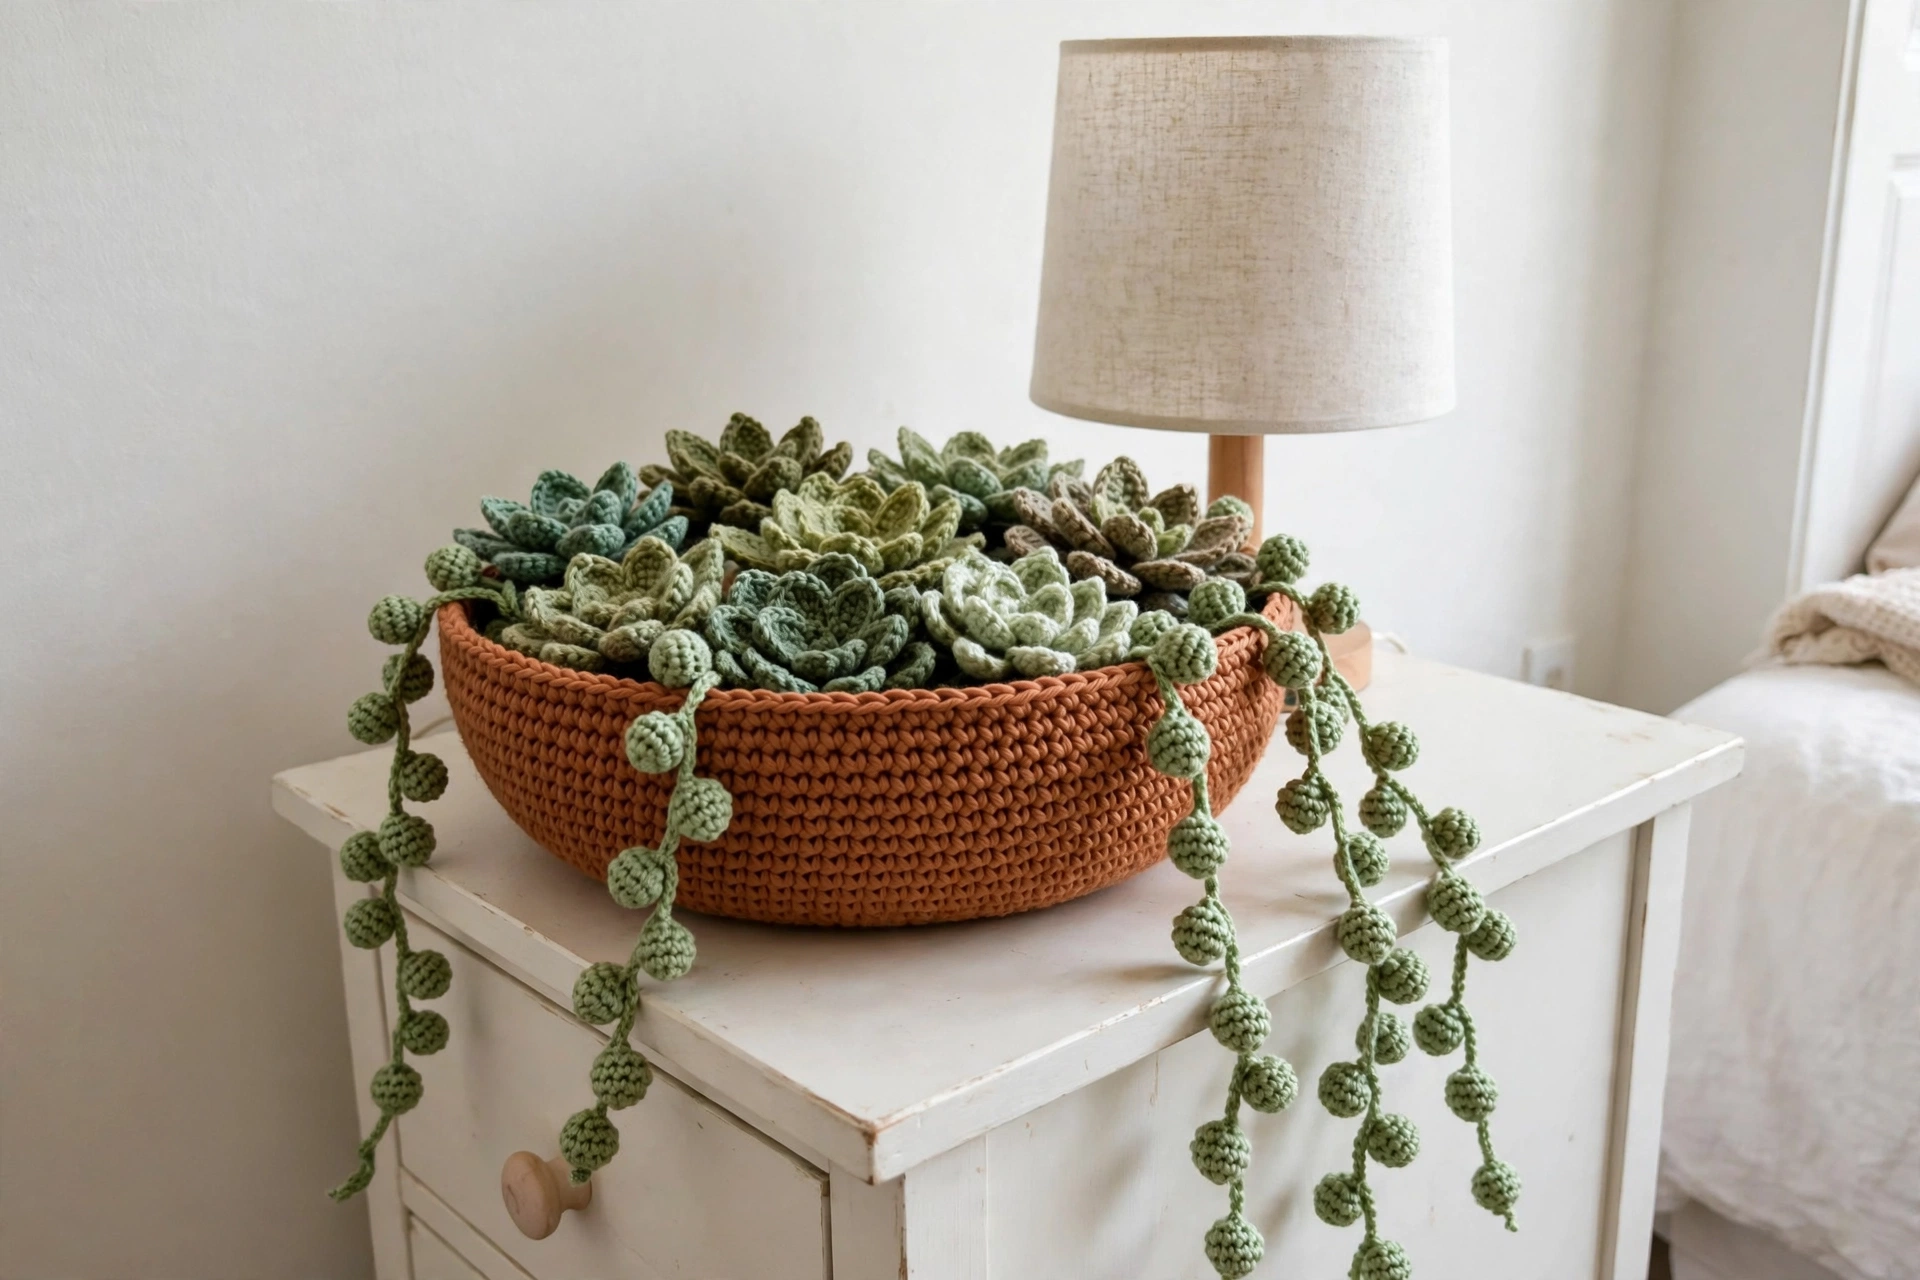
Ch 25. In the 4th ch from hook, work your first pearl: 3 dc in the same ch, sl st in the next ch. Skip 2 ch, sl st in the next ch. Continue making a pearl every 3rd to 4th chain until you reach the end, then fasten off. You want little bumpy balls connected by a slim chain — make 2 or 3 strands of varying lengths for a natural look.
Small Teal Rosette
One tiny rosette to fill gaps: center spiral ch 10, plus 3 inner petals made exactly like the large rosette’s inner petals. No outer petals needed.
Pebbles (Make 15–20)
These little bobbles fill the space around your succulents like decorative stones. Work them in various tan and taupe colors.
Rnd 1: Magic ring, 6 sc into ring. (6 sts)
Rnd 2: Inc in each st. (12 sts)
Rnd 3: Sc in each st around. (12 sts)
Rnd 4: Dec around. (6 sts)
Stuff firmly and close with your tapestry needle. Keep them slightly irregular in shape — the imperfection looks more realistic.
Final Assembly
Stuff the bottom third of your bowl loosely with fiberfill so your succulents have something to anchor into. Place the large mint rosette slightly off center as your focal point, tuck the peach rosette beside it with the edges overlapping, and fan the aloe plant toward the back. Add the small teal rosette near the front edge and drape the string of pearls over the rim so they cascade down the side. Fill every remaining gap with pebbles, pushing them down into the stuffing. Tack the larger succulents to each other and to the bowl sides with a few hidden stitches so nothing shifts. Step back, adjust anything that looks crowded, and trust your eye.
Sophie’s Tips
- Stuff pieces as you go — trying to stuff a petal after the opening gets tiny is a recipe for grumpiness.
- Cotton yarn gives the best matte botanical look; acrylic works too but can read a little shiny.
- Don’t skip the cardboard circle in the base — it’s the difference between a bowl that sits pretty and one that tips over.
Go make a garden that will never, ever need watering. You’re welcome.