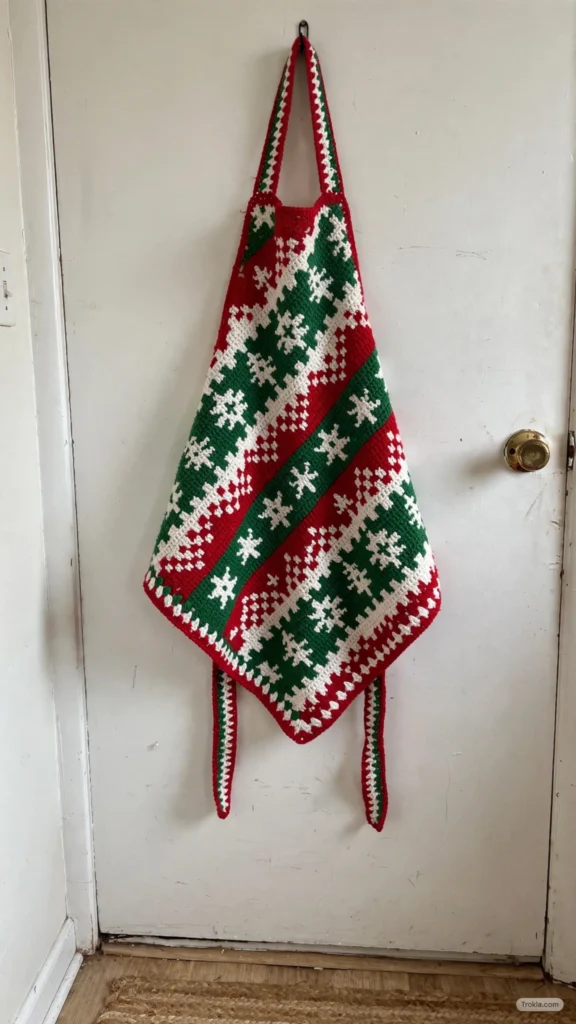
# Retro C2C Crochet Christmas Apron Pattern
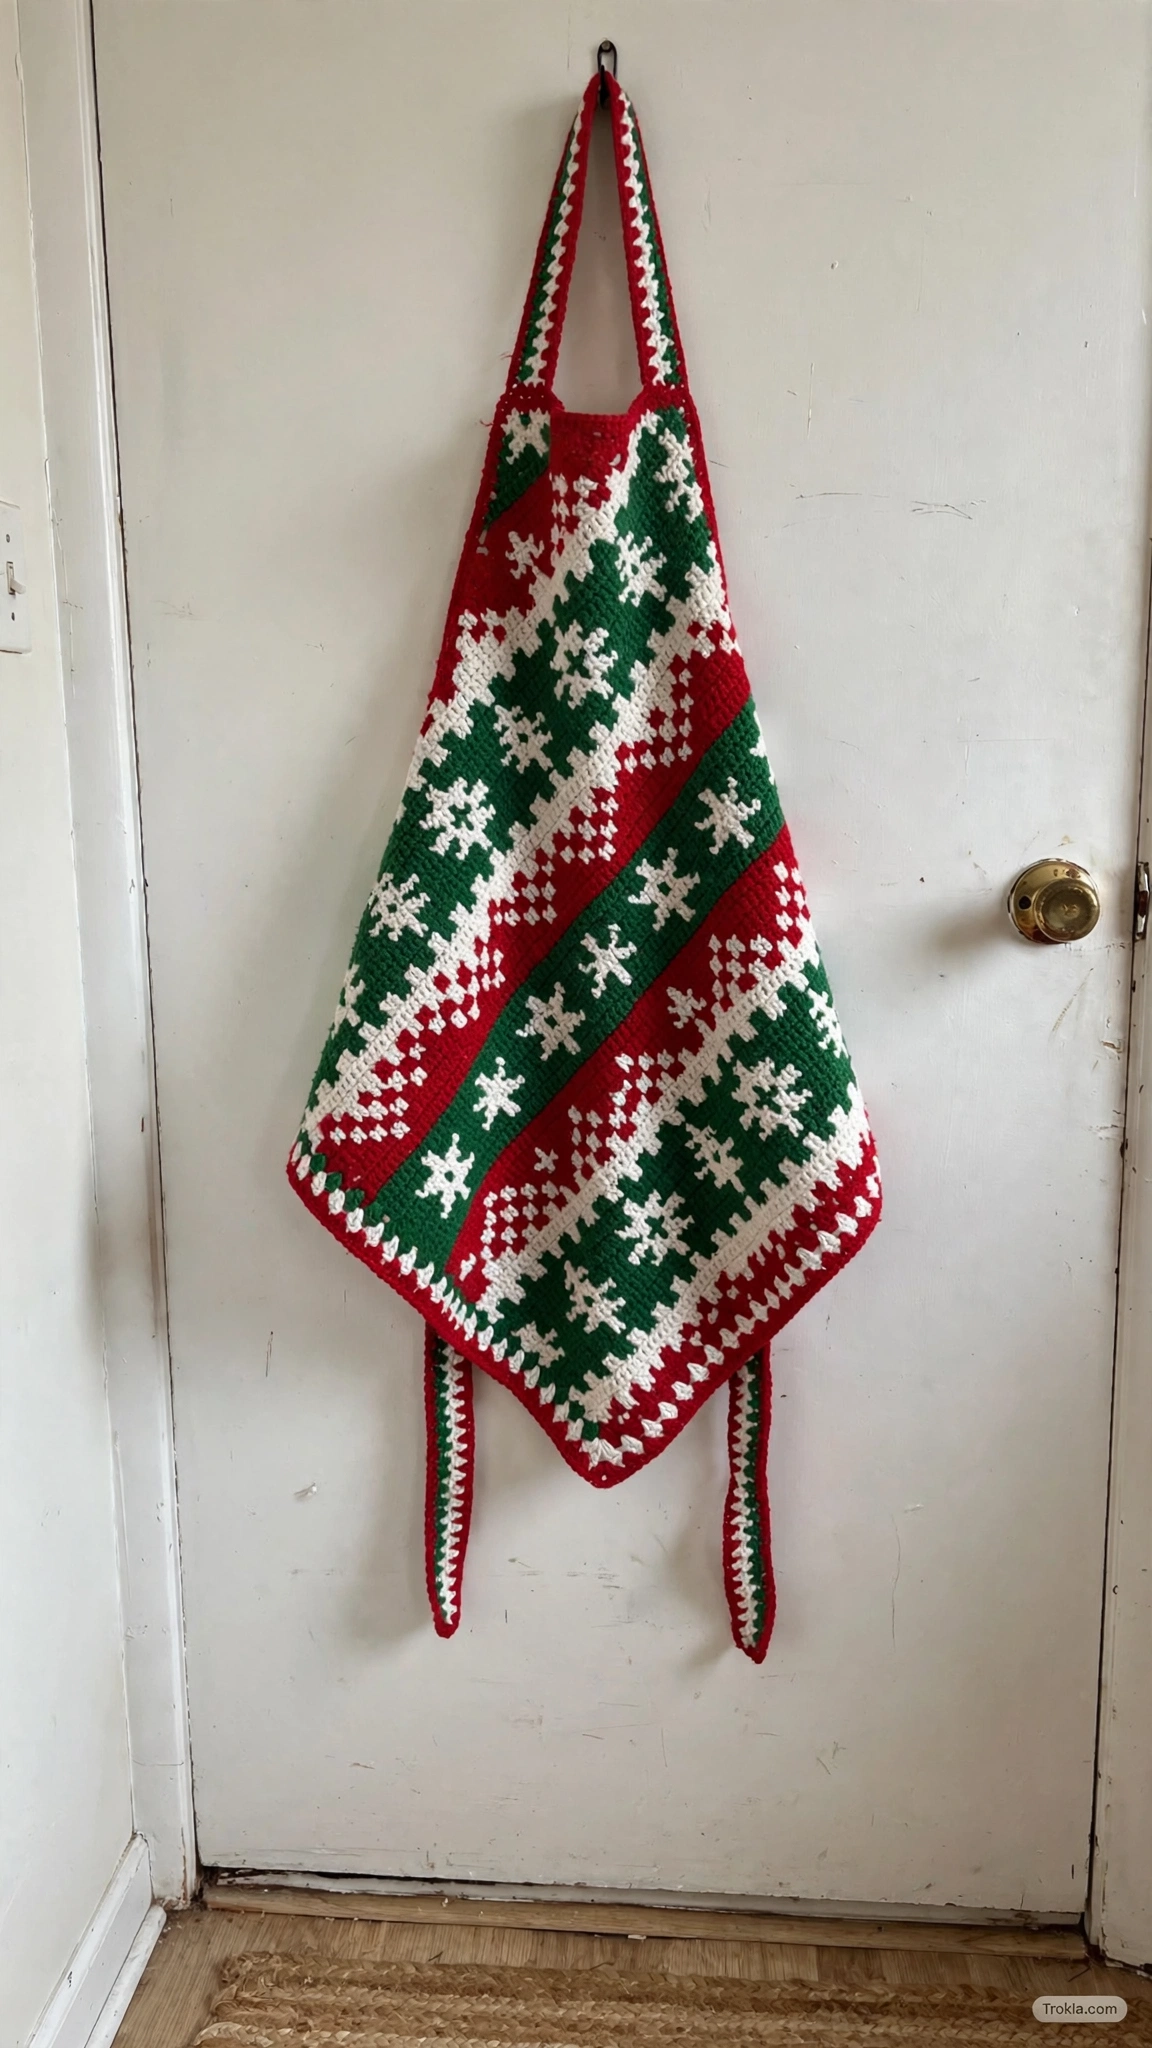
Hi friends, Sophie here! Every Christmas kitchen needs one thing: an apron with serious personality. This retro corner-to-corner (C2C) Christmas apron is my kind of holiday make — bold geometric colorwork, vintage vibes, and a simple two-panel construction that lets the C2C blocks do all the talking.
Work it in festive reds, greens, and whites like I did, and you’ve got an apron that looks straight out of a 1950s Christmas card. The colorwork is easier than it looks — I’ll walk you through neat color changes so every block has crisp, clean edges.
What You’ll Need
- Paintbox Yarns Cotton Aran, 100% cotton, 85m/50g per ball:
- 5 balls of Yarn E Blush Pink (654) — for my Christmas version I swapped this for a festive red
- 2 balls of Yarn A Coffee Bean (611)
- 1 ball each of: Yarn B Rose Red (614), Yarn C Lime Green (629), Yarn D Mandarin Orange (618), Yarn F Slate Green (627), Yarn G Champagne White (603)
- 4.5mm (US G+) crochet hook
- Tapestry needle
- Scissors
Finished size:
- One size fits all — 96cm length, 56cm at the widest point.
Tension: 6 x 6 C2C blocks measure 10 x 10cm.
Skill level: Easy
Abbreviations
ch(s) = chain(s), sp = space, ss = slip stitch, beg = beginning, sk = skip, BLO = back loop only, st(s) = stitch(es), RS = right side, WS = wrong side, rep = repeat, yrh = yarn round hook. Each C2C block is worked as (ch3, 3dc).
The Pattern
Upper Panel
The apron is made of 2 panels worked corner-to-corner, which are joined together later. Follow the color chart for each panel — each square on the chart is one C2C block. Read the charts from the bottom right-hand corner, where Row 1 starts. Each row is read diagonally: even-numbered rows from bottom left to top right, odd-numbered rows from top right to bottom left. Change color in the yrh (yarn round hook) of the slip stitch at the beginning of the new block.
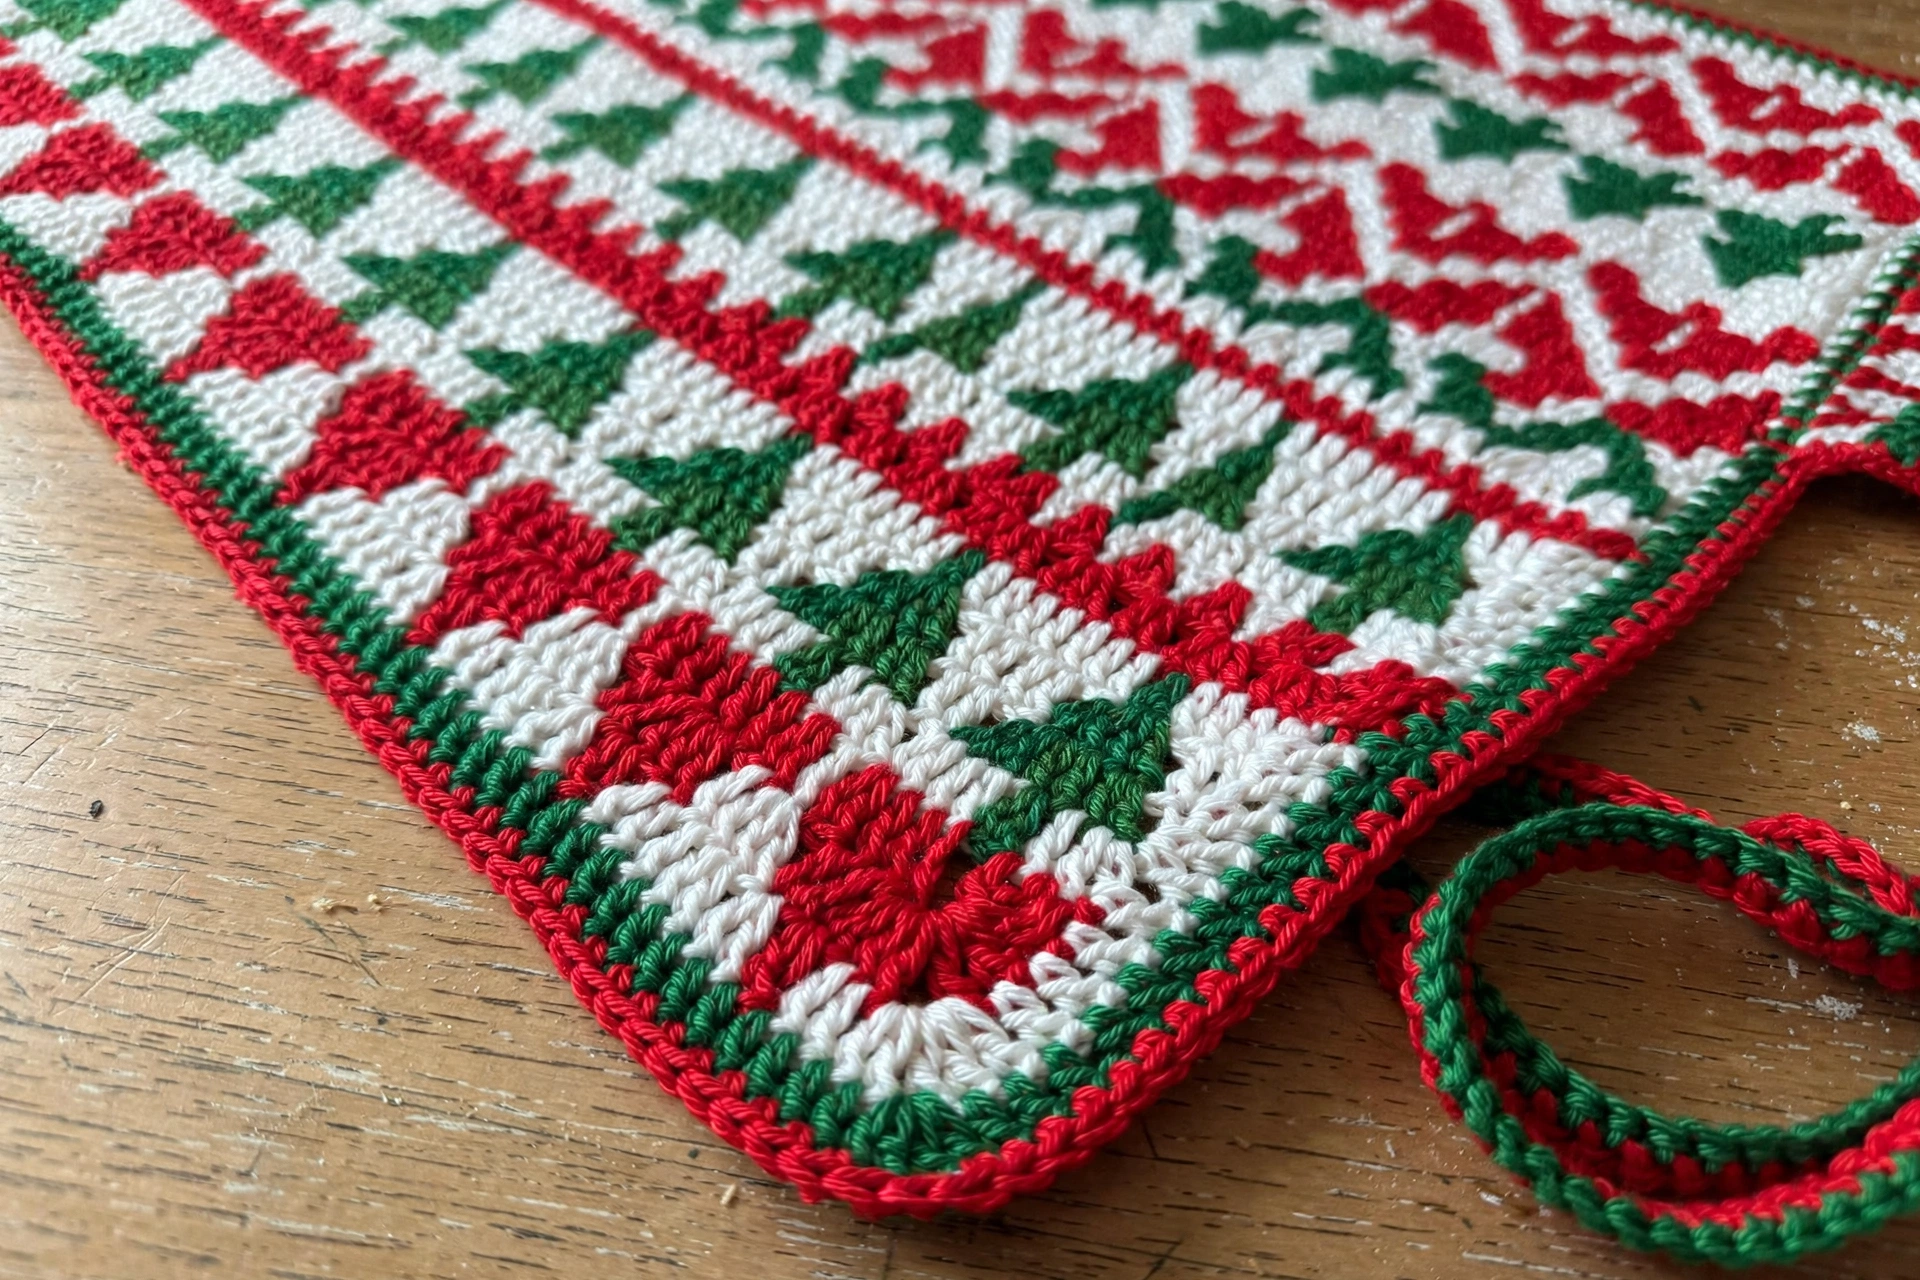
Using Yarn E, ch6.
Row 1 (RS): Dc in fourth ch from hook, dc in next 2 ch, turn. [1 c2c block]
Change to Yarn G.
Row 2 (WS): Ch6, dc in fourth ch from hook, dc in next 2 ch, ss into ch-3 sp on next block, (ch3, 3dc) into same ch-3 sp, turn. [2 c2c blocks]
Change to Yarn E.
Row 3: Ch6, dc in fourth ch from hook, dc in next 2 ch, change to Yarn G, *ss into ch-3 sp on next block, ch3, 3dc into same sp, change to Yarn E; repeat from * to , turn. [3 c2c blocks]
Continue with the Upper Panel color chart:
Rows 4-15: Ch6, dc in fourth ch from hook, dc in next 2 ch, *ss into ch-3 sp on next block, ch3, 3dc into same sp; rep from * across, turn. [15 c2c blocks]
Rows 16-29: Ss into next 3 sts, ss into ch-3 sp on previous block made, *ch3, 3dc into same sp, ss into next ch-3 sp, ss into ch-3 sp, turn.
Fasten off and weave in ends.
Border (work on both panels)
With RS facing, join Yarn A into any st.
Round 1: Ch1, *(sc in each st to next ch-3 sp, 3sc in ch-3 sp) across to corner, ch1; repeat from * around, ss to first sc to join. [180 sts]
Rounds 2-3: (Working in BLO), ch1, *sc in each st to ch-1 corner sp, (sc, ch1, sc) in corner sp; repeat from * around, ss to first sc to join. [196 sts]
Fasten off and weave in ends.
Lower Panel
Using Yarn B, ch6.
Row 1 (RS): Dc in fourth ch from hook, dc in next 2 ch, turn. [1 c2c block]
Rows 2-29: Ch6, dc in fourth ch from hook, dc in next 2 ch, *ss into ch-3 sp; rep from * across, turn. [29 c2c blocks]
Row 30: Ss into next 3 sts, ss into ch-3 sp on previous block made, *ch3, 3dc into same sp, ss into next ch-3 sp across; repeat from * across, turn. [29 c2c blocks]
Rows 31-58: Ss into next 3 sts, ss into ch-3 sp on previous block made, *ch3, 3dc into same sp, ss into next ch-3 sp, ss into ch-3 sp, turn.
Fasten off and weave in ends. Repeat Rounds 1-3 of the Border on the Lower Panel.
Join the Panels
Place the Upper Panel above the Lower Panel and pin together, making sure there are 7 c2c blocks on the Lower Panel on each side of the join. With WS facing, whipstitch the panels together using Yarn A.
Waist Straps
With WS facing, join Yarn A into the top right corner of the Lower Panel.
Row 1 (WS):
- Ch1, sc in corner sp, sc in next 3 sts down side of Lower Panel, turn. [4 sts]
Row 2 (RS): Ch1, sc in each st across, turn. Repeat Row 2 until the strap measures 50cm.
Fasten off and weave in ends. With RS facing, join Yarn A into the top left-hand corner of the Lower Panel and repeat to make the second strap.
Shoulder Straps
With RS facing, join Yarn A into the top right corner of the Upper Panel.
Row 1 (RS): Ch1, sc in corner sp, sc in next 3 sts across top of Upper Panel, turn.
Row 2 (WS): Ch1, sc in each st across, turn. Repeat Row 2 until the strap measures 45cm.
Fasten off leaving a long tail, and sew the end of the Shoulder Strap to the top right corner of the Lower Panel, making sure the strap doesn’t twist. With WS facing, join Yarn A into the top left corner of the Upper Panel and repeat for the first Shoulder Strap.
Sophie’s Tips
- Cotton yarn is my top pick for this one — it holds the geometric shapes crisply and washes well after all that holiday baking.
- If the color changes feel fiddly at first, they get easier fast. Keep your yarn balls on the same side of the work and you’ll avoid the dreaded tangle.
- The straps are fully customizable, so make them longer or shorter to fit you perfectly.
Happy stitching, and may your Christmas cookies be ever in your favor!