# DIY Stuart the Crochet Spider Free Pattern
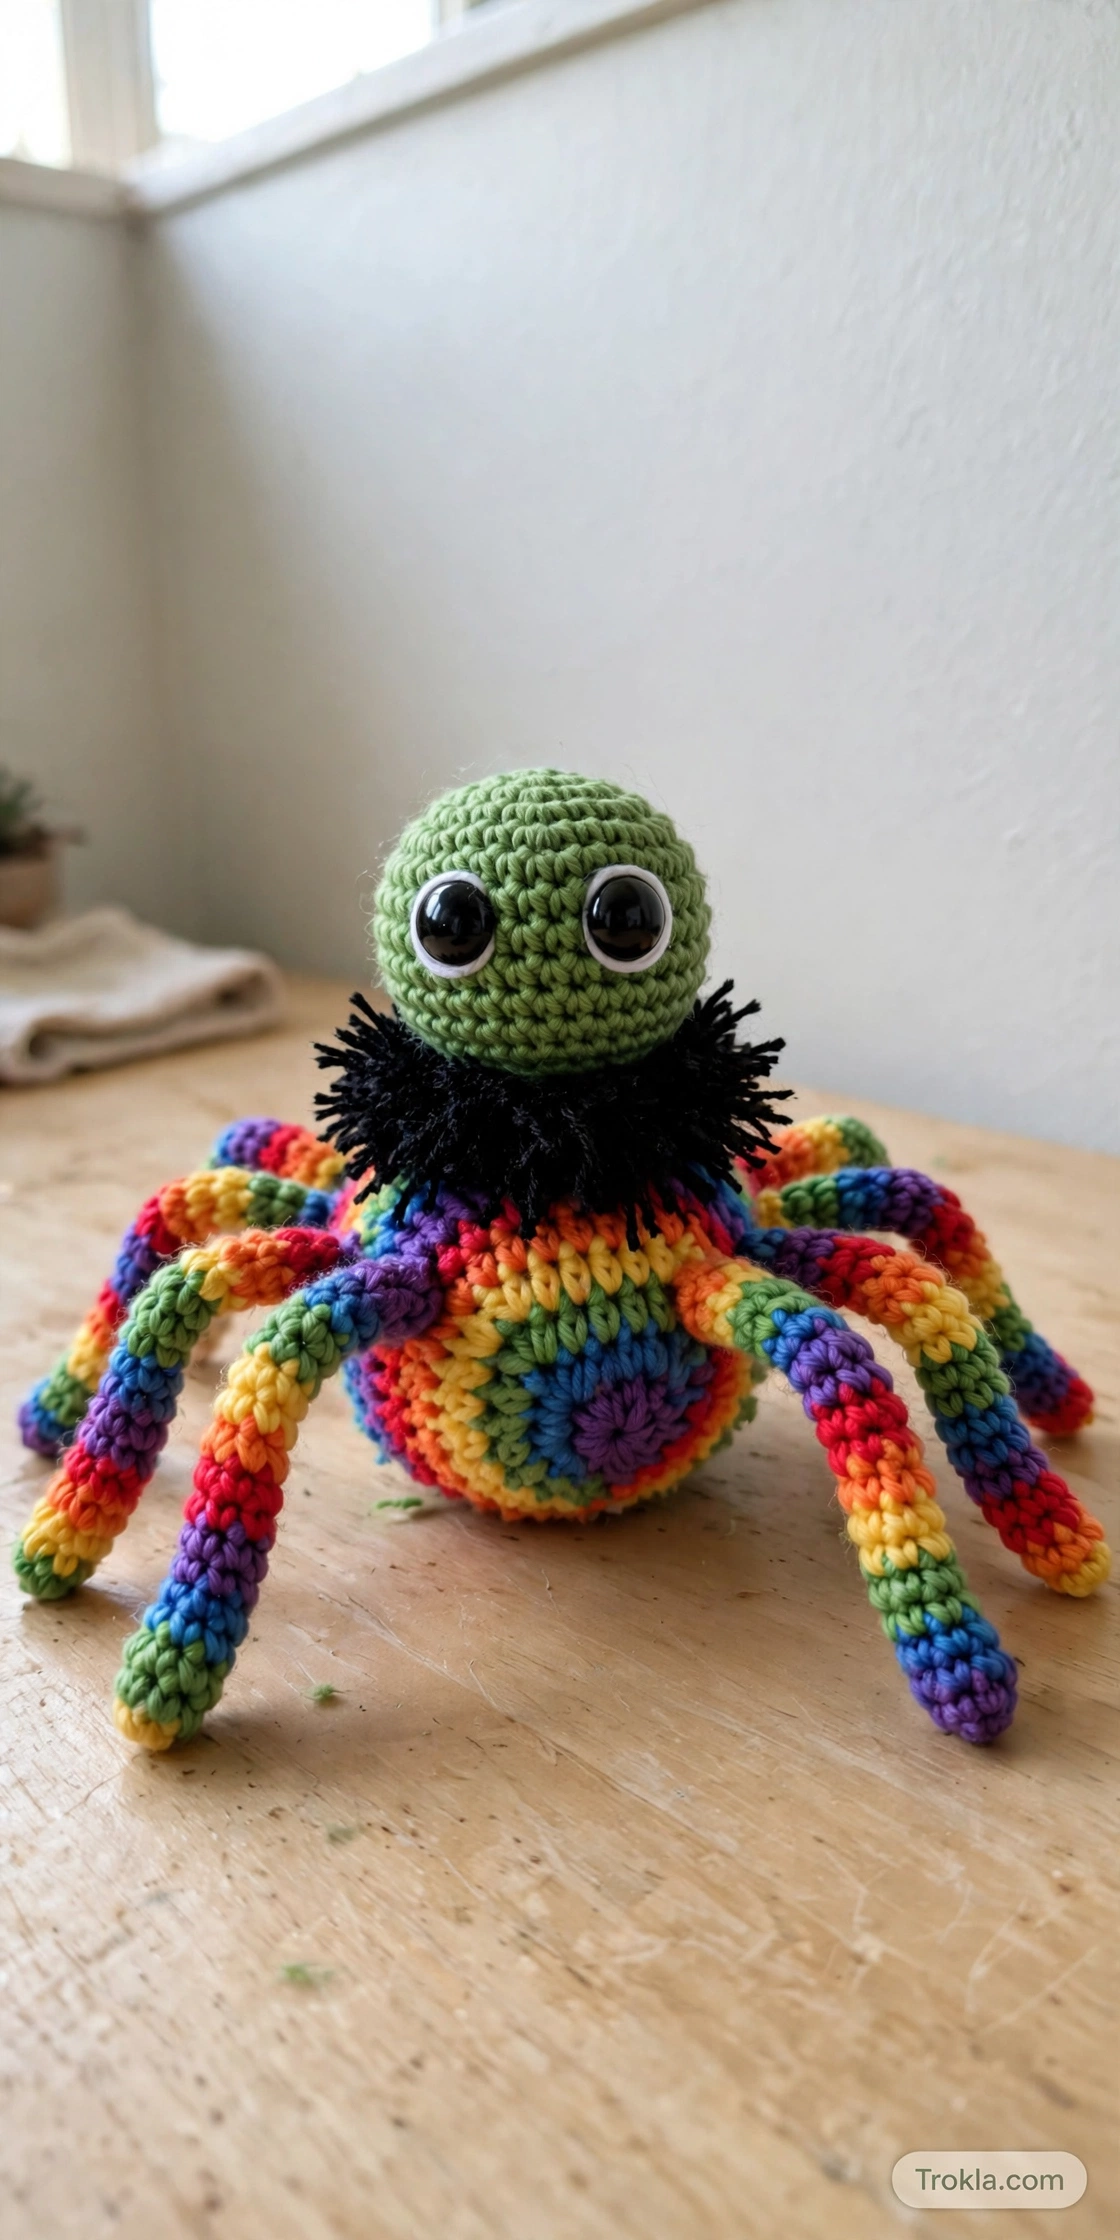
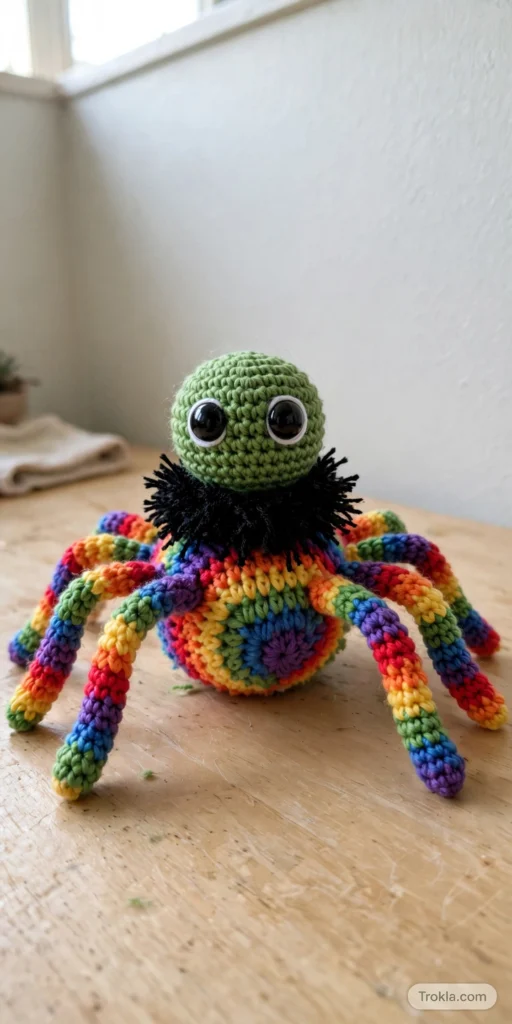
Let me introduce you to Stuart — the spider who shows up to your Halloween party looking fabulous and leaves with everyone asking for the pattern! With his bright green head, rainbow-striped body, and that wild fluffy black neck ruff, Stuart is equal parts spooky and absolutely adorable.
Don’t let the 59 rounds fool you: this is a genuinely beginner-friendly project. It’s all single crochet, increases, and invisible decreases, with minimum sewing (just the legs!). The magic trick is the hairy neckline — a round of eyelash yarn worked into the front loops that makes Stuart look professionally floofy with almost no effort.
Materials
- Fine Sport #2 = 4 ply yarn, 55% cotton and 45% acrylic:
- 1x ball of green — YarnArt Jeans, colour 29 (50g/160m)
- 1x ball of multicolour — YarnArt Jeans Tropical, colour 616 (50g/160m)
- 1x ball of black — YarnArt Jeans, colour 53 (50g/160m)
- For the hairy neck: Light Worsted #3 = DK, 100% polyester — Stylecraft Eskimo eyelash yarn in black, colour 5172 (50g/90m)
- Polyester fibre fill
- 2.5mm (B/1) crochet hook — tip: if you swap yarn weights, go one hook size smaller than the ball band suggests
- 12mm and 8mm safety eyes
- Yarn needle, pins with large heads, stitch marker, scissors
Skill level: Beginner (US terminology)
Finished size: Length 15cm / 6 inches, Width 19cm / 7.5 inches, Height 8cm / 3 inches
> Safety note: safety eyes are a choking hazard for children under 3 — embroider the eyes instead for little ones.
Abbreviations
MR = magic ring, ST = stitch, SC = single crochet, INC = increase (2 sc in same stitch), INV DEC = invisible decrease, BLO = back loops only, FO = fasten off, {…} = stitch count at end of round
The Pattern
Head and Body
Crochet from the front of the head toward the back of the body, starting with green yarn.
- R1: MR – 6 x SC into the ring {6}
- R2: INC in each ST around {12}
- R3: (SC in next ST, INC) x 6 {18}
- R4: SC in next ST, INC, (SC in next 2 ST, INC) x 5, SC in next ST {24}
- R5: (SC in next 3 ST, INC) x 6 {30}
- R6: SC in next 2 ST, INC, (SC in next 4 ST, INC) x 5, SC in next 2 ST {36}
- R7: (SC in next 5 ST, INC) x 6 {42}
- R8: SC in next 3 ST, INC, (SC in next 6 ST, INC) x 5, SC in next 3 ST {48} — leave a stitch marker in at the start of R8 (and later R11); you’ll need them for eye placement
- R9: (SC in next 7 ST, INC) x 6 {54}
- R10–R17 (8 rounds): SC in each ST around {54}
- R18: (SC in next 7 ST, INV DEC) x 6 {48}
- R19: SC in next 3 ST, INV DEC, (SC in next 6 ST, INV DEC) x 5, SC in next 3 ST {42}
- R20: (SC in next 5 ST, INV DEC) x 6 {36}
Place the eyes now (stuff the head well first — and pin the eyes with large-head pins to check symmetry before locking the safety backs in!):
- 12mm eyes go between R8 and R9: count 19 stitches from your R8 marker and place the first eye between ST19 and ST20; count 28 stitches and place the second between ST28 and ST29.
- 8mm eyes go between R11 and R12: count 20 stitches from your R11 marker and place the first between ST20 and ST21; count 33 stitches and place the second between ST33 and ST34.
Continue:
- R21: SC in next 2 ST, INV DEC, (SC in next 4 ST, INV DEC) x 5, SC in next 2 ST {30}
- R22: (SC in next 3 ST, INV DEC) x 6 {24}
- R23–R26 (4 rounds): SC in each ST around in BLO {24}
Change to multicolour yarn:
- R27: (SC in next ST, INC) x 12 {36}
- R28: (SC in next ST, INC) x 18 {54}
- R29–R30 (2 rounds): SC in each ST around {54}
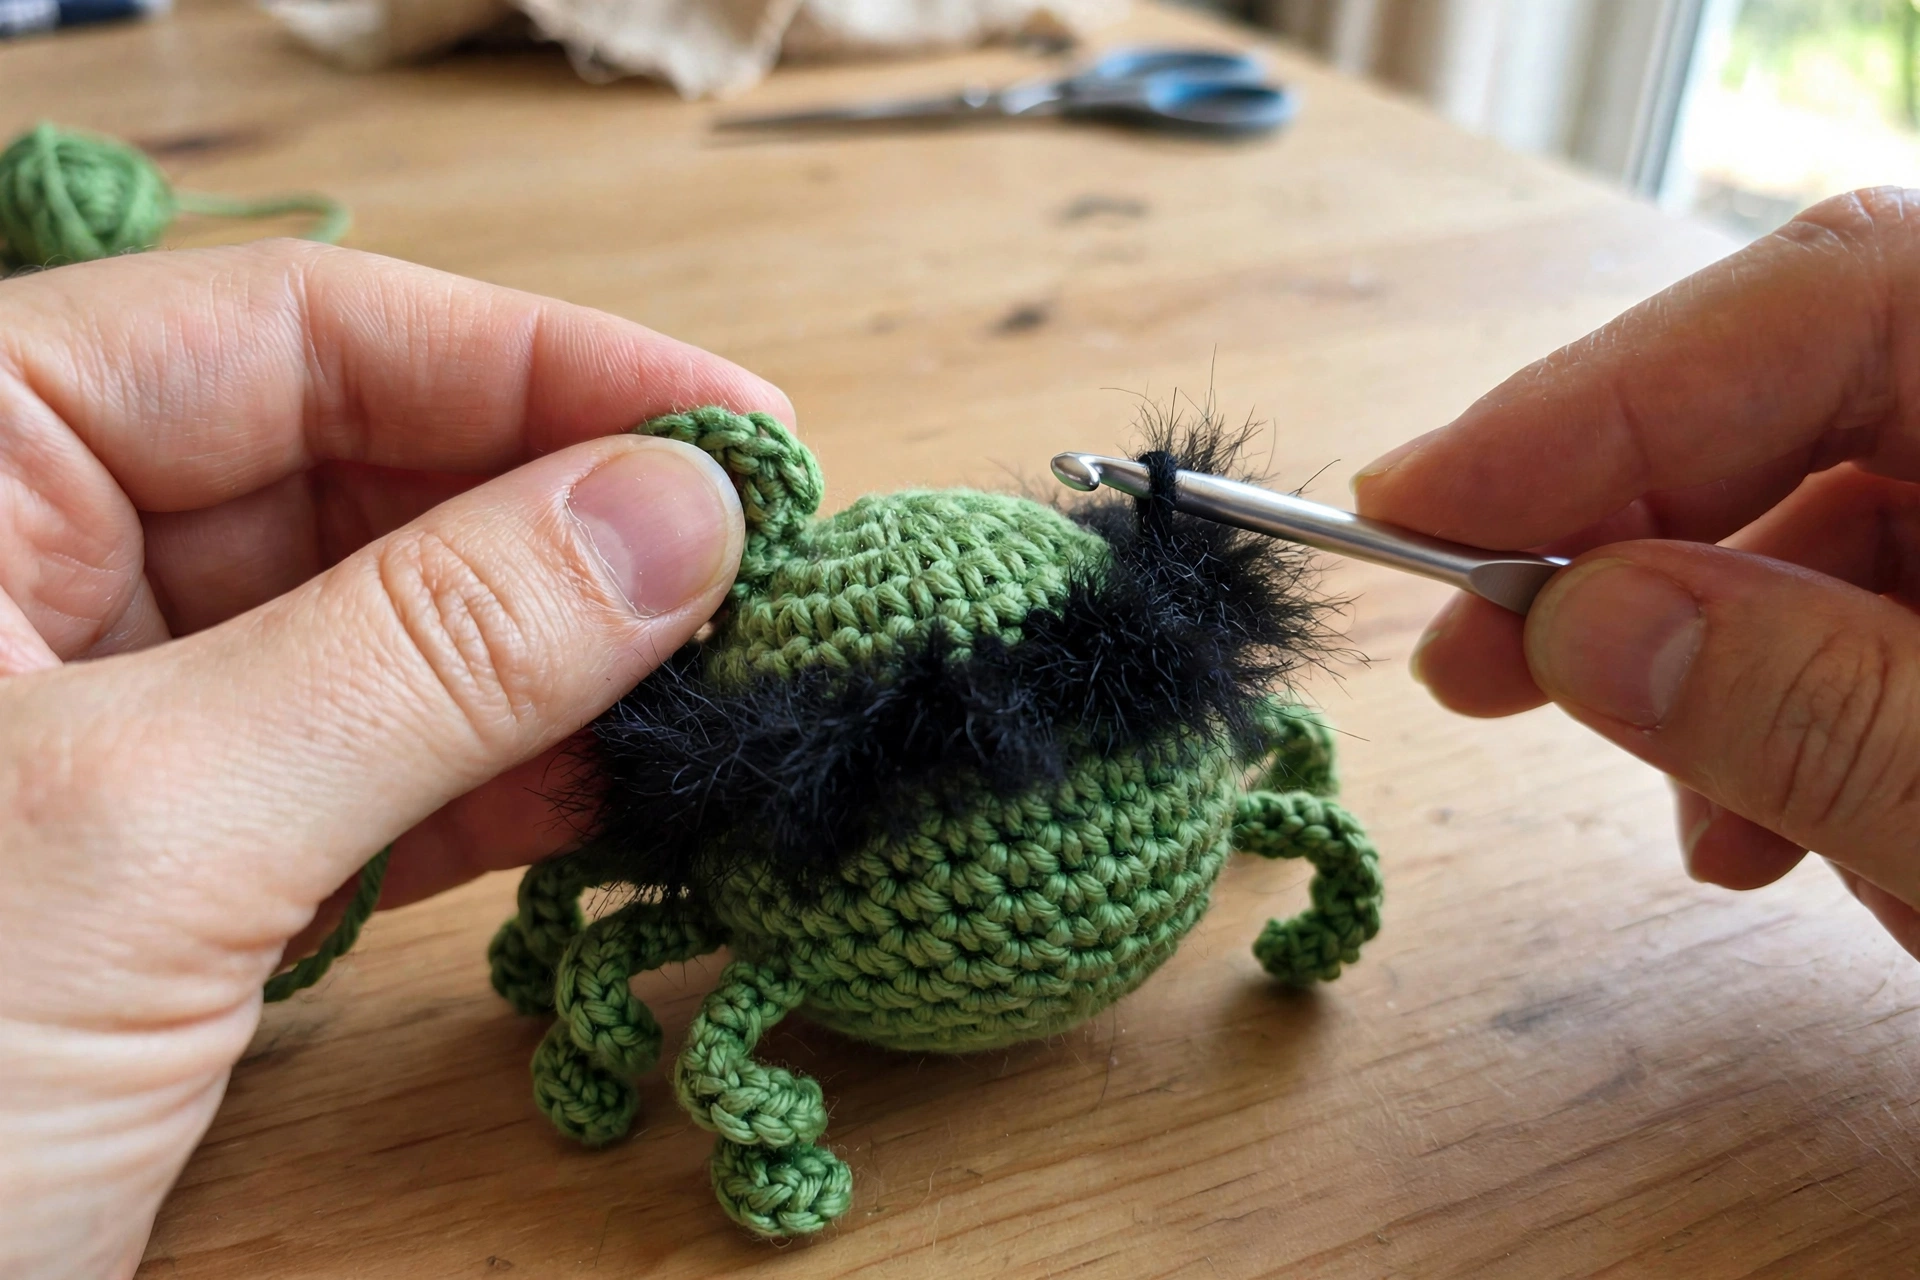
The hairy neckline (my favorite part!): With your black eyelash yarn, attach to the first ST of R23 and SC into each front loop of R23–R26. FO and weave the ends in. Instant floof! If eyelash yarn makes you nervous, just go slowly — you can always feel the stitches with your fingertips.
Continue with R31, stuffing the body gradually as you go:
- R31: SC in next 4 ST, INC, (SC in next 8 ST, INC) x 5, SC in next 4 ST {60}
- R32: (SC in next 9 ST, INC) x 6 {66}
- R33: SC in next 5 ST, INC, (SC in next 10 ST, INC) x 5, SC in next 5 ST {72}
- R34: (SC in next 11 ST, INC) x 6 {78}
- R35–R44 (10 rounds): SC in each ST around {78}
- R45: (SC in next 11 ST, INV DEC) x 6 {72}
- R46: SC in each ST around {72}
- R47: SC in next 5 ST, INV DEC, (SC in next 10 ST, INV DEC) x 5, SC in next 5 ST {66}
- R48: SC in each ST around {66}
- R49: (SC in next 9 ST, INV DEC) x 6 {60}
- R50: SC in next 4 ST, INV DEC, (SC in next 8 ST, INV DEC) x 5, SC in next 4 ST {54}
- R51: SC in each ST around {54}
- R52: (SC in next 7 ST, INV DEC) x 6 {48}
- R53: SC in next 3 ST, INV DEC, (SC in next 6 ST, INV DEC) x 5, SC in next 3 ST {42}
- R54: (SC in next 5 ST, INV DEC) x 6 {36}
- R55: SC in next 2 ST, INV DEC, (SC in next 4 ST, INV DEC) x 5, SC in next 2 ST {30}
- R56: (SC in next 3 ST, INV DEC) x 6 {24}
- R57: SC in next ST, INV DEC, (SC in next 2 ST, INV DEC) x 5, SC in next ST {18}
- R58: (SC in next ST, INV DEC) x 6 {12}
- R59: SC in each ST around {12}
Stuff well and FO, closing the hole with your yarn needle.
Legs (make 8)
Crochet from the end of the leg inward, stuffing gradually. Use black yarn.
- R1: MR – 6 x SC into the ring {6}
- R2: INC in each ST around {12}
- R3–R24 (22 rounds): SC in each ST around {12} — stop stuffing the leg here
- R25: INV DEC, SC in next 10 ST {11}
- R26–R27 (2 rounds): SC in each ST around {11}
- R28: INV DEC, SC in next 9 ST {10}
- R29–R30 (2 rounds): SC in each ST around {10}
FO — weave the ends in for 6 of the legs, but leave long tails for sewing on the remaining 2. Stuff the legs really well so they hold their shape when bent; if you want extra poseability, slide a piece of craft wire inside.
Assembly
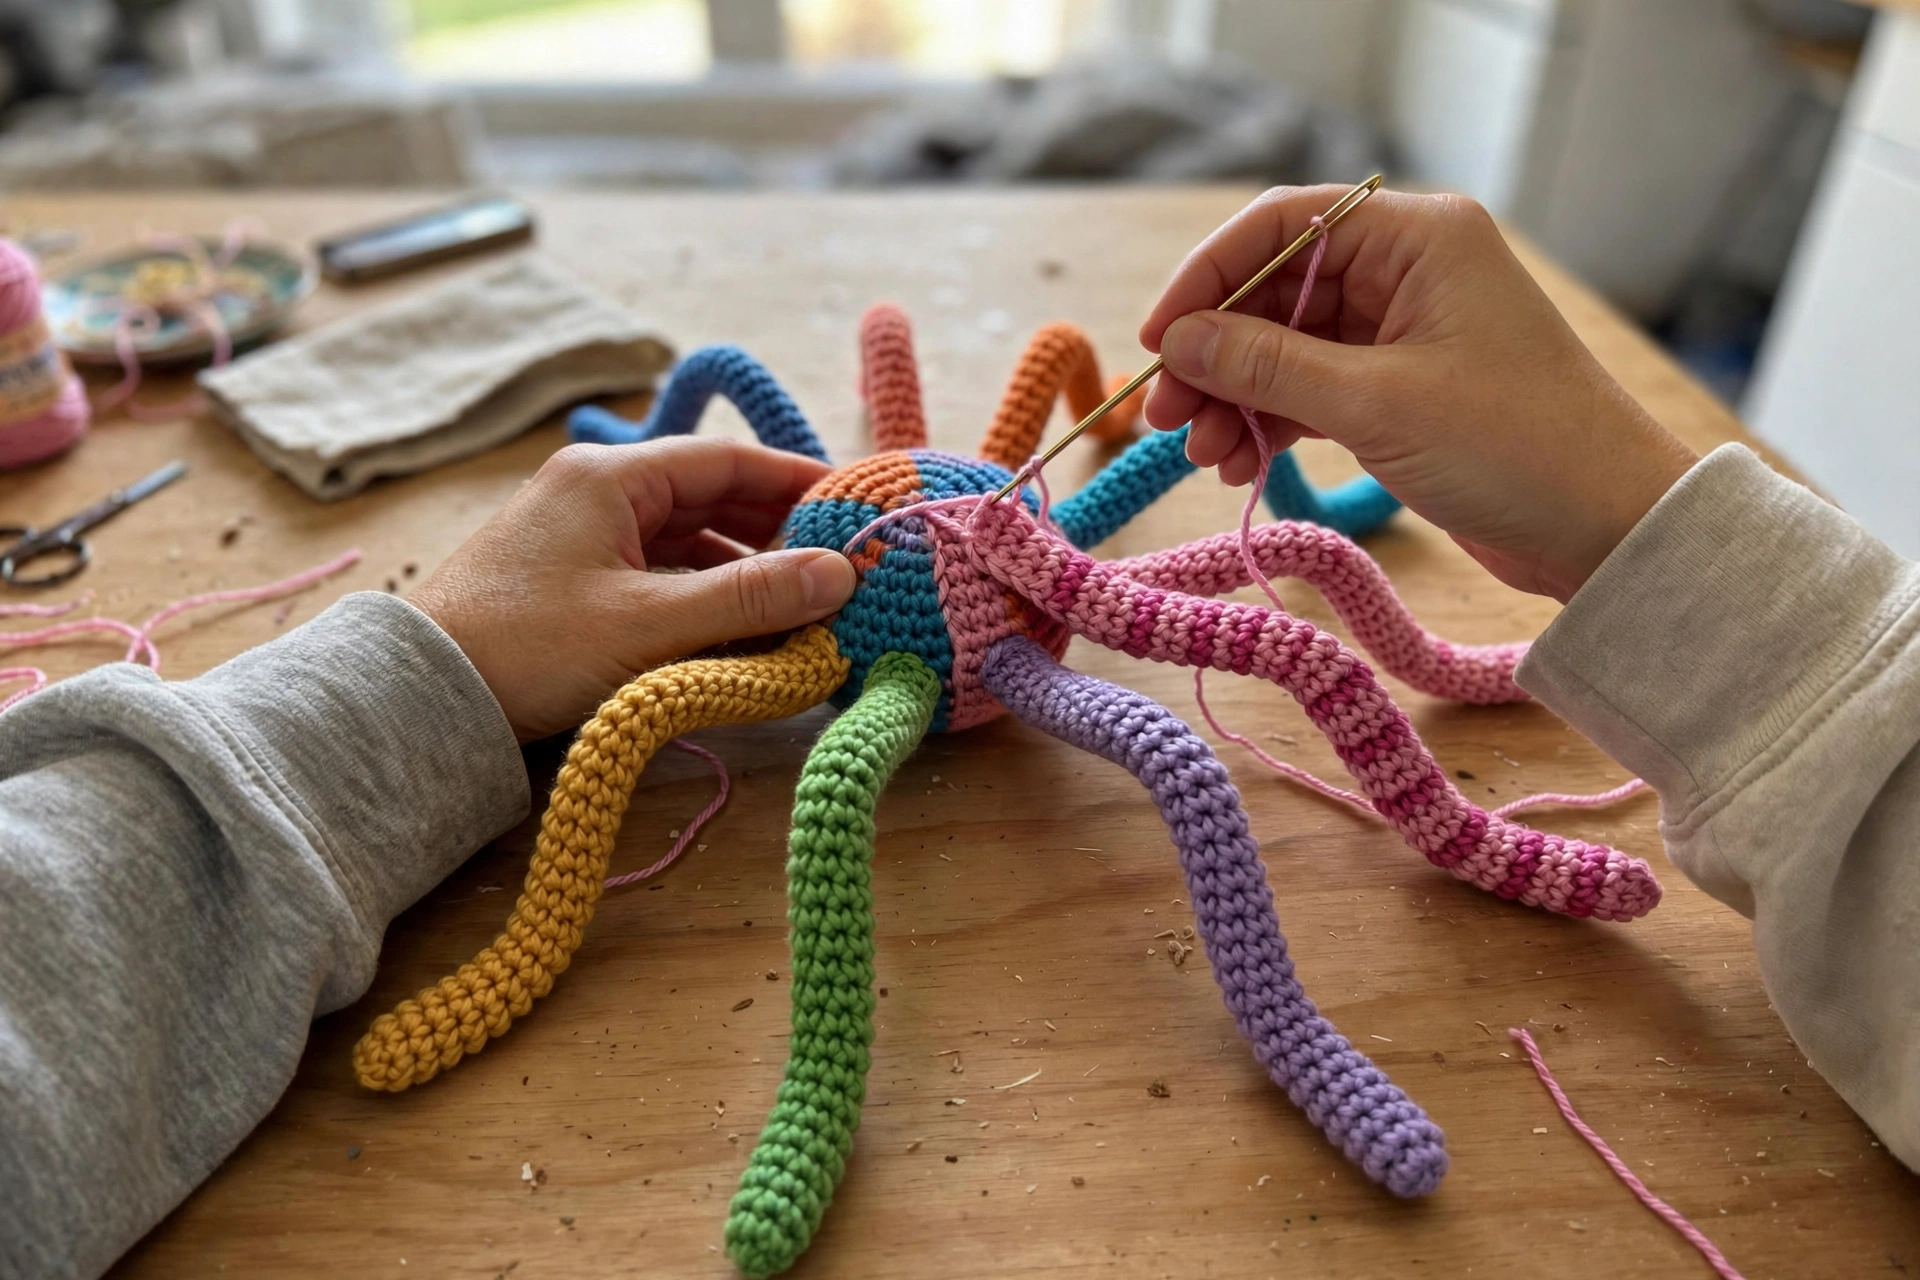
Sew 4 legs together with your yarn needle, then repeat for the other 4. Pin the leg bundles to each side of the hairy neckline, check they’re nice and symmetrical, then sew them on. Step back and admire Stuart in all his glory!
Tips From Sophie
- Worsted weight works too! Any 100% cotton or acrylic worsted will crochet up beautifully — Stuart will just be a bit bigger. A bigger Stuart is never a bad thing.
- Eyelash yarn pro tip: It looks scarier than it is. Attach it in good light, feel for the front loops with your fingertips, and embrace the fluff.
- Party prep: Make a few in different color combos and scatter them on your Halloween table — guests will absolutely try to take one home.
Happy hooking! Stuart can’t wait to meet you. 🕷️💚