# Crochet Spiders Climbing Walls Free Pattern
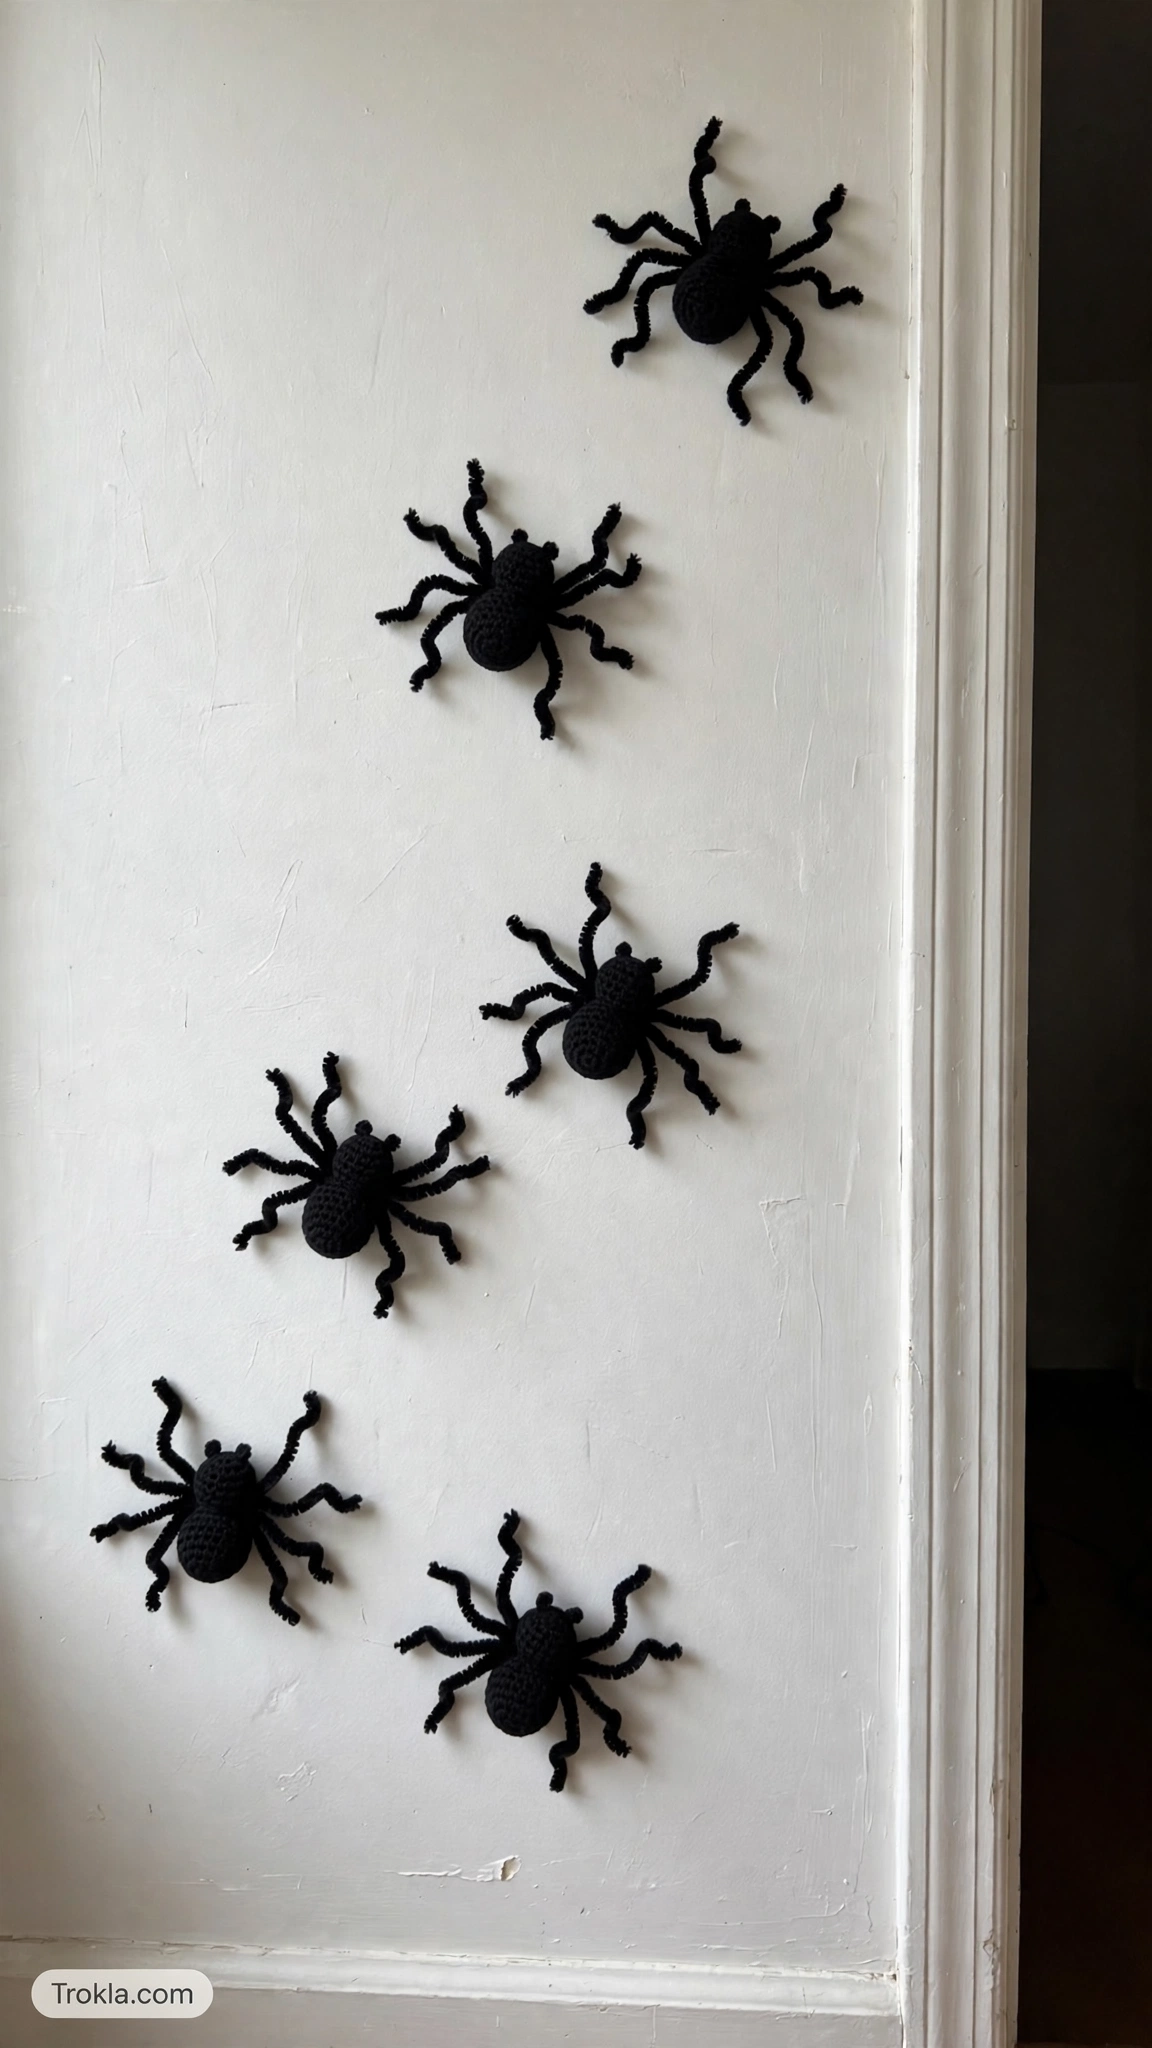
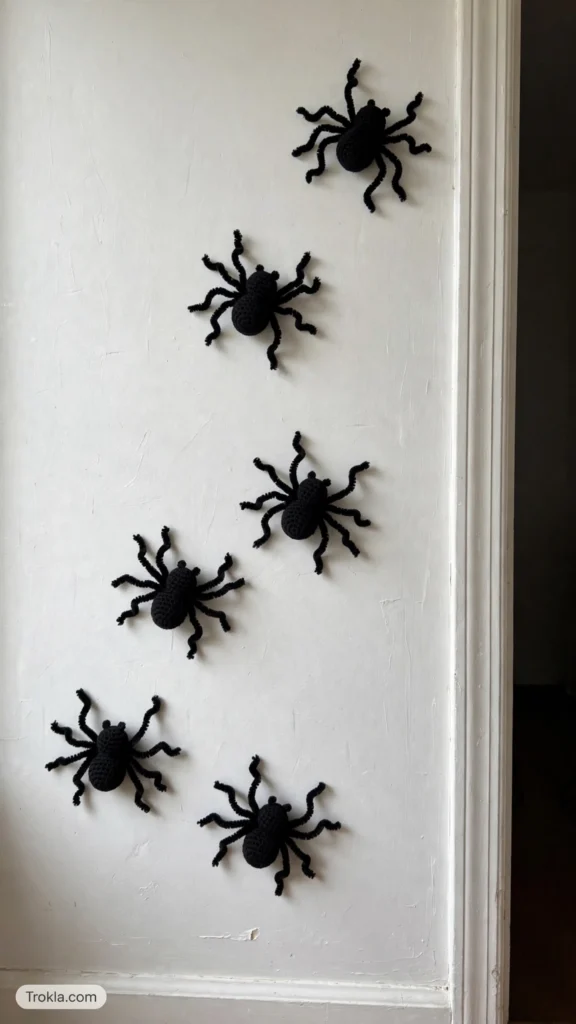
Nothing says Halloween like a little harmless horror! These tiny crocheted spiders crawling up your wall look SO creepy from across the room — and then guests get close and realize they’re just adorable little yarn critters. I made a whole crew of them and scattered them around the house. My hallway has never looked spookier (or cuter).
The bodies are simple little crocheted balls worked in continuous rounds, and the legs are just black chenille stems bent into shape — no sewing, no fuss, and they hang perfectly on the wall. This is a fantastic evening project: once you make one, the rest practically make themselves.
Materials
- Red Heart yarn, Black — 1 ball
- Red Heart yarn, Soft White — 1 ball (for the eyes)
- Susan Bates U.S. G/6 crochet hook
- Polyester fiberfill for stuffing
- Red embroidery floss
- 24 black chenille stems (pipe cleaners)
- White glue
Skill level: Easy
Finished size: Make them as big or small as you like — the pattern below makes a spider about the size of a golf ball.
Abbreviations
Ch = Chain, Sc = Single Crochet, Inc = Increase (2 sc in same stitch), Dec = Decrease, St(s) = Stitch(es), Sl st = Slip Stitch
The Pattern
Body
Work in continuous rounds — right side facing, no joining. Use a stitch marker for the first stitch of each round.
–
Round 1: 6 sc in a magic ring. (6)
–
Round 2: Inc in each stitch around. (12)
–
Round 3: *1 sc, inc* around. (18)
–
Round 4: *2 sc, inc* around. (24)
- Rounds 5–7: Sc in each stitch around. (24)
–
Round 8: *2 sc, dec* around. (18)
–
Round 9: *1 sc, dec* around. (12) — stuff the body firmly with fiberfill now.
–
Round 10: Dec around. (6)
Fasten off, weave the tail through the front loops of the last 6 stitches, pull tight to close, and weave in the end.
Head
–
Round 1: 6 sc in a magic ring. (6)
–
Round 2: Inc in each stitch around. (12)
- Rounds 3–4: Sc in each stitch around. (12)
–
Round 5: *1 sc, dec* around. (8) — add a pinch of fiberfill.
–
Round 6: Dec around. (4)
Fasten off, close the same way as the body, and stitch the head to the front of the body with black yarn.
Eyes
With soft white yarn, embroider two small circles (or crochet two tiny white circles: 6 sc in a magic ring, join, fasten off) and glue or stitch them to the head. Add tiny pupils with black yarn or a dab of embroidery floss. Spooky cute!
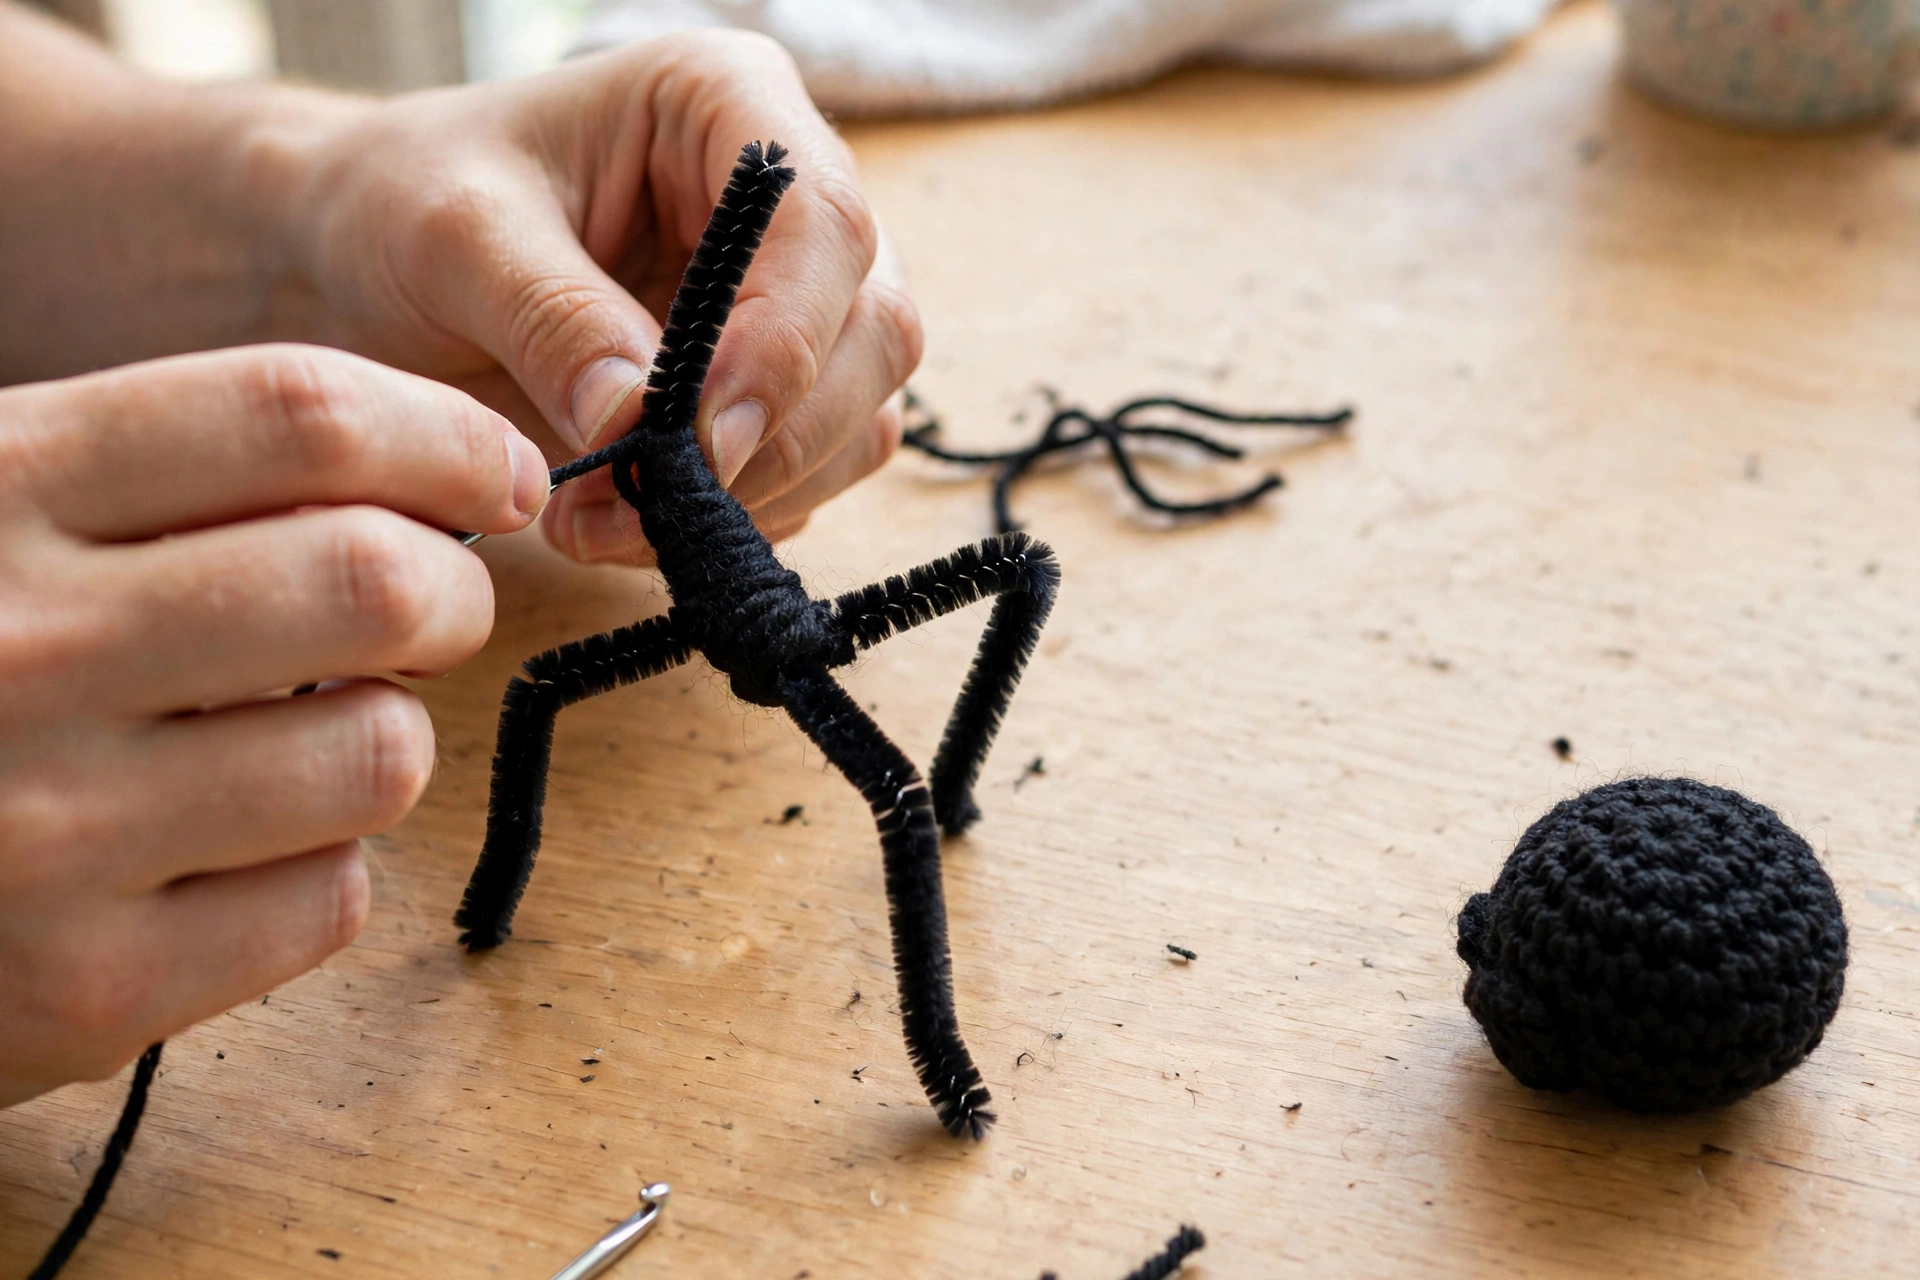
Assembly
1. Cut each chenille stem in half and bend each piece into a leg shape — a little “knee” bend in the middle makes them look wonderfully spider-y.
2. Poke 4 legs into each side of the body, bending the inner ends slightly so they grip the stuffing. Dab a tiny bit of white glue where each leg enters the body so nothing wiggles loose.
3. Hang them on your wall! A tiny loop of yarn on the back of each spider, a dab of removable poster putty, or even a small pin through the top does the trick. Cluster them in a corner or let them “climb” up toward the ceiling for maximum effect.
Tips From Sophie
- Make a whole swarm! The 24 chenille stems are enough for about 6 spiders (8 half-stems… er, 4 full stems per spider). One afternoon = a full wall of creepy.
- Mix your yarns: Black is classic, but a dark purple or midnight blue spider looks gorgeously eerie under Halloween lights.
- Kid-friendly trick: Skip the glue and just thread the stems in — older kids can help bend the legs and “place” the spiders themselves. They LOVE this part.
- Gauge matters here: Work tight single crochets so the fiberfill doesn’t peek through — especially in black yarn where stuffing shows up fast.
Happy hooking — and enjoy giving your trick-or-treaters a good (harmless) scare! 🕸️