# Dreamy Lavender Granny Square Tote Free Crochet Pattern
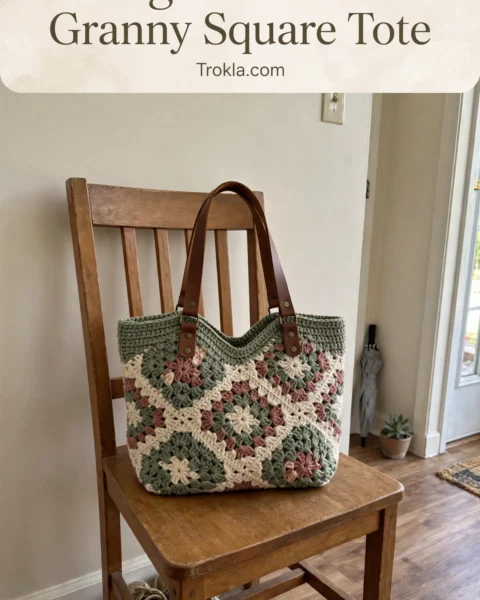
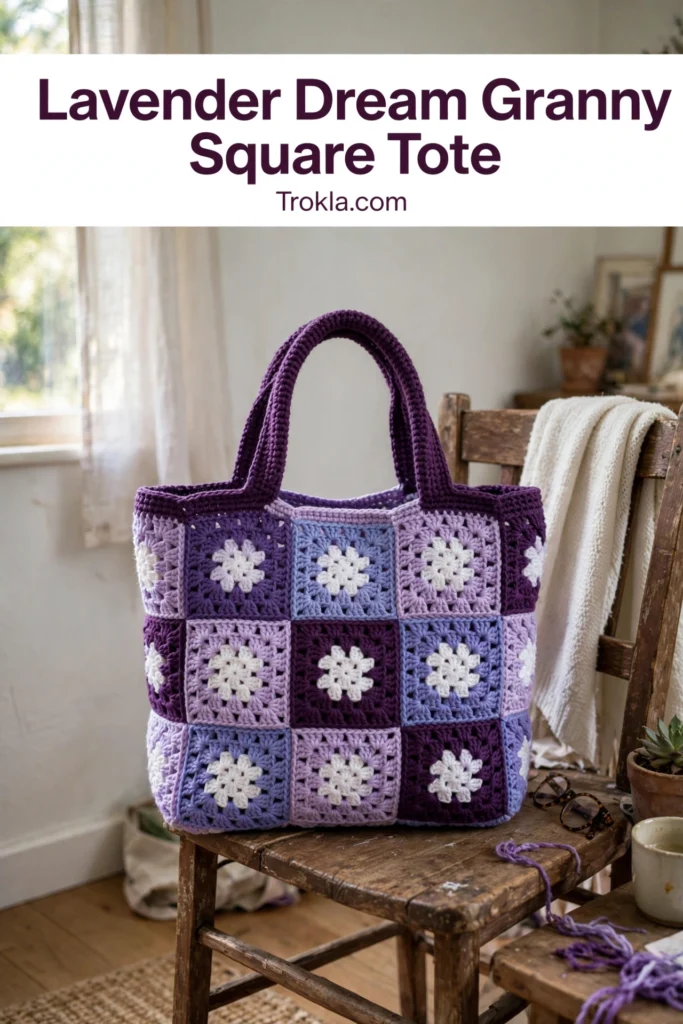
Oh, I am so excited about this one! There’s something magical about watching twelve little granny squares turn into a tote bag that actually holds its shape. This Lavender Dream tote is sturdy, structured, and honestly one of the prettiest things I’ve ever carried to the farmers market.
I designed this in a dreamy purple palette — white centers blooming out through periwinkle, lavender, and pink-lilac to deep plum. The squares join into a proper little box shape with a solid base panel, and a simple fabric lining inside makes it genuinely useful, not just pretty. If you’ve made granny squares before, you already know most of what you need here!
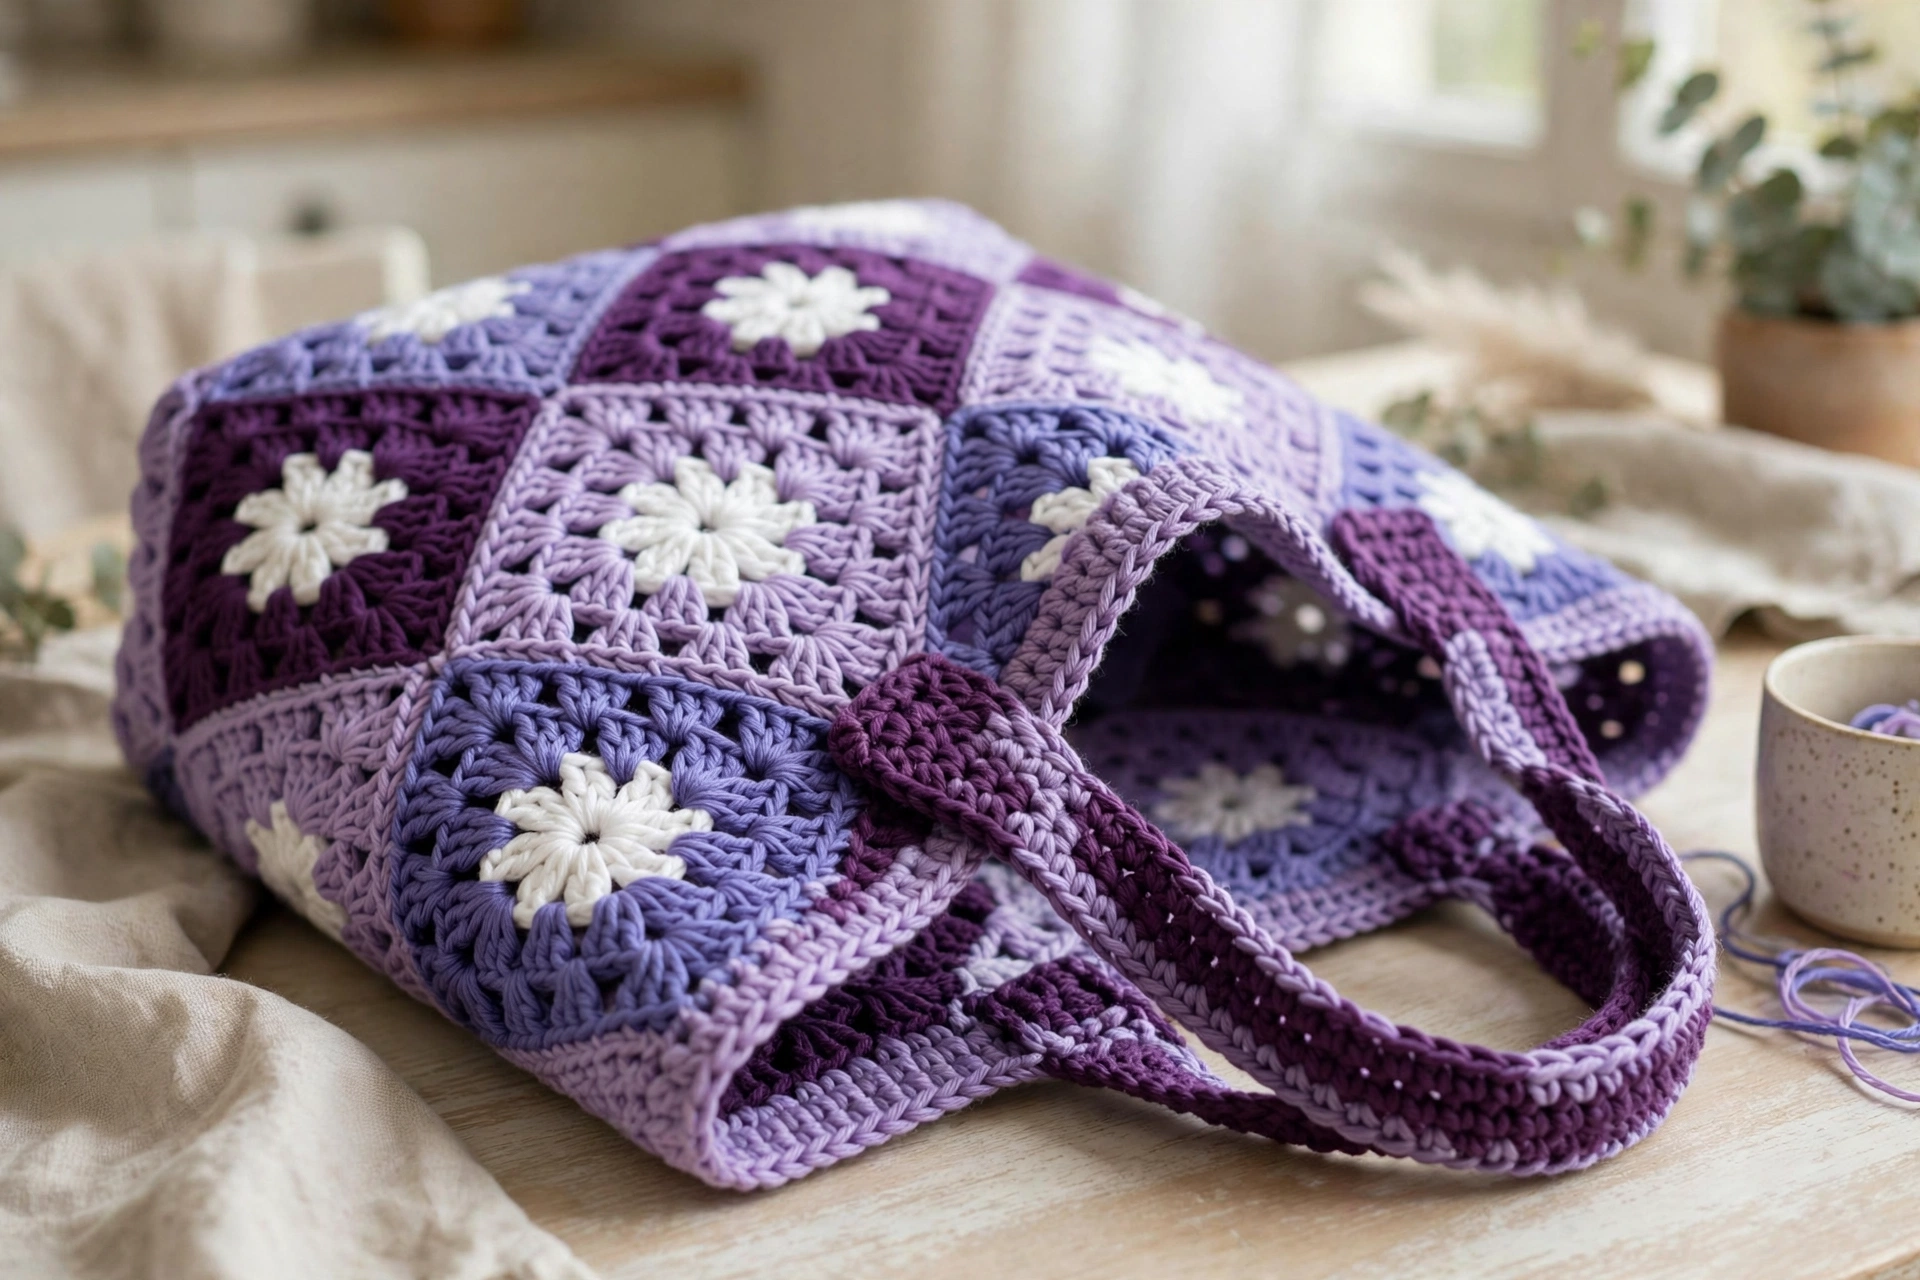
What You’ll Need
- Worsted weight cotton or cotton blend yarn in five colors:
- Color A (Deep Plum): 320 yards — for the border, handles, base, and joining
- Color B (Soft Pink-Lilac): 210 yards — for the outer granny round
- Color C (Medium Lavender): 130 yards — for the middle granny round
- Color D (Periwinkle Purple): 100 yards — for the inner granny round
- Color E (White or Cream): 50 yards — for the granny centers
- US Size J/10 (6.0 mm) crochet hook
- Yarn needle for weaving ends and seaming
- Scissors
- Straight pins or locking stitch markers
- 0.75 yard of cotton lining fabric in white or a coordinating color
- Matching thread and a hand sewing needle
- Iron and pressing cloth for blocking
Finished size:
- Approximately 13 inches wide by 13 inches tall by 4.5 inches deep, excluding handles
- Handles rise approximately 10 inches above the top edge
- One completed granny square equals 6.25 inches square after blocking — please swatch so all twelve squares match!
The Pattern
Granny Squares (Make 12)
Work Rounds 1–4 in Colors E, D, C, and B respectively; the edging round uses Color A. Each square has 4 rounds plus an edging round.
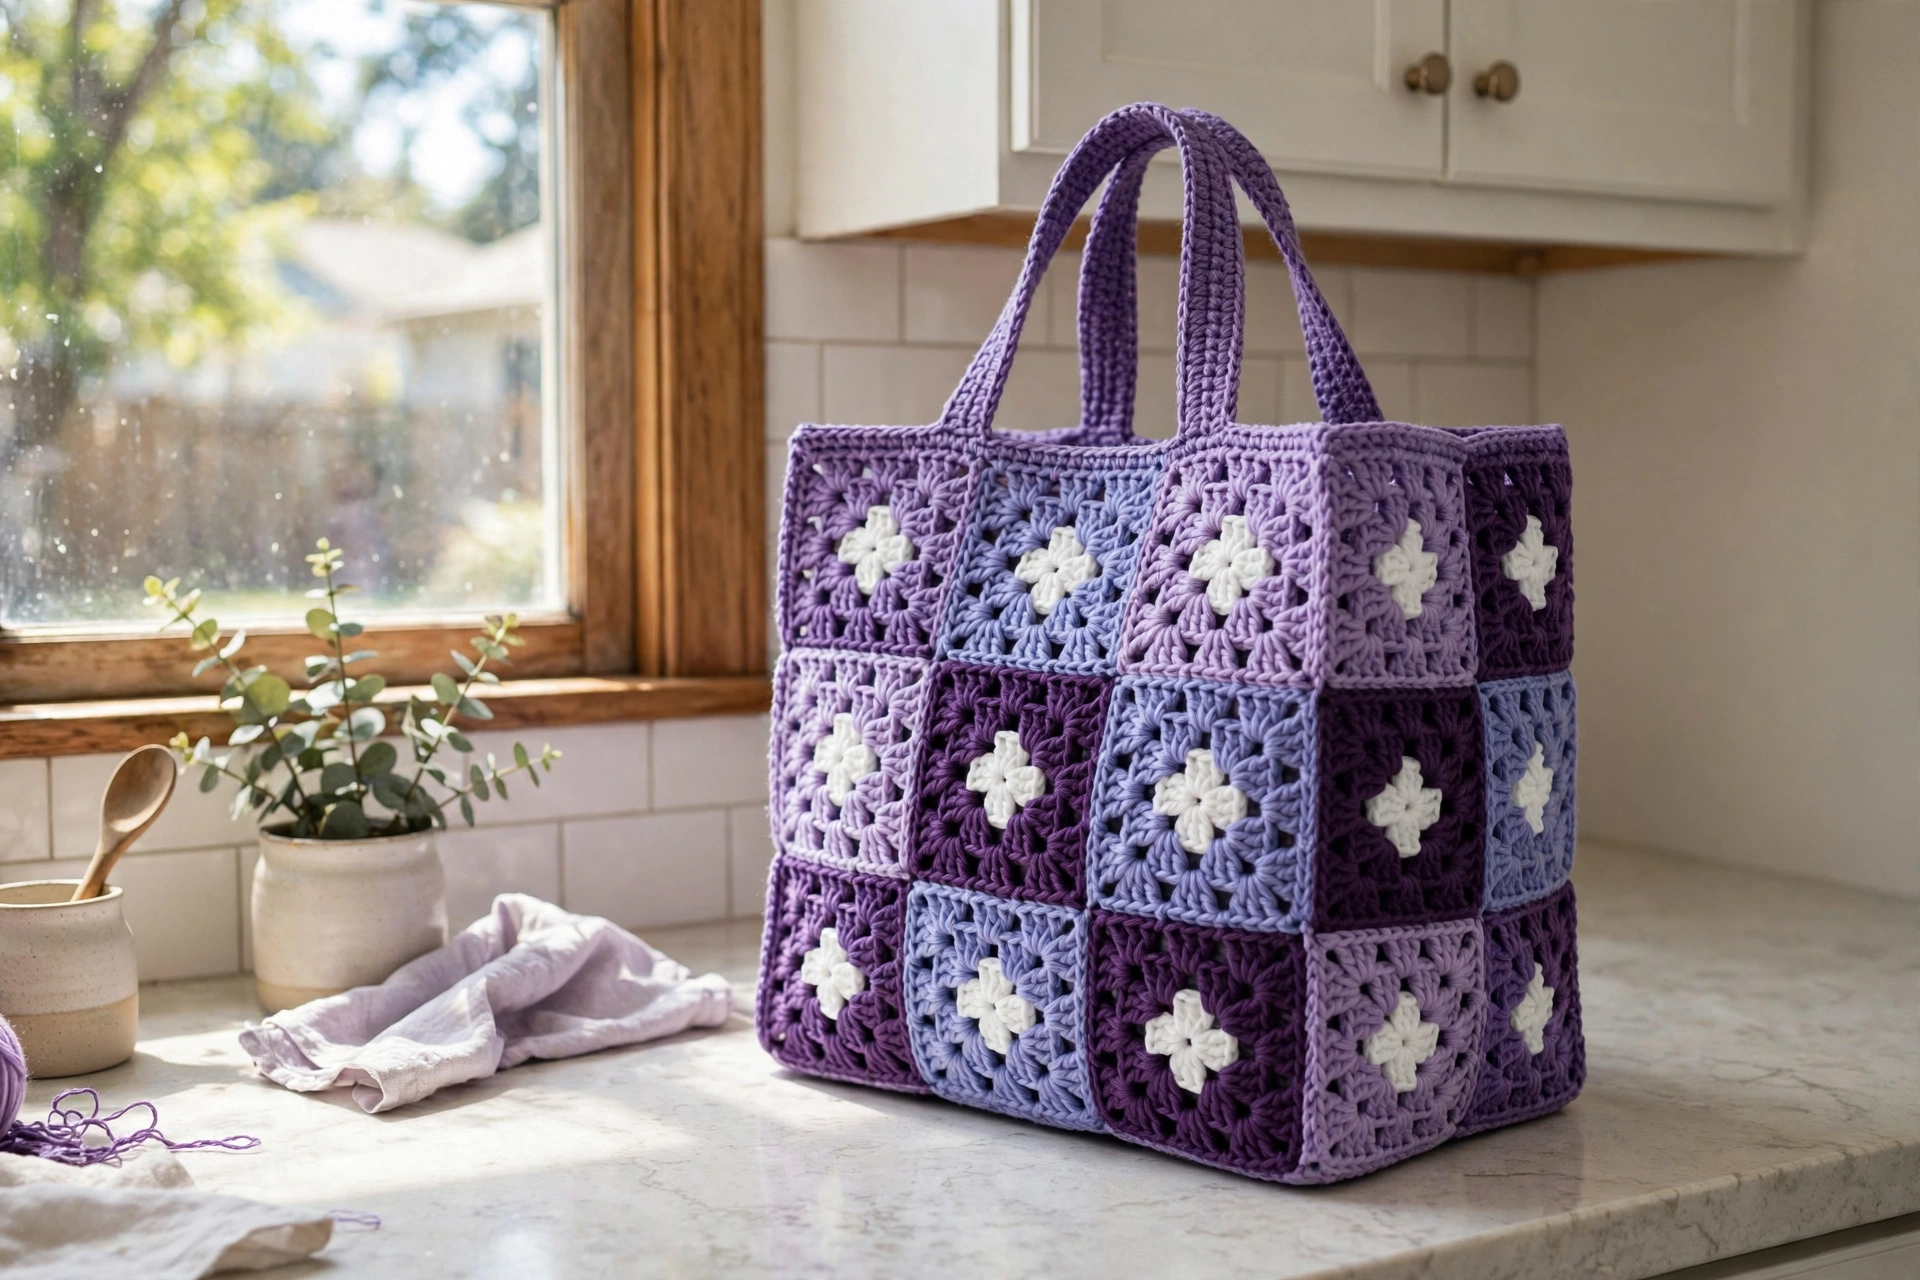
Round 1 (Color E): Make a magic ring (or ch 4 and join to form a ring). Ch 3 (counts as first dc of first cluster throughout), work 2 dc into the ring to complete the first 3-dc cluster. Ch 3. [3-dc cluster into the ring, ch 3] 3 times. Join with sl st to top of beginning ch-3. (4 clusters, 4 ch-3 corner spaces) Fasten off.
Round 2 (Color D): Join Color D into any ch-3 corner space. Ch 3, work 2 dc into same space to complete first cluster. Ch 3, 3-dc cluster into same space (first corner complete). Ch 2. [Work (3-dc cluster, ch 3, 3-dc cluster) into next ch-3 corner space. Ch 2.] Repeat 3 more times. Join with sl st. (8 clusters total) Fasten off.
Round 3 (Color C): Join Color C into any corner space. Ch 3, 2 dc into same space (first cluster). Ch 3, 3-dc cluster into same space. Ch 2. Work (3-dc cluster, ch 2, 3-dc cluster) into the ch-2 side space from Round 2. Ch 2. [Corner shell into next corner space. Ch 2. Side shell into next ch-2 side space. Ch 2.] Repeat 3 more times. Join with sl st. (16 clusters total) Fasten off.
Round 4 (Color B): Join Color B into any corner space. Ch 3, 2 dc into same space. Ch 3, 3-dc cluster into same space. Ch 2. [Side shell into next ch-2 space. Ch 2.] 2 times. [Corner shell into next corner space. Ch 2. [Side shell into next ch-2 space. Ch 2.] 2 times.] Repeat 3 more times. Join with sl st. (24 clusters total) Fasten off.
Edging Round (Color A): Join Color A into any corner space. Ch 3, 2 dc into same space. Ch 3, 3-dc cluster into same space. Ch 1. [Side shell into next ch-2 space. Ch 1.] 3 times. [Corner shell into next corner space. Ch 1. [Side shell into next ch-2 space. Ch 1.] 3 times.] Repeat 3 more times. Join with sl st. (32 clusters total) Fasten off and weave in ends.
Block each square to 6.25 inches square before joining.
Joining the Squares
Arrange squares into panels: front and back — 4 squares each in a 2×2 arrangement; side panels — 2 squares each, stacked vertically. Hold two squares with right sides together and, using Color A, slip stitch through both corresponding spaces along the shared edge. Work one slip stitch through each space and stitch; at corners, work one slip stitch through both corner spaces together.
Base Panel
With Color A, ch 47.
Row 1: Dc in 4th ch from hook (ch-3 counts as first dc) and in each ch across. (45 dc) Turn.
Rows 2–7: Ch 3, turn. Dc in each dc across. (45 dc each row)
Edging round: Ch 1, do not turn. Work 1 sc in each stitch across the top (45 sc); at each corner work 3 sc; down each side work 1 sc in the end of each row (7 sc). Join with sl st. (116 sc total) Fasten off. Block to 13 inches by 4.5 inches.
Assembling the Bag
Seam the four panels in sequence along their vertical edges with the flat slip stitch seam, closing the ring, then slip stitch the base edging to the bottom edge of the tube, matching stitches. Turn right side out.
Top Border
Join Color A at any point along the top opening.
Round 1: Ch 1, work 1 sc in each stitch and chain space around, working 3 sc into outer corners. Join. (116 sc)
Round 2: Ch 1, sc in each sc around. Join. (116 sc)
Round 3: Ch 3, dc in each sc around. Join. (116 dc)
Round 4: Ch 1, sc in each dc around. Join. (116 sc) Fasten off.
Handles (Make 2)
With Color A, ch 73.
Row 1: Dc in 4th ch from hook and in each ch across. (71 dc) Turn.
Rows 2–4: Ch 3, turn. Dc in each dc across. (71 dc each row) Work one round of sc edging around the whole strip, working 3 sc at each corner. Fasten off. Fold the handle in half lengthwise and whip stitch the long edges together for a double-thick strap. Position handles centered on the front and back panels with ends spaced 4 inches apart, overlapping the top border by 1.5 inches, and sew securely with a box stitch.
Lining
Cut fabric pieces (including 0.5 inch seam allowance): front and back — two pieces, 14 by 14 inches each; sides — two pieces, 5.5 by 14 inches each; base — one piece, 14 by 5.5 inches. Sew the side edges together to form a tube, attach the base, press seams, and fold the top edge down 0.75 inch and press. Insert the lining into the bag and hand sew it to the inside of the top border with whip stitch.
Sophie’s Tips
- Block every square to exactly 6.25 inches before you join — matching squares are the whole secret to that crisp box shape.
- Use smooth, plied cotton (not fuzzy or stretchy yarn) so the granny texture stays crisp and the bag keeps its structure for years.
- Don’t skip the lining! It’s what turns a pretty bag into a bag you actually use every day.
I hope you love carrying this tote as much as I loved making it — happy crocheting, friend!