# Crochet Moth Orchid Pattern
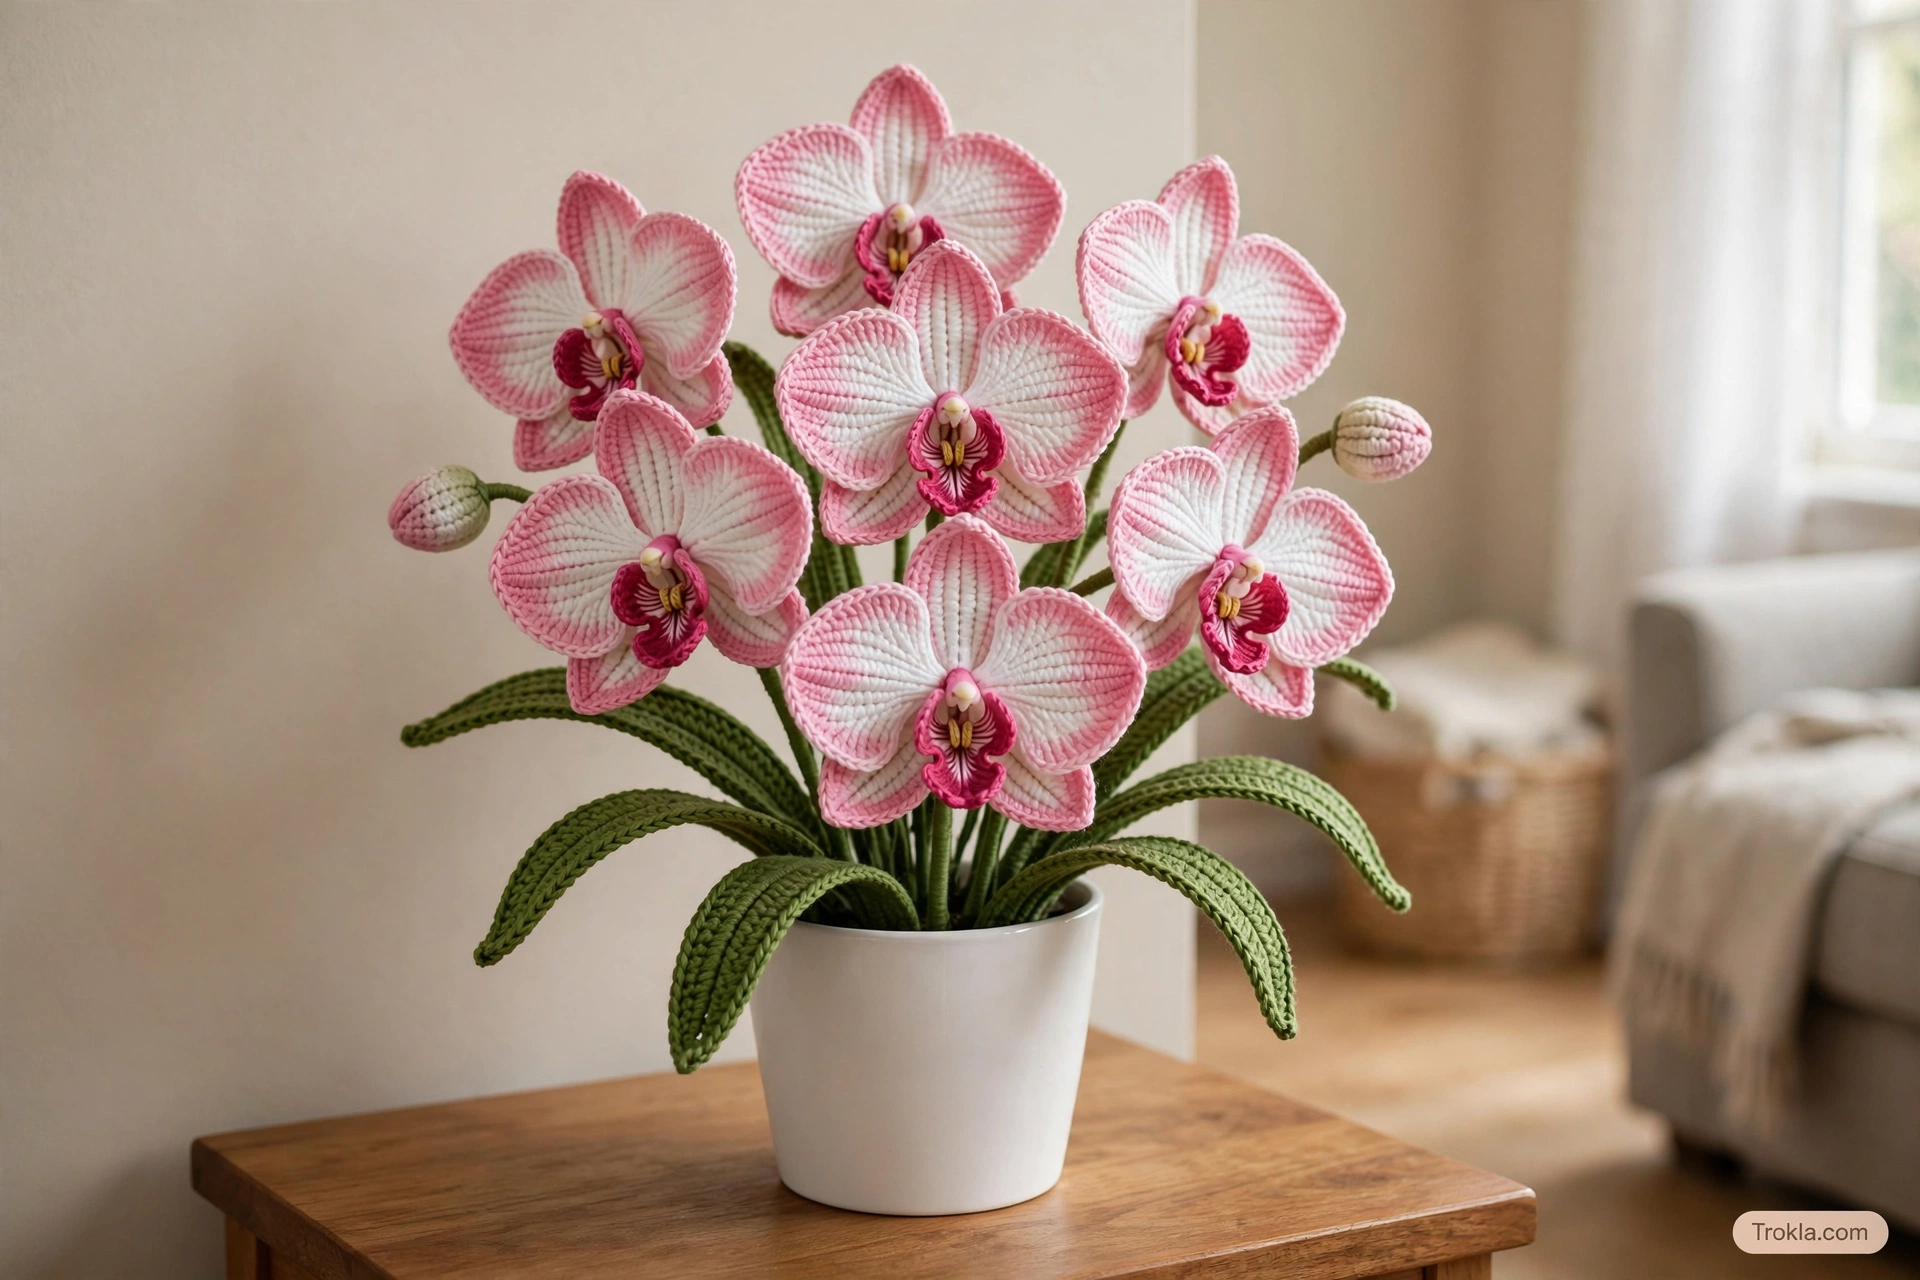
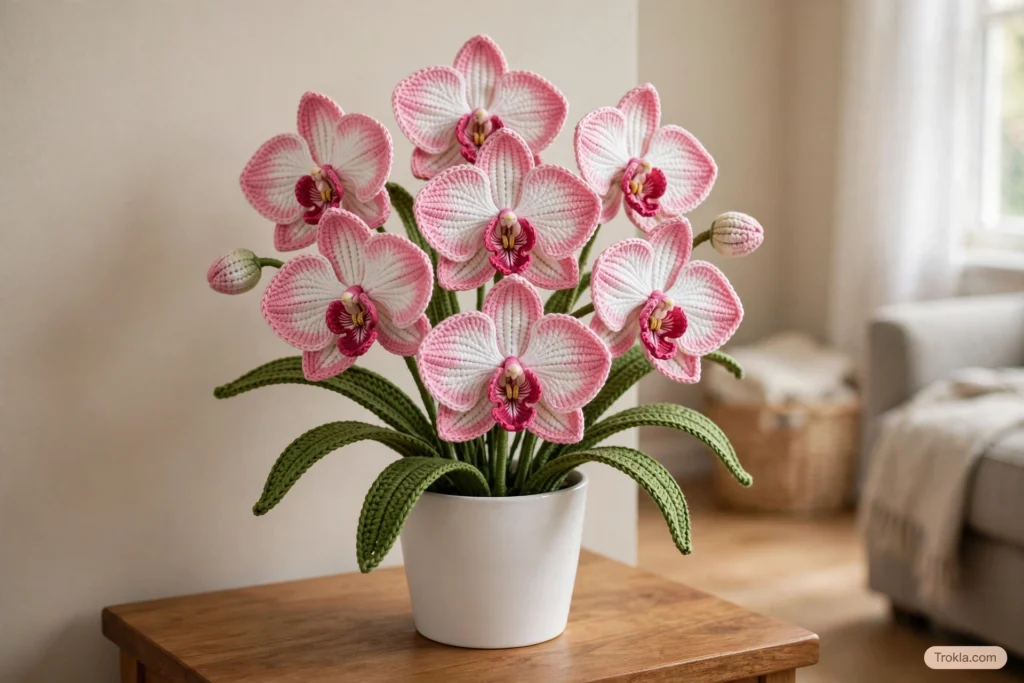
I fell head over heels for moth orchids years ago when I spotted one blooming in a friend’s kitchen window in the middle of January — talk about a mood lifter! Since I can’t keep a real orchid alive to save my life (I forget to water, and then I overwater, and then it’s dramatic), I decided to crochet my own. And honestly? I might love the yarn version even more, because this beauty blooms forever.
Each flower in this pattern has five petals — two in front, three in back — plus a detailed little stamen, and the stem carries a mix of buds and four graceful leaves. Finished flowers measure about 4-5 inches across, and a full stem with leaves reaches roughly 19-20 inches tall. Make one stem for a sweet single-flower gift, or go big with a whole bunch for your mantel.
What You’ll Need
Here’s my little gathering list before you settle in with your hook:
- 4-ply combed cotton in White 01, Green 18, Pink 52, Pink 54, and Red 61 (I used the Loopara 4-ply, but any similar cotton works)
- Flower stem, 35cm (No.3)
- Crochet hook, 2.0mm
- Iron wire in 0.4mm and 0.5mm diameter
- Fiberfill for stuffing the buds
- Needle nose pliers, hot melt adhesive, stitch marker, scissors, sewing needle, and tweezers
Stitch abbreviations (US terms): ch = chain, sc = single crochet, hdc = half double crochet, dc = double crochet, tr = treble crochet, sl st = slip stitch, inc = increase, pic = picot.
The Pattern
Work each piece separately, then we’ll put the whole stem together at the end. Deep breath — you’ve got this!
Stamens (make 3)
First petal: Chain 6. In the 2nd chain from the hook, work 1 sc, then 1 dc and 1 tr. Increase with a tr, then work 1 tr and 1 dc. Work 4 hdc. Now swing around to the other side of the chain: work 1 dc, 1 tr, 1 tr increase, 1 tr, and 1 dc. Finish with 1 sc and 1 sl st.
Second petal: Chain 3. Working in the same stitch, make 3 tr. Chain 3 and slip stitch to finish.
Third petal: Chain 3, then work 3 tr in the same stitch as the second petal. Chain 3 and slip stitch. Cute little trio, done!
Flower Centers (make 3)
Start with a magic ring. Work this sequence twice: chain 2, then work 2 dc into the ring; chain 2 again and slip stitch into the ring. After both repeats, close the round with a final slip stitch. You’ll have a small circular piece with four sections divided by chain-2 spaces — the perfect little base for the stamens and petals.
Flower Buds (make 6)
–
Round 1: Magic ring, work 6 sc into it, slip stitch to join, chain 1.
–
Round 2: Increase in every stitch (6 increases total), slip stitch to join, chain 1.
- Rounds 3-5: Work 12 sc around; slip stitch to join and chain 1 at the end of each round.
–
Round 6: Work (sc, sc2tog) all the way around, then slip stitch to join.
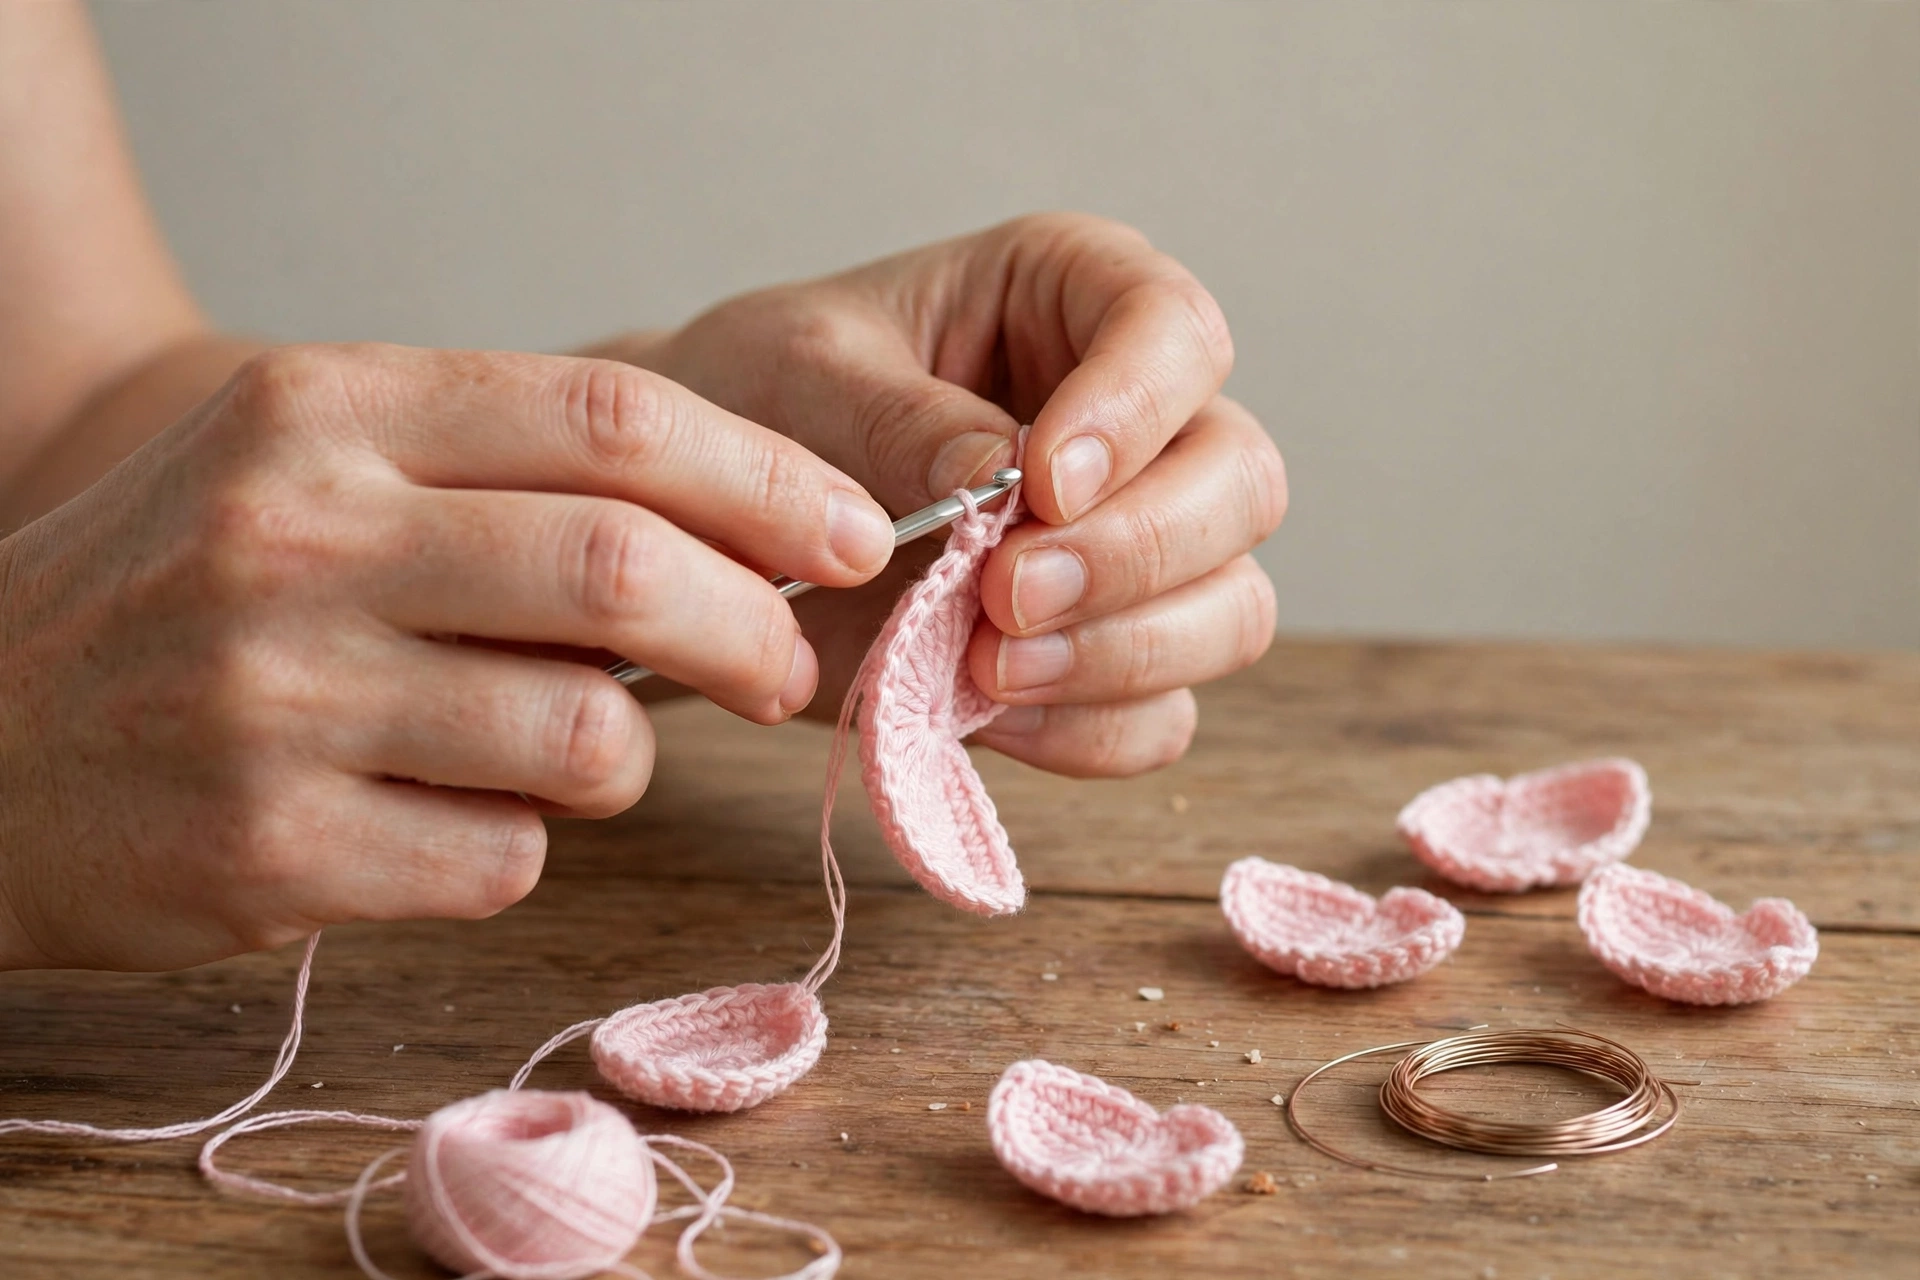
Leave a long tail when you start each bud — you’ll use it to sew the bud shut after stuffing it with a pinch of fiberfill. Plump little buds make the whole stem look so alive.
Small Flower Buds (make 5)
Chain 4. In the 3rd chain from the hook, work 4 incomplete double crochets. Chain 3. In the 3rd chain from the hook, work 4 more incomplete double crochets. Now fold your work in half so the two sets of stitches meet, yarn over and pull through every loop on the hook in one go — that pops it into a rounded bud. Slip stitch to secure.
Front Petals (make 2)
–
Round 1: Chain 13. Slip stitch in the first chain to form a ring, then chain 1.
–
Round 2: In the 2nd chain from the hook, work 2 sc, then 8 hdc, 1 sc, and 3 sc in the next stitch (that’s your petal tip), followed by 1 sc, 8 hdc, and 2 sc. Slip stitch to join, chain 1.
–
Round 3: Work 3 sc, 1 hdc, 1 dc, then increase with a dc, work 3 dc in 1 stitch, increase with another dc, work 1 dc, 1 hdc, 2 sc, 3 sc in the next stitch (petal tip), 2 sc, 1 hdc, 1 dc, increase with a dc, work 3 dc in 1 stitch, increase with another dc, work 1 dc, 1 hdc, and 3 sc. Slip stitch to join, chain 1.
–
Round 4: Add wire along the edge for structure, then single crochet all the way around. At the tip, work (sc, chain 1, sc). Slip stitch to join.
Back Petals (make 3)
–
Round 1: Repeat this sequence three times: chain 12, then work 11 sc starting in the 2nd chain from the hook. After all three, slip stitch to join and chain 1.
–
Round 2: Work 1 sc, 2 hdc, 1 dc, 3 dc increases, 2 dc, 1 hdc, 1 sc, 3 sc in the next stitch (petal tip), 1 sc, 1 hdc, 2 dc, 3 dc increases, 1 dc, 2 hdc, and 1 sc. Slip stitch to join, chain 1.
–
Round 3: Add wire along the edge, then single crochet around the entire petal. At the tip, work (sc, chain 1, sc). Slip stitch to join.
Leaves (make 4)
–
Round 1: Chain 31. In the 2nd chain from the hook, work 3 sc, then 3 hdc. Repeat (5 dc, dc increase) twice. Work 5 dc, 3 hdc, 3 sc, 3 sc in the next stitch, 3 sc, 3 hdc. Repeat (5 dc, dc increase) twice. Work 5 dc, 3 hdc, 3 sc, 3 sc in the next stitch. Slip stitch to join, chain 1.
–
Round 2: Work 3 sc, 3 hdc, 5 dc. Repeat (tr increase, 3 tr) 3 times. Work tr increase, 3 tr, tr increase, 3 tr, 3 dc, 3 hdc, 3 sc, 3 sc in the next stitch, 3 sc, 3 hdc, 3 dc. Repeat (3 tr, tr increase) 3 times. Work 5 dc, 3 hdc, 3 sc, 3 sc in the next stitch. Slip stitch to join, chain 1.
–
Round 3: Add wire along the edge. Single crochet around the whole leaf. At the tip, work [sc, hdc, picot, sc]. Slip stitch to join.
Putting It All Together
Here’s my assembly order — I like doing it step by step so nothing rolls off the table and disappears forever.
1. Thread wire through each small flower bud, fold it, and wrap with yarn to your desired length.
2. Stuff each large bud with cotton and sew it closed with your sewing needle.
3. Fold a piece of wire, insert it into the base of a large bud, and wrap with yarn to length.
4. Thread the front petal’s wire through the center of the back petals, using your crochet hook to pull the yarn end out.
5. Insert wire through the petal center, fold and twist it tightly, then wrap yarn from the petal base upward to secure everything.
6. Dab a small amount of hot glue to attach the stamen base to the center of the front petal, then attach the flower center the same way.
7. Arrange and assemble your small and large flower buds in sequence along the stem, then add the leaves.
Sophie’s Tips
- Keep your tension even on the stamens and petals. Matching sizes are what make the finished orchid look balanced and real.
- Don’t skip the wire in the petals and leaves. Crocheting over it securely is the whole secret to those graceful, lifelike curves that hold their shape.
- Play with color. Moth orchids come in whites, blush pinks, deep magentas, purples, and even sunny yellows. Try a white-and-pink mix for Christmas, or go bold with red for Valentine’s Day.
- Adjust the fullness. Want a lush stem? Make more buds. Want something minimal and modern? One flower and two leaves look stunning in a tall thin vase.
I absolutely love gifting these — orchids symbolize strength and new beginnings, so they’re perfect for a friend’s new home or a fresh start. And the best part? They’ll still be “blooming” next Christmas without a single drop of water. Happy hooking, friends!