# Crochet Fall Gnome Garland Free Pattern

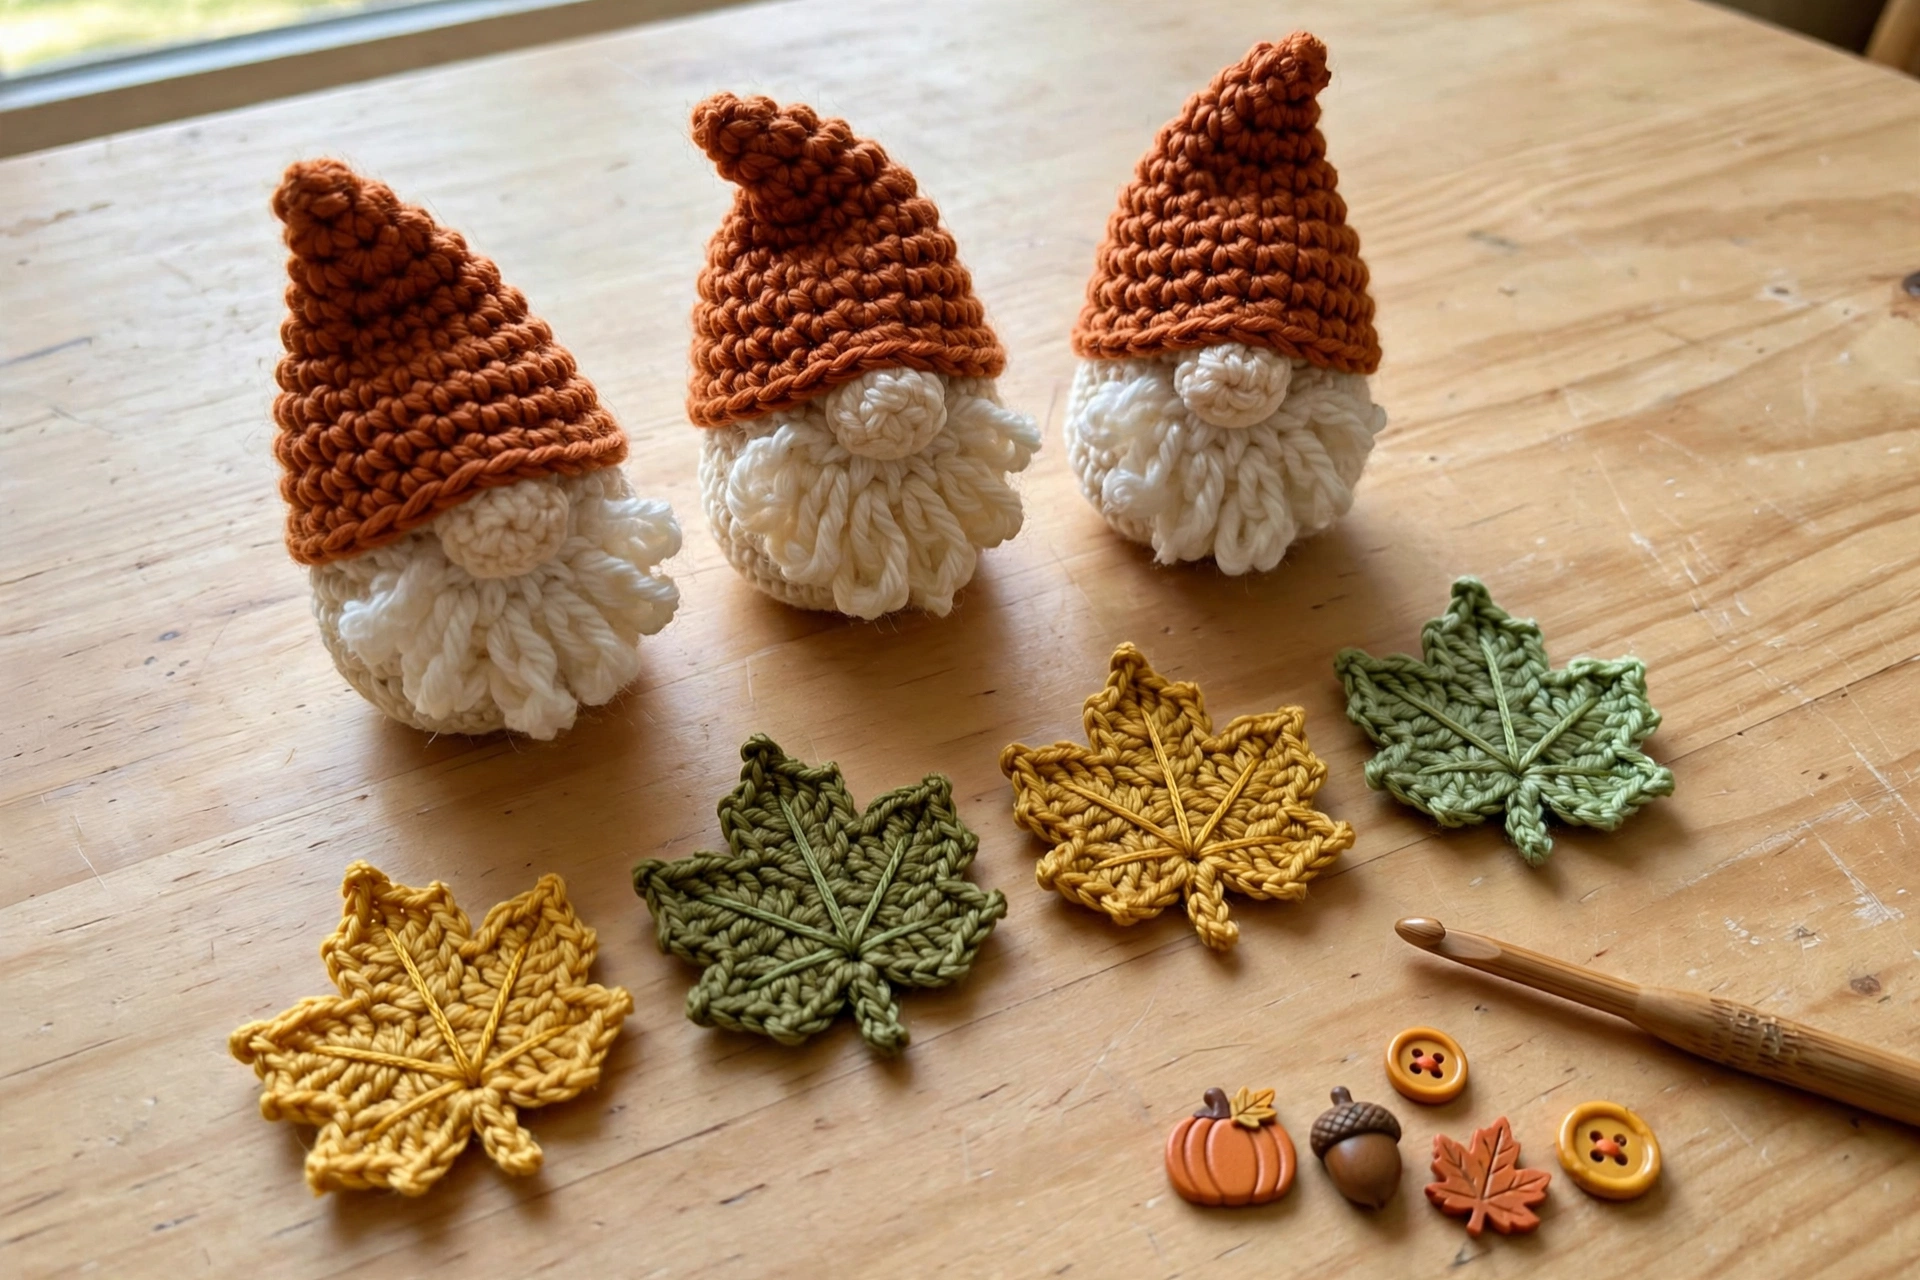
You know what two of my favorite things are? Gnomes and fall. So naturally, smushing them together into one garland was inevitable! This sweet little bunting strings together tiny gnome appliqués and autumn leaves on a simple crocheted chain — it looks adorable draped over a mantel, across a doorway, or down the middle of a Thanksgiving table. Each gnome gets a cute fall button on his hat, which is my favorite part.
What You’ll Need
- Worsted weight yarn in fall colors: rust orange, golden yellow, cream, sage green, and chocolate brown, plus a small amount of peachy-tan for the gnome noses
- Crochet hook 4.5 mm (size 7)
- Crochet hook 2.75 mm (size 1) — for the tiny noses
- Yarn needle
- Sewing needle and matching sewing thread
- Fall-themed decorative buttons (pumpkins, leaves, acorns — so cute!)
- Craft cutter (for removing button shanks)
- Hot glue gun
Finished Size
The garland is about 46 inches long. Want it longer for a big mantel? Just add more gnomes and leaves — easy!
Tiny Gnome Appliqué (make 3)
Hat: With rust orange yarn, chain 9.
Row 1: Sc in the 2nd chain from the hook and across. (8 sc)
Row 2: Ch 1, turn, sc2tog, sc in the next 4, sc2tog. (6 sc)
Row 3: Ch 1, turn, sc across. (6 sc)
Row 4: Ch 1, turn, sc2tog, sc in the next 2, sc2tog. (4 sc)
Row 5: Ch 1, turn, sc across. (4 sc)
Row 6: Ch 1, turn, sc2tog twice. (2 sc)
Row 7: Ch 1, turn, sc2tog. (1 sc) Fasten off.
Hat brim: With cream yarn, chain 9. Sc in the 2nd chain from the hook and across. (8 sc) Fasten off, leaving a tail for sewing. Sew the brim across the bottom of the hat.
Beard: With cream yarn, chain 7.
Row 1: Sc in the 2nd chain from the hook and across. (6 sc)
Rows 2–4: Ch 1, turn, sc across. (6 sc)
Row 5: Ch 1, turn, sc2tog, sc in the next 2, sc2tog. (4 sc)
Row 6: Ch 1, turn, sc2tog twice. (2 sc) Fasten off.
Nose: With the 2.75 mm hook and peachy-tan yarn, make a magic ring and work 6 sc into the ring. Join with a slip stitch and fasten off.
Assemble the gnome: Sew the beard behind the hat brim so it peeks out below, then sew the little nose right over the center of the brim. Instant gnome face — no eyes needed!
Simple Autumn Leaf (make 4)
With green or golden-yellow yarn, chain 9.
Work down one side: sc in the 2nd chain from the hook, hdc in the next chain, dc in the next 3 chains, hdc in the next chain, sc in the next chain, then work 3 sc into the last chain. Now rotate and work back up the other side of the chain: sc in the next chain, hdc in the next, dc in the next 3, hdc in the next, sc in the next, slip stitch to the first sc to join.
For the stem: chain 4, slip stitch in the 2nd chain from the hook and in the next 2 chains, then slip stitch back into the leaf base to join. Fasten off and weave in the ends.
Putting the Garland Together
1. Make your gnomes and leaves — I made 3 gnomes and 4 leaves, but adjust the count to fit your space. Block the pieces if they curl. Snip the shanks off your fall buttons with the craft cutter, then hot-glue a button onto each gnome’s hat. (Try not to burn your fingers like I did the first time!)
2. Crochet the garland string: just chain until it measures about 46 inches long.
3. Leave about 5–7 inches of chain at each end for tying the garland up.
4. Arrange your gnomes and leaves along the chain until you love the layout, then sew each piece on with a sewing needle and matching thread.
And that’s it — your fall gnome garland is ready to hang!
Sophie’s Tips
- Odd numbers of gnomes look best — 3, 5, or 7 keeps the garland feeling balanced.
- Mix up your leaf colors (gold, green, rust) for that real-autumn-foliage look.
- This is a wonderful stash-buster — each appliqué uses just a few yards.
Happy crocheting! 🍁