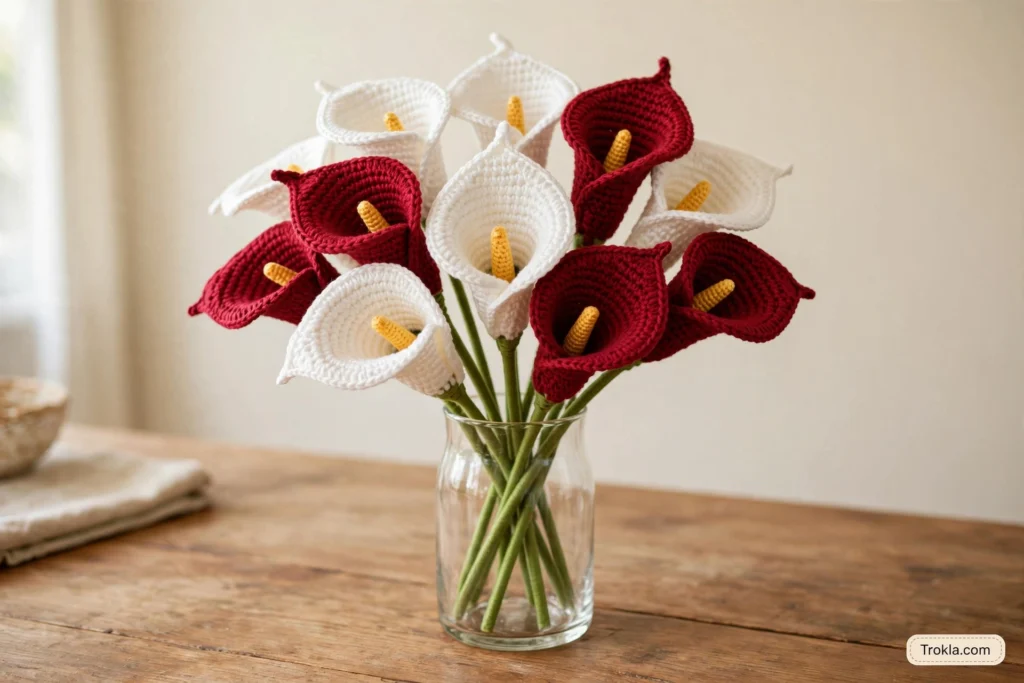
# Calla Lily Crochet Bouquet
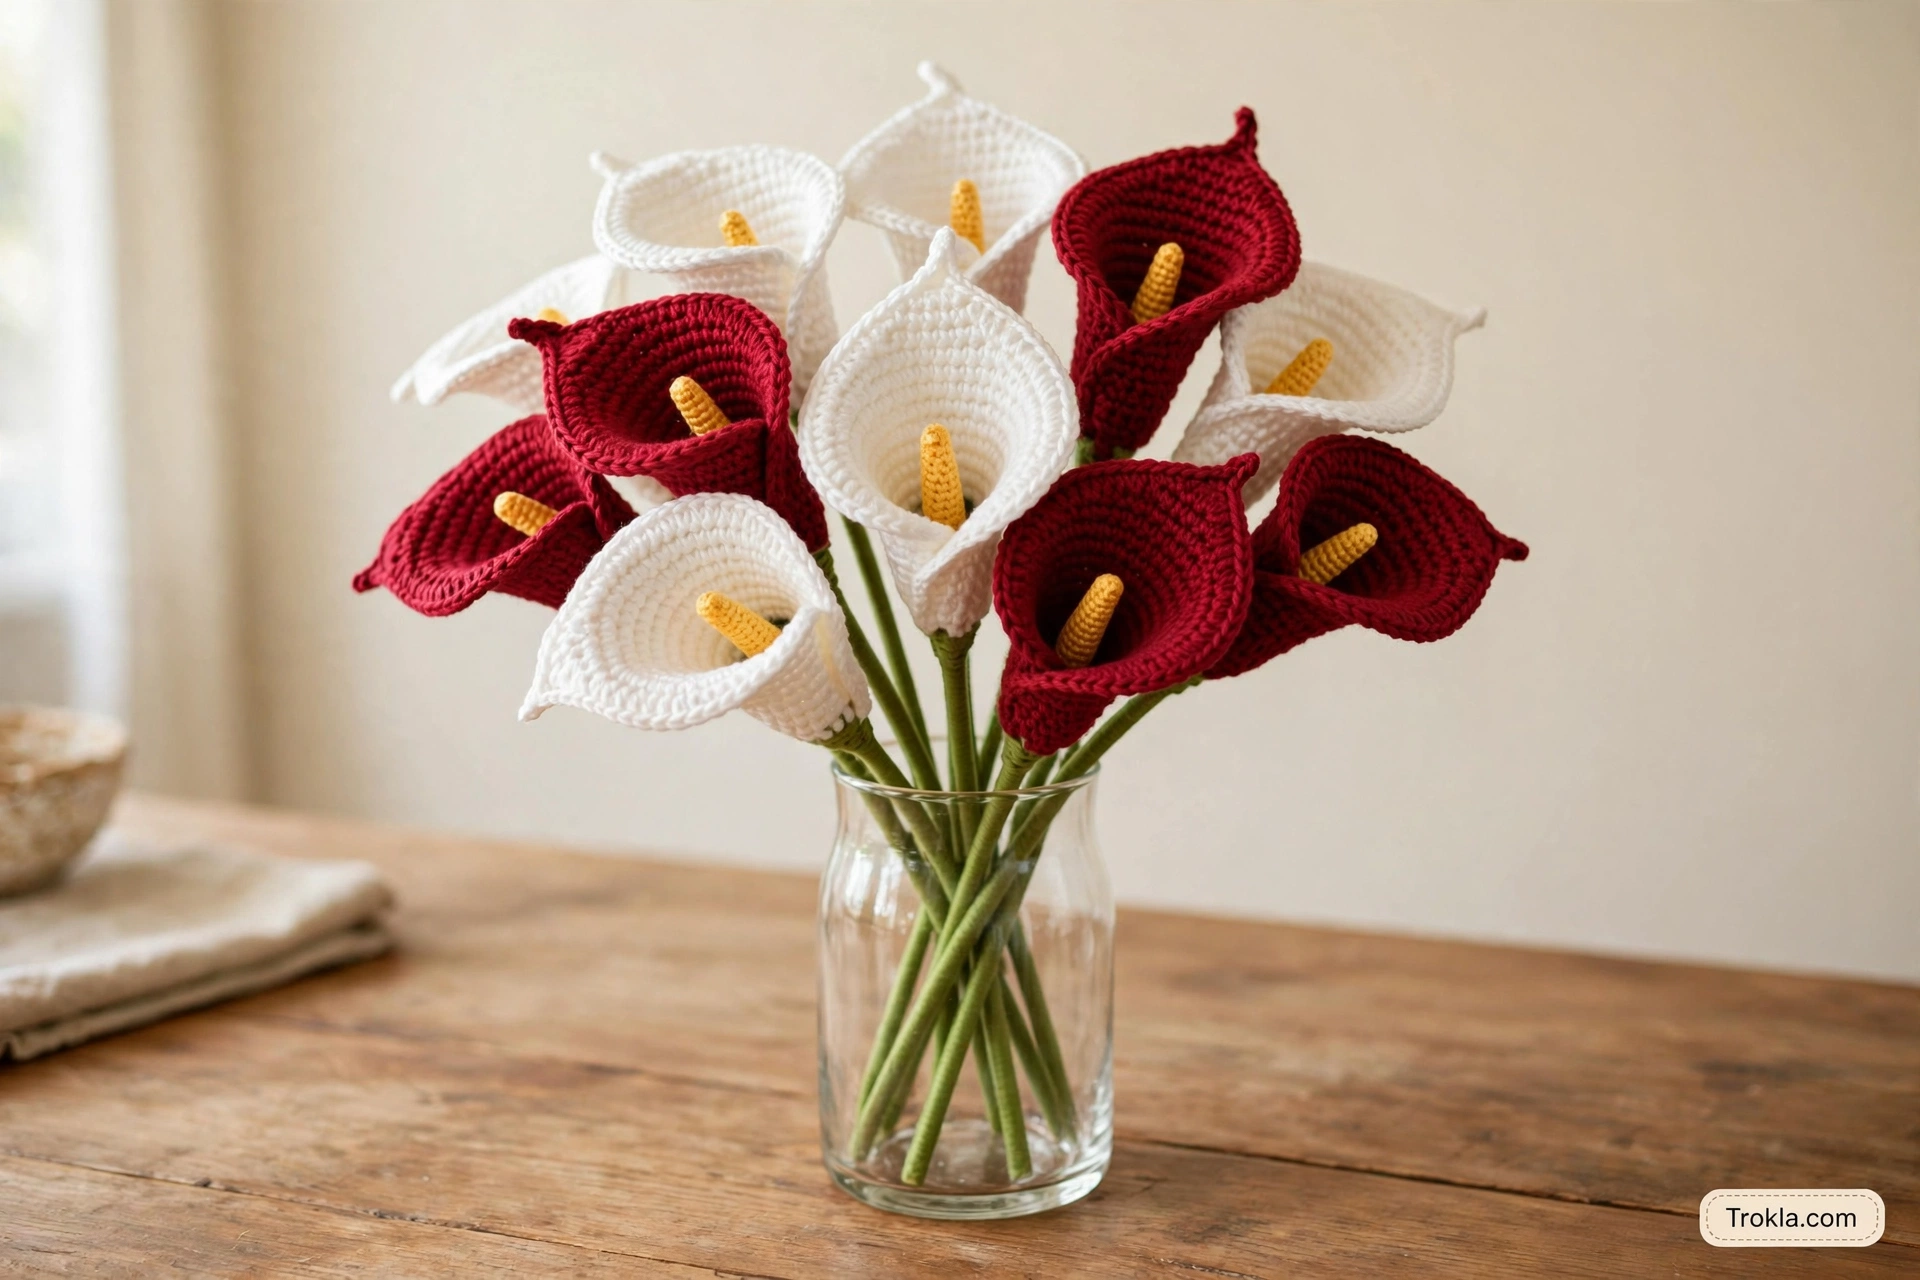
You know what I love about calla lilies? They’re so elegant they barely need any company — one bouquet of these beauties is plenty to make a room feel special. I made a dozen of them once (yes, twelve!) and honestly, the process became my favorite kind of rhythm: hook, petal, petal, petal.
Each flower face measures 4″ x 2 ¾”, and the bouquet I’ll walk you through makes 12 flowers — 6 white with red centers and 6 red with burgundy centers. That color combo is pure holiday magic, but you could absolutely run these in a single color for a wedding bouquet that will never, ever wilt.
What You’ll Need
For the full 12-flower bouquet:
- Aunt Lydia’s Crochet Thread Classic 10 — White (1 ball), Burgundy (1 ball), Victory Red (1 ball), and Metallic Gold (1 ball)
- DMC Pearl Cotton Size 5 in Dark Pistachio Green 367 (2 skeins)
- 5/8″ satin ribbon, white, 21 feet
- 12 gauge floral wire, green, 12 feet
- 6mm chenille stems in moss, 24 stems
- Yarn needle, wire cutters, Elmer’s white glue
- Crochet hook: steel size 1
Quick stitch guide: Sk1sc = skip 1 sc of the previous row. Sk2sc = skip 2 sc. Sc2tog = single crochet 2 together. Sc3tog = single crochet 3 together. The number in parentheses at the end of each row is the stitch count for that row; the -# after it is how many previous-row stitches go unworked.
The Pattern
Petal (make 12)
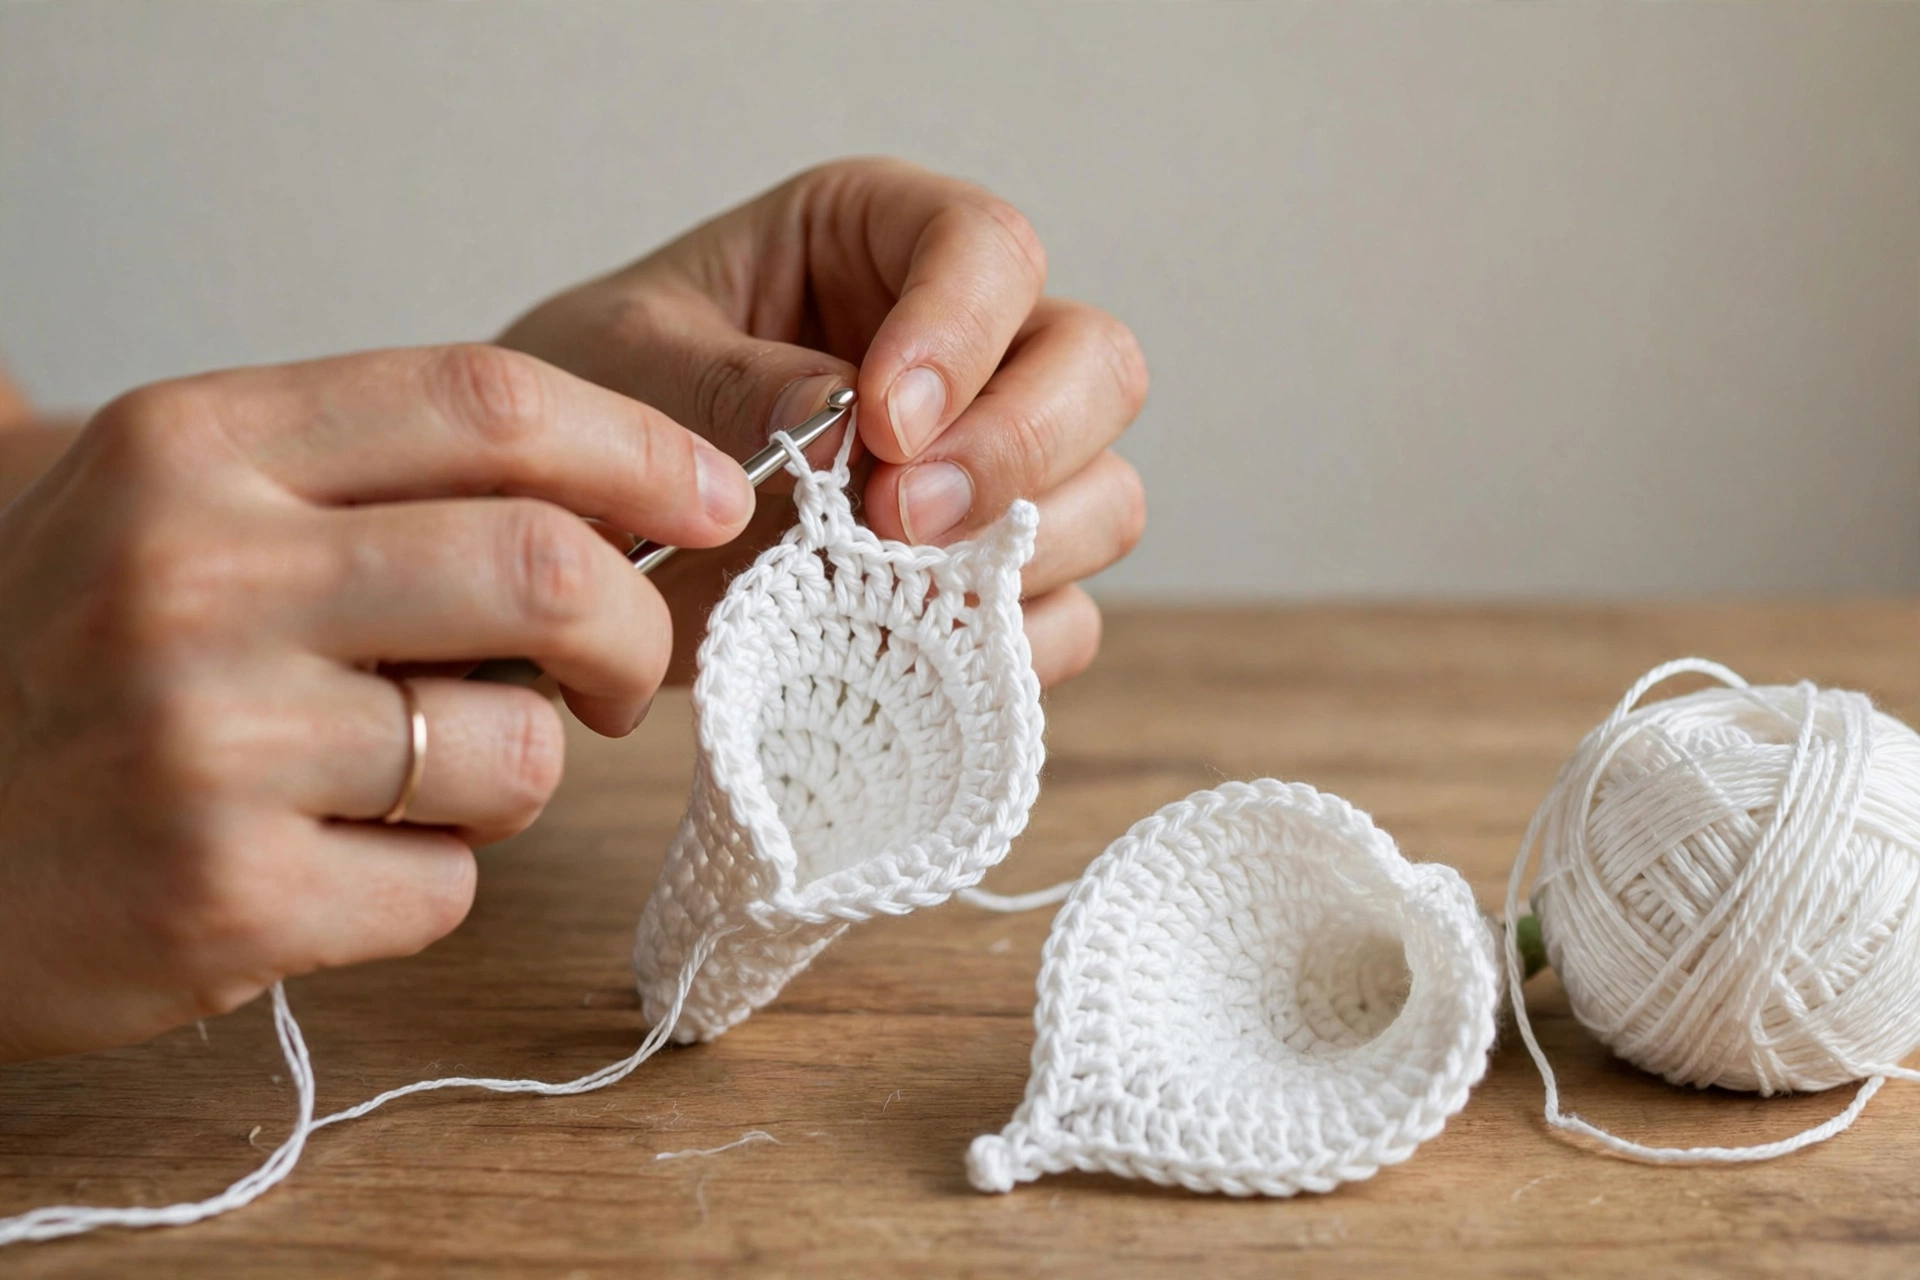
With your first color (white or Victory Red), chain 85.
–
Row 1: In the 2nd chain from the hook, sc 41, sc2tog, sc 41. (83)
–
Row 2: Ch 1. Sc 14, (sc2tog, sc 7) once, sc2tog, sc 6, sc3tog, sc 6, (sc2tog, sc 7) two more times, sc 4. (72) -3
–
Row 3: Ch 1. Sk2sc, sc 65. -5
–
Row 4: Ch 1. Sk2sc, sc 18, sc2tog, sc 21, sc2tog, sc 18. (59) -2
–
Row 5: Ch 1. Sk2sc, sc 27, sc2tog, sc 24. (52) -4
–
Row 6: Ch 1. Sk2sc, sc 21, sc2tog twice, sc 22. (45) -3
–
Row 7: Ch 1. Sk2sc, sc 3, sc2tog, sc 14, sc2tog, sc 14, sc2tog, sc 3. (37) -3
–
Row 8: Ch 1. Sk2sc, sc 15, sc2tog, sc 15. (31) -3
–
Row 9: Ch 1. Sk2sc, sc 4, sc2tog, sc 6, sc2tog twice, sc 5, sc2tog, sc 3. (22) -3
–
Row 10: Ch 1. Sk2sc, sc 2, sc2tog, sc 3, sc2tog, sc 4, sc2tog, sc 3. (15) -2
–
Row 11: Ch 1. Sk2sc, sc 2, sc2tog, sc 2, sc2tog twice, sc 2. (9) -1
–
Row 12: Ch 1. Sk1sc, sc 6. (6) -2
Bind off.
Attach the same color on the side with 2 rows of sc (opposite the starting knot). Work 56 sc evenly around. Bind off.
Now the second color goes on — Victory Red if your petal is white, Burgundy if your petal is Victory Red. Attach it right where you bound off:
–
Row 1: Sc 12, sc2tog, sc 6, sc2tog, sc 4, sc2tog twice, sc 4, sc2tog, sc 6, sc2tog, sc 12. (50)
–
Row 2: Ch 1. Sk1sc, sc 15, sc2tog, sc 15, sc2tog, sc 15. (47)
–
Row 3: Ch 1. Sk1sc, sc 22, sc2tog, sc 22. (45)
–
Row 4: Ch 1. Sk1sc, sc 14, sc2tog, sc 13, sc2tog, sc 13. (42)
–
Row 5: Ch 1. Sk1sc, sc 20, sc2tog, sc 19. (40)
–
Row 6: Ch 1. Sk1sc, sc 19, sc2tog, sc 18. (38)
–
Row 7: Ch 1. Sk1sc, sc 18, sc2tog, sc 17. (36)
–
Row 8: Ch 1. Sk1sc, (sc 10, sc2tog) once, sc 11. (33)
–
Row 9: Ch 1. Sk1sc, (sc 9, sc2tog) once, sc 10. (30)
–
Row 10: Ch 1. Sk1sc, sc 29.
–
Row 11: Ch 1. Sk1sc, sc 13, sc2tog, sc 13. (27)
–
Row 12: Ch 1. Sk1sc, sc 12, sc2tog, sc 12. (25)
–
Row 13: Ch 1. Sk1sc, sc 24. (24)
–
Row 14: Ch 1. Sc 24.
Bind off.
Spadix — the golden center (make 12)
Using metallic gold:
–
Round 1: Ch 12. Sc in the first chain to form a loop, sc 11.
- Rounds 2-6: Sc 12 around in a spiral.
–
Round 7: Sc2tog, sc 10.
- Rounds 8-10: Sc 11 around.
–
Round 11: Sc 5, sc2tog, sc 4.
–
Round 12: Sc 10 around.
–
Round 13: Sc2tog, sc 8.
–
Round 14: Sc 4, sc2tog, sc 3. Bind off, and sew the small end closed with the tail.
Sew each spadix to the inside edge of the petal bottom, overlapping the petal as needed, and tack the petal edge here and there until the flower curls just the way you like it.
Green base (make 12)
–
Round 1: With green, work 20 sc evenly around the bottom of the petal.
–
Round 2: Sc in the first stitch of the previous round, then (sc 4, sc2tog) x 3, sc 1. (17)
–
Round 3: (Sc 3, sc2tog) x 3, sc 2. (14)
–
Round 4: (Sc 2, sc2tog) x 3, sc 2. (11)
–
Round 5: (Sc 1, sc2tog) x 3, sc 2. (8)
- Rounds 6-9: Sc 8 in a spiraling pattern. Bind off.
Assembly and Finishing
Weave in all your loose ends (my least favorite part, but future-you says thanks). Twist 2 chenille stems around a piece of floral wire, and trim the wire where the chenille stems end. Push the wire into the opening of the green base, sliding the flower onto the stem until the spadix is snug around it.
Now for the stiffening trick that keeps every flower perky in the vase: mix ¼ cup water with ¼ cup Elmer’s glue. Dip one flower in, squeeze out the excess, stand it upright in a cup or vase, and shape the petal with your fingers. Repeat for all twelve, and let them dry completely. The colors won’t bleed and you won’t see the glue at all — but the flowers will hold their shape beautifully.
When everything is bone dry, gather the stems into a bouquet and wrap them with the white satin ribbon: start at the bottom, fold the ribbon over, and wrap upward in a neat overlapping spiral, then back down and up once more for a smooth finish. Cut the ribbon, fold over ¼” of the end, and glue the overlap down — an old bread twist tie holds it nicely while it dries.
Sophie’s Tips
- Work in stages. I made mine a few at a time — petals first, then spadices, then stems. Watching the “done” pile grow into a bouquet is the best motivation.
- Don’t rush the glue dip. Let each flower dry fully before arranging, or you’ll get sad squished petals.
- Timing: One flower took me just under 2½ hours of crocheting (not counting the glue-drying wait), so plan a cozy weekend project.
- Color play: White with red centers plus red with burgundy centers is my holiday favorite, but all-white is breathtaking for a winter wedding.
These lilies survive the mail, the car ride, and the cat — ask me how I know. Tie them with a gold ribbon for Christmas and watch your guests do a double-take when they realize the “fresh flowers” are crochet. Happy hooking, friends!