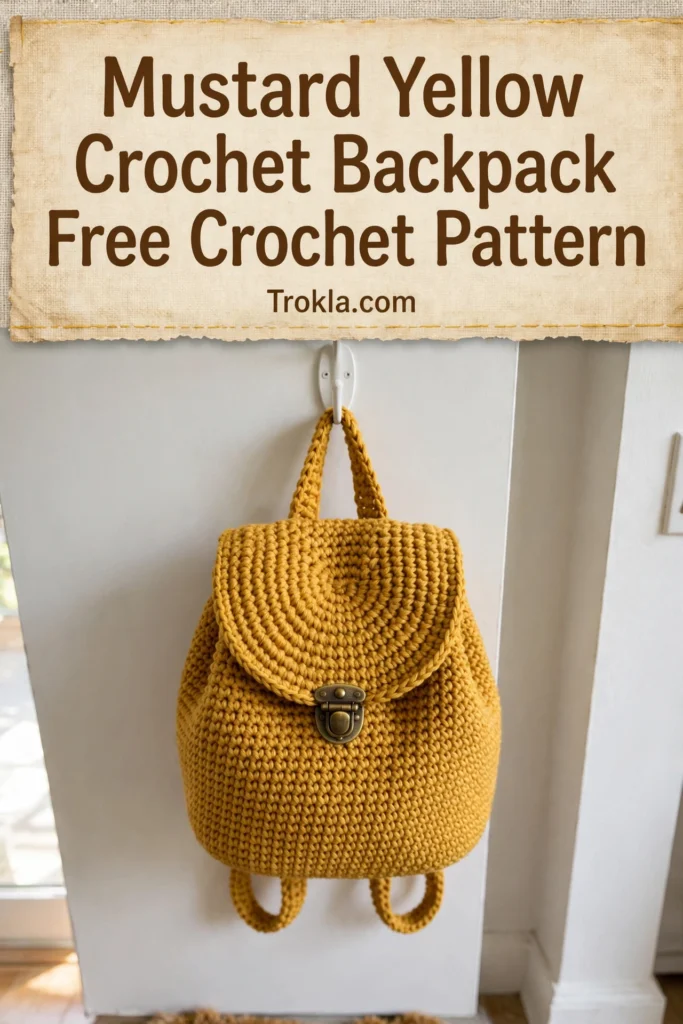
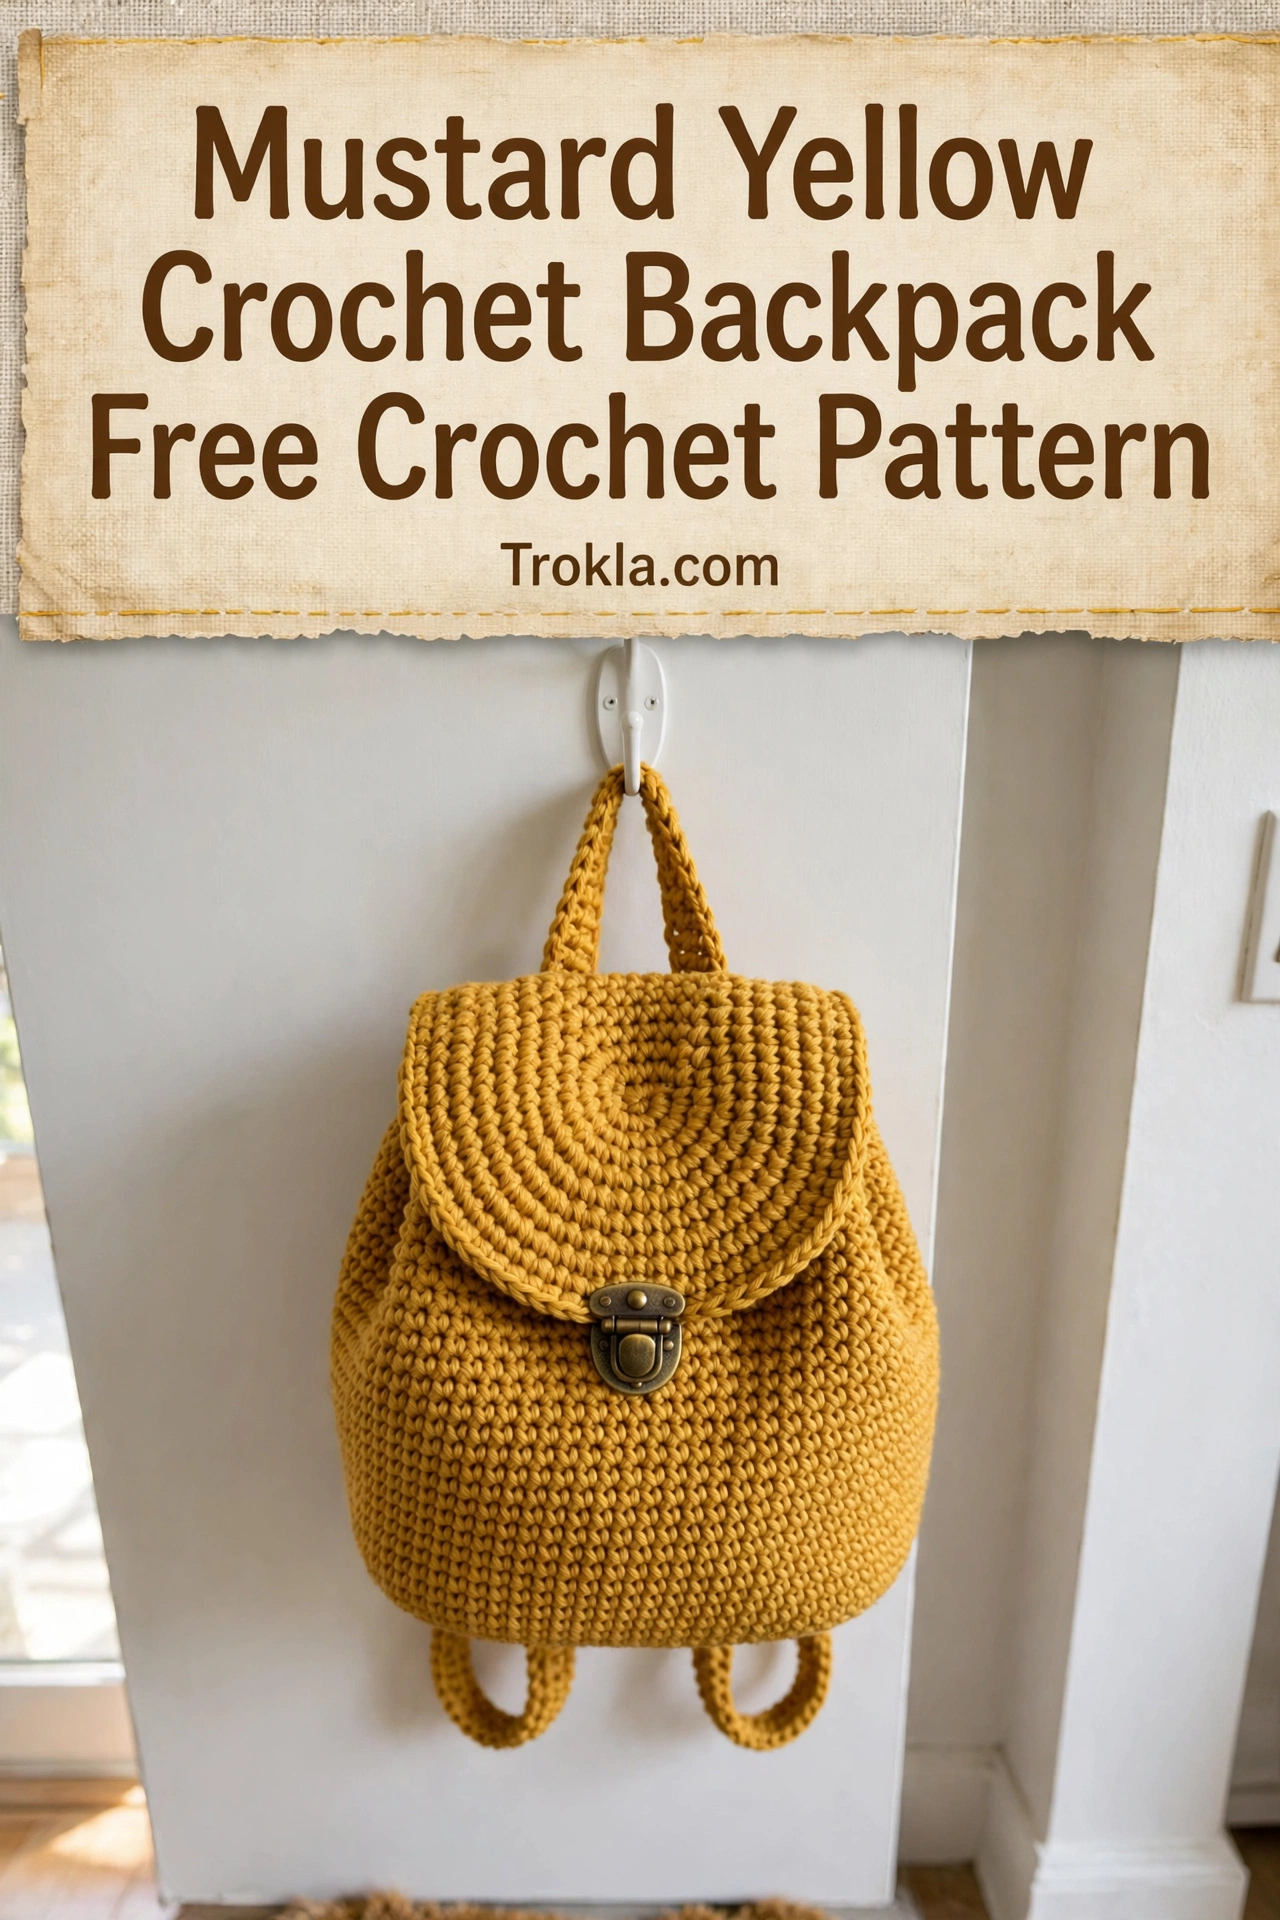
I’ll be honest — I gasped a little the first time I finished this backpack and held it up. That warm mustard gold against the antique brass hardware? Absolute perfection. It looks like something from a little boutique, but the whole thing is just beginner-friendly single crochet worked in rounds, and it came together so much faster than I expected.
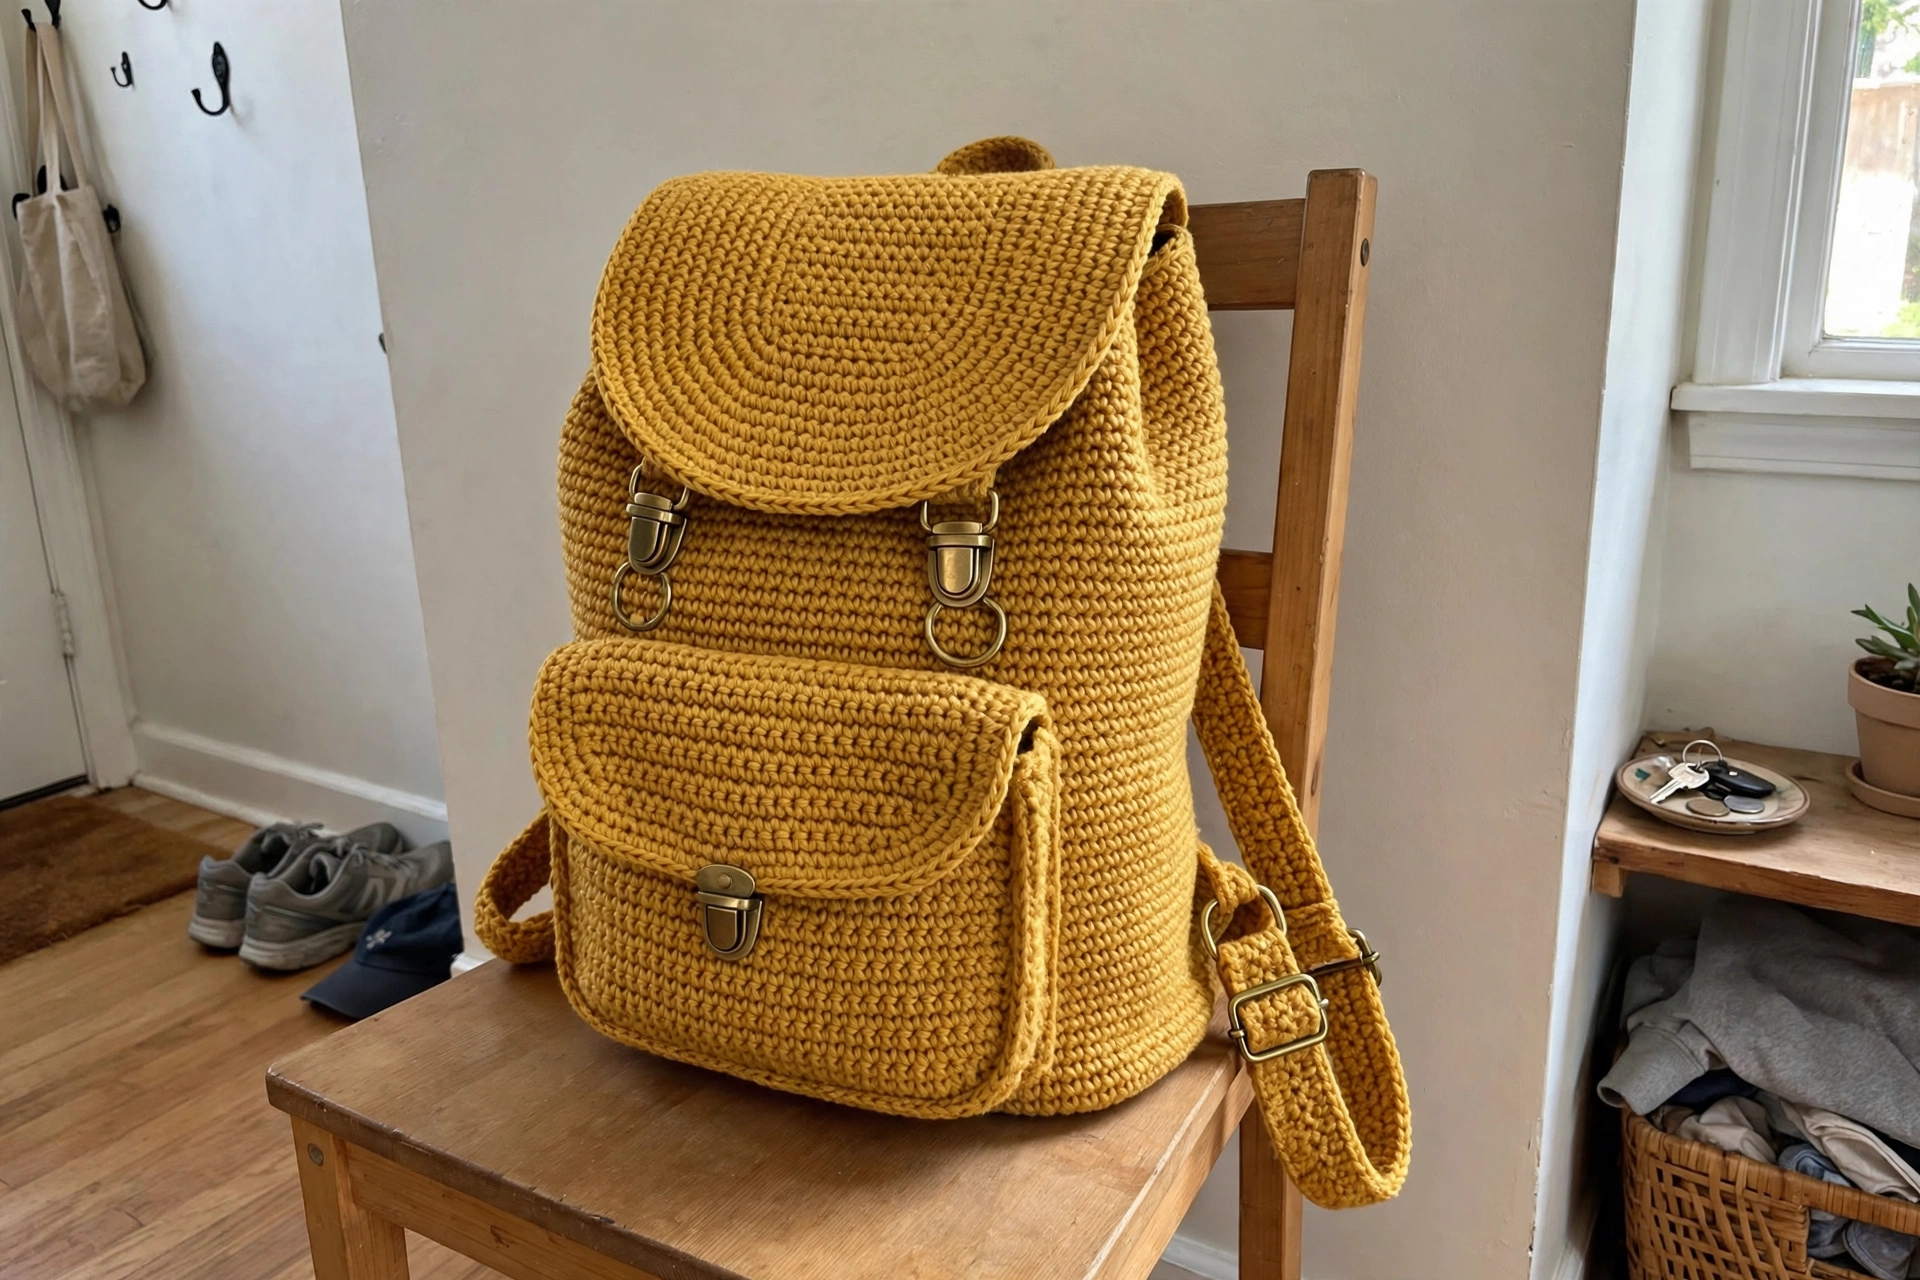
Bags are my favorite makes because you actually use them every single day. This one is sturdy enough for real life — a paperback, a water bottle, your current crochet project (yes, I keep a backup project in mine) — and the dense stitch fabric holds its shape without flopping over. The rounded flap with the little push-lock clasp gives it that polished, store-bought look. If you’ve been nervous about tackling a bigger project, this is the one I’d hand you.
What You’ll Need
- Worsted weight cotton yarn (category 4), approximately 400 to 450 grams — warm mustard yellow/gold (a sturdy cotton or cotton blend is best for structure)
- 4.0 mm (US G/6) crochet hook
- 1 push lock clasp (also called a thumb lock or tuck lock), antique brass finish
- 2 D-rings, 1 inch (2.5 cm), antique brass
- 2 swivel snap hooks, antique brass
- 1 matching zipper, 6 inches (15 cm), for the front pocket
- Tapestry needle
- Stitch markers
- Sewing needle and matching thread (for attaching hardware and the zipper)
- Optional: fabric for lining the interior
Finished size: Approximately 12 inches (30 cm) tall (not including straps) x 10 inches (25 cm) wide x 4 inches (10 cm) deep. Straps are adjustable, approximately 24 to 30 inches (61 to 76 cm).
Gauge: 18 stitches and 20 rows = 4 inches (10 cm) in single crochet worked in continuous rounds. Swatch first — for a bag, gauge is what keeps it sturdy instead of floppy.
The Pattern
Base
The base is worked as an oval in continuous rounds — no joining, just a happy spiral. Pop a stitch marker in the first stitch of each round.
Ch 21.
Rnd 1: Starting in 2nd ch from hook, work 1 sc in each of the next 19 ch. Work 3 sc in the last ch (this turns the corner). Now working along the opposite side of the foundation chain, work 1 sc in each of the next 18 ch. Work 2 sc in the last ch. Place marker. (42 sts)
Rnd 2: Work 1 sc in each of the next 19 sts. Work inc in each of the next 3 sts. Work 1 sc in each of the next 18 sts. Work inc in each of the next 2 sts. (47 sts)
Rnd 3: Work 1 sc in each of the next 19 sts. (1 sc, inc) 3 times. Work 1 sc in each of the next 18 sts. (1 sc, inc) 2 times. (52 sts)
Rnd 4: Work 1 sc in each of the next 20 sts. (2 sc, inc) 3 times. Work 1 sc in each of the next 19 sts. (2 sc, inc) 2 times. (57 sts)
Rnd 5: Work 1 sc in each of the next 21 sts. (3 sc, inc) 3 times. Work 1 sc in each of the next 20 sts. (3 sc, inc) 2 times. (62 sts)
Rnd 6: Work 1 sc in each of the next 22 sts. (4 sc, inc) 3 times. Work 1 sc in each of the next 21 sts. (4 sc, inc) 2 times. (67 sts)
Rnd 7: Work 1 sc in each of the next 23 sts. (5 sc, inc) 3 times. Work 1 sc in each of the next 22 sts. (5 sc, inc) 2 times. (72 sts)
Continue increasing in this same manner for 2 more rounds until you have approximately 82 stitches and your base measures roughly 10 inches long by 4 inches wide.
Body
Now we work straight up with no increases to form the sides.
Rnd 1: Working in back loops only for this round (this creates a clean edge where the base meets the sides), work 1 sc in each st around. (82 sts)
Rnds 2 through 60: Work 1 sc in each st around, working through both loops. (82 sts)
Keep going until the body measures approximately 11 to 12 inches from the base — your exact round count may vary a bit with gauge. Tip: tuck a contrasting scrap of yarn every 10 rounds so counting doesn’t drive you batty. Sl st to the next st, fasten off, and weave in ends.
Flap
The flap is the pretty rounded piece on top, worked in rows and increased into a semicircle.
Ch 2.
Row 1: Work 6 sc in 2nd ch from hook. Ch 1, turn. (6 sts)
Row 2: Work inc in each st across. Ch 1, turn. (12 sts)
Row 3: (1 sc, inc) across. Ch 1, turn. (18 sts)
Row 4: (2 sc, inc) across. Ch 1, turn. (24 sts)
Row 5: (3 sc, inc) across. Ch 1, turn. (30 sts)
Row 6: (4 sc, inc) across. Ch 1, turn. (36 sts)
Row 7: (5 sc, inc) across. Ch 1, turn. (42 sts)
Row 8: (6 sc, inc) across. Ch 1, turn. (48 sts)
Continue in this pattern until the flap measures approximately 7 inches across, matching the width of the bag opening.
Border round: Ch 1. Work sc evenly around the entire curved edge of the flap, working approximately 3 sc in each corner to keep it flat. Sl st to first sc. Fasten off.
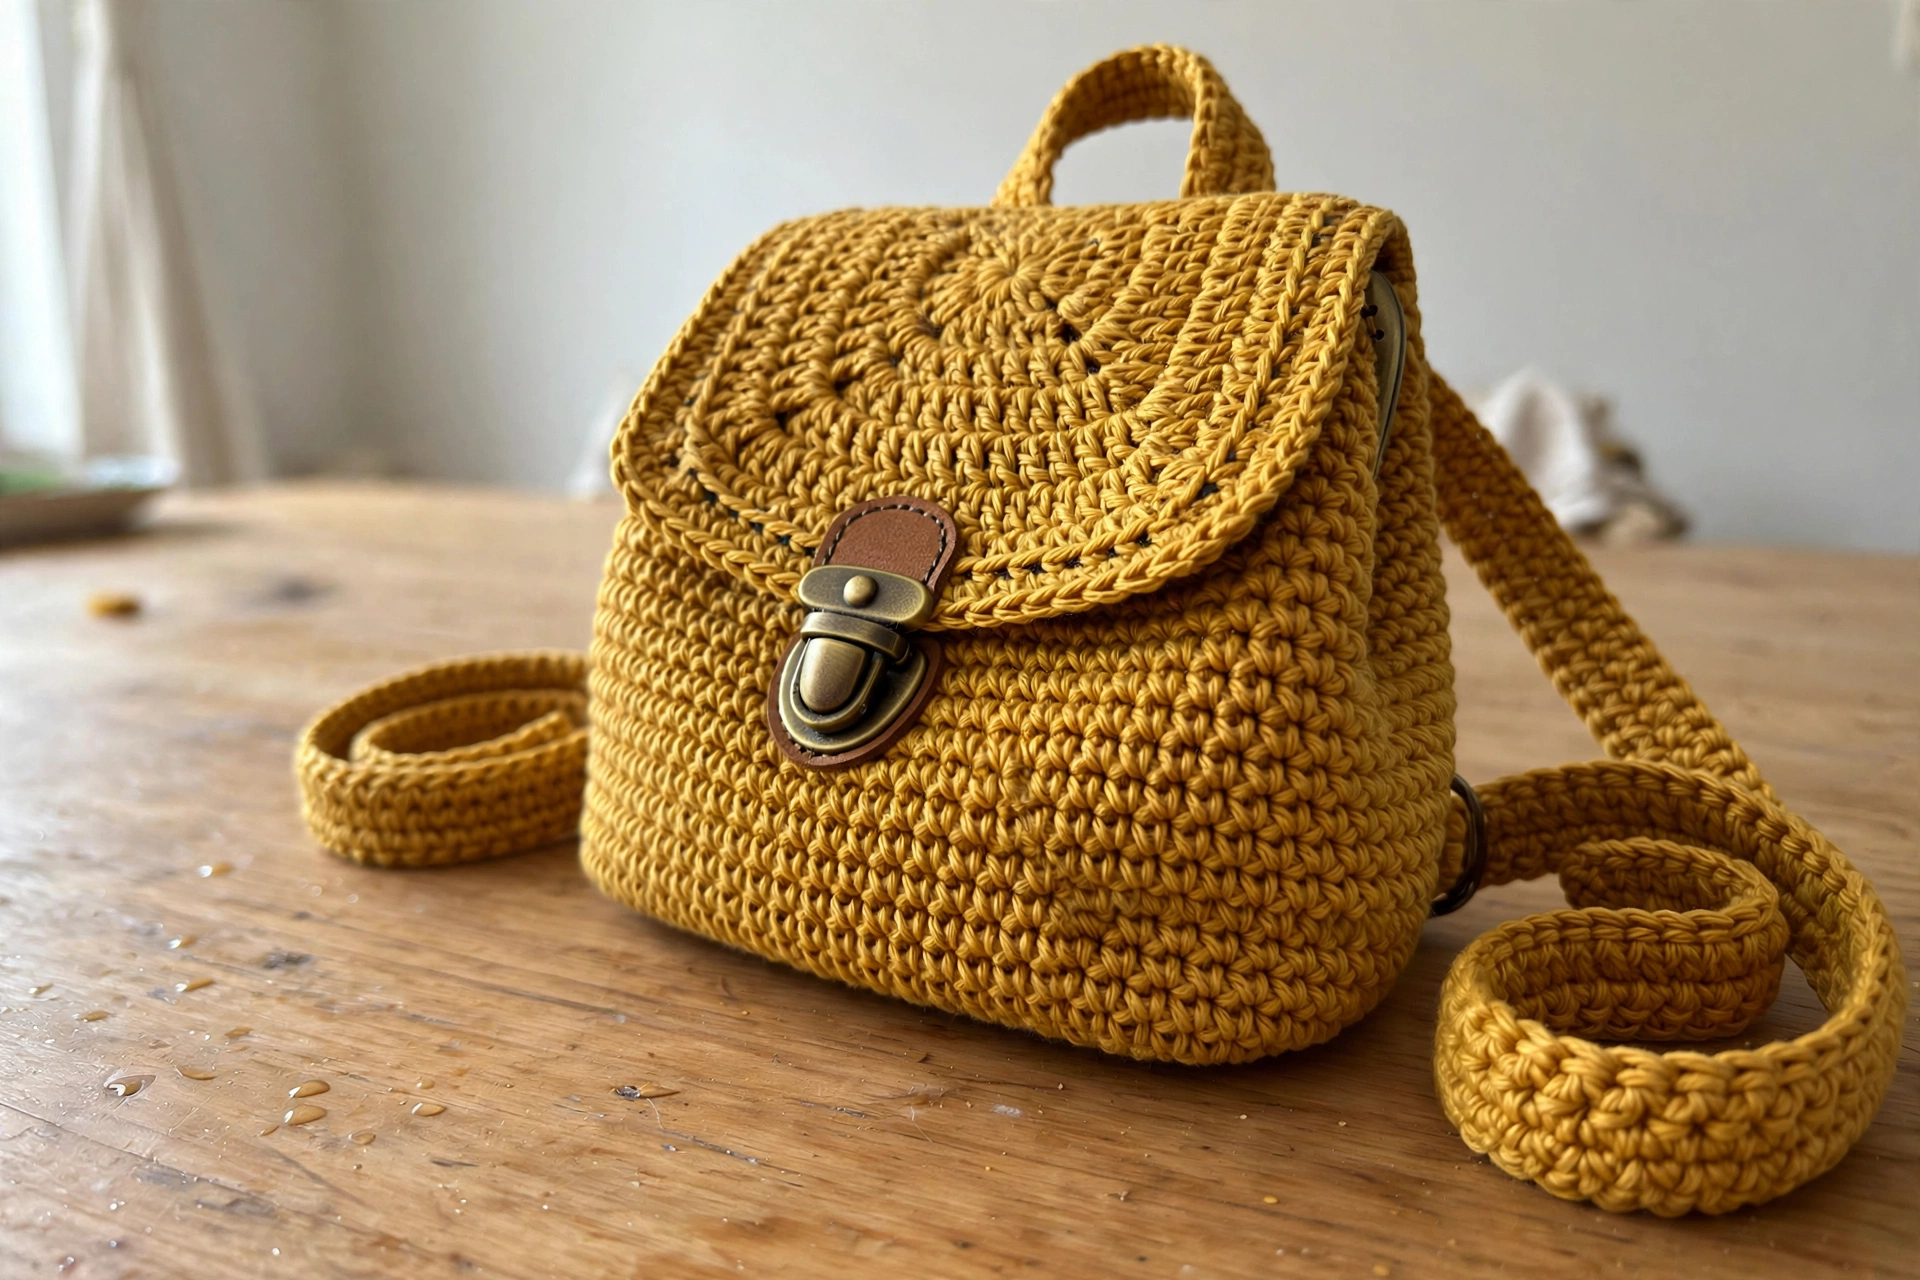
Make 2 flap pieces. Hold them wrong sides together and sc around the curved edge to join, creating a double-thickness flap. Leave the straight edge open for attaching to the bag.
Front Pocket
Ch 32.
Row 1: Sc in 2nd ch from hook and in each ch across. Ch 1, turn. (31 sts)
Rows 2 through 25: Sc in each st across. Ch 1, turn. (31 sts)
Fasten off.
Border: Join yarn at any corner. Work sc evenly around all four sides, working 3 sc in each corner. Sl st to join. Fasten off.
Straps (Make 2)
Ch 8.
Row 1: Sc in 2nd ch from hook and in each ch across. Ch 1, turn. (7 sts)
Rows 2 through 100 (or desired length): Sc in each st across. Ch 1, turn. (7 sts)
Fasten off when straps measure approximately 26 to 30 inches.
Top Handle
Ch 6.
Row 1: Sc in 2nd ch from hook and in each ch across. Ch 1, turn. (5 sts)
Rows 2 through 30: Sc in each st across. Ch 1, turn. (5 sts)
Fasten off.
Strap Loops (Make 2)
These little loops hold the D-rings at the top of the bag.
Ch 5.
Row 1: Sc in 2nd ch from hook and in each ch across. Ch 1, turn. (4 sts)
Rows 2 through 12: Sc in each st across. Ch 1, turn. (4 sts)
Fasten off.
Assembly
Position the flap at the back of the bag opening, centered, with the straight edge overlapping the bag by about 1 inch. Whipstitch it securely to the inside top edge of the bag back.
Sew the zipper to the top edge of the front pocket first, then position the pocket on the front of the bag about 1 inch up from the base and sew it along the sides and bottom, leaving the zippered top open.
Fold each strap loop in half around a D-ring and sew the folded loop to the top corners of the bag back. Attach the push lock clasp following your hardware package instructions, marking the center of the flap and the matching spot on the bag front. Clip a swivel hook to the bottom of each strap, hook them onto the D-rings, and sew the opposite strap ends to the bottom corners of the bag back about 2 inches up from the base. Fold the handle into a loop and sew both ends to the center top of the bag back, just behind the flap. Weave in any last ends, and admire your work.
Sophie’s Tips
- Cotton or a cotton blend is the move here — soft acrylics stretch out and your backpack will sag by lunchtime.
- Work tightly. A tight gauge gives you fabric so sturdy you can skip the lining entirely.
- Lightly steam block your pieces before assembly — it evens out the stitches and makes sewing everything together so much easier.
Now go make the backpack of your dreams — I can’t wait to see what color you pick!