# White Tulip Bouquet and Vase Free Crochet Pattern
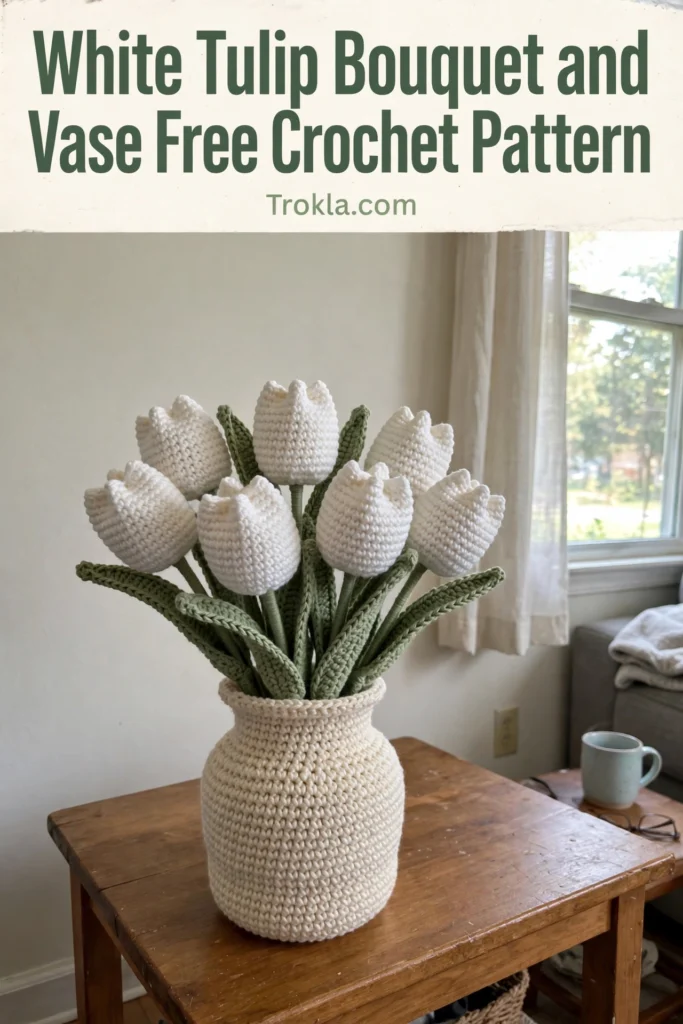
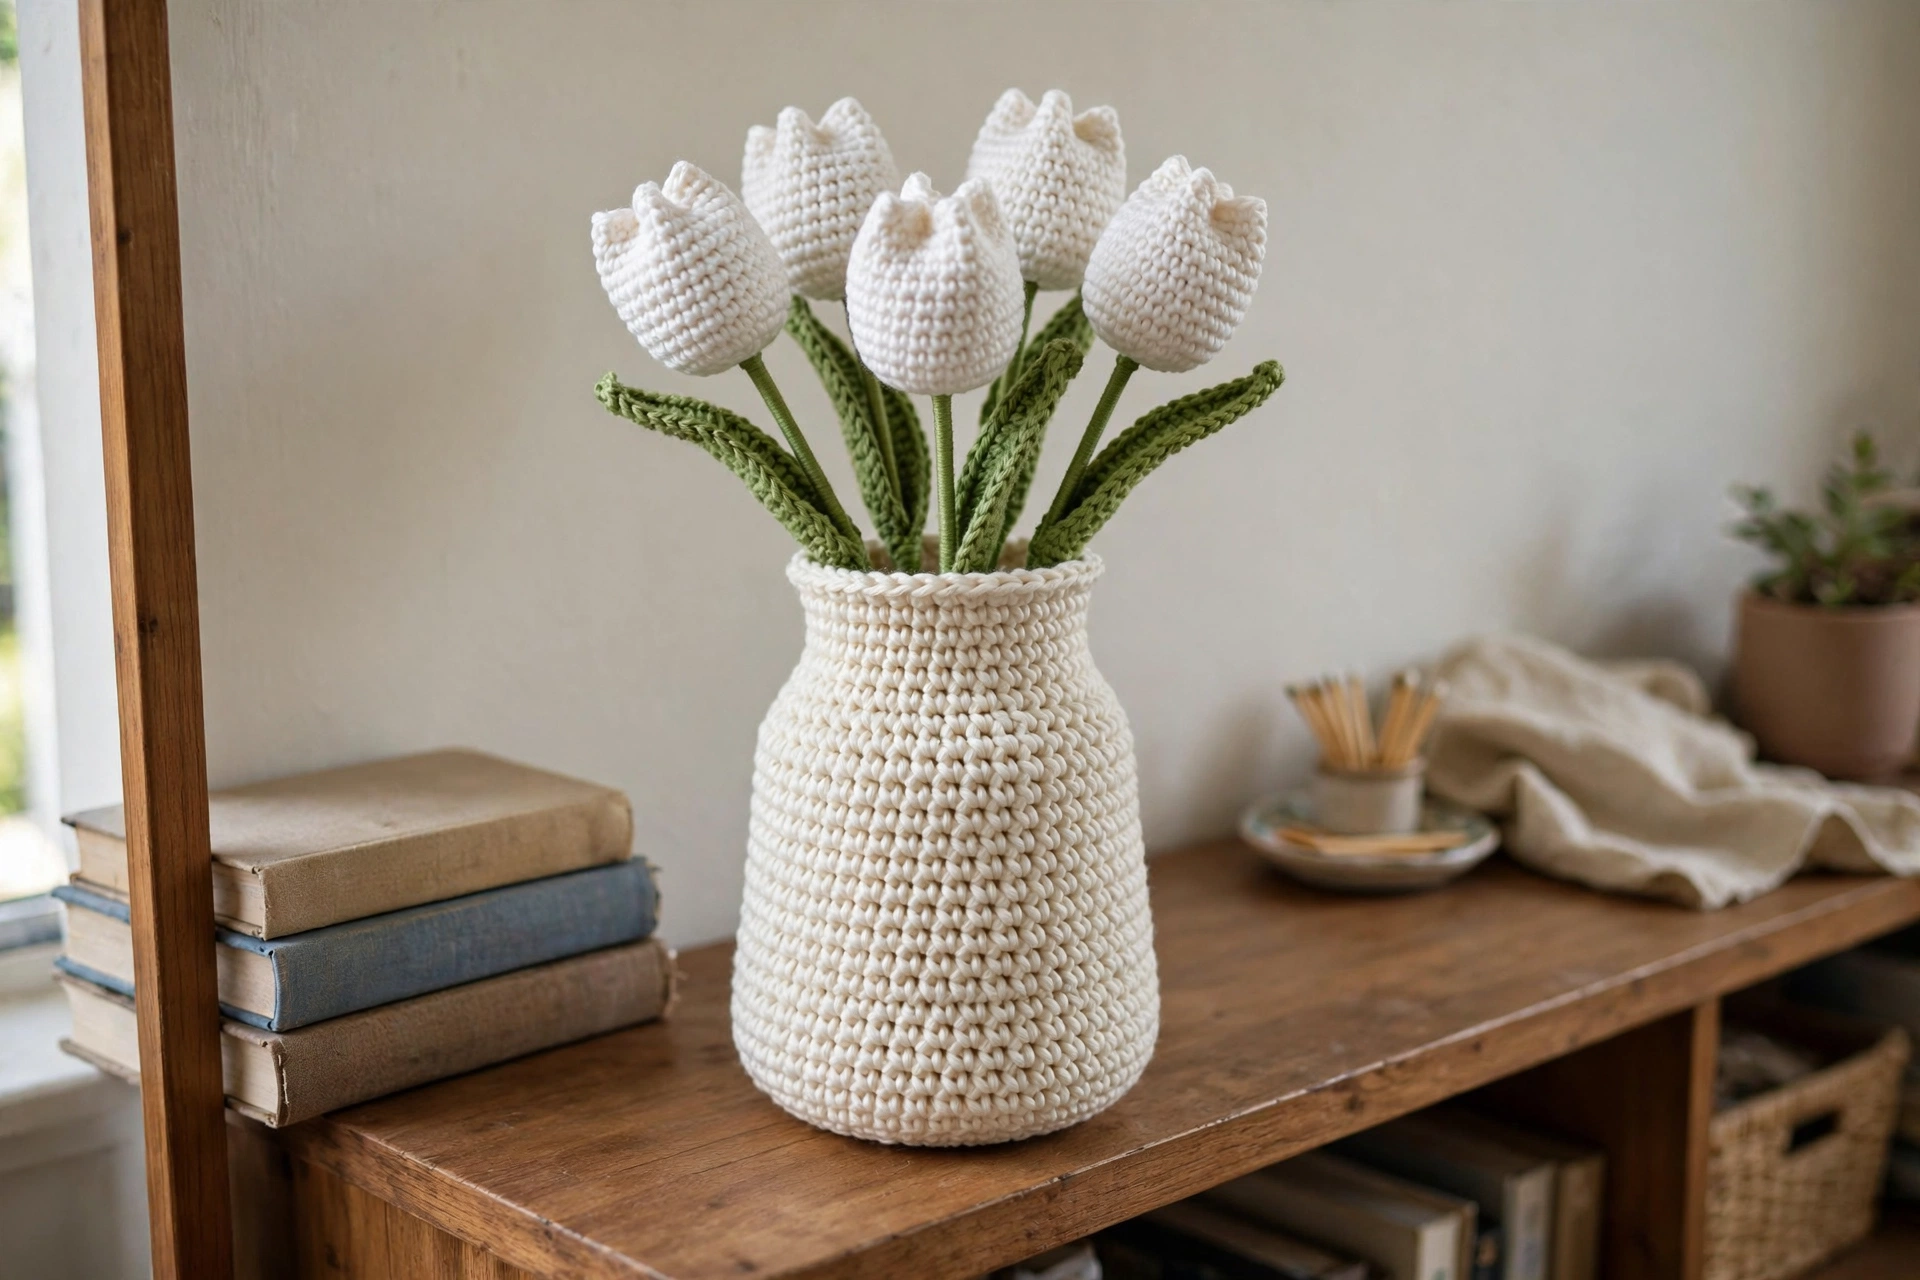
I have a confession: I am terrible at keeping real flowers alive. Terrible! But I love having flowers in the house, so this white tulip bouquet with its own little crochet vase is my perfect solution. It never wilts, never needs water, and honestly? It looks like a proper little piece of home decor sitting on my side table.
Each tulip is worked in the round with simple increases and decreases — all single crochet, nothing fancy. The stems slide right over floral wire so they stand up straight and you can pose them however you like. And the vase works up in one cozy evening. I made twelve tulips for a full bouquet, but five or six look just as sweet and minimalist.
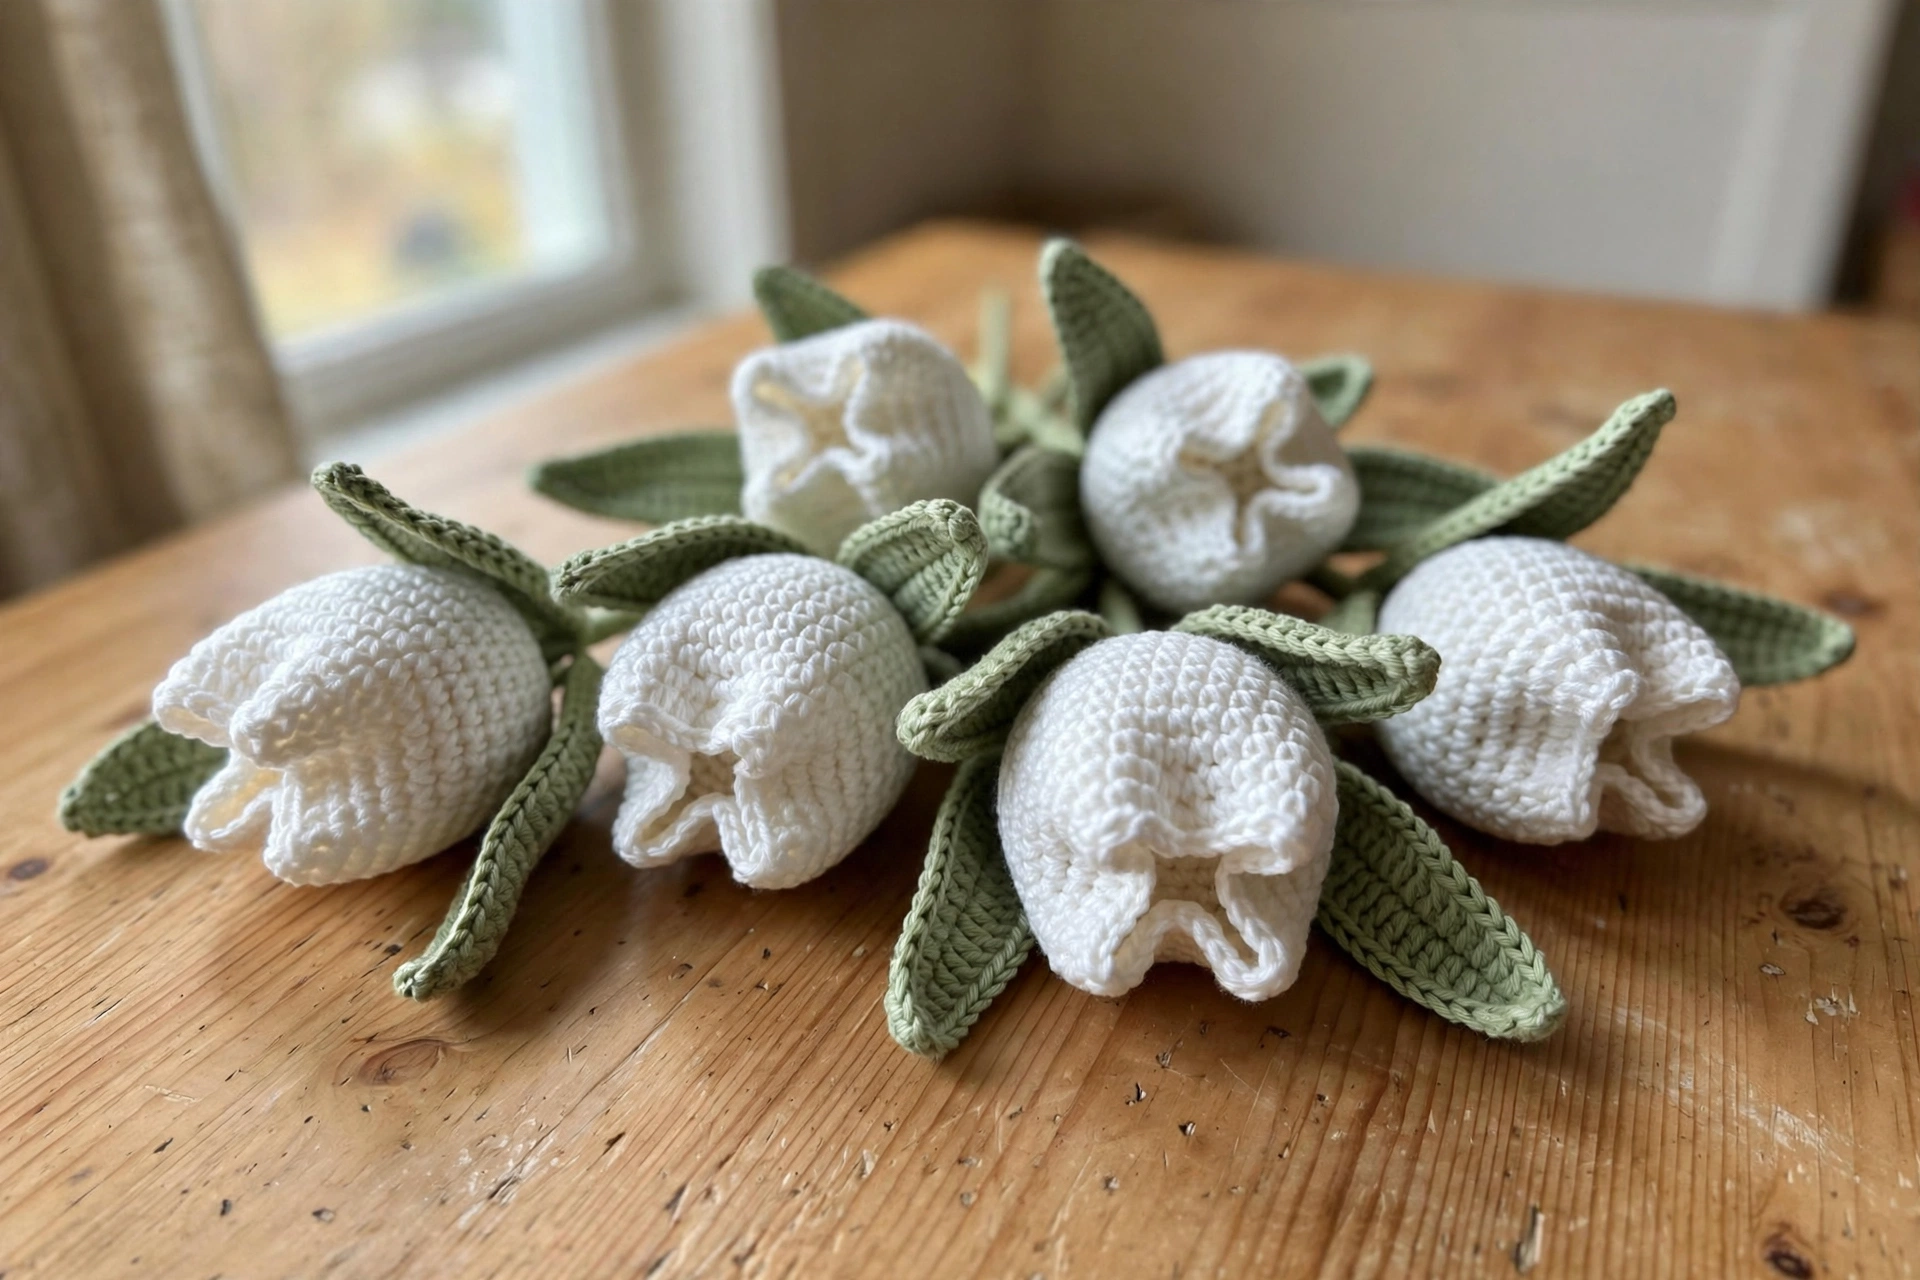
What You’ll Need
- Worsted weight yarn (size 4) in white for the tulip heads, approximately 150 yards for a bouquet of 12 tulips
- Worsted weight yarn (size 4) in sage green or mint for stems and leaves, approximately 200 yards
- Worsted weight yarn (size 4) in cream or beige for the vase, approximately 100 yards
- 3.5mm (E/4) crochet hook (go down a hook size if your stitches look loose)
- Floral wire, 18 gauge, cut into 12-inch lengths for the stems
- Polyester fiberfill stuffing for the tulip heads
- Yarn needle, scissors, and a stitch marker
Finished size:
- The vase measures approximately 4 inches tall and 3.5 inches wide at its widest point
- Each tulip stem works up to about 5 to 6 inches long, so a finished bouquet stands roughly 9 to 10 inches tall
The Pattern
Work in continuous rounds (spiral) unless noted — pop a stitch marker in the first stitch of each round so you don’t lose your place. Gauge: about 5 to 6 single crochet stitches per inch. You want a tight fabric so no stuffing peeks through.
Tulip Head (make 12, or as many as you like)
With white yarn:
Round 1: Magic ring, 6 sc into the ring. Pull tight. (6 sts)
Round 2: Inc in each st around. (12 sts)
Round 3: *Sc 1, inc* repeat around. (18 sts)
Round 4: *Sc 2, inc* repeat around. (24 sts)
Round 5: *Sc 3, inc* repeat around. (30 sts)
Rounds 6–10: Sc in each st around. (30 sts)
Round 11: *Sc 3, invdec* repeat around. (24 sts)
Round 12: *Sc 2, invdec* repeat around. (18 sts)
Start stuffing lightly with fiberfill — plump, not rock hard.
Round 13: *Sc 1, invdec* repeat around. (12 sts)
Round 14: Invdec around. (6 sts)
Finish stuffing, fasten off leaving a long tail, thread the tail through the remaining stitches and pull tight to close. Weave in the end.
*Petal definition (optional but so pretty):* With white yarn and a yarn needle, stitch three vertical lines from the top center of the tulip down to about the midpoint, pulling gently to indent the petal shapes. Secure the yarn inside the head.
Stem (make one per tulip)
With sage green yarn:
Round 1: Magic ring, 6 sc into the ring. (6 sts)
Rounds 2–35: Sc in each st around. (6 sts)
This makes a tube about 5 to 6 inches long. Slip stitch to the next stitch, fasten off leaving a long tail for attaching. Slide a piece of floral wire inside, leaving about half an inch poking out the top.
Attaching the Stem
Thread the stem’s long tail onto your yarn needle, position the top of the stem at the base of the tulip head with the wire poking slightly into the stuffing, and whipstitch around the base to secure it. The wire keeps everything upright.
Leaf (make 10 to 14 for a full arrangement)
With sage green yarn, chain 30.
Row 1: Starting in the 2nd ch from the hook, sc in each ch across. (29 sts)
Rows 2–4: Ch 1, turn. Sc in each st across. (29 sts)
Row 5: Ch 1, turn. Invdec, sc to last 2 sts, invdec. (27 sts)
Row 6: Ch 1, turn. Sc in each st across. (27 sts)
Rows 7–12: Repeat Rows 5 and 6 three more times. (21 sts after Row 12)
Row 13: Ch 1, turn. Invdec, sc to last 2 sts, invdec. (19 sts)
Row 14: Ch 1, turn. Invdec, sc to last 2 sts, invdec. (17 sts)
Keep decreasing every row until 5 stitches remain, then work one final row: invdec, sc 1, invdec. (3 sts) Fasten off and weave in the ends. The leaf curls a little on its own, which looks wonderfully natural — slide a bit of wire along the back if you want it poseable.
The Vase
With cream or beige yarn:
Round 1: Magic ring, 6 sc into the ring. (6 sts)
Round 2: Inc in each st around. (12 sts)
Round 3: *Sc 1, inc* repeat around. (18 sts)
Round 4: *Sc 2, inc* repeat around. (24 sts)
Round 5: *Sc 3, inc* repeat around. (30 sts)
Round 6: *Sc 4, inc* repeat around. (36 sts)
Round 7: *Sc 5, inc* repeat around. (42 sts)
Round 8: *Sc 6, inc* repeat around. (48 sts)
Rounds 9–12: Sc in each st around. (48 sts)
Round 13: Working in back loops only, sc in each st around. (48 sts) — this gives a crisp edge where the base meets the body.
Rounds 14–22: Sc in each st around. (48 sts)
Round 23: *Sc 6, invdec* repeat around. (42 sts)
Rounds 24–26: Sc in each st around. (42 sts)
Round 27: *Sc 5, invdec* repeat around. (36 sts)
Rounds 28–29: Sc in each st around. (36 sts)
Round 30: *Sc 4, invdec* repeat around. (30 sts)
Round 31: Sc in each st around. (30 sts)
Slip stitch to the next stitch, fasten off, and weave in the ends. For extra sturdiness, pop a small jar or cup inside before arranging your tulips.
Assembly
Arrange your tulips and leaves in the vase, fanning them out and varying the heights a little by bending the wire stems. Tuck the leaves around the edges and let a few drape over the rim for that just-picked look.
Sophie’s Tips
- Make your first tulip slowly to learn the rhythm — after that, each one takes about 30 to 45 minutes and they fly off the hook.
- Cotton or a cotton blend gives the crispest stitch definition here, but acrylic works too — just go down a hook size if your fabric looks loose.
- Try the tulips in pink, yellow, or red for a pop of color, or make a tiny five-stem bouquet as a gift — it fits perfectly on a desk.
Go make yourself some flowers that never need watering!