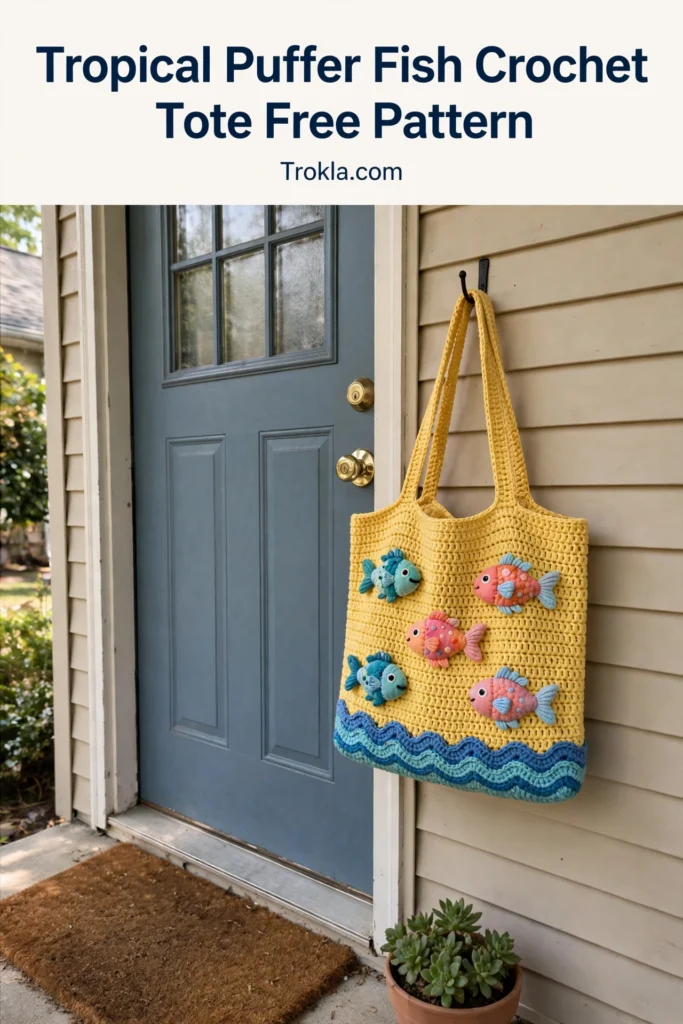
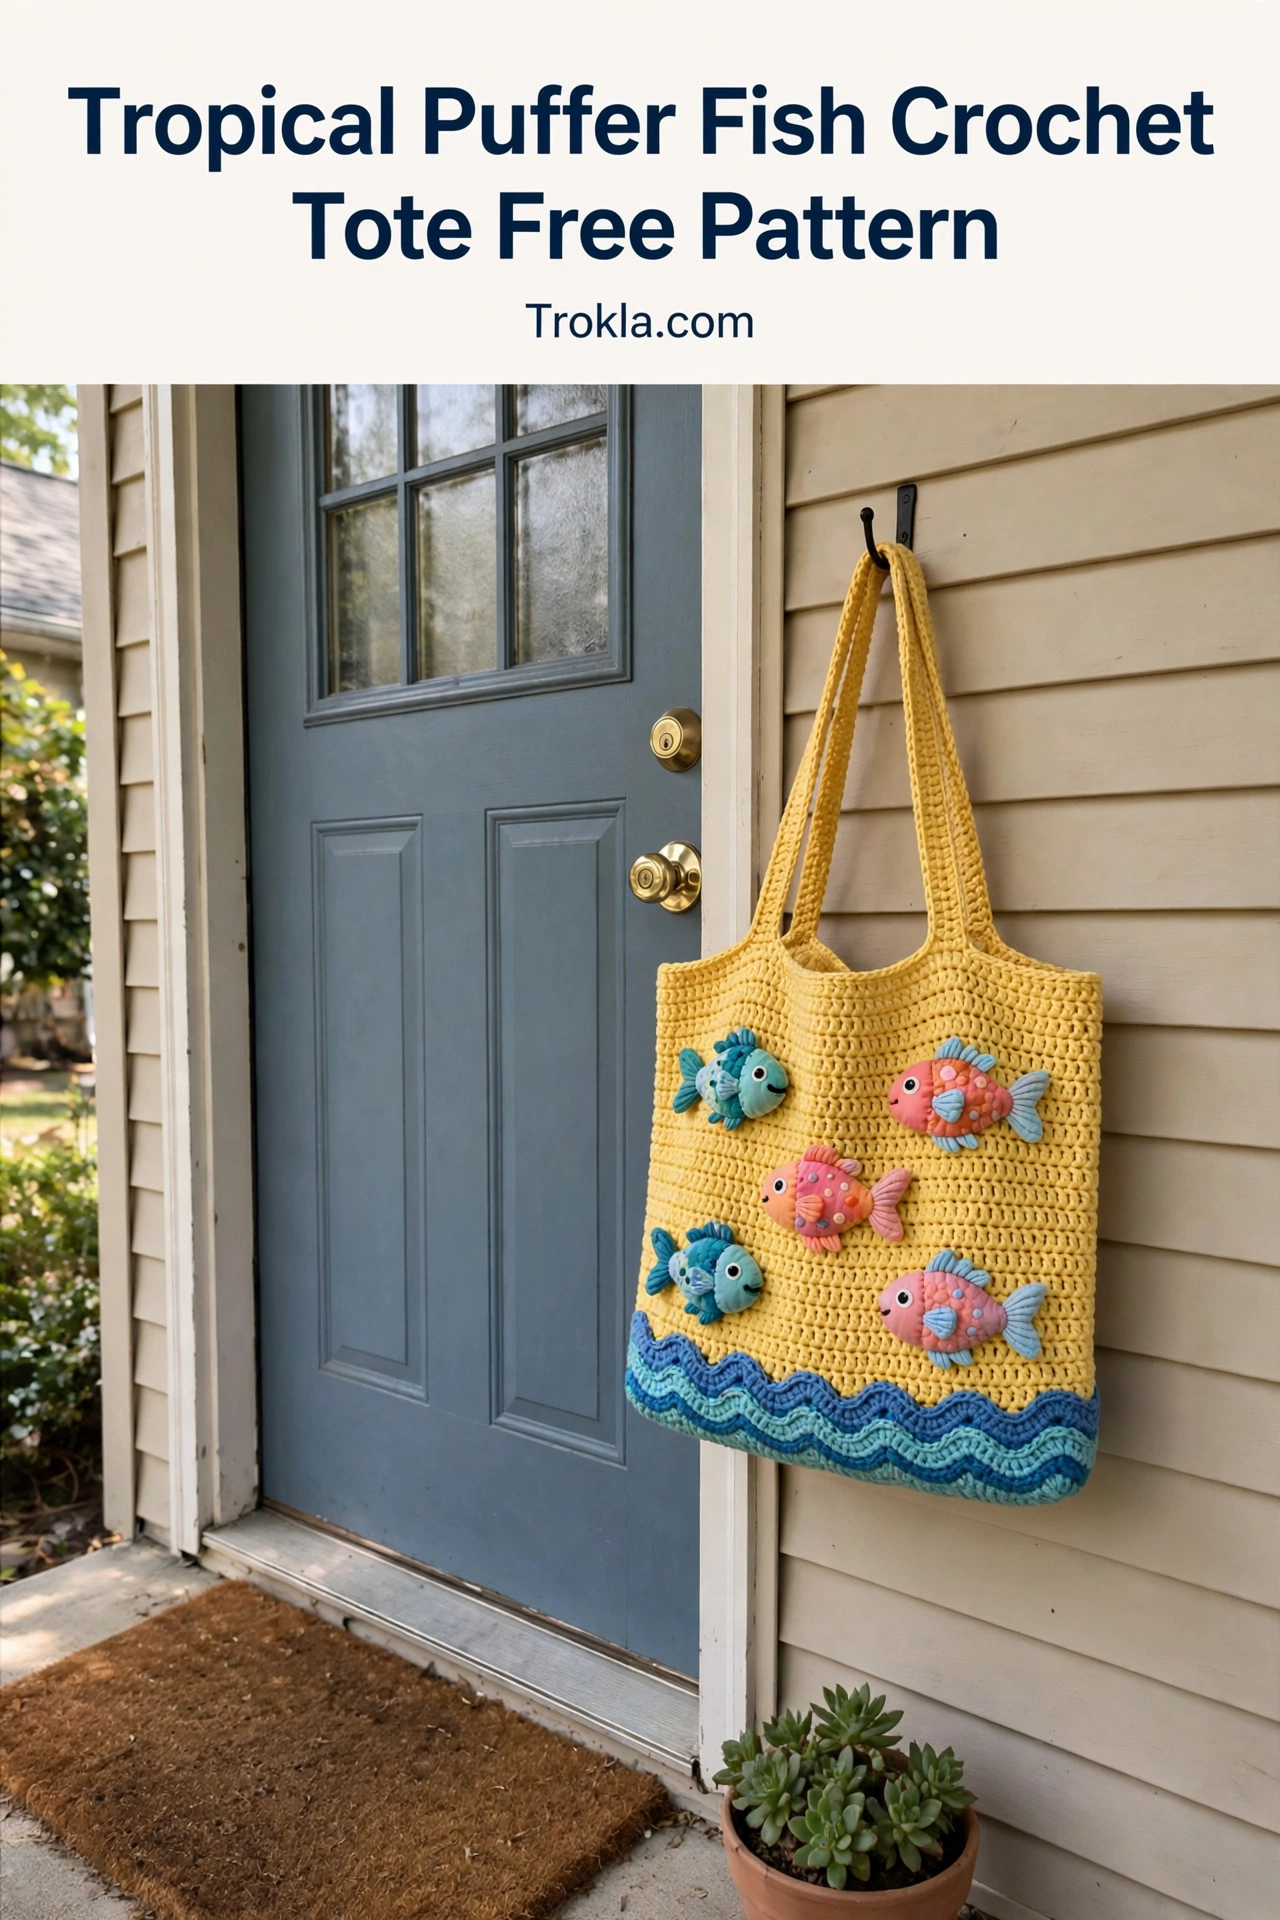
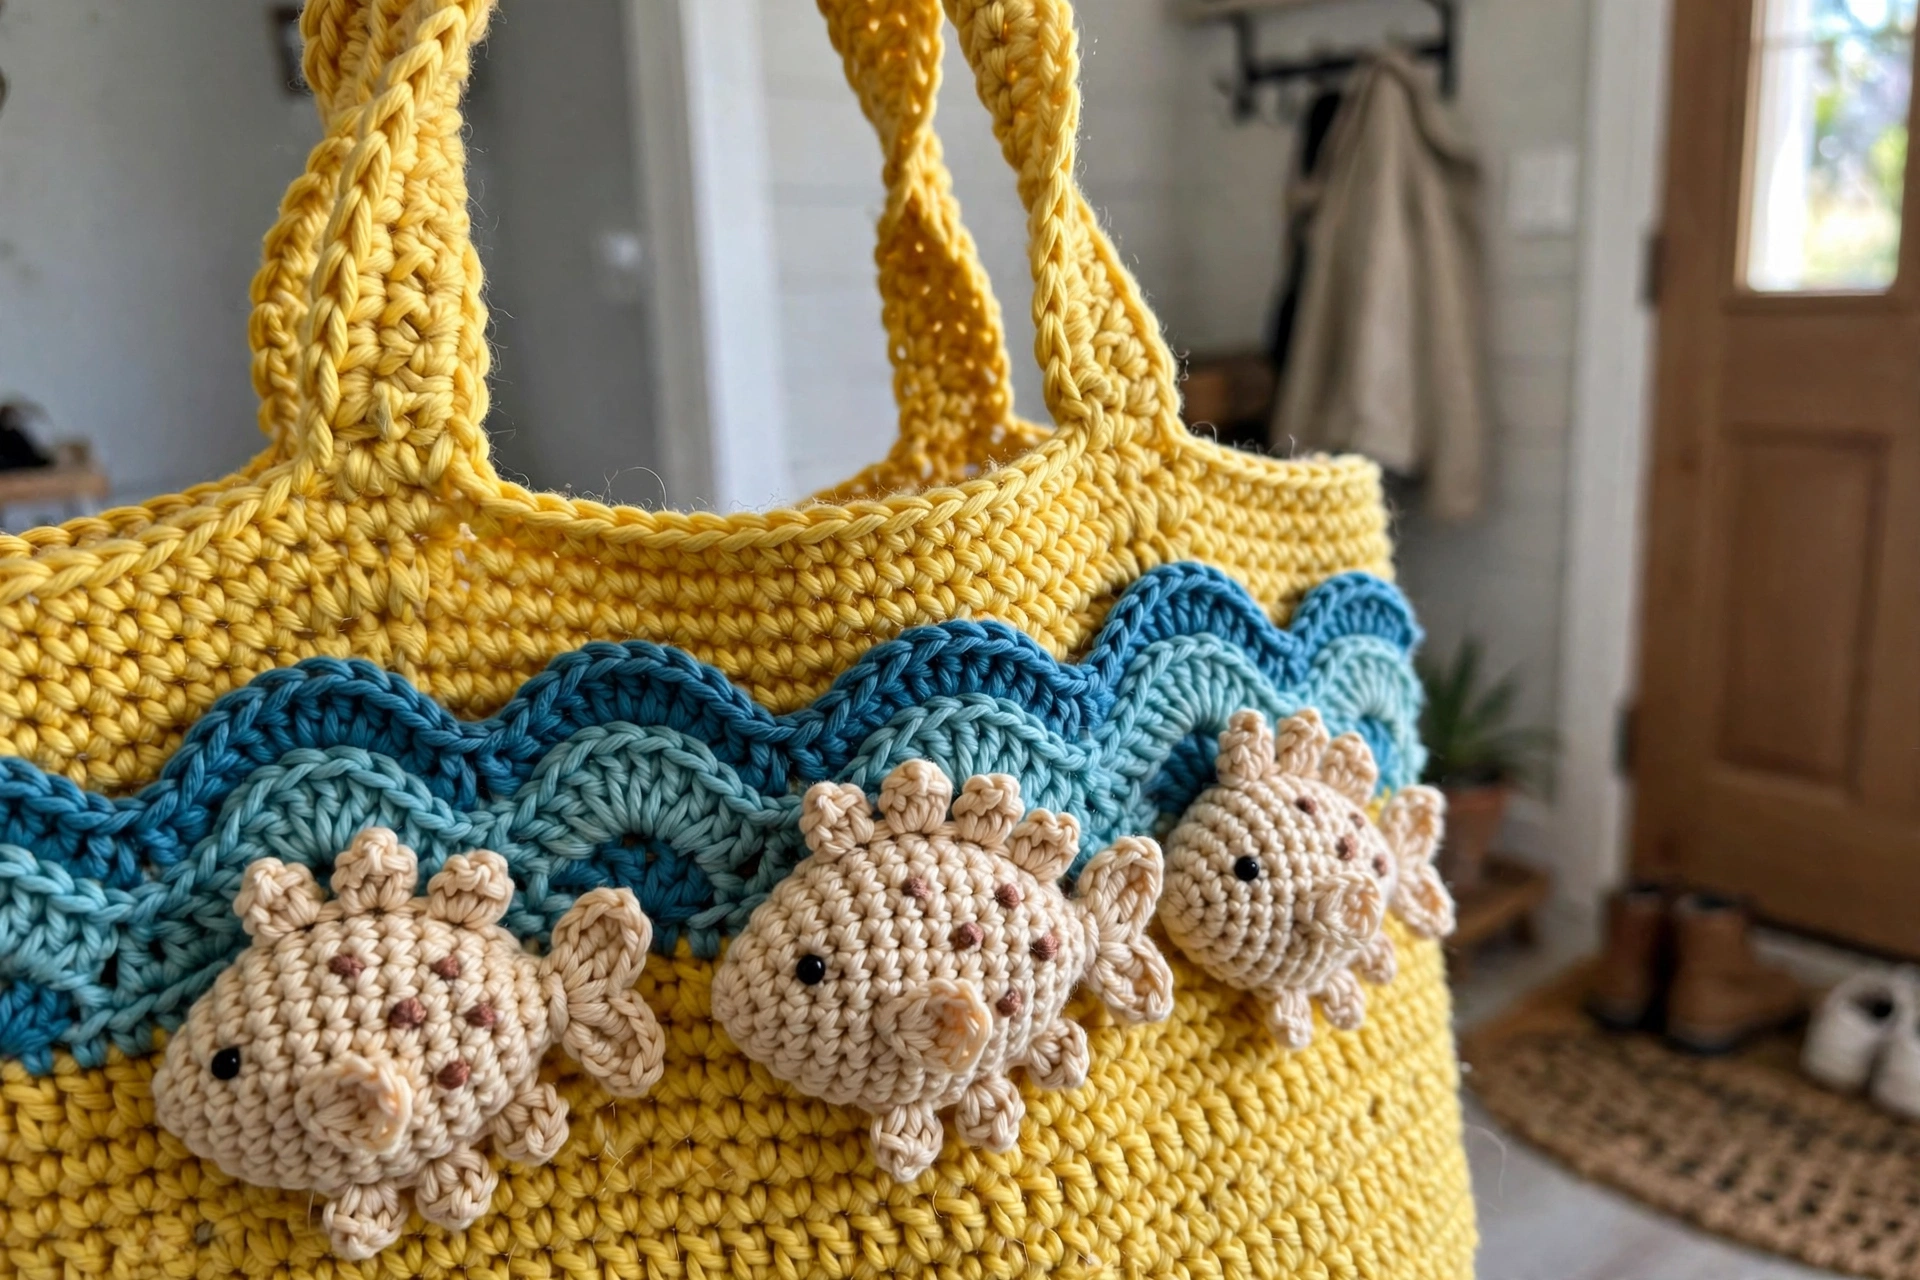
Oh, this tote is pure joy. A cheerful sunny-yellow bag covered in the cutest little amigurumi puffer fish and striped tropical fish, with a wavy ocean border along the bottom and a sweet scalloped top edge. It looks incredibly impressive, but honestly it comes together faster than you’d expect — I finished mine in just a few evenings of relaxed stitching while watching TV.
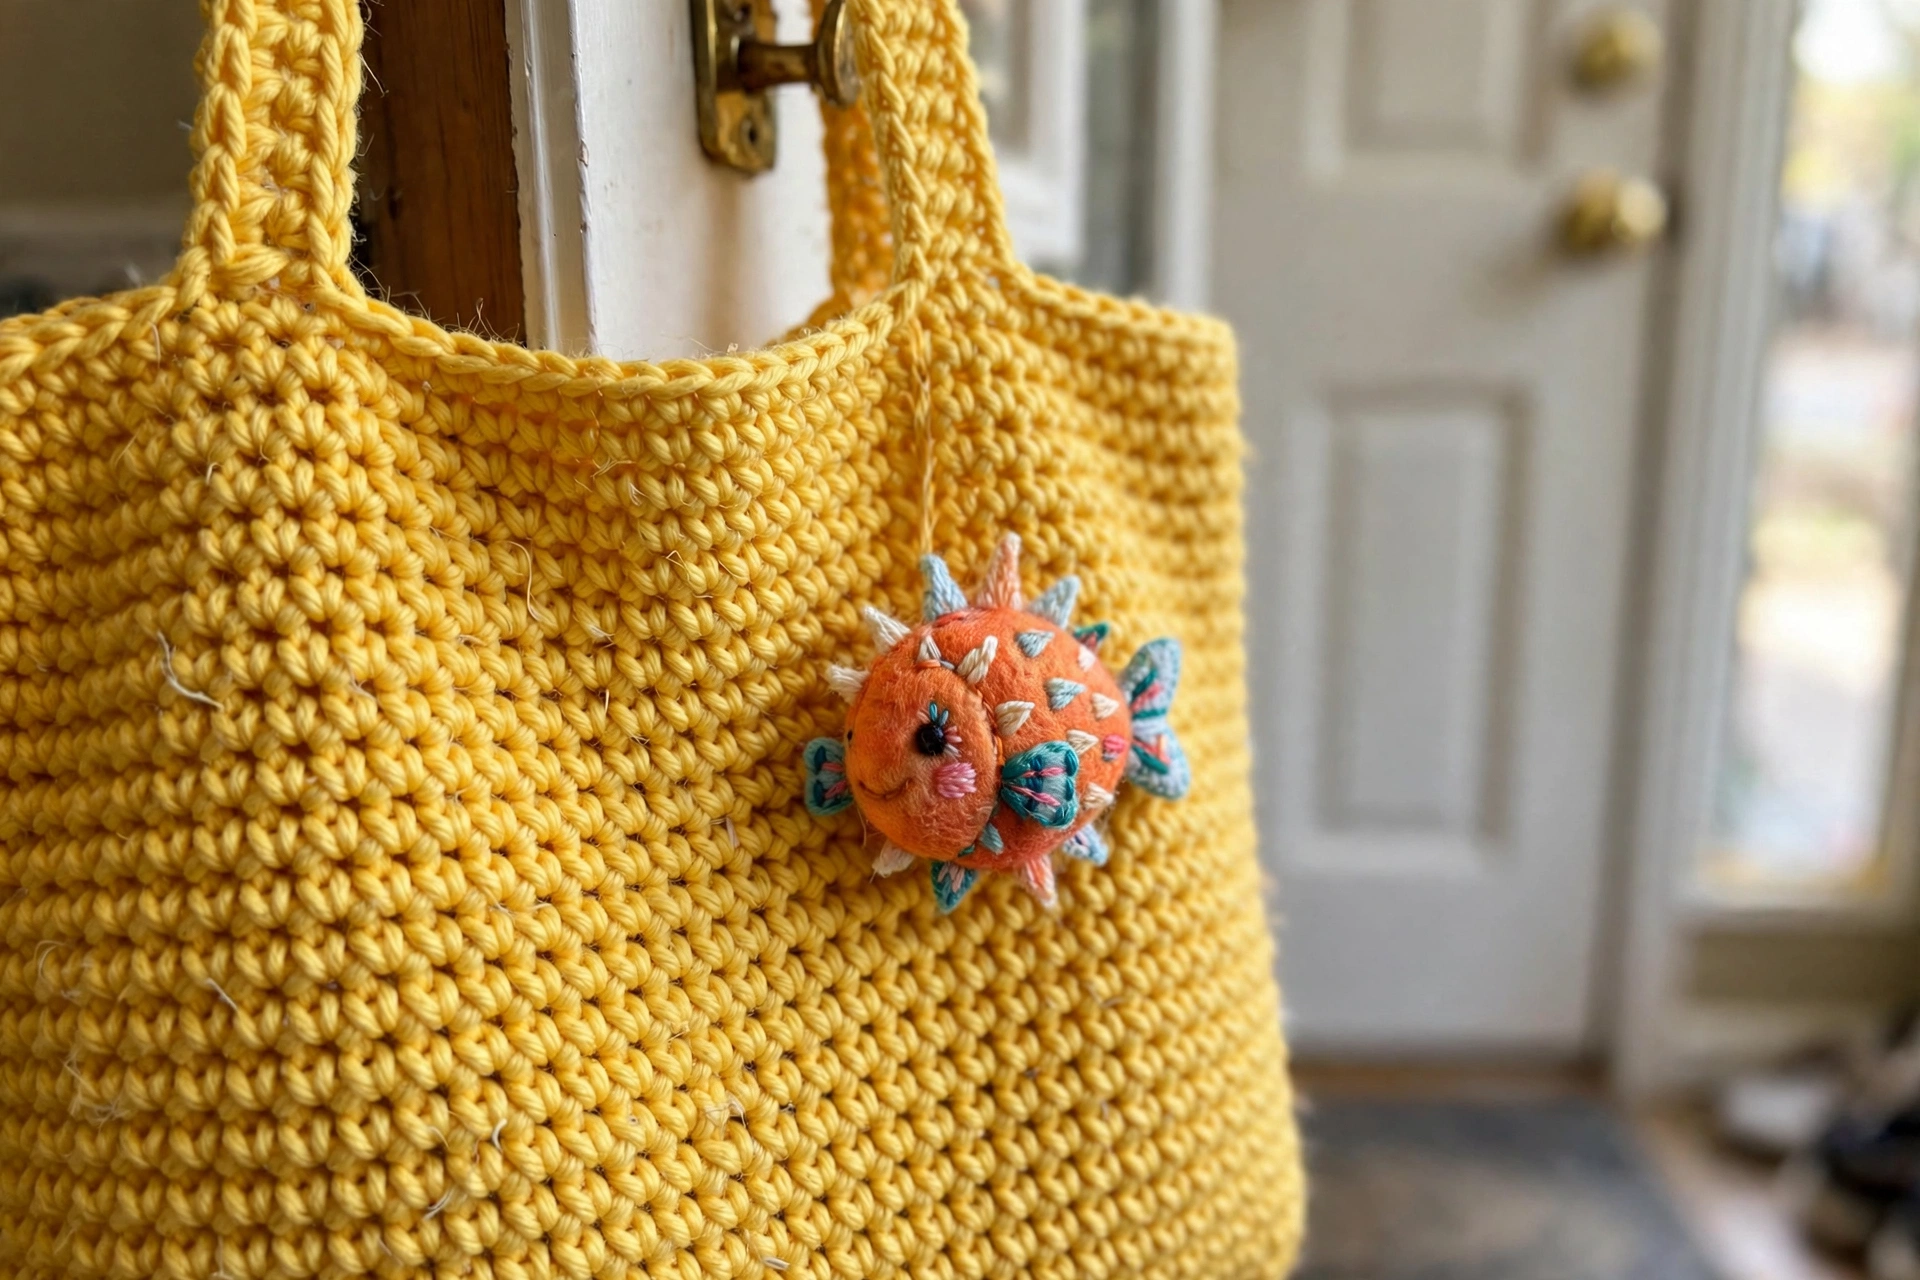
The main body is basic single crochet worked in continuous rounds, which means minimal counting and no confusing seams. The real magic is in the details: the little stuffed puffer fish with their orange fins, the striped tropical fish, and those wavy aqua waves rolling across the bottom. This is a wonderful confident-beginner to intermediate project, and it makes the best gift for any beach or ocean lover.
What You’ll Need
- Worsted weight cotton yarn: Main color (sunny yellow) approximately 350 yards; Contrast color 1 (aqua or turquoise) 100 yards; Contrast color 2 (slightly darker teal) 50 yards; small amounts of white, orange, bright yellow, blue, and black for appliques (cotton holds its shape beautifully — minimal stretch)
- US 4.0 mm (G/6) hook for the main bag body
- US 3.5 mm (E/4) hook for the appliques
- Yarn needle, stitch marker, scissors
- Small amount of polyester fiberfill for the puffer fish
- 6 mm safety eyes (4 pairs) or black yarn for embroidered eyes
Finished size: Bag body approximately 14 inches wide by 12 inches tall (not including handles). Handle drop: 10 inches. Base: oval, roughly 14 inches by 4 inches.
The Pattern
Note: The base is worked in continuous rounds without joining. Use a stitch marker to track your rounds.
Bag Base (Oval)
With the main color (yellow) and 4.0 mm hook:
Round 1: Chain 25. Sc in 2nd ch from hook, sc in next 22 ch, 3 sc in last ch (this turns the corner). Working along the opposite side of the foundation chain, sc in next 22 ch, 2 sc in last ch. Place marker. (50 sts)
Round 2: Inc in first st, sc in next 22 sts, inc in next 3 sts, sc in next 22 sts, inc in next 2 sts. (56 sts)
Round 3: Sc in first st, inc, sc in next 22 sts, (sc, inc) 3 times, sc in next 22 sts, (sc, inc) 2 times. (62 sts)
Round 4: Sc in next 2 sts, inc, sc in next 22 sts, (sc in next 2 sts, inc) 3 times, sc in next 22 sts, (sc in next 2 sts, inc) 2 times. (68 sts)
Round 5: Sc in next 3 sts, inc, sc in next 22 sts, (sc in next 3 sts, inc) 3 times, sc in next 22 sts, (sc in next 3 sts, inc) 2 times. (74 sts)
Round 6: Sc in each st around. (74 sts)
Do not fasten off. Continue to the bag body.
Bag Body
Rounds 7 to 10: Working in back loop only for Round 7 only (creates a defined edge at the base), sc in each st around. For Rounds 8 to 10, work through both loops as normal. (74 sts each round)
Rounds 11 to 45: Sc in each st around. (74 sts)
At Round 45, your bag body should measure approximately 10 to 11 inches from the base. If you want a taller bag, continue for additional rounds.
Wave Border Section
The wave pattern creates that beautiful ocean effect along the bottom portion.
Fasten off the main color. Join aqua (CC1) at any stitch.
Round 46: With aqua, ch 1, sc in each st around. Sl st to first sc to join. (74 sts)
Round 47: Ch 3 (counts as first dc), skip first st, dc in next 2 sts, hdc in next st, sc in next 2 sts, hdc in next st, \dc in next 3 sts, hdc in next st, sc in next 2 sts, hdc in next st;\ repeat from \* around. Sl st to top of ch 3 to join.
Round 48: Join teal (CC2). Ch 1, working in back loop only, sc in each st around. Sl st to join. (74 sts)
Round 49: With aqua, repeat Round 47 wave pattern.
Round 50: With yellow, ch 1, sc in each st around. Sl st to join. Fasten off.
This creates approximately 2 to 3 inches of wave detail at the bottom.
Scalloped Top Edge
Rejoin yellow at the top edge of the bag body.
Round 1: Ch 1, sc in each st around. Sl st to join. (74 sts)
Round 2: Ch 1, sc in first st, \skip 2 sts, 5 dc in next st (shell made), skip 2 sts, sc in next st;\ repeat from \* around, adjusting the final repeat as needed to end evenly. Sl st to first sc. Fasten off.
If your stitch count doesn’t divide evenly, simply work a few extra sc between shells to compensate. Nobody will notice, I promise.
Handles (Make 2)
With yellow and the 4.0 mm hook:
Row 1: Chain 65 (or your desired length for handle drop).
Row 2: Sc in 2nd ch from hook and in each ch across. (64 sts) Rows 3 to 5: Ch 1, turn, sc in each st across. (64 sts)
Fasten off, leaving a long tail for sewing. Position the handles about 3 inches from each side edge of the bag and whip stitch securely to the inside of the bag, reinforcing several times for durability.
Puffer Fish Applique (Make 3)
Body (bright yellow, 3.5 mm hook):
Round 1: Magic ring, 6 sc into ring. Pull tight. (6 sts)
Round 2: Inc in each st around. (12 sts)
Round 3: (Sc, inc) 6 times. (18 sts)
Round 4: (Sc in next 2 sts, inc) 6 times. (24 sts) Rounds 5 to 8: Sc in each st around. (24 sts) Insert safety eyes between Rounds 5 and 6, about 4 stitches apart. Stuff lightly with fiberfill.
Round 9: (Sc in next 2 sts, dec) 6 times. (18 sts)
Round 10: (Sc, dec) 6 times. (12 sts) Stuff a bit more if needed.
Round 11: Dec 6 times. (6 sts) Fasten off, close hole with yarn needle.
Fins (make 2 per fish, orange): Chain 4. Sl st in 2nd ch from hook, sc in next ch, hdc in last ch. Fasten off.
Tail (orange): Chain 5. Sc in 2nd ch from hook, hdc in next 2 ch, sc in last ch. Fasten off.
Mouth: Embroider a small curved line with white yarn. Sew fins to the sides and the tail to the back of the puffer fish.
Striped Tropical Fish Applique (Make 3 to 4)
With white and the 3.5 mm hook:
Round 1: Magic ring, 6 sc. (6 sts)
Round 2: Inc around. (12 sts)
Round 3: (Sc, inc) 6 times. (18 sts) Rounds 4 to 6: Sc around, switching to blue yarn for Round 5 and back to white for Round 6 to create stripes. (18 sts)
Round 7: (Sc, dec) 6 times. (12 sts) Stuff lightly, add eyes.
Round 8: Dec 6 times. Close. Add orange fins and tail as with the puffer fish.
Bubble Details
Using white yarn, create small bobbles or French knots scattered around the fish. Alternatively, chain 3, sl st in first ch to make tiny circles. Sew randomly between the fish for a playful underwater effect.
Assembly
1. Position your appliques on the bag front before sewing. Take a photo to remember placement. 2. Sew each fish securely using matching yarn and whip stitch around the edges. 3. Add bubbles in clusters of 2 to 4 near each fish. 4. Weave in all ends on the inside of the bag. 5. Block gently if desired by dampening and laying flat to dry.
Pro tip: For extra durability, add a fabric lining to your tote. This hides all those ends and prevents small items from poking through stitches.
Sophie’s Tips
- If your bag seems too floppy, go down a hook size. Cotton yarn has minimal give, so gauge matters more than with acrylic.
- The body is wonderfully meditative, repetitive stitching — perfect for TV watching. Save the appliques for a focused afternoon; each finishes in one sitting.
- Try different color palettes: coral pink with turquoise fish, navy blue with orange clownfish, or natural cream with rainbow tropical fish. This pattern adapts beautifully.
Enjoy your ocean-inspired tote — and all the smiles it brings!