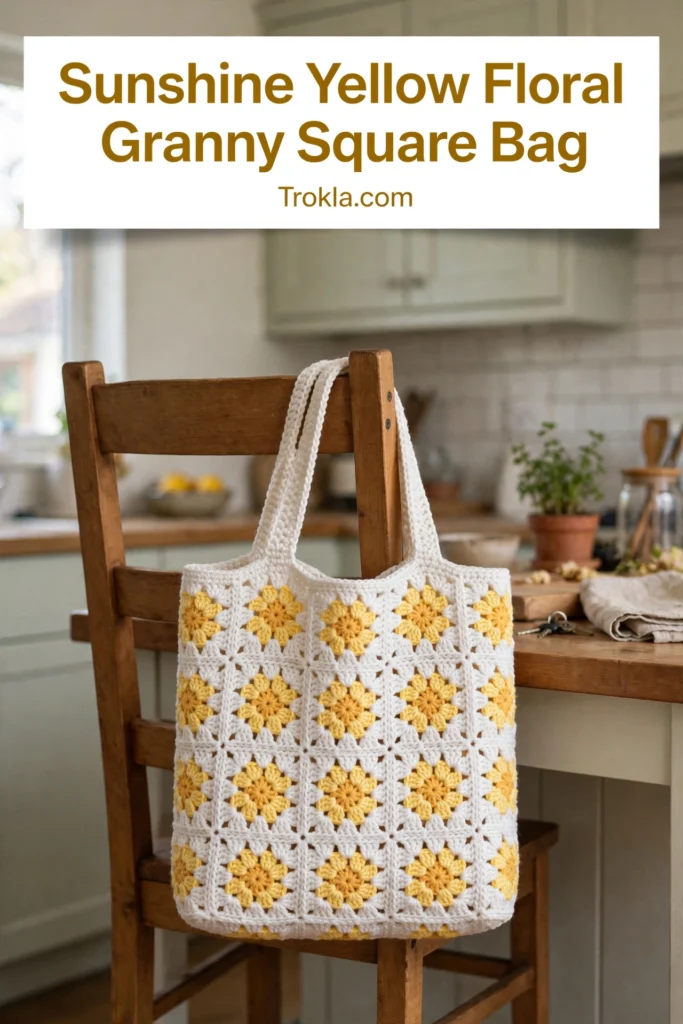
# Sunshine Yellow Floral Granny Square Bag Free Crochet Pattern
Some projects just radiate happiness, and this bag is one of them. Cheerful yellow flowers bloom in the center of every crisp white granny square, and the whole thing comes together into the happiest little tote. It holds my wallet, phone, keys, and a crochet project (obviously), and it gets compliments everywhere I take it.
If you’ve never joined granny squares into a bag before, this is a wonderful first try — the squares are simple, the assembly is straightforward whipstitching, and the sturdy strap means it actually gets used instead of sitting on a shelf.
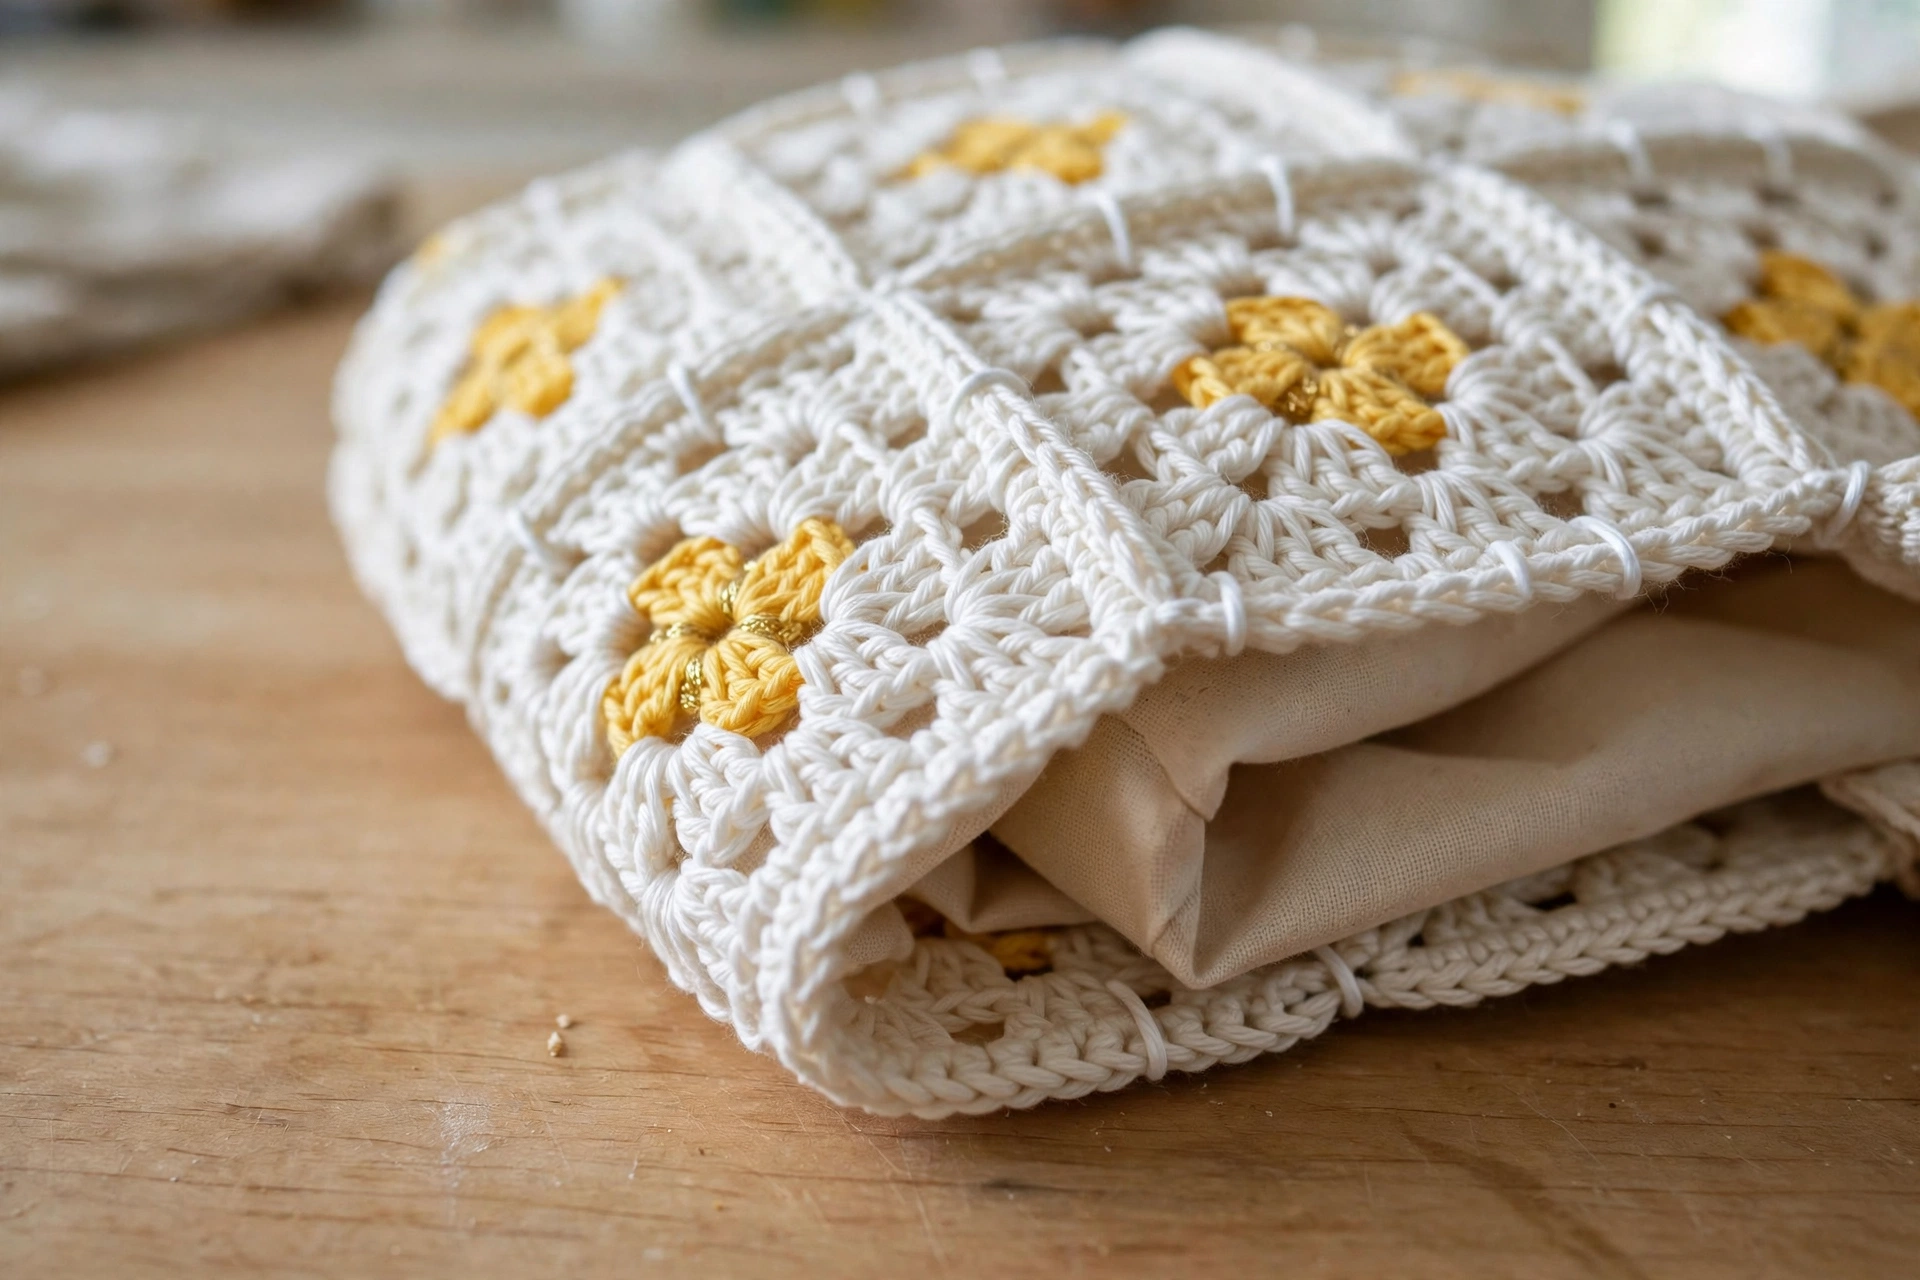
What You’ll Need
- Worsted-weight cotton yarn: approx. 350 yards in White, 200 yards in Sunshine Yellow (I used Lily Sugar’n Cream)
- Size H-8 (5.0 mm) crochet hook
- Tapestry needle and scissors
Finished size:
- 9 inches wide × 9 inches tall × 4.5 inches deep, with a 30-inch strap
- Each square measures 4.5 inches
The Pattern
Gauge: One finished square = 4.5 inches.
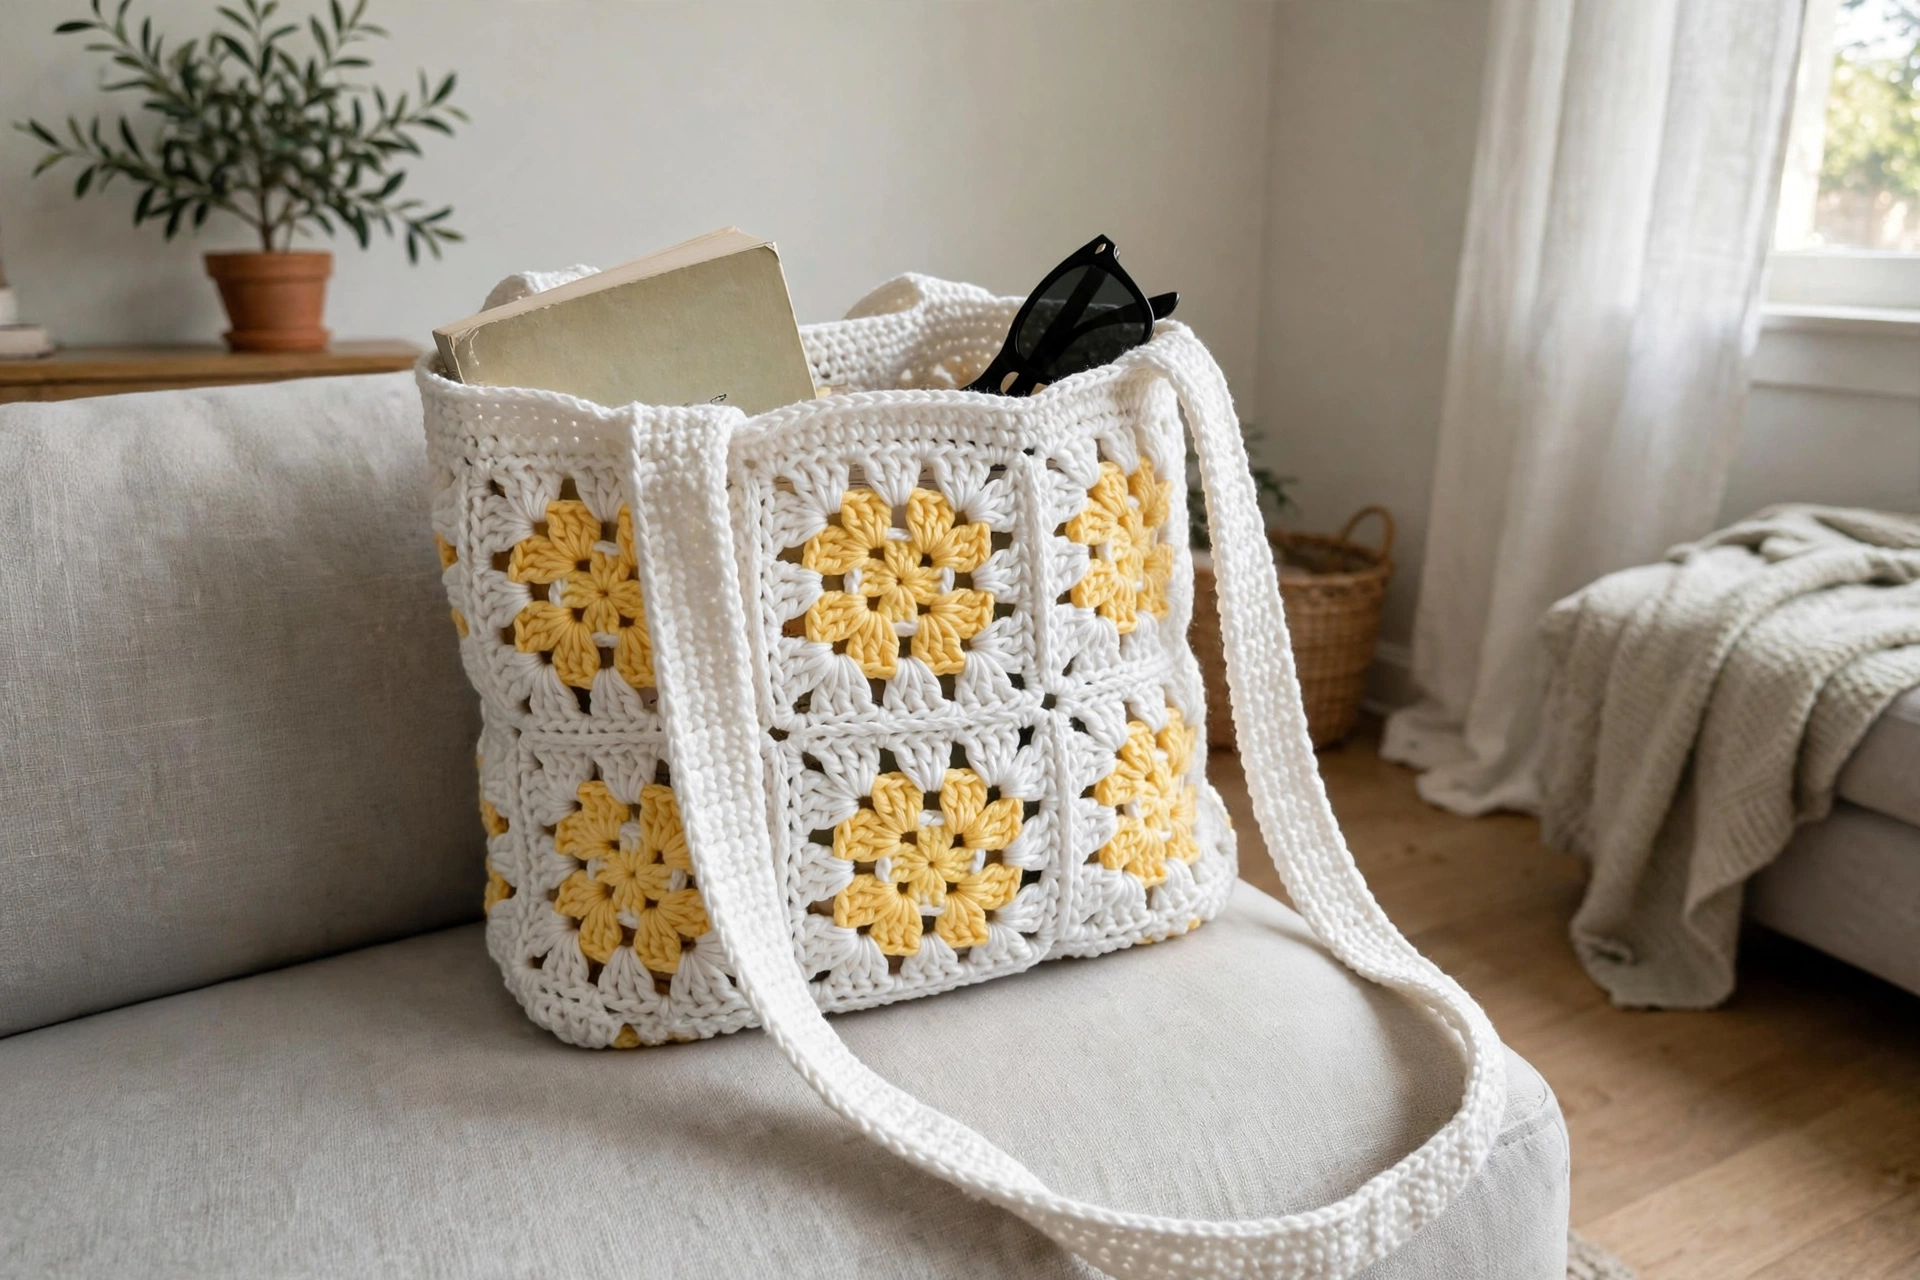
Floral Granny Square (make 13)
With Yellow, make a magic ring.
Round 1: Chain 3 (counts as dc), work 11 dc into the ring, join with a slip stitch. (12 dc)
Round 2: Chain 3, 2 dc in each st around, join. (24 dc)
Round 3: Join White in any stitch. Chain 3, 2 dc in same st, chain 1, skip next 2 sts, *3 dc in next st, chain 1, skip next 2 sts* around — 8 clusters. Join with a slip stitch. (24 dc)
Round 4: Slip stitch into the next chain-1 space. Chain 3, *(2 dc, chain 2, 3 dc)* in same space (corner made), *3 dc in next chain-1 space, (3 dc, chain 2, 3 dc) in next chain-1 space* — repeat from * two more times, 3 dc in last chain-1 space, join. (4 corners)
Round 5: Slip stitch into the next corner space. Chain 3, *(2 dc, chain 2, 3 dc)* in same space, *3 dc in each chain-1 space across the side, (3 dc, chain 2, 3 dc) in next corner space* — repeat around. Join and fasten off, weaving in ends.
Assembly
Whipstitch the squares together through the back loops with White:
- Front panel: 2 squares × 2 squares
- Back panel: 2 squares × 2 squares
- Side panels: 2 squares stacked vertically (make 2)
- Bottom: 1 square
Join the front, sides, and back into a tube, then whipstitch the bottom square in place. Turn the bag right-side out.
Strap
With White, chain 140.
Row 1: Sc in 2nd chain from hook and in each chain across, chain 1, turn. (139 sc)
Rows 2–4: Sc in each st across, chain 1, turn. (139 sc)
Fasten off. Fold the strap ends under by 2 inches and sew them firmly to the inside top edges of the side panels.
Finishing
Work one round of sc evenly around the top opening of the bag for a clean edge (about 64 sc — just keep them even). Fasten off and weave in all ends.
Sophie’s Tips
- Block your squares before joining — even a quick steam with the iron makes assembly so much neater and the bag so much squarer.
- Cotton yarn is non-negotiable for bags in my book. It doesn’t stretch out the way acrylic does, so your tote keeps its shape trip after trip.
- Sew the strap with a tapestry needle and several passes of yarn, or even a few stitches of sewing thread for extra strength. This is the one join that takes real weight.
Carry a little sunshine with you everywhere — you made this!