# Poinsettia Flower Ornament Free Crochet Pattern
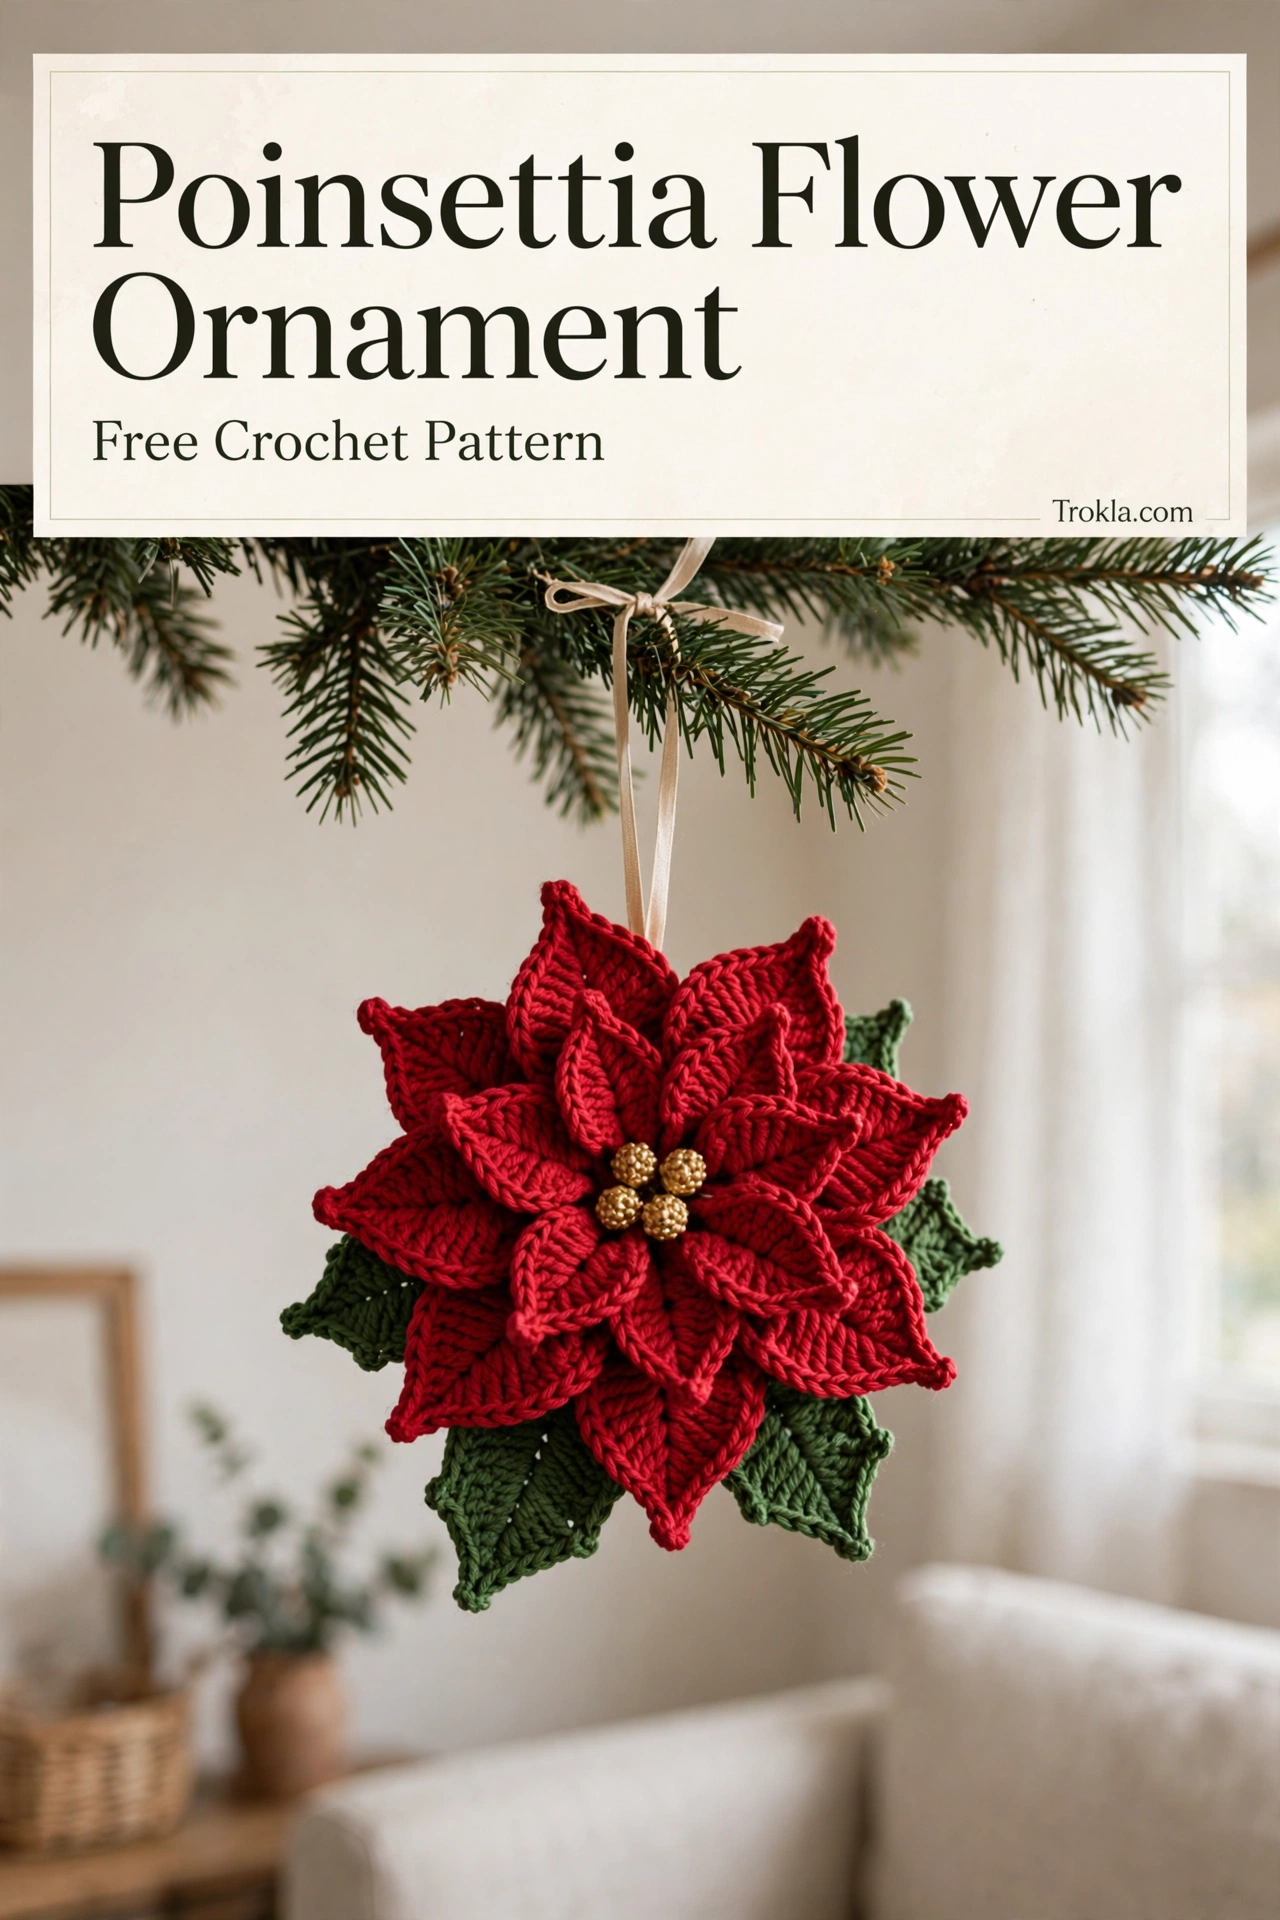
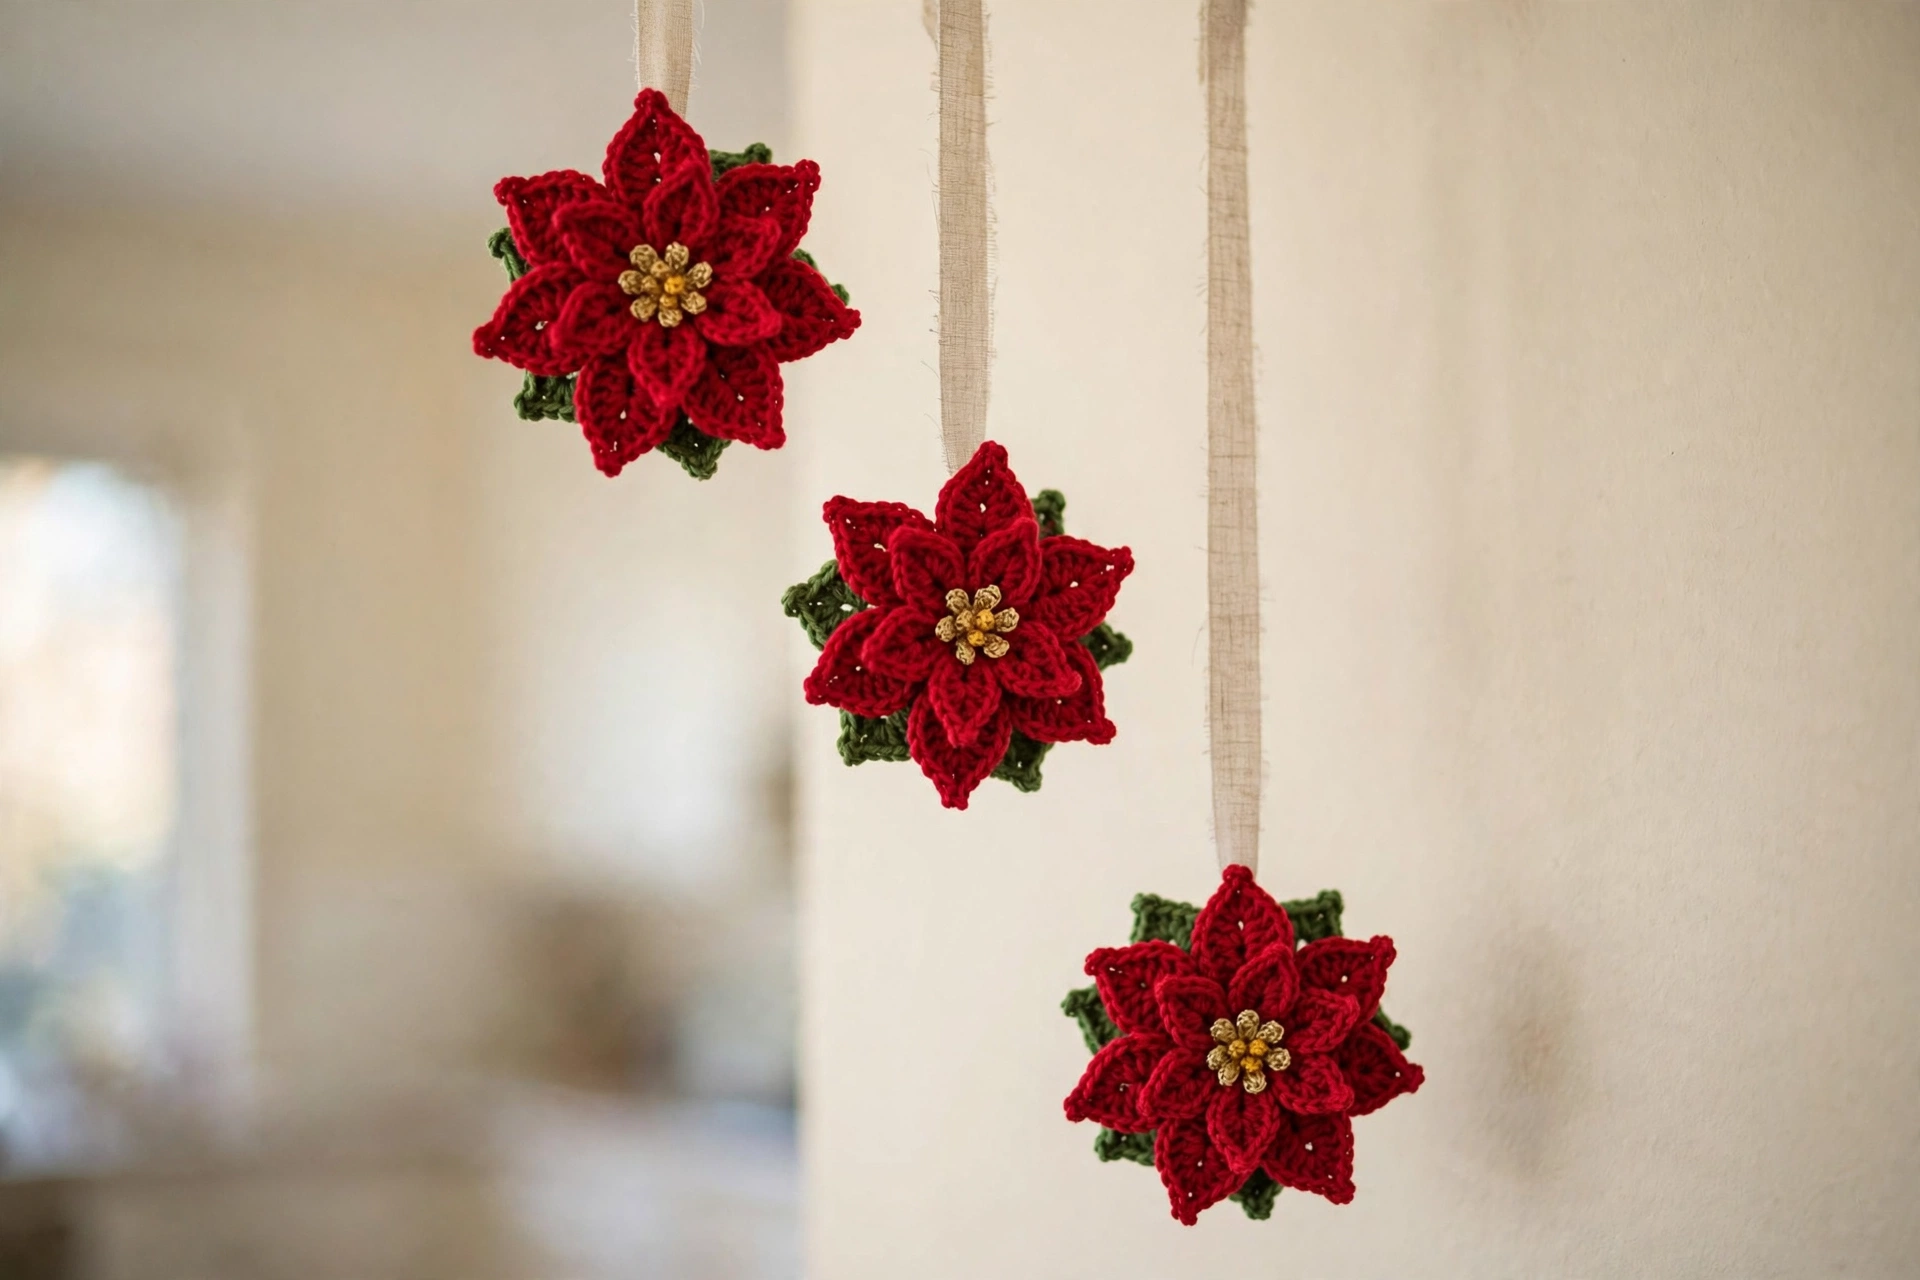
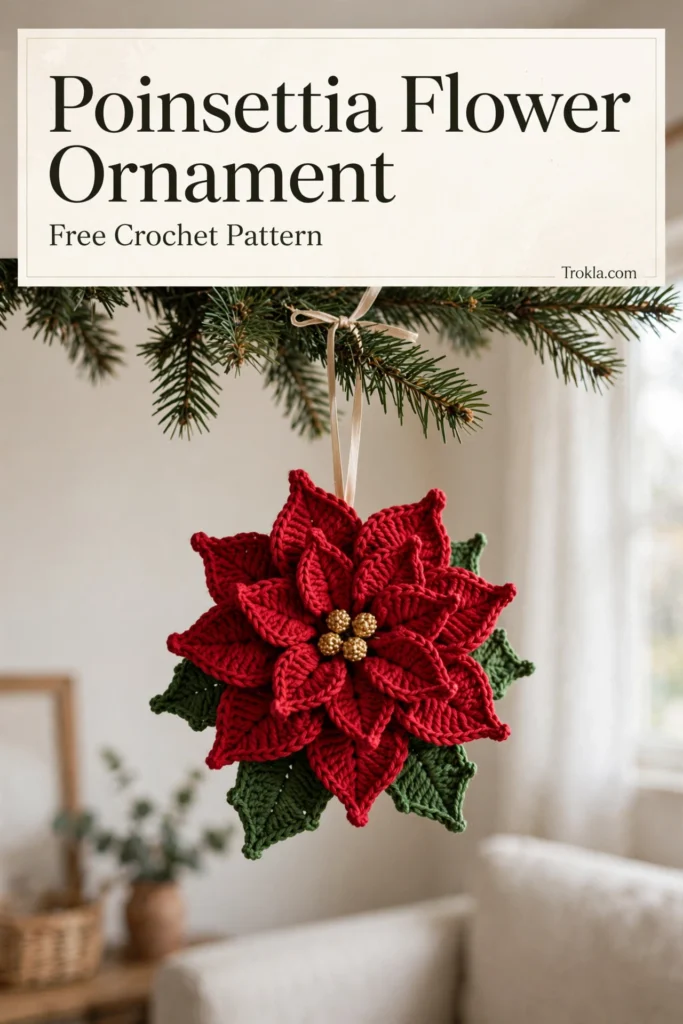
Oh, I just love a tree that tells a story, and handmade ornaments are my favorite chapters. This little poinsettia ornament has become my go-to December make — it works up fast, it looks like a fancy florist bloom, and it has that lovely 3D shape that catches the Christmas lights beautifully.
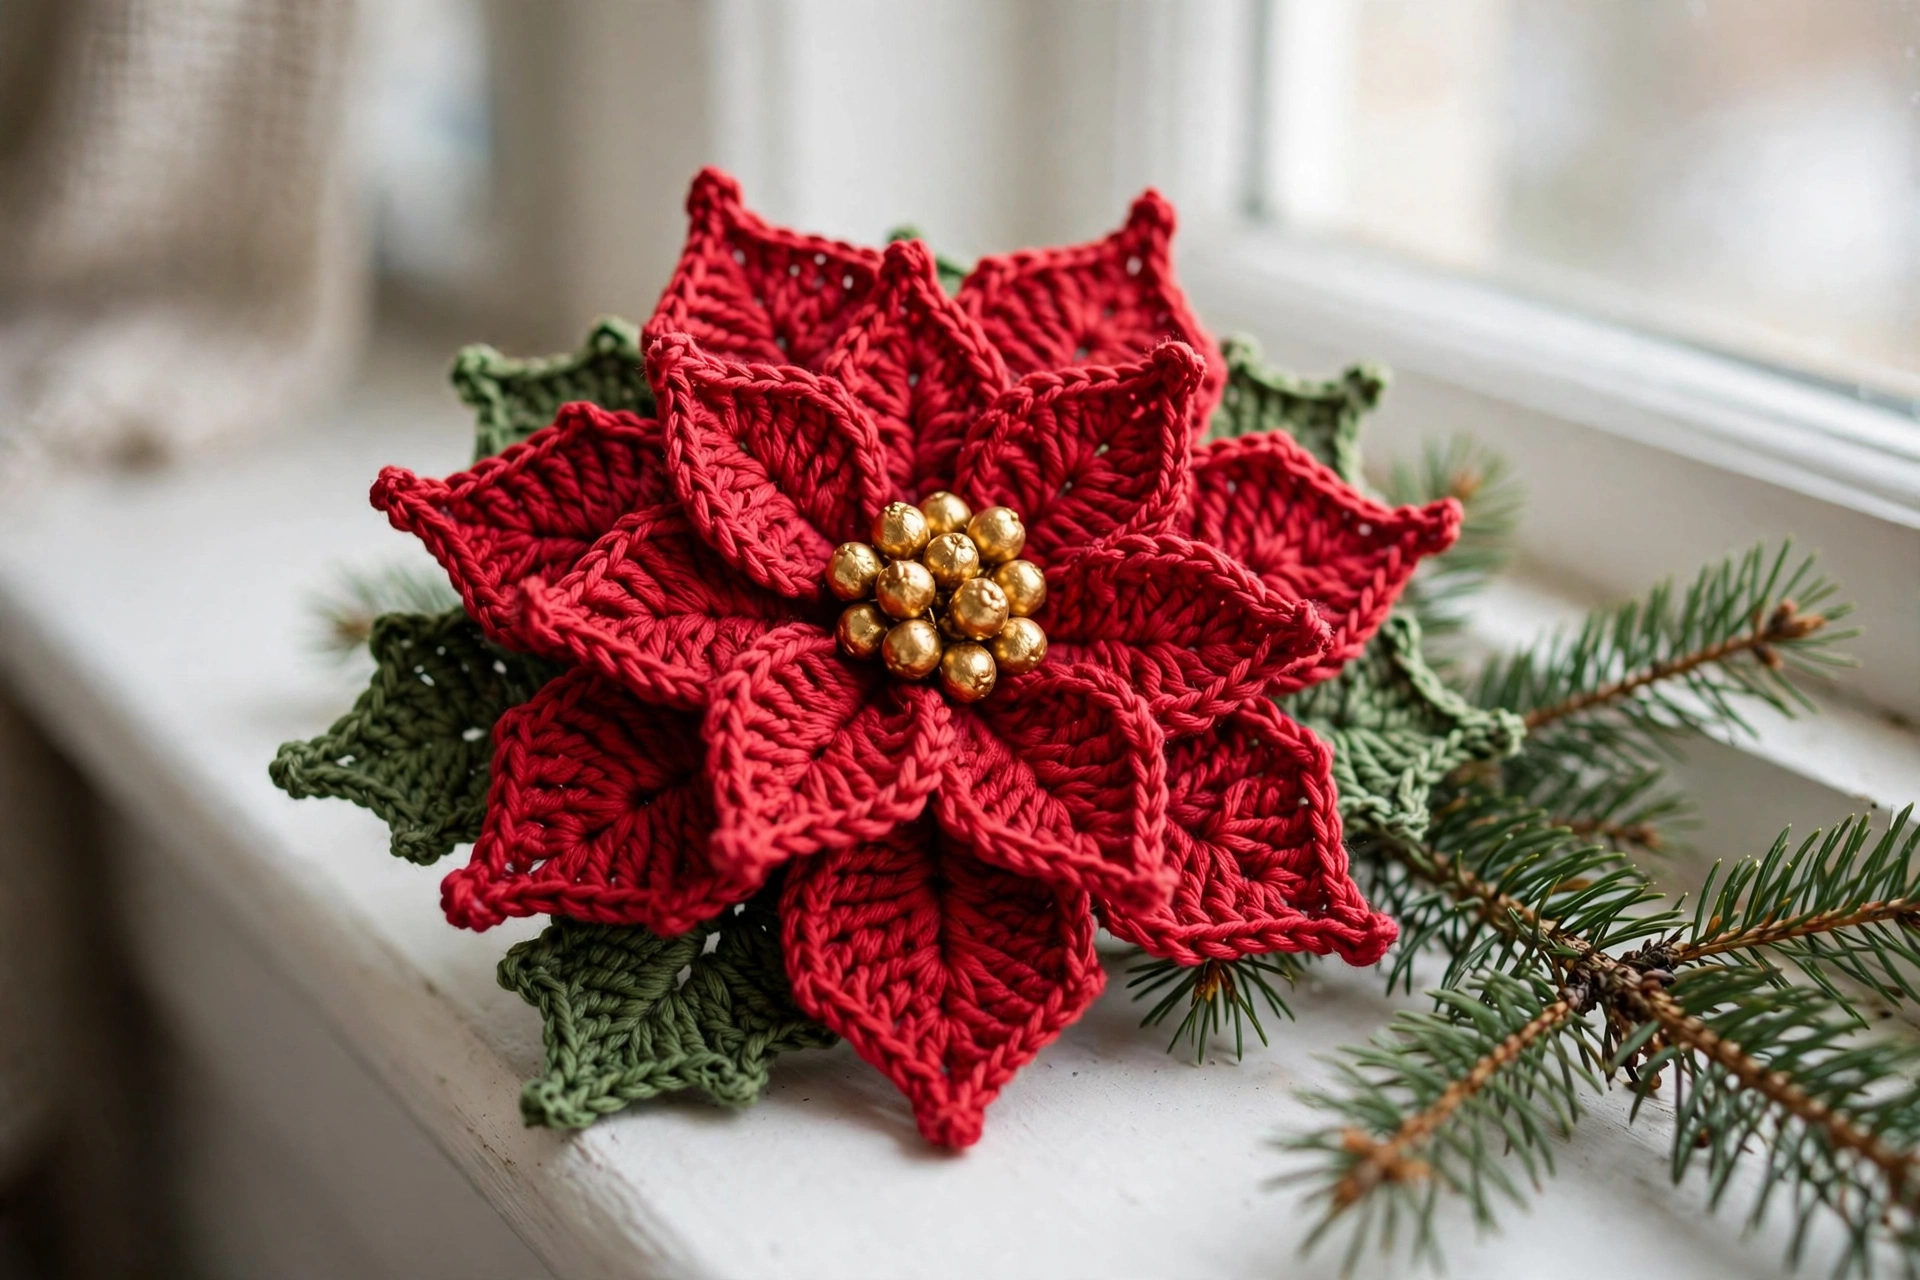
I designed it in two petal layers so the flower really pops off the branch, with a golden berry center and a few green leaves peeking out from behind. Hang one on the tree, or make a whole garland of them for the mantel. They also make the sweetest gift toppers and package ties!
What You’ll Need
- Worsted weight yarn in red, green, and gold (small amounts of each — this is a great stash buster)
- Size G (4.0 mm) crochet hook
- Tapestry needle
- About 6 inches of narrow ribbon for the hanging loop
Finished size: Approximately 4 inches across, not counting the hanging loop.
The Pattern
All pieces are worked in US crochet terms. Petals are worked in rows along both sides of a foundation chain to get that lovely pointed-oval shape.
Large Petals (make 6)
With red:
Chain 11.
Side A: SC in 2nd chain from hook, HDC in next 2 chains, DC in next 3 chains, TR in next 3 chains, (TR, chain 2, TR) in last chain — this forms the petal tip.
Side B (working along the opposite side of the foundation chain): TR in next 3 chains, DC in next 3 chains, HDC in next 2 chains, SC in last chain. Join with a slip stitch to the first SC.
Fasten off, leaving a 6-inch tail for sewing. Each petal measures about 3 inches long.
Small Petals (make 6)
With red:
Chain 9.
Side A: SC in 2nd chain from hook, HDC in next 2 chains, DC in next 2 chains, TR in next 2 chains, (TR, chain 2, TR) in last chain.
Side B: TR in next 2 chains, DC in next 2 chains, HDC in next 2 chains, SC in last chain. Join with a slip stitch to the first SC.
Fasten off, leaving a 6-inch tail. Each petal measures about 2 inches long.
Leaves (make 3)
With green:
Chain 10. Work exactly like a small petal but slightly narrower: SC in 2nd chain from hook, HDC in next 2 chains, DC in next 3 chains, HDC in next 2 chains, (HDC, chain 2, HDC) in last chain, then mirror back along the other side: HDC in next 2, DC in next 3, HDC in next 2, SC in last. Join, fasten off, leaving a tail.
Berry Center
With gold, make a magic ring. Chain 1, work 8 SC into the ring, join with a slip stitch. (8 SC)
Round 2: *SC in next stitch, (chain 3, 3-DC bobble in same stitch, chain 3, slip stitch in next stitch)* — repeat the starred sequence 4 times around to make 4 little berries. Fasten off, leaving a tail.
Assembly
1. Arrange the 6 large petals in a circle, overlapping each one slightly over the last, and sew the base ends together with the tails. This is your bottom layer.
2. Place the 6 small petals on top, offset so each one sits between two large petals, and sew them down. Now your flower has real dimension!
3. Sew the gold berry center right in the middle of the small petals.
4. Tuck the 3 green leaves behind the bottom layer, spacing them evenly, and stitch them in place.
5. Fold your ribbon into a loop and stitch it firmly to the back of the ornament. Weave in all ends.
Sophie’s Tips
- Block the petals lightly with steam before assembling — it makes the points lie flat and crisp, and the whole flower looks more polished.
- Try it in cream or blush pink with a champagne-gold center for a softer, vintage Christmas look.
- Make the petals a little tighter than usual; a firm fabric holds the 3D shape instead of flopping.
Hang it where the lights hit it — that gold center just glows!