# Ocean Blue Coastal Lace Bucket Bag Free Crochet Pattern
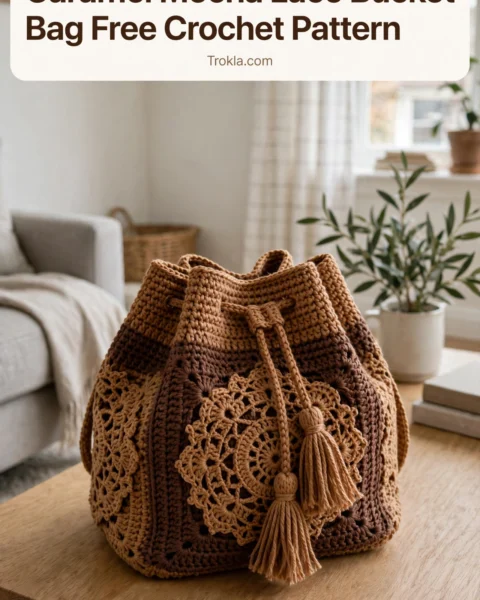
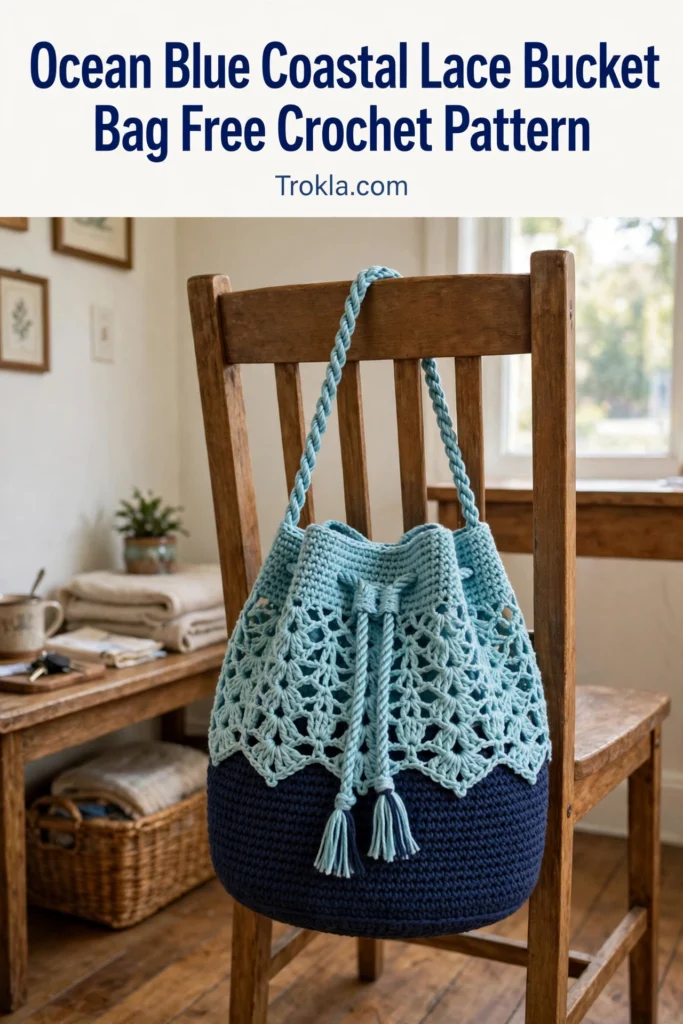
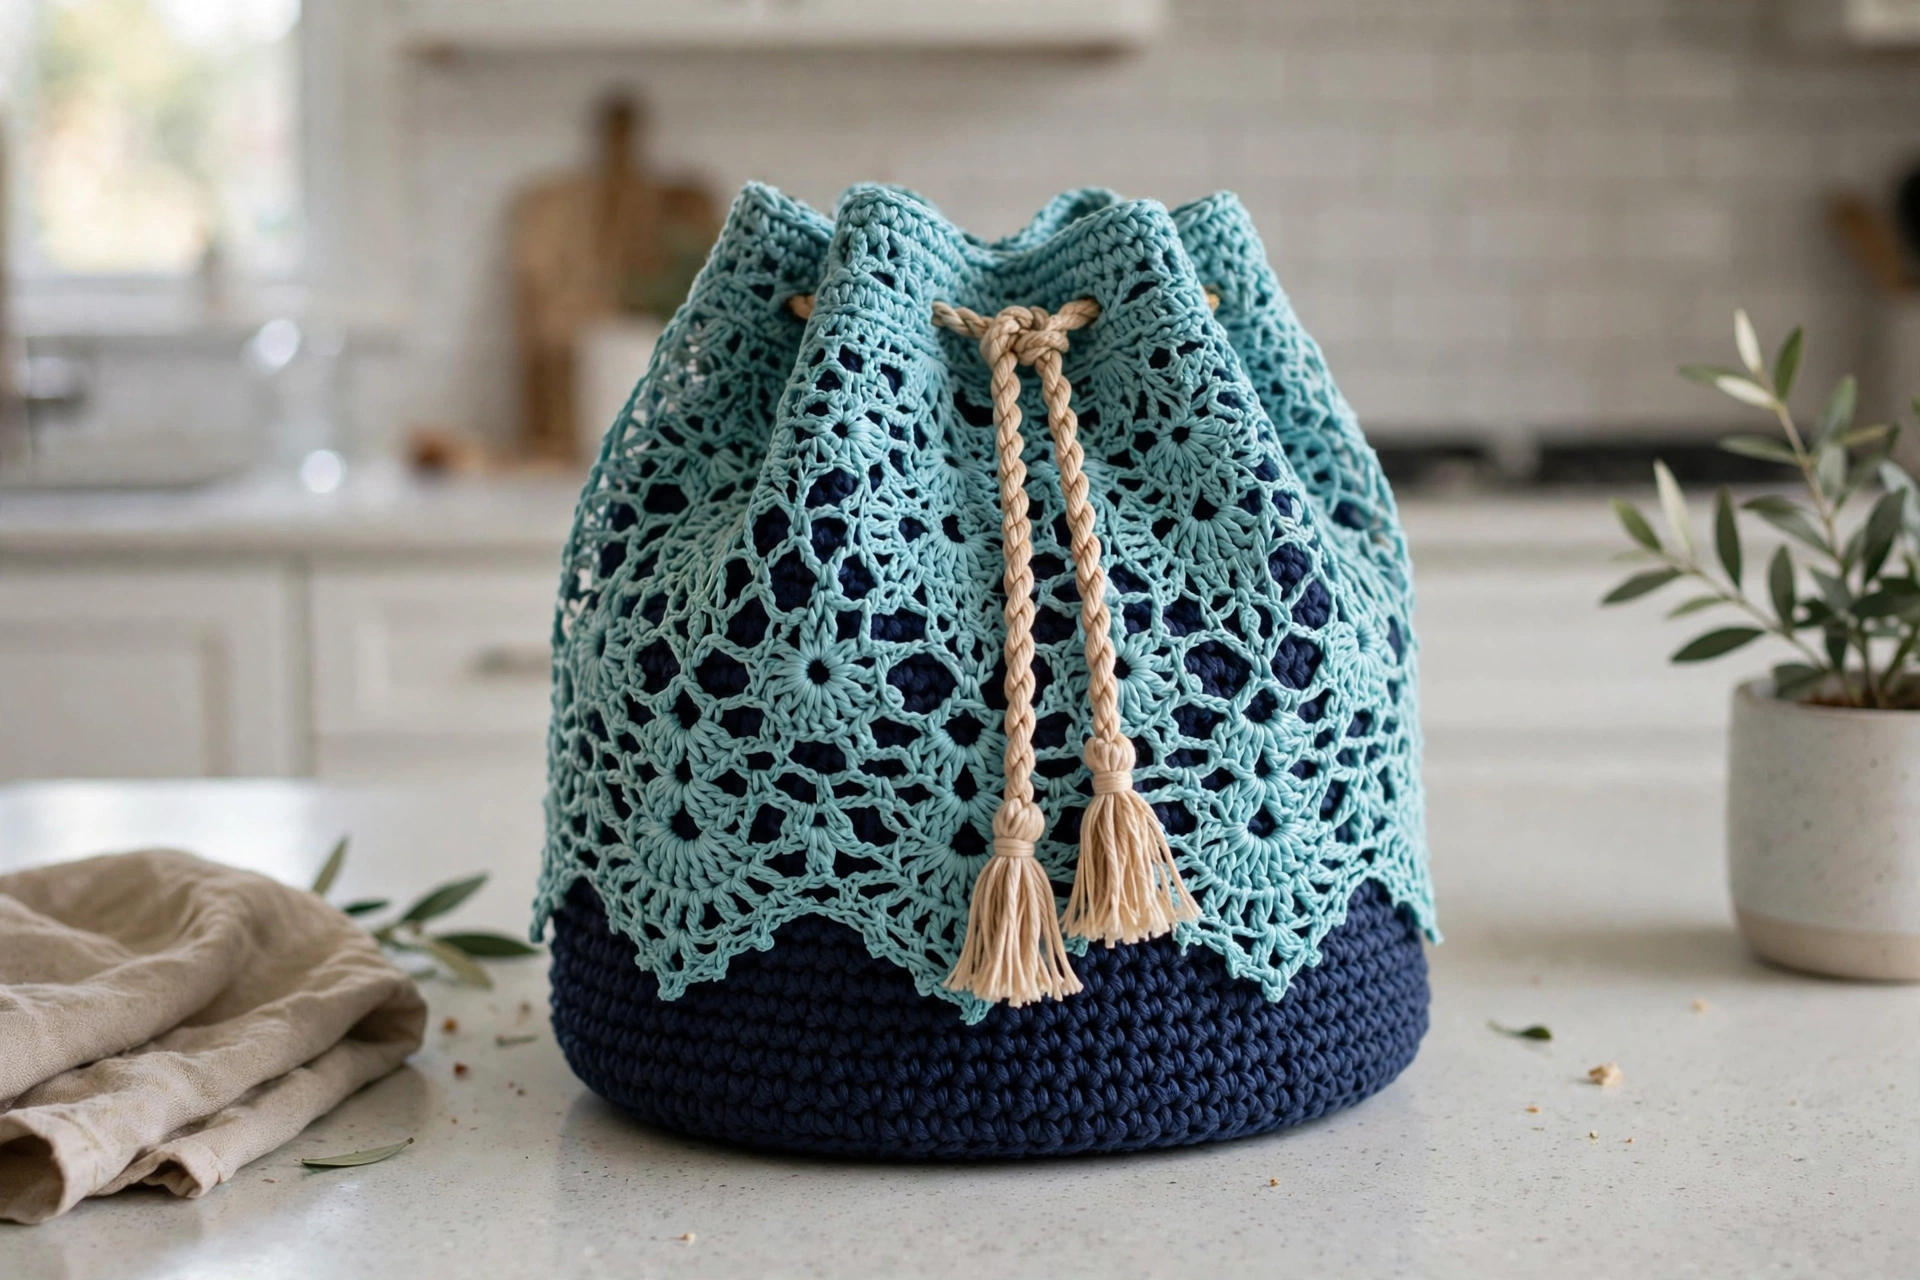
I am completely in love with this bag. A solid navy base gives it structure and keeps your belongings secure, while an airy aqua lace overlay floats over the outside like sea foam. The two-tone contrast is so striking — deep navy against delicate aqua — and the whole thing closes with a twisted-cord drawstring and little tassels.
It looks advanced, I know. But it breaks down into four separate pieces — base, lace overlay, medallion, cords — and you make them one at a time, then assemble. Take it section by section and you’ll have the prettiest bag at the farmers’ market.
What You’ll Need
- DK weight cotton yarn (mercerized is lovely — the sheen shows off the lace): navy (Color A) 200 g, aqua (Color B) 250 g. Skip acrylic here; it stretches under weight.
- 3.5 mm (E/4) hook for the solid base; 3.0 mm (D/3) hook for the lace overlay
- Stitch markers, yarn needle, scissors, optional fabric lining
Finished size:
- Height approx. 10 in (not including handle), width approx. 8 in at widest, base diameter approx. 6 in, handle drop approx. 6 in
The Pattern
Gauge:
- Solid section: 20 sts and 22 rows = 4 in in sc with the 3.5 mm hook. Lace section: one complete shell repeat ≈ 2 in with the 3.0 mm hook. The base is worked in continuous spiral rounds (mark the start of each round)
- The lace overlay is worked in joined rounds
Part 1 — Solid Navy Base
With Color A and the 3.5 mm hook:
Base circle:
Round 1: Magic ring, 6 sc. Pull tight. (6)
Round 2: Inc in each st. (12)
Round 3: *Sc 1, inc* around. (18)
Round 4: *Sc 2, inc* around. (24)
Round 5: *Sc 3, inc* around. (30)
Round 6: *Sc 4, inc* around. (36)
Round 7: *Sc 5, inc* around. (42)
Round 8: *Sc 6, inc* around. (48)
Round 9: *Sc 7, inc* around. (54)
Round 10: *Sc 8, inc* around. (60)
Round 11: *Sc 9, inc* around. (66)
Round 12: *Sc 10, inc* around. (72) The base should be ~6 in across.
Sides:
Round 13: Sc in back loops only around. (72) This creates the crisp edge where base meets sides.
Rounds 14-45: Sc in each st around (32 rounds). (72 each round) The sides should measure ~5.5 in from the base edge.
Round 46: Sl st in next st. Fasten off and weave in ends. Set aside.
Part 2 — Aqua Lace Overlay
With Color B and the 3.0 mm hook. Block the lace before assembly — it opens the stitches and makes joining much easier.
Foundation round: Ch 72; sl st to first ch to form a ring (don’t twist).
Round 1: Ch 3 (counts as dc), dc in same st, sk 2 ch, *(2 dc, ch 2, 2 dc) in next ch (shell), sk 2 ch* around, ending with 2 dc in the same st as the beginning, ch 1, sc in top of ch-3 to join (positions you in the center of the last shell). (12 shells)
Round 2: Ch 3, dc in same sp, ch 3, *(2 dc, ch 2, 2 dc) in next shell sp, ch 3* around, sl st to top of ch-3 to join. (12 shells with ch-3 sps between)
Round 3: Sl st to shell sp. Ch 3, dc in same sp, dc in next dc, ch 2, sk ch-3 sp, dc in next dc, *(2 dc, ch 2, 2 dc) in shell sp, dc in next dc, ch 2, sk ch-3 sp, dc in next dc* around, join. (12 shell sections)
Rounds 4-12: Continue in the established pattern — shells into shell spaces, chain spaces between — keeping 12 repeats around each round. The lace will form a gentle cone that mirrors the bucket shape.
**Scalloped top edge —
Round 13:** Sl st to shell sp. *Ch 4, (tr, ch 2, tr, ch 2, tr, ch 2, tr) in shell sp, ch 4, sl st in ch-2 sp between shells* around. (12 scallops)
Round 14: In each scallop: sl st to first ch-2 sp, *(sc, hdc, dc, hdc, sc) in ch-2 sp* three times per scallop, sl st between scallops. Fasten off and weave in ends.
Part 3 — Center Medallion
With Color B and the 3.0 mm hook:
Round 1: Magic ring. Ch 3 (dc), 11 dc in ring, sl st to join. (12 dc)
Round 2: Ch 4 (dc + ch 1), *dc in next st, ch 1* around, sl st to 3rd ch. (12 dc, 12 ch-1 sps)
Round 3: Sl st to ch-1 sp. Ch 3, dc in same sp, ch 2, *2 dc in next ch-1 sp, ch 2* around, join. (24 dc, 12 ch-2 sps)
Round 4: Ch 3, dc in next dc, ch 3, *dc in next 2 dc, ch 3* around, join. (24 dc, 12 ch-3 sps)
Round 5: Ch 3, dc in next dc, (2 dc, ch 2, 2 dc) in ch-3 sp (shell), *dc in next 2 dc, shell in ch-3 sp* around, join. (12 shells)
Rounds 6-9: Keep expanding with shells and chain spaces for more open lacework.
Round 10 (outer edge): Picot edging — *sc in dc, ch 3, sl st in first ch (picot)* around the entire edge. Fasten off and block flat.
Part 4 — Assembly
1. Place the navy base inside the aqua lace cone. With aqua yarn and a yarn needle, whipstitch the bottom edge of the lace to the navy base around navy Round 25 — work loosely so the lace drapes naturally. Tack at 4 evenly spaced points so nothing shifts.
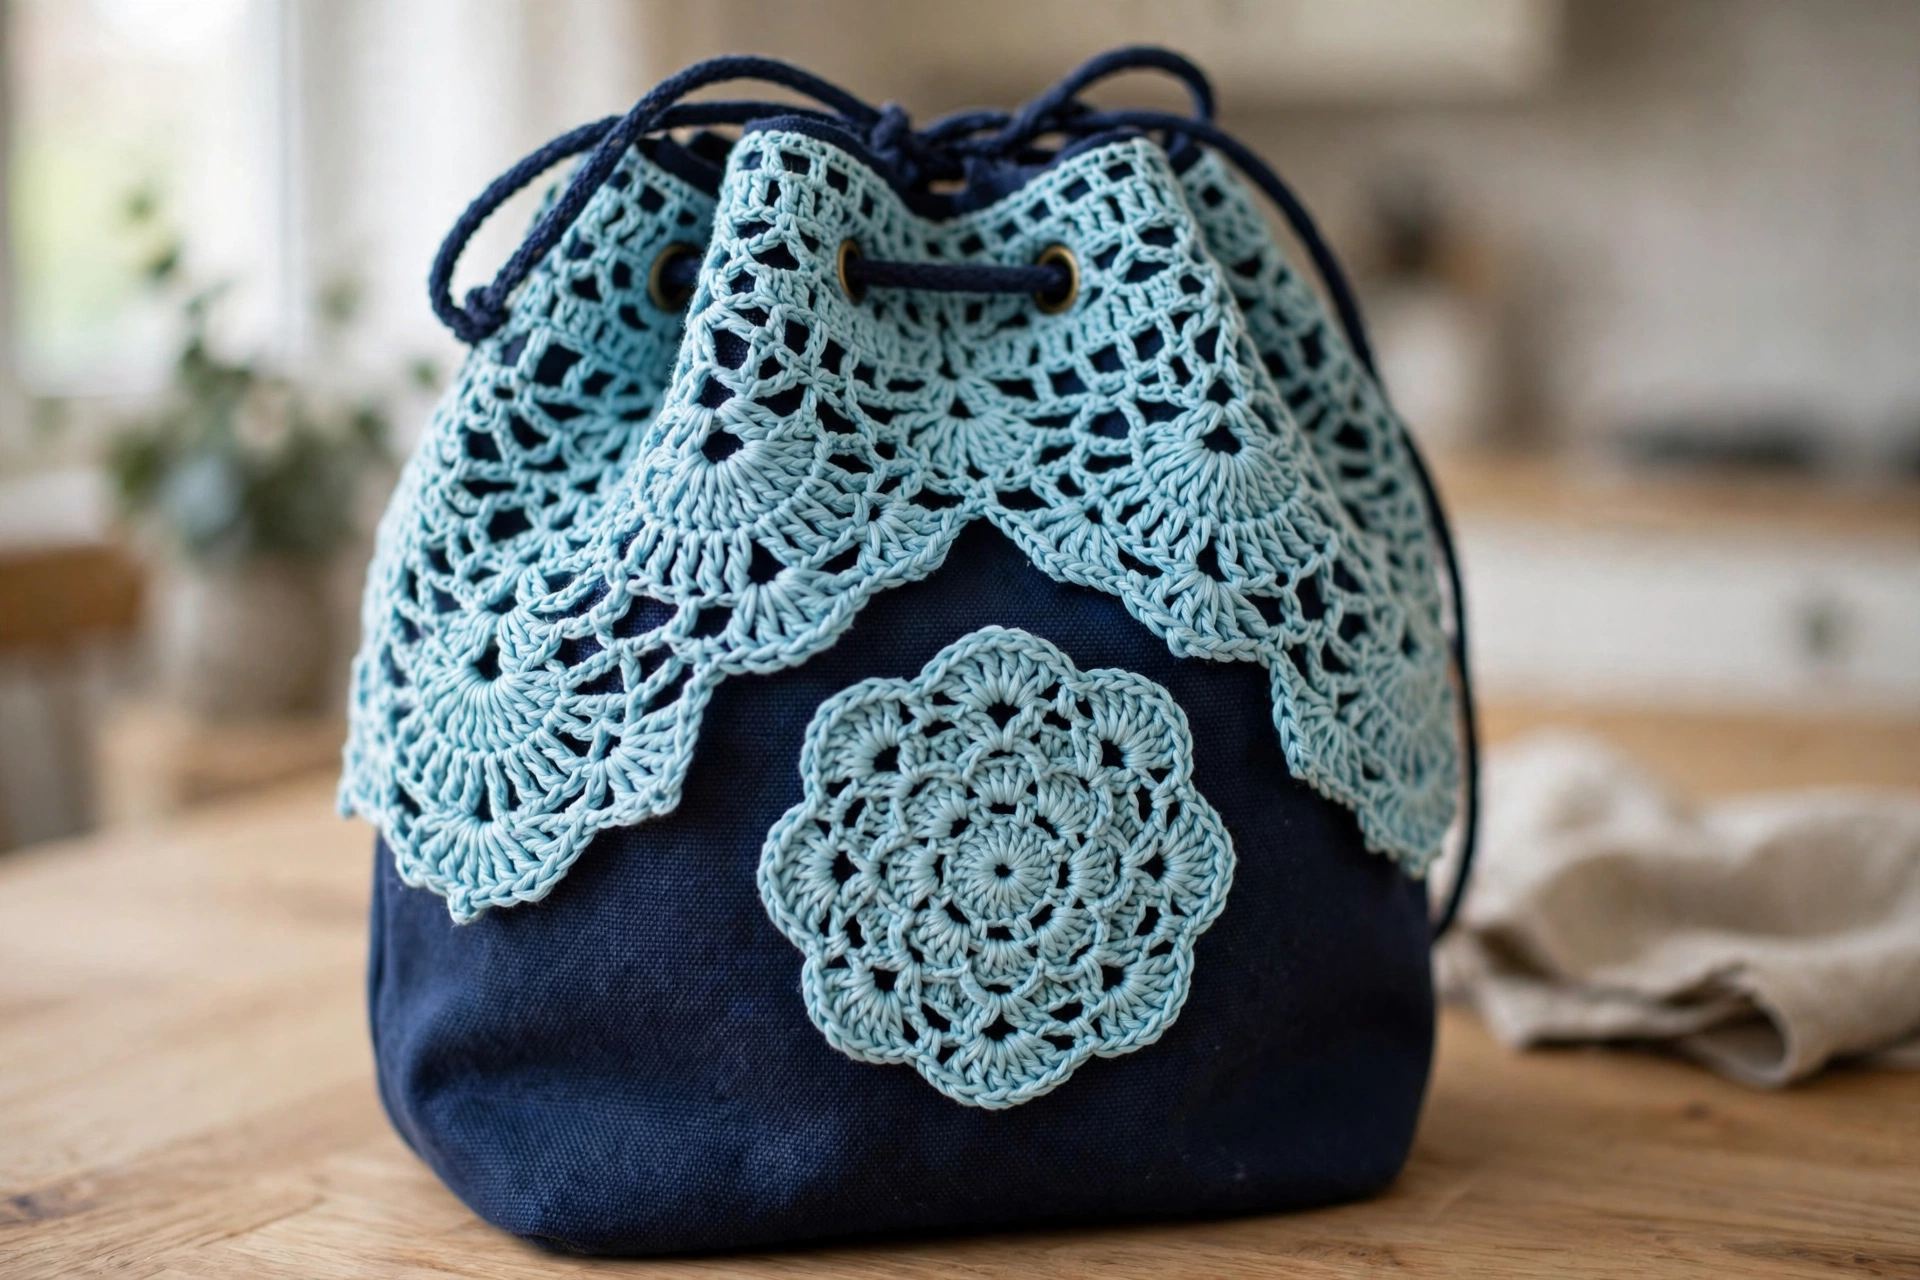
2. Center the medallion on the front of the bag and tack it to the lace with small hidden stitches at multiple points. Don’t pull it tight — let it lie flat.
Part 5 — Drawstring, Tassels, Handle
Drawstring: Cut 6 strands of aqua, each 3 yards long. Tie both ends together, anchor one end (a doorknob works), twist tightly in one direction until the strands kink, then fold in half and let it twist back on itself. Knot the ends. You should have a cord ~36 in long. Make two. Weave one cord through the lace openings near the top starting at front center, the other starting at back center going the opposite direction, so both exit at front center.
Tassels (make 2): Wrap aqua yarn around a 4-inch piece of cardboard 40 times. Slide a 12-inch strand under the top loops and tie tightly, cut the bottom loops, wrap another strand 1 in from the top to form the head, and trim evenly. Attach one tassel to each drawstring end.
Handle: Cut 9 strands of aqua, each 2 yards long. Braid in 3 groups of 3, knot both ends, and stitch the ends securely to the inside of the bag at the side points, about 1 in below the scalloped edge — stitch through the navy layer for strength.
Weave in every end. Steam-block the finished bag lightly for a crisp finish. Add a fabric lining if you’d like extra durability.
Sophie’s Tips
- Count your stitches after every round on the solid base — one missed increase throws off the whole shape.
- Quality cotton is worth it here. This bag gets handled daily, and good yarn won’t pill.
- Take breaks during the lace rounds. Detailed work causes eye strain — step away and come back fresh.
You made it — now go show off that gorgeous coastal creation!