# Mint Green Bear Hoodie Baby Cardigan Free Crochet Pattern
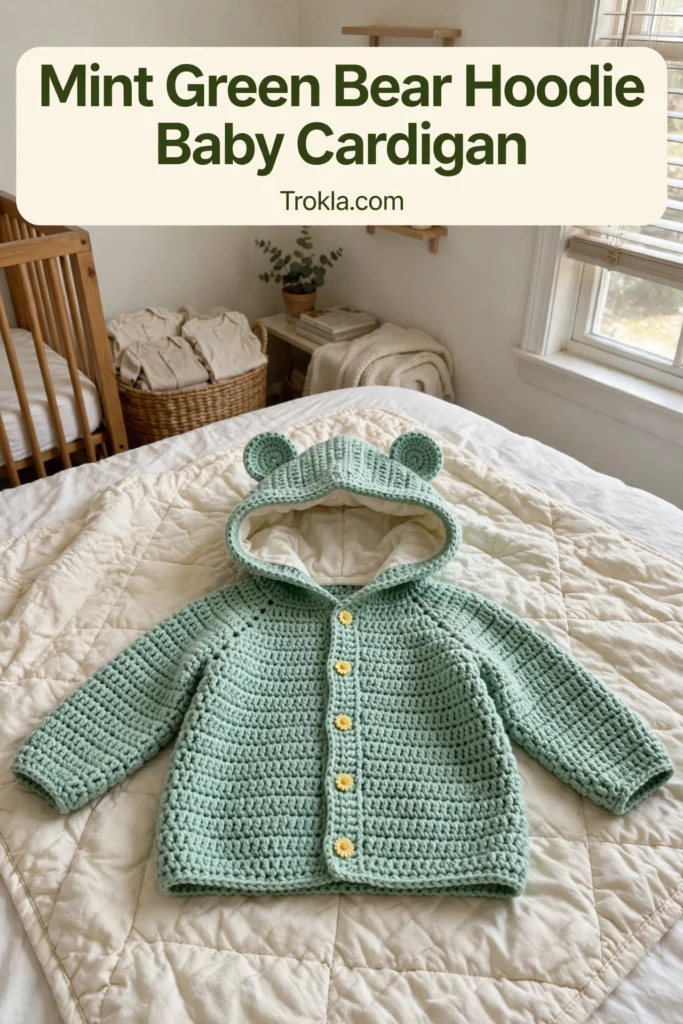
Oh my goodness, THIS is the one. If you’ve been hunting for a baby cardigan that makes people gasp out loud when they see it, you just found it. Those little bear ears! The sweet bumblebee! The daisy buttons! I am genuinely thrilled to share this one with you, friends.
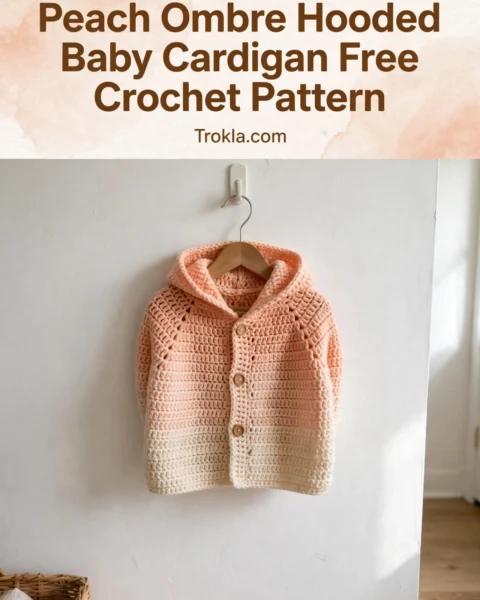
Here’s the best part: it looks incredibly impressive but breaks down into totally manageable steps. You’ll work top-down with a raglan construction, which means minimal seaming and a really professional finish. The cream-lined hood adds the prettiest contrast when it falls open. Whether it’s for a baby shower gift, your own little one, or a special grandchild, this cardigan delivers that handmade luxury store-bought items just can’t touch. Let’s get started!
What You’ll Need
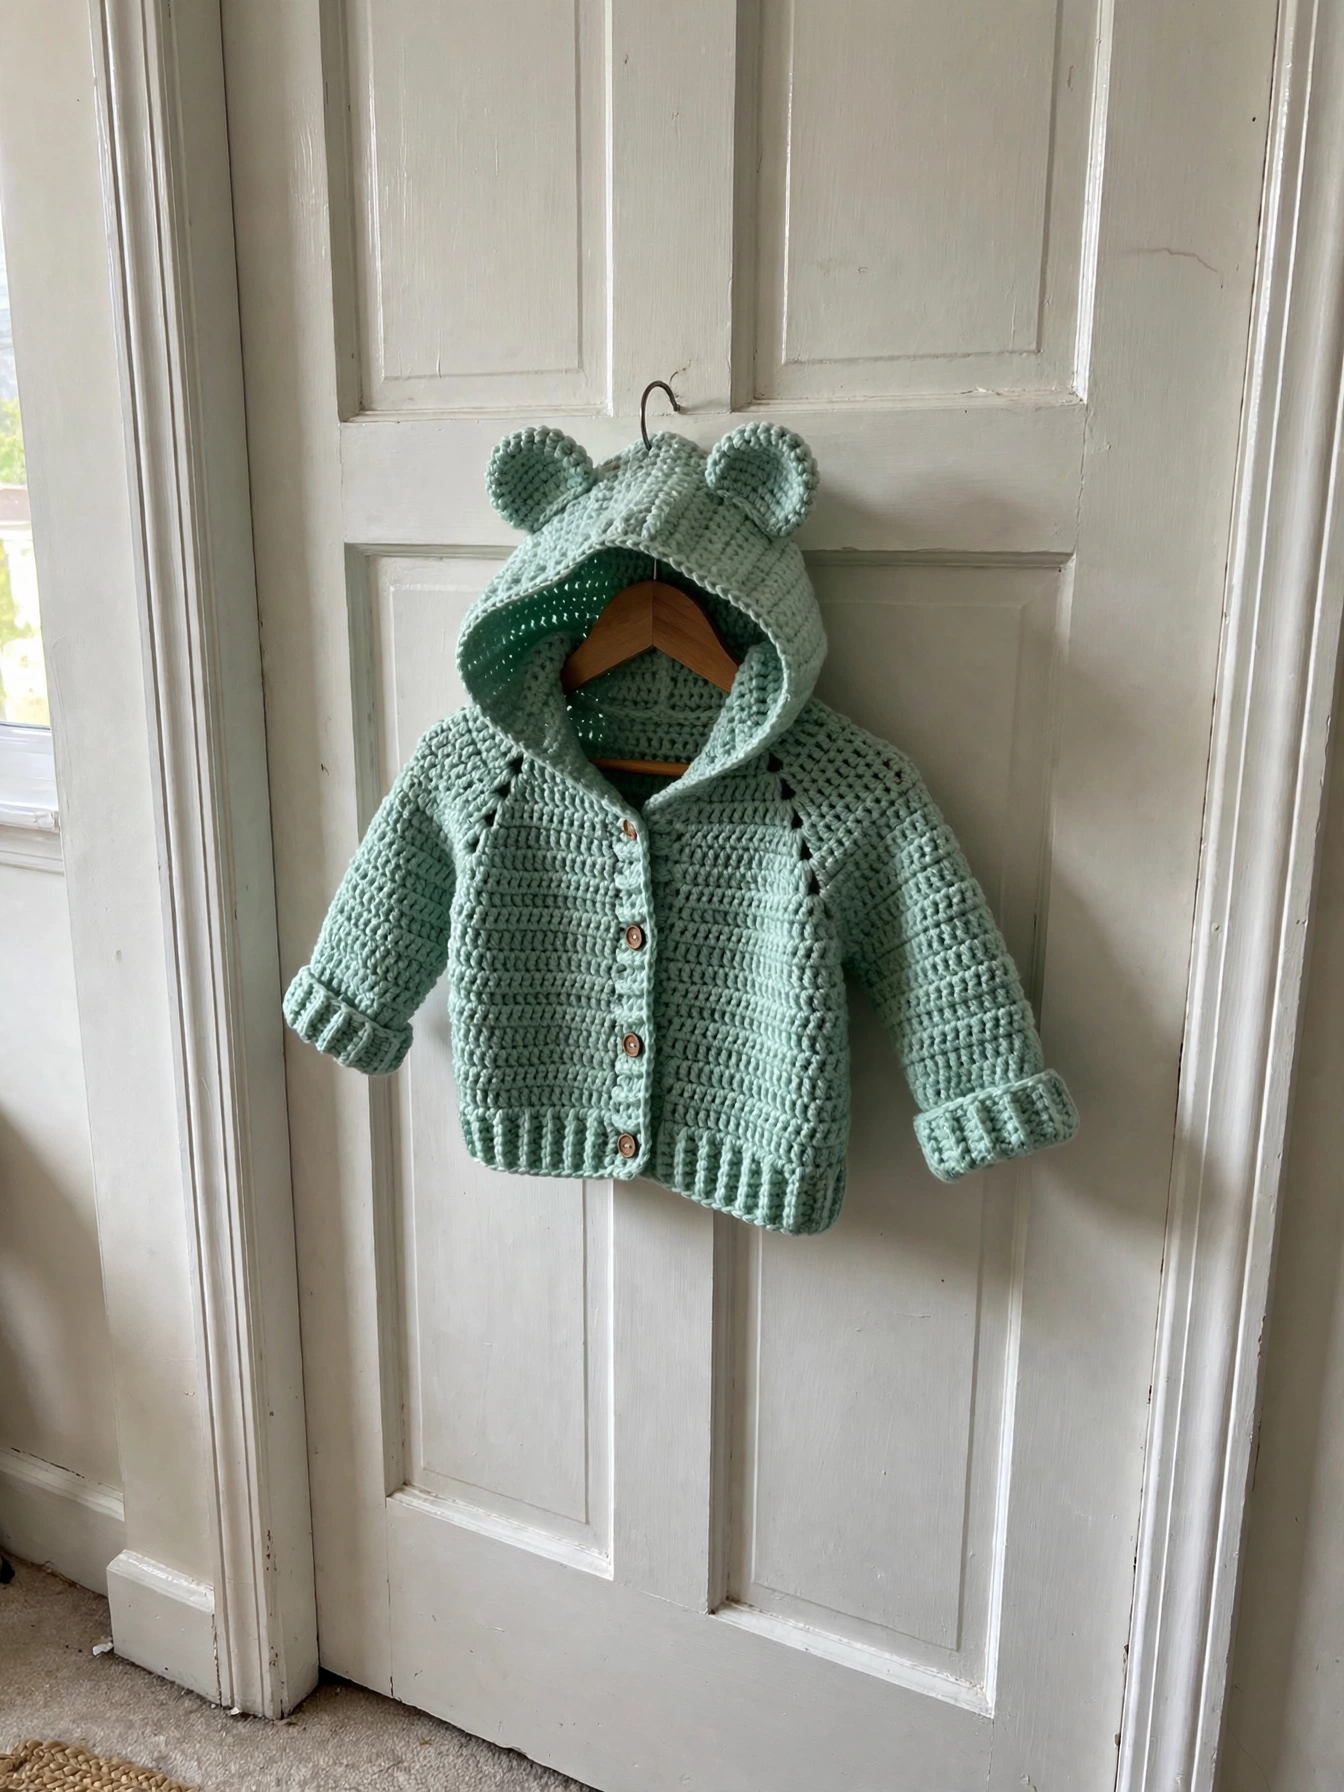
- Worsted weight yarn (category 4): approximately 300–350 yards in Mint Green (Color A), and approximately 40 yards in Cream (Color B) for the hood lining. Choose something machine washable and baby-safe — avoid novelty or textured yarns, since the clean stitch texture is essential to the look.
- US H-8 / 5.0 mm crochet hook
- Yarn needle, scissors, rust-proof pins for blocking, at least 6 stitch markers
- 5 daisy-shaped buttons, approximately 18 mm diameter, in yellow
- 1 small bumblebee applique (or embroider one — I’ll show you how)
Gauge:
- 16 hdc x 11 rows = 4 inches, worked in rows and blocked. I can’t stress this enough — gauge is mandatory for this garment. Swatch with your exact yarn and hook, wash and block it, then measure. Too big? Go down a hook size. Too small? Go up
Finished size:
- Size 6–12 months
- Finished chest circumference (buttoned): approximately 20 inches / 51 cm
- Finished length (back neck to hem): approximately 11 inches / 28 cm
- Sleeve length (underarm to cuff): approximately 6.5 inches / 16.5 cm
- Hood height (neckline pickup to top): approximately 6.5 inches / 16.5 cm
The Pattern
Special Stitches
Half double crochet two together (hdc2tog): Yarn over, insert hook in next stitch, yarn over, pull up a loop (3 loops on hook), yarn over, insert hook in following stitch, yarn over, pull up a loop (5 loops on hook), yarn over, pull through all 5 loops. One stitch decreased.
Raglan increase point: Work 2 hdc in the stitch before a marked seam stitch, hdc in the seam stitch (move the marker up), then 2 hdc in the stitch after it. Four raglan points = 8 increases per increase row.
Notes: The turning chain (chain 1, turn) starts every row and does not count as a stitch. The four marked seam stitches are never increased into — increases happen on either side of them. Right side is the outside of the garment.
Yoke
With Color A, chain 39.
Row 1 (RS): Hdc in 2nd chain from hook and in each chain across. (38 hdc)
Raglan setup: Mark stitches 5, 14, 25, and 34 as your seam stitches. Your sections: Right Front = sts 1–4, Right Sleeve = sts 6–13, Back = sts 15–24, Left Sleeve = sts 26–33, Left Front = sts 35–38. (4 + 1 + 8 + 1 + 10 + 1 + 8 + 1 + 4 = 38. It all adds up!)
Row 2 (WS): Chain 1, turn. Work across to 1 stitch before the first seam stitch, 2 hdc in next stitch, hdc in seam stitch (move marker up), 2 hdc in next stitch; repeat at each of the remaining 3 seam points; hdc to end. (46 hdc)
Row 3 (RS): Chain 1, turn. Work an increase row as established — 2 hdc before and after each seam stitch. (54 hdc)
Rows 4–11: Chain 1, turn. Work increase rows as established. (62, 70, 78, 86, 94, 102, 110, 118 hdc)
Checkpoint: After Row 11 your piece should measure about 4 inches from the top neck edge. Each front panel is 14 stitches wide, the back is 30 stitches wide, and each sleeve section is 28 stitches wide (not counting seam stitches).
Divide for Body and Sleeves
Row 12 (WS): Hdc across the first 14 Right Front stitches. Skip the next seam stitch. Place the 28 Right Sleeve stitches plus the two flanking seam stitches on a holder (30 sts held). Chain 2 to bridge the underarm. Hdc across the 30 Back stitches. Skip the next seam stitch. Place the 28 Left Sleeve stitches plus flanking seam stitches on a holder (30 sts held). Chain 2 to bridge the underarm. Hdc across the 14 Left Front stitches. (62 sts)
Body
Rows 13–30: Chain 1, turn. Hdc in each stitch across. (62 hdc each row)
Work until the body measures about 6.5 inches from the underarm row — the whole piece should now be about 11 inches from the back neck chain to the hem.
Sleeves (make 2)
Move the held sleeve stitches back to your hook: 30 held stitches, plus pick up 2 across the underarm bridge chains = 32 stitches.
Setup round: Join Color A with a slip stitch at the center of the underarm bridge. Working in the round, hdc in each of the 2 bridge chains, then hdc in each of the 30 held stitches. Join with a slip stitch. (32 hdc)
Rounds 2–10: Chain 1, hdc in each stitch around, join. (32 hdc)
Round 11: Chain 1, hdc2tog, hdc to last 2 stitches, hdc2tog, join. (30 hdc)
Rounds 12–14: Chain 1, hdc in each stitch around, join. (30 hdc)
Round 15: Chain 1, hdc2tog, hdc to last 2 stitches, hdc2tog, join. (28 hdc)
Rounds 16–18: Chain 1, hdc in each stitch around, join. (28 hdc)
Fasten off, leaving a tail for weaving in.
Cuff Ribbing
This gives you those pretty vertical ribs. With Color A and right side facing, attach yarn at the cuff edge and chain 6.
Row 1: Sc in 2nd chain from hook and each chain across. (5 sc)
Row 2: Chain 1, turn. Sc in the back loop only of each stitch across. (5 sc)
Row 3: Chain 1, turn. Sc in the back loop only across, then slip stitch into the next 2 stitches of the cuff edge to anchor.
Repeat Rows 2–3 until all 28 cuff stitches are joined (about 14 ribbing segments). Seam the short edges of the ribbing together.
Hood
With Color A, chain 57.
Row 1 (RS): Hdc in 2nd chain from hook and in each chain across. (56 hdc)
Rows 2–26: Chain 1, turn. Hdc in each stitch across. (56 hdc each row)
Fold the panel in half with right sides together and seam the top edge (slip stitch seam or mattress stitch) across all 56 stitches. Turn right side out.
Hood Lining
With Color B (cream), chain 57 and work Rows 1–26 exactly like the outer hood. Fold, seam the top, turn right side out. Tuck the lining inside the hood with wrong sides together — the cream shows when the hood falls open around baby’s face. Slip stitch the lining to the hood along the front face-opening edge through both layers.
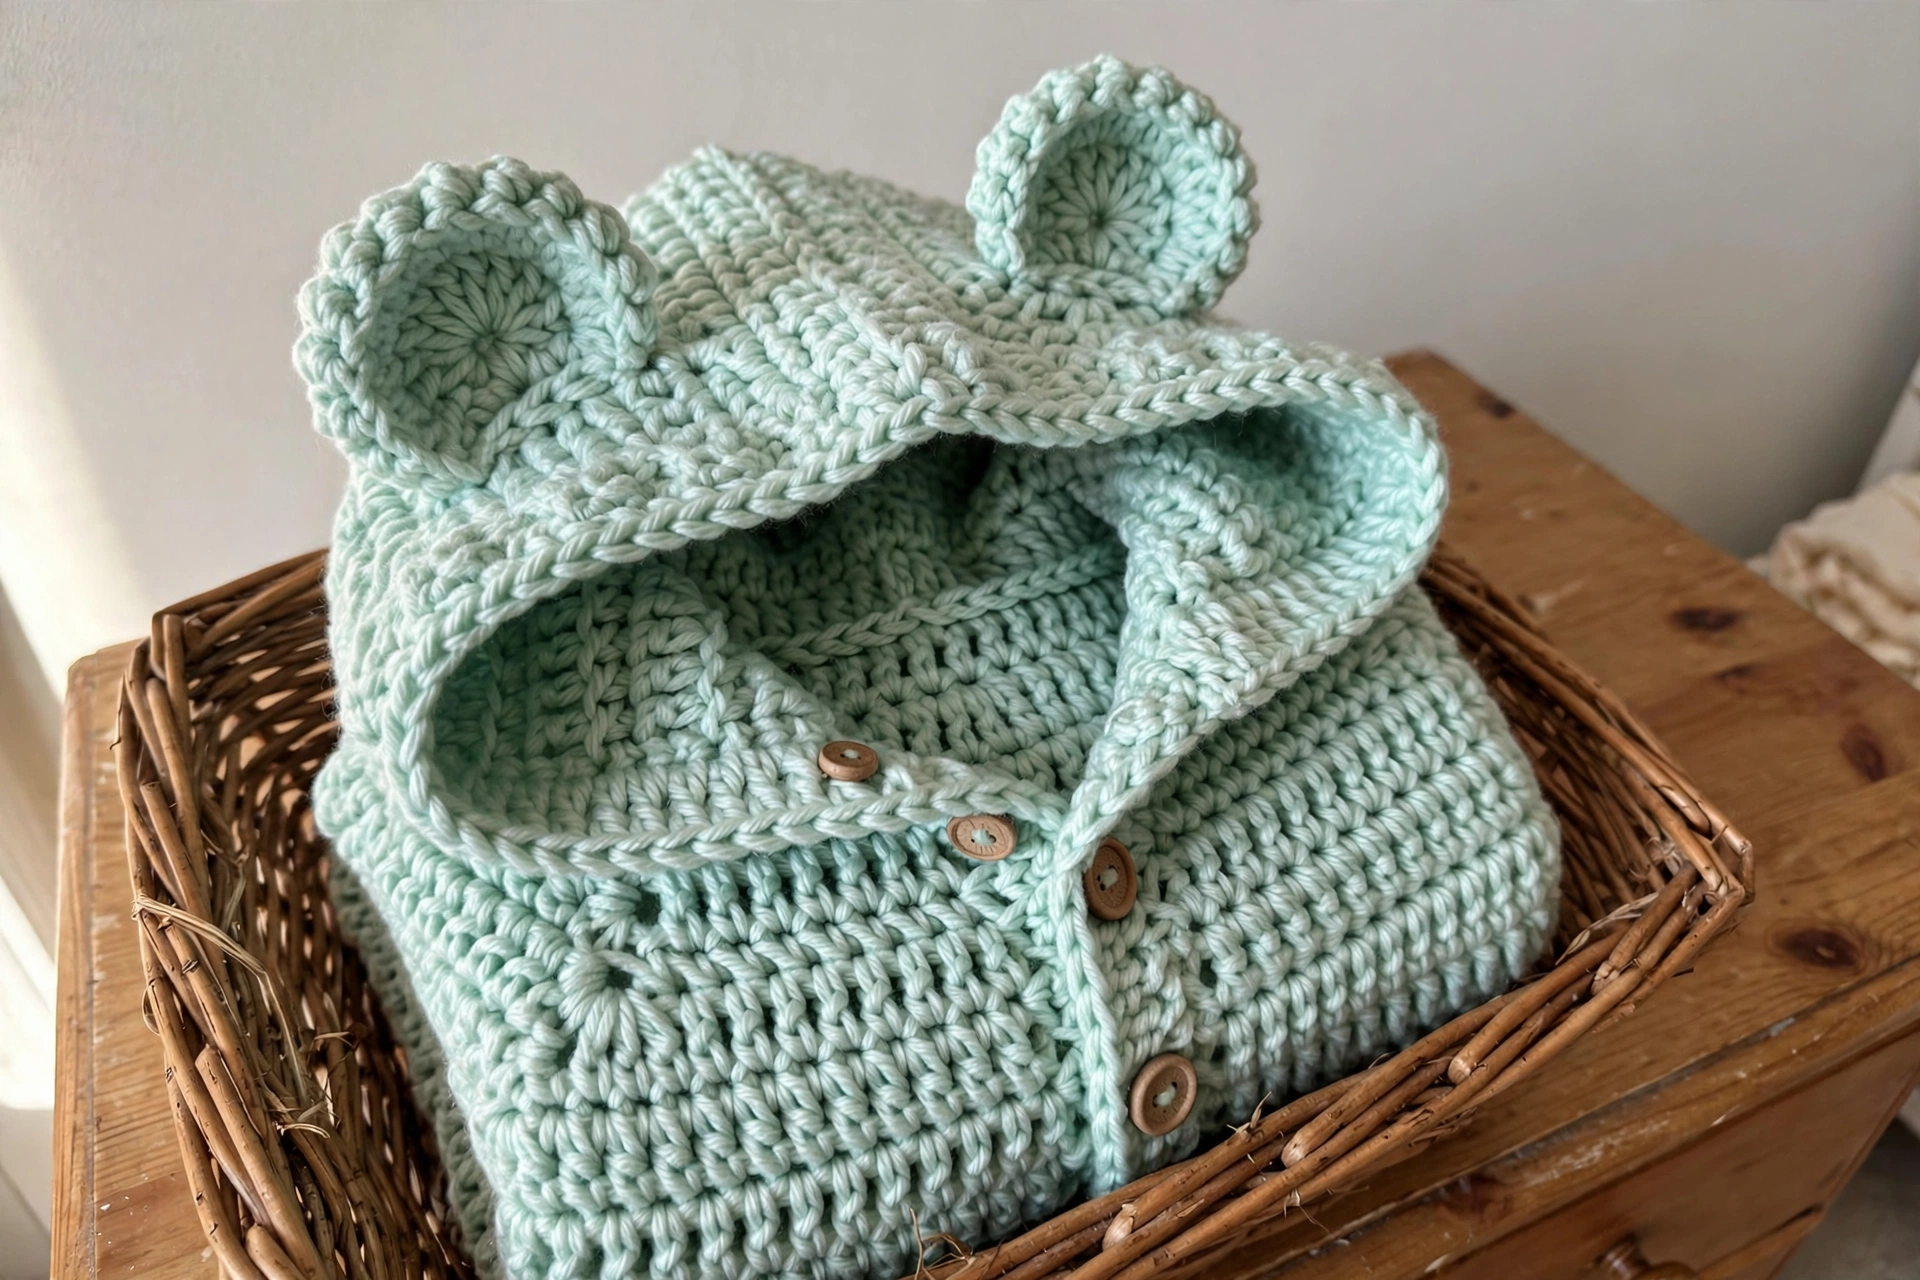
Bear Ears (make 2)
With Color A, make a magic ring.
Round 1: Chain 1, 6 sc into the ring, join with a slip stitch. (6 sc)
Round 2: Chain 1, 2 sc in each stitch around, join. (12 sc)
Round 3: Chain 1, (sc in next stitch, 2 sc in next) 6 times, join. (18 sc)
Fasten off with a long tail. Cup each ear slightly and sew to the top of the hood, about 1.5 inches from the center seam.
Attaching the Hood
Pin the bottom edge of the hood around the cardigan neckline, matching center backs. Distribute the 56 hood stitches evenly, then whipstitch or slip-stitch-seam it on from the wrong side with Color A.
Button Bands
Left front band (no buttonholes): With right side facing, attach Color A at the bottom left hem edge. Sc evenly up the front edge (about 52 sc).
Rows 1–2: Chain 1, turn, sc across. (52 sc)
Row 3: Slip stitch across to secure. Fasten off.
Right front buttonhole band: With right side facing, attach Color A at the top right neck edge. Sc evenly downward (about 52 sc).
Row 1: Chain 1, turn, sc across. (52 sc)
Row 2 (buttonholes): Chain 1, turn. Sc in first 3, (chain 2, skip 2, sc in next 7) 4 times, chain 2, skip 2, sc in last 4. (5 buttonholes)
Row 3: Chain 1, turn. Sc in each stitch and 2 sc in each chain-2 space. (52 sc) Fasten off.
Finishing
Weave in all ends and block the garment (wet or steam, per your yarn’s fiber content), pinning to measurements. Sew the 5 daisy buttons to the left band, aligned with the buttonholes. Sew the bumblebee to the upper left chest, about 2 inches below the neckline and 2 inches from the front edge.
Optional mini bee applique: With black yarn, magic ring, 6 sc, join. (6)
Round 2: (2 sc in next, sc in next) 3 times. (9) Switch to yellow —
Round 3: sc around. (9) Switch to black —
Round 4: sc around. (9) Fasten off, stuff lightly, close. Cut two small white felt teardrops for wings and sew on, then sew the bee to the cardigan.
Sophie’s Tips
- Try the yoke on a doll or stuffed animal as you go — top-down construction means you can catch sizing issues before you’ve invested hours.
- Mark those raglan seam stitches and move the markers up every row; losing track of them is the number one way this yoke goes sideways.
- The daisy buttons are the whole personality of this cardigan — don’t substitute plain ones unless you absolutely must.
This is the gift that gets photographed, I promise. Happy hooking!