# Dusty Rose Gradient Tote with Peony Free Crochet Pattern
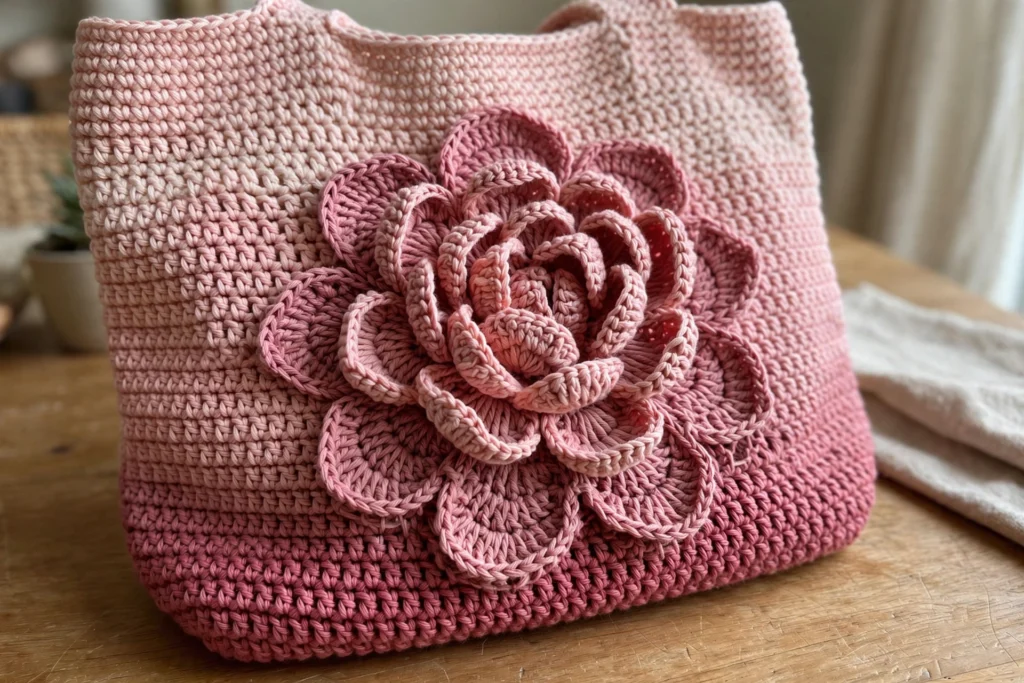
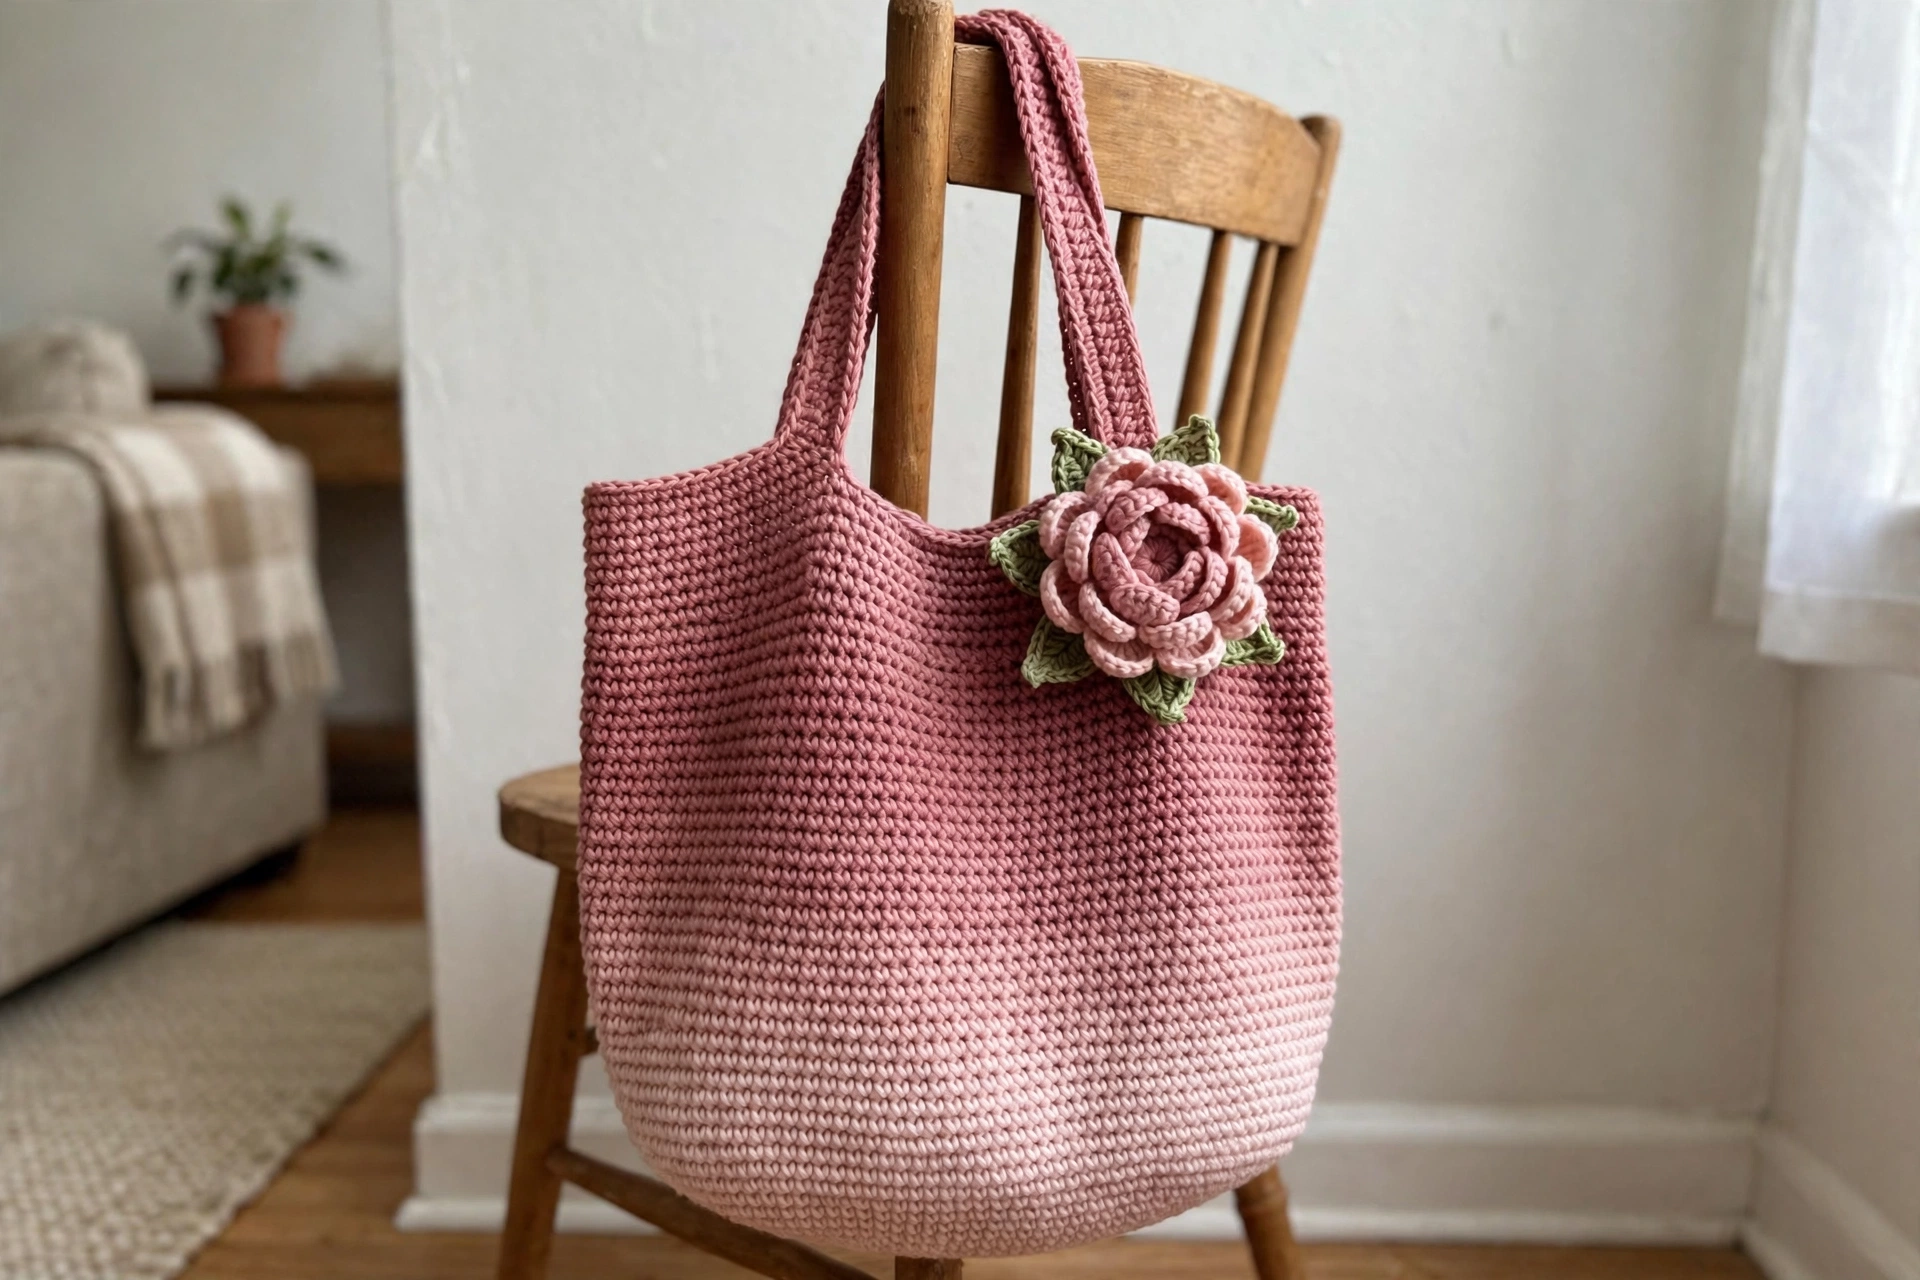
This tote started as a practical project — I needed a sturdy bag for the farmers market — and turned into the thing I get complimented on most. The gradient fades from deep dusty rose at the top down to the softest blush at the base, and then there is the peony: big, layered, and just a little bit dramatic, sitting right on the front like a brooch.
It is worked bottom-up in the round with a firm oval base, so it stands up on its own instead of flopping over. The gradient is just three colors changed at even intervals — no fancy technique, just planning. And the peony is simpler than it looks: two rounds of petals worked into the same center, plus two little leaves.

What You’ll Need
- Worsted weight cotton yarn (category 4), approximately 650 yards total:
- Color A (deep dusty rose): 250 yards
- Color B (rose): 200 yards
- Color C (blush pink): 200 yards
- A small amount of sage green for the leaves
- H/8 (5.0 mm) crochet hook
- Tapestry needle, stitch markers, scissors
Finished size:
- Approximately 14 inches wide and 15 inches tall (not including handles)
- Handles have a 7-inch drop. The cotton fabric is sturdy enough to carry groceries or a couple of paperbacks
Gauge:
- 14 half double crochet = 4 inches. Work tightly — a dense fabric makes a stronger bag
The Pattern
Base
With Color A, ch 34.
Rnd 1: Sc in 2nd ch from hook, sc in next 31 ch, 3 sc in last ch; working along the opposite side of the chain: sc in next 31 ch, 2 sc in last ch (same ch as the first sc). Join with sl st. (68 sc)
Rnd 2: Ch 1, sc in next 31 sts, 2 sc in each of next 3 sts, sc in next 31 sts, 2 sc in each of next 3 sts. Join. (74 sc)
Rnd 3: Ch 1, sc in next 31 sts, [sc in next st, 2 sc in next st] 3 times, sc in next 31 sts, [sc in next st, 2 sc in next st] 3 times. Join. (80 sc)
Rnd 4: Ch 1, working in the back loop only, sc in each st around. Join. (80 sc) — this creates a crisp edge between the base and the sides.
Body
Work in a spiral or in joined rounds — just keep track of your color changes. Change colors on the last yarn-over of the final stitch of the round.
Rnds 5–12 (Color A): Ch 2 (does not count as a st), hdc in each st around. Join. (80 hdc)
Rnds 13–20 (Color B): Ch 2, hdc in each st around. Join. (80 hdc)
Rnds 21–28 (Color C): Ch 2, hdc in each st around. Join. (80 hdc)
Rnd 29: Ch 1, sc in each st around. Join. (80 sc)
Fasten off and weave in ends. The body measures about 15 inches tall.
Handles (Make 2)
With Color A, ch 52.
Row 1: Sc in 2nd ch from hook and in each ch across. Turn. (51 sc)
Rows 2–3: Ch 1, sc in each st across. Turn. (51 sc)
Fasten off, leaving long tails. Mark 4 attachment points on the top edge of the tote: each handle spans 12 stitches, centered on the front and back, with about 10 stitches between the handle ends at each side. Sew each handle end securely to the inside of the top edge with the tails, stitching back and forth twice for strength.
Peony Flower
With Color B (rose), make a magic ring.
Rnd 1: Ch 1, 8 sc into the ring. Join. (8 sc)
Rnd 2: Ch 1, 2 sc in each st around. Join. (16 sc)
Rnd 3 (inner petals): [Ch 2, 2 dc in next st, ch 2, sl st in next st] 8 times. Join. Fasten off. (8 small petals)
Rnd 4 (outer petals): Join Color C (blush) with a sl st to the back loop of any st of Rnd 2. [Ch 3, 3 tr in next st, ch 3, sl st in next st] 8 times. Join. Fasten off, leaving a long tail. (8 large petals behind the inner ones)
Leaves (Make 2)
With sage green, ch 10.
Row 1: Sc in 2nd ch from hook, hdc in next 2 ch, dc in next 3 ch, hdc in next 2 ch, sc in last ch. Ch 1, turn and work back along the other side: sc, hdc 2, dc 3, hdc 2, sc. Fasten off, leaving a tail.
Sew the peony to the center front of the tote with the long tail, then sew one leaf peeking out on each side beneath the petals.
Sophie’s Tips
- Cotton is non-negotiable for a tote — acrylic stretches and your beautiful gradient bag will slowly turn into a hammock.
- When changing gradient colors, carry the old color up one round inside the bag rather than cutting it; the inside stays neat and you save ends.
- Stiffen the peony petals with a tiny dab of fabric glue on the back if you want them to hold their curl — totally optional, but it photographs beautifully.
Go fill it with something wonderful — this bag deserves an outing!