# Bear Ears Hooded Baby Poncho Free Crochet Pattern
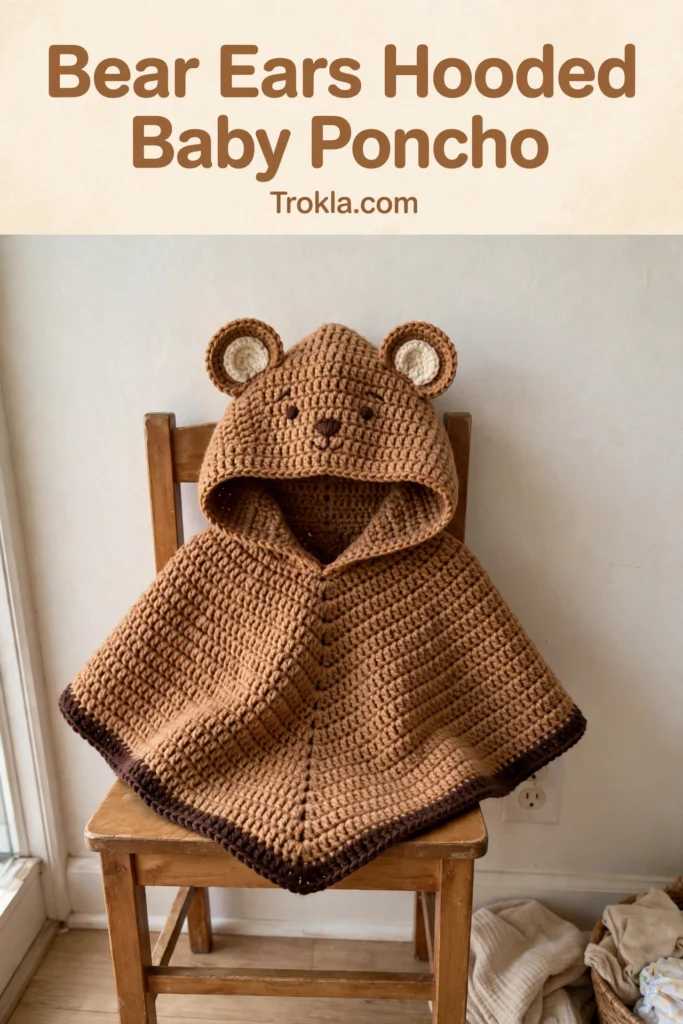
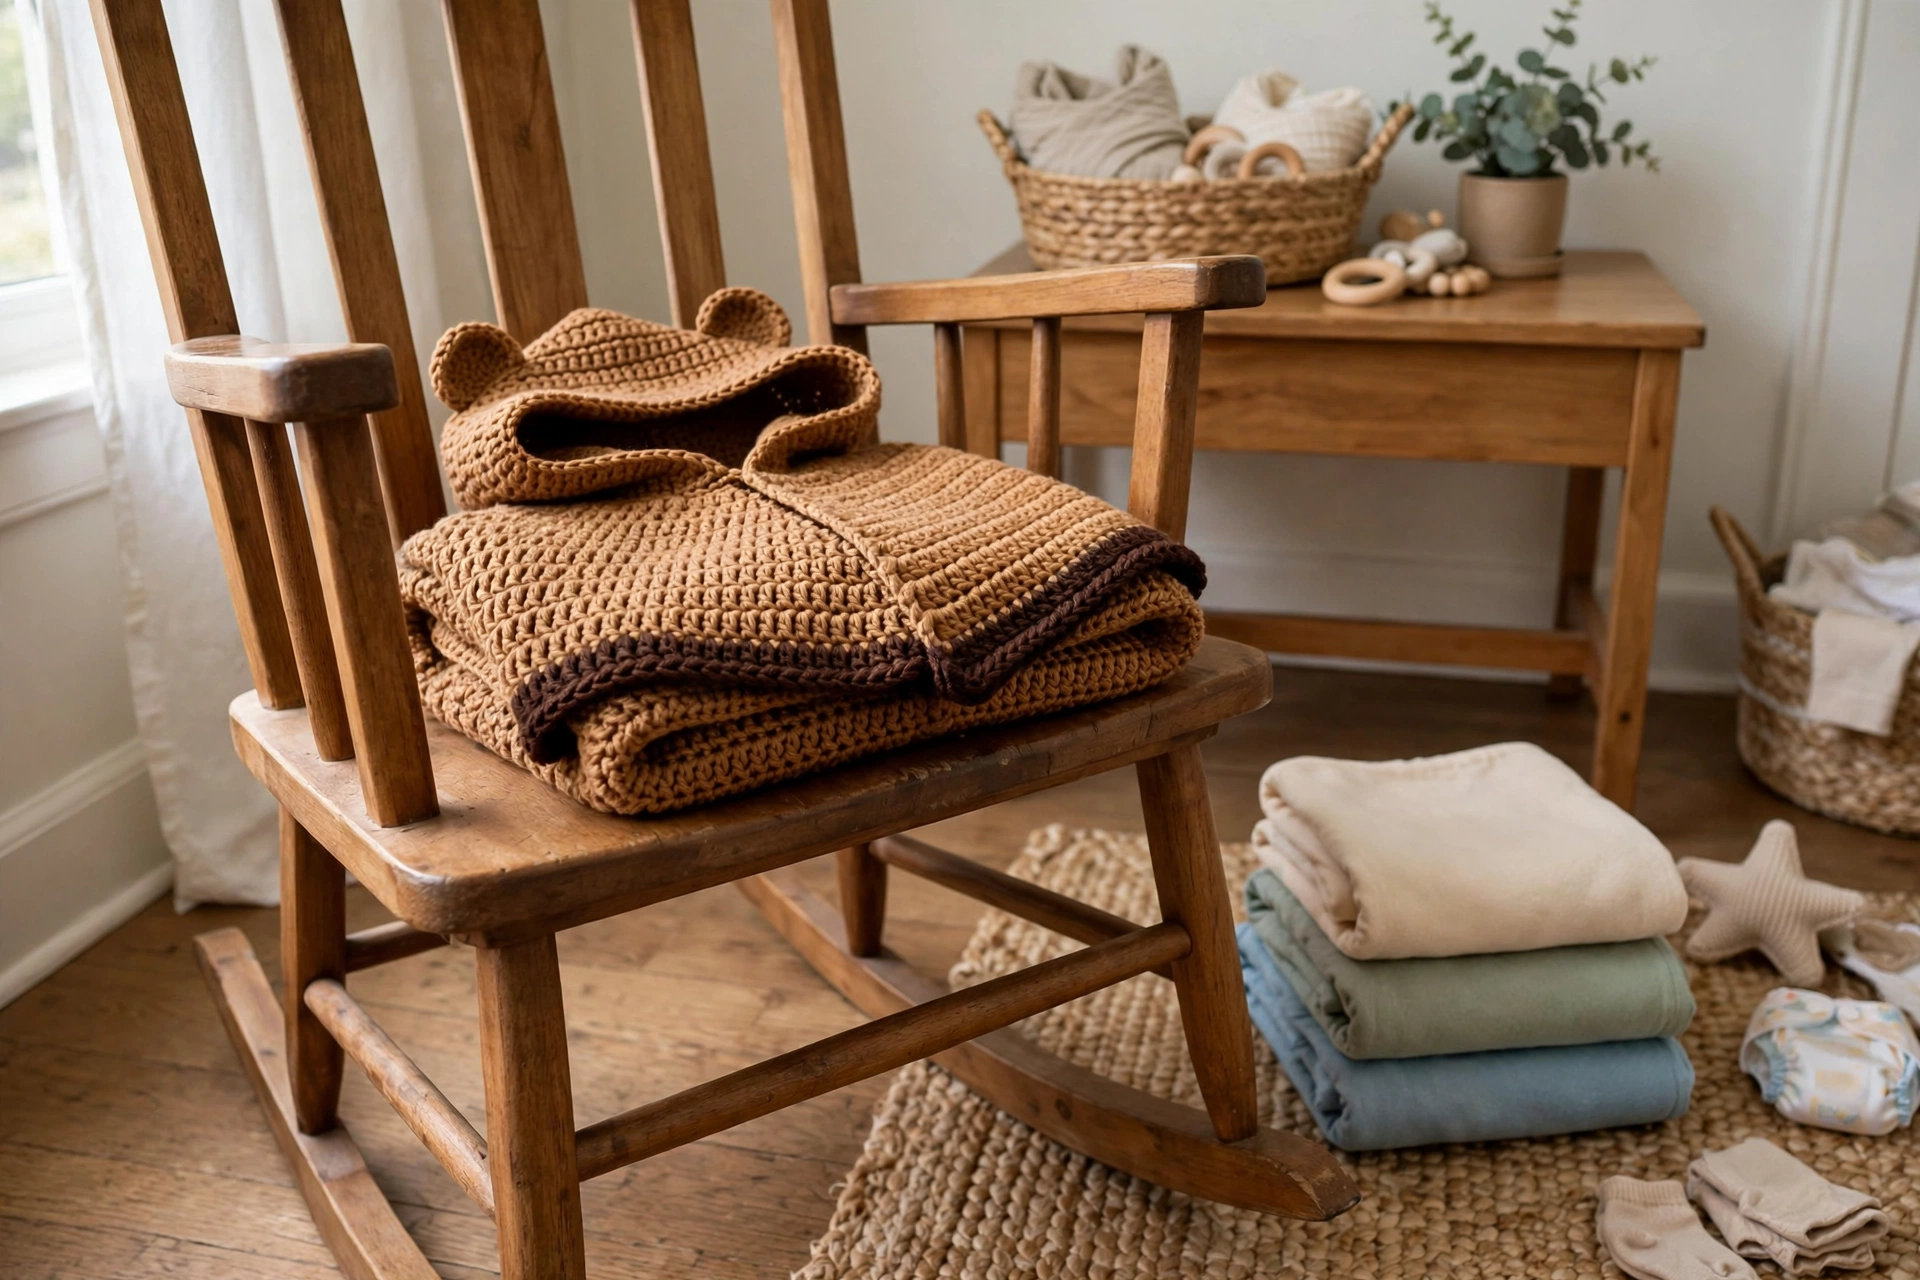
I call this one “Little Bear,” and it started with a neighbor asking me to make something cozy — not costume-y — for her grandson’s first Halloween. Something he could wear all season long. I sketched little bear ears on top of a simple hood shape in my coffee-stained pattern notebook, and that original poncho got so much love at the playground that I finally sat down to write out the full pattern. Some math, some frogging, a lot of measuring tiny heads — and here it is at last.
The whole thing is worked in simple single crochet with a clever four-corner increase system that makes the body flare out perfectly. The hood is just a flat rectangle, folded and seamed at the top — no complicated shaping, no short rows. And those ears? Simple circles with a contrasting inner detail, plus a little embroidered face. Cozy, sturdy, and unbearably cute.
What You’ll Need
- Medium weight (Category 4) yarn in warm caramel brown, approximately 350 to 400 yards
- Medium weight (Category 4) yarn in dark chocolate brown, approximately 50 to 60 yards
- Medium weight (Category 4) yarn in off-white or cream, approximately 15 yards
- Small amount of black yarn or embroidery floss for face details
- US size J-10 / 6.0 mm crochet hook (for main fabric)
- US size I-9 / 5.5 mm crochet hook (for edging, optional if your edging pulls tight)
- 4 stitch markers
- Yarn needle for seaming and embroidery
- Scissors
Finished size:
- Written for size 6 to 12 months. Hood circumference at face opening approximately 14 inches
- Hood depth from front to back approximately 7 inches. Poncho width at hem when laid flat approximately 18 inches
- Poncho length from back of hood neck to hem approximately 11 inches
The Pattern
inc = increase (2 sc in the same stitch). Work in single crochet throughout unless stated.
The Hood
Worked flat in rows, then folded and seamed at the top to create the rounded crown. With caramel brown and the J-10 hook, chain 57.
Row 1 (RS): Sc in 2nd ch from hook and in each ch across. Turn. (56 sc)
Rows 2 through 32: Ch 1, sc in each st across. Turn. (56 sc)
Fasten off, leaving a long tail of at least 18 inches for seaming.
Checkpoint: the hood piece should be a rectangle measuring approximately 14 inches wide by 7 inches tall.
Hood Assembly
Fold the rectangle in half so the short ends (Row 1 edge and the fastened-off edge) meet at the top — a folded piece approximately 7 inches wide and 7 inches tall. The fold at the bottom forms the back of the hood. Using the long tail and your yarn needle, whip stitch across the top edge where the two short ends meet to form the crown. Fasten off and weave in ends.
The Poncho Body
Pick up stitches along the bottom neck edge of the completed hood and work outward in rounds with four increase points. With RS facing, join caramel brown with sl st to the bottom-left corner of the neck opening.
Setup round: Ch 1, work 56 sc evenly around the entire neck opening edge (28 sc across the front panel of the hood, 28 sc across the back panel). Sl st to first sc to join. Do NOT turn. (56 sc)
Marker placement: Place a stitch marker in st 1, st 15, st 29, and st 43. These are your four corner increase points. In every increase round, work inc in the stitch before each marker and inc in the stitch after each marker. After each round, move markers to the center stitch of the increase group.
Round 1: Ch 1, turn. Sc in each st to 1 st before first marker, inc in next st, sc in marked st, inc in next st, [sc in each st to 1 st before next marker, inc in next st, sc in marked st, inc in next st] 3 times, sc in each rem st, sl st to first sc to join. (64 sc)
Round 2: Ch 1, turn. Repeat the increase pattern. (72 sc)
Rounds 3–18: Repeat the increase pattern, adding 8 stitches every round. Counts: R3: 80, R4: 88, R5: 96, R6: 104, R7: 112, R8: 120, R9: 128, R10: 136, R11: 144, R12: 152, R13: 160, R14: 168, R15: 176, R16: 184, R17: 192, R18: 200.
Do not fasten off yet.
Checkpoint: after Round 18 the poncho should measure approximately 10 to 11 inches from the base of the hood to the working edge when laid flat.
Hem Border
Fasten off caramel brown. Join dark chocolate brown with sl st to any stitch.
**Hem Border
Rounds 1–3:** Ch 1, sc in each st around, sl st to first sc to join. (200 sc each round)
Fasten off after 3 total border rounds. Weave in ends.
Face Opening Edging
With RS facing the front of the hood, join dark chocolate brown with sl st at the bottom-right corner of the face opening. Work surface slip stitches along the entire face opening edge, working from right to left around the curved opening (approximately 1 sl st per row end along the sides and 1 sl st per stitch along the top; adjust spacing to keep the edge flat without puckering). Fasten off and weave in ends.
Bear Ears (make 2)
Each ear has an outer ear in caramel brown and an inner ear circle in cream.
Outer ear (make 2, caramel brown): Make a magic ring.
Rnd 1: 6 sc into ring, sl st to first sc to join. (6 sc)
Rnd 2: ch 1, inc in each st around, sl st to join. (12 sc)
Rnd 3: ch 1, (sc in next st, inc in next st) 6 times, sl st to join. (18 sc)
Rnd 4: ch 1, (sc in next 2 sts, inc in next st) 6 times, sl st to join. (24 sc)
Rnd 5: ch 1, sc in each st around, sl st to join. (24 sc) Fasten off, leaving a long tail for sewing.
Inner ear circle (make 2, cream): Make a magic ring.
Rnd 1: 6 sc into ring, sl st to join. (6 sc)
Rnd 2: ch 1, inc in each st around, sl st to join. (12 sc)
Rnd 3: ch 1, (sc in next st, inc in next st) 6 times, sl st to join. (18 sc) Fasten off, leaving a tail.
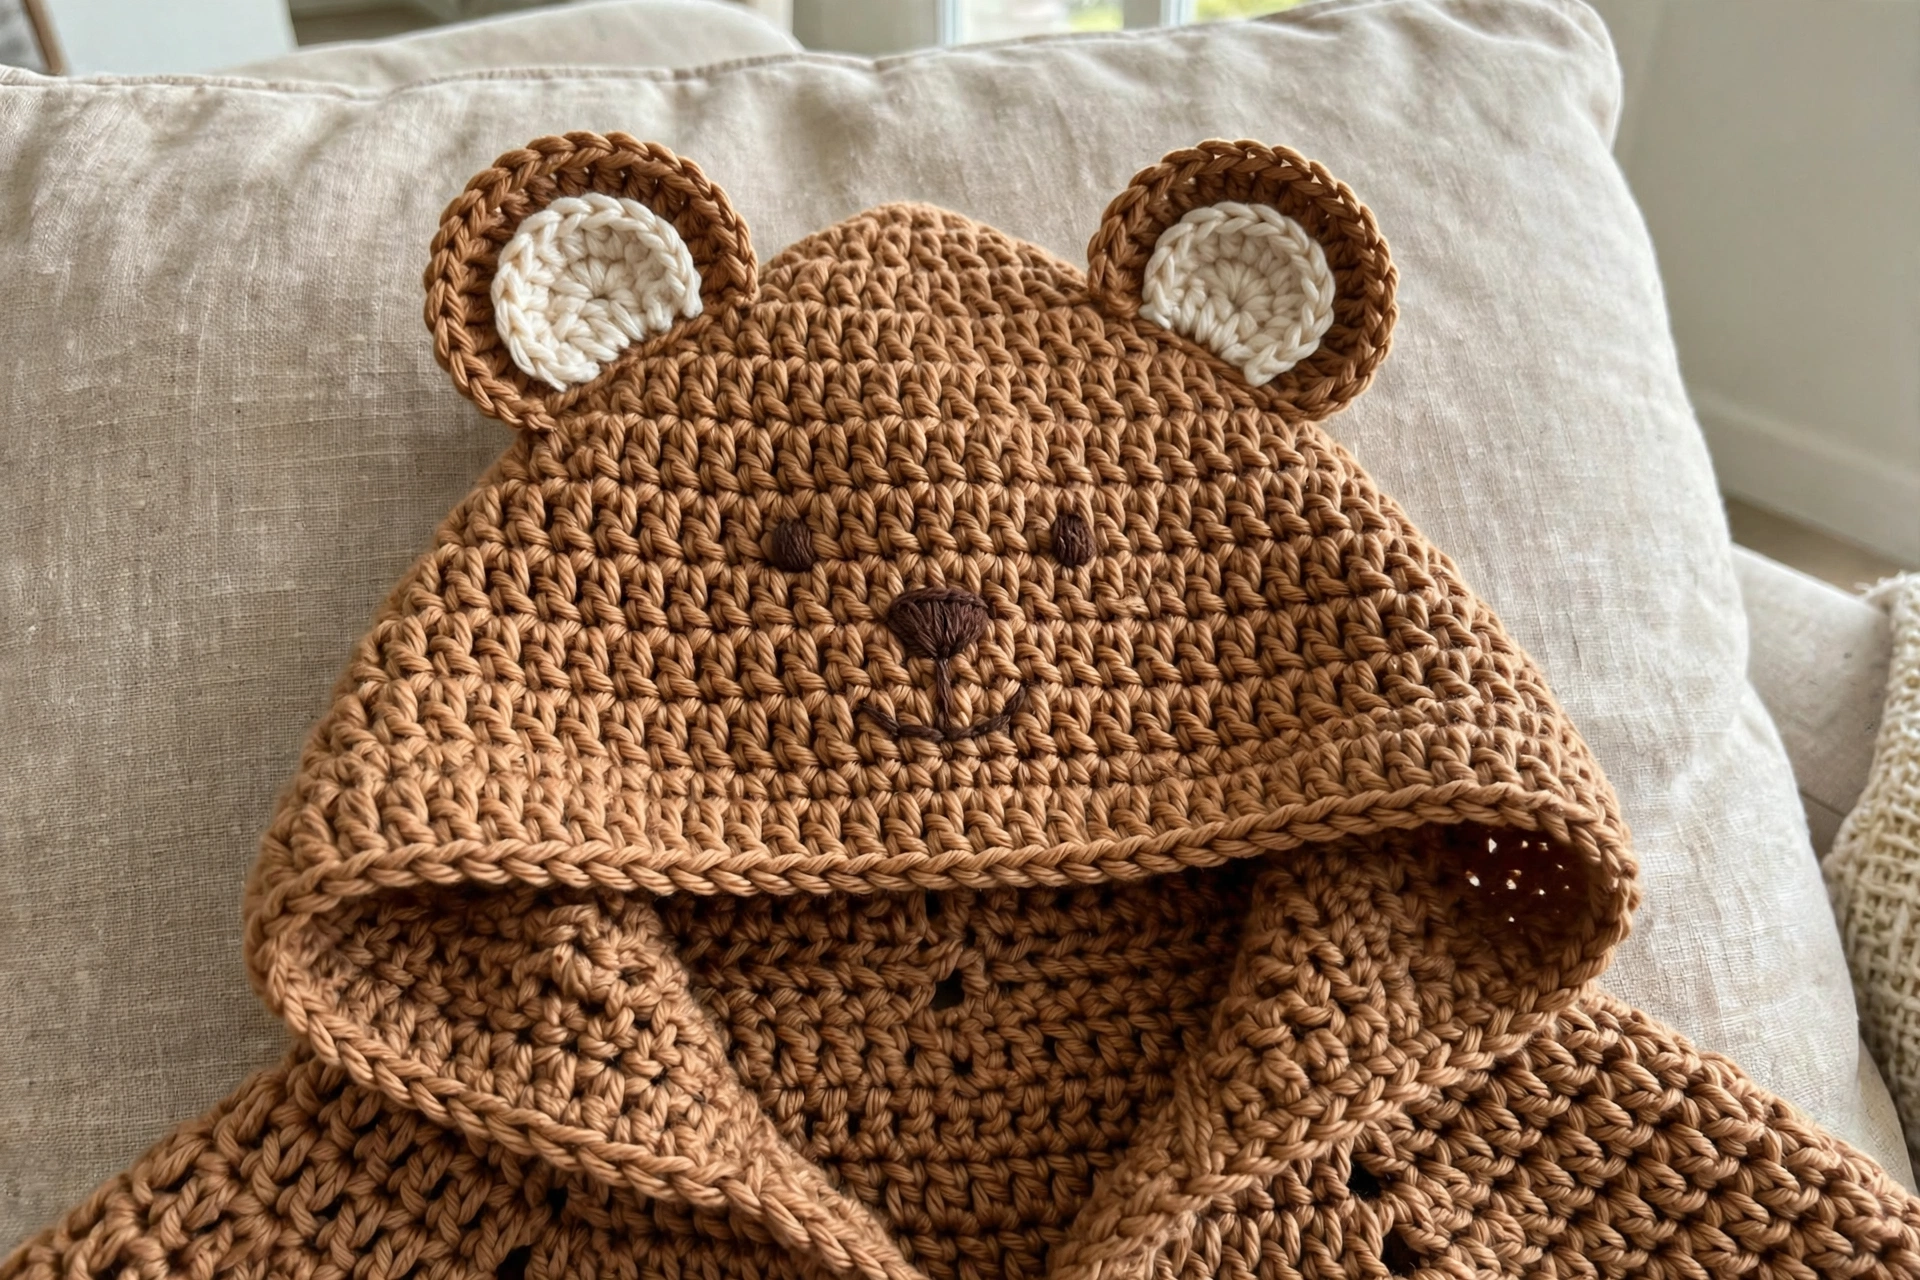
Ear assembly: Center one cream inner circle on top of one caramel outer ear, both RS facing up. Whip stitch the inner circle to the outer ear around its entire perimeter. Fold each completed ear in half along its diameter, outer ear facing out. Whip stitch the flat base closed for 4 to 5 stitches to create a slight cup shape, leaving the center base open.
Ear placement: Position both ears on top of the hood, approximately 1.5 inches from the crown seam, centered between the middle of the hood and each side. Pin in place and check symmetry, then whip stitch each ear firmly to the hood.
Face Embroidery
Work all face embroidery with black yarn or embroidery floss on the front panel of the hood.
Eyes: Position two eyes approximately 2 inches apart, centered horizontally, about 2.5 inches down from the crown seam. Make small, tight satin stitch ovals approximately 0.5 inches wide.
Nose: Center the nose approximately 1 inch below the eyes. Work a small inverted triangle in satin stitch, approximately 0.75 inches wide at the base.
Smile: From the bottom center of the nose, embroider a small curved backstitch smile approximately 0.5 inches on each side.
Weave in all remaining ends. Block gently: soak in lukewarm water, roll in a dry towel, lay flat to dry.
Sophie’s Tips
- Gauge is critical — the hood must fit a baby’s head snugly and comfortably. Swatch 20 stitches by 22 rows and block it before you begin.
- Move your four markers up every single round; lost markers on a 200-stitch round are nobody’s idea of fun.
- For a smaller or larger size: 0 to 6 months — chain 53 (52 sts), 28 hood rows, 16 increase rounds. 12 to 18 months — chain 61 (60 sts), 36 hood rows, 20 increase rounds. 18 to 24 months — chain 65 (64 sts), 40 hood rows, 22 increase rounds.
One cozy little bear, ready for chilly days and playground fame!