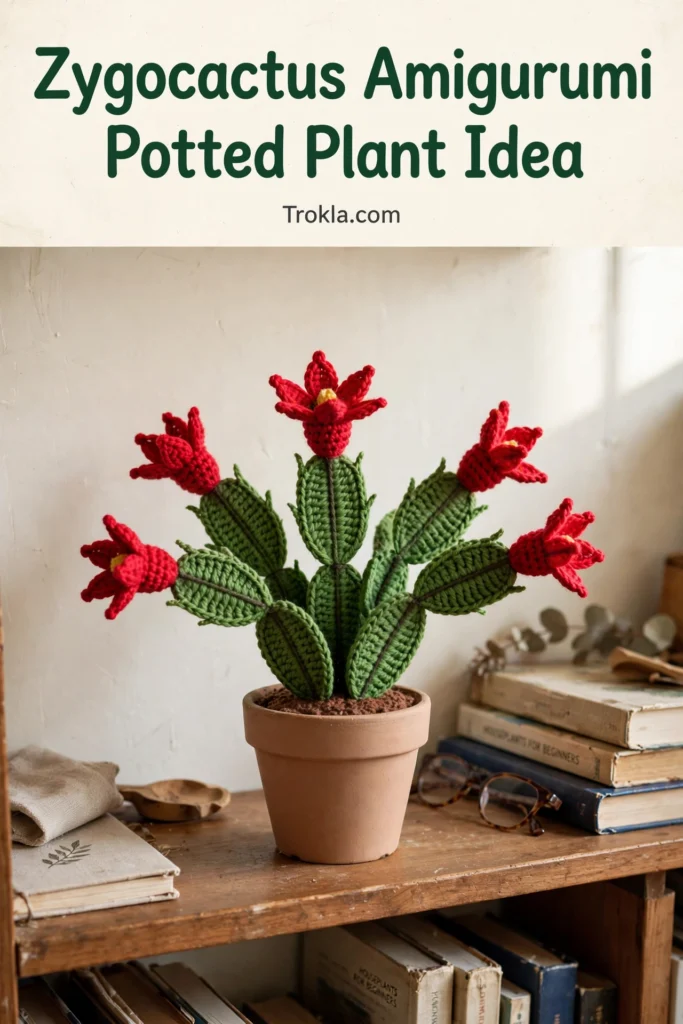
# Zygocactus Amigurumi Potted Plant Idea Free Crochet Pattern
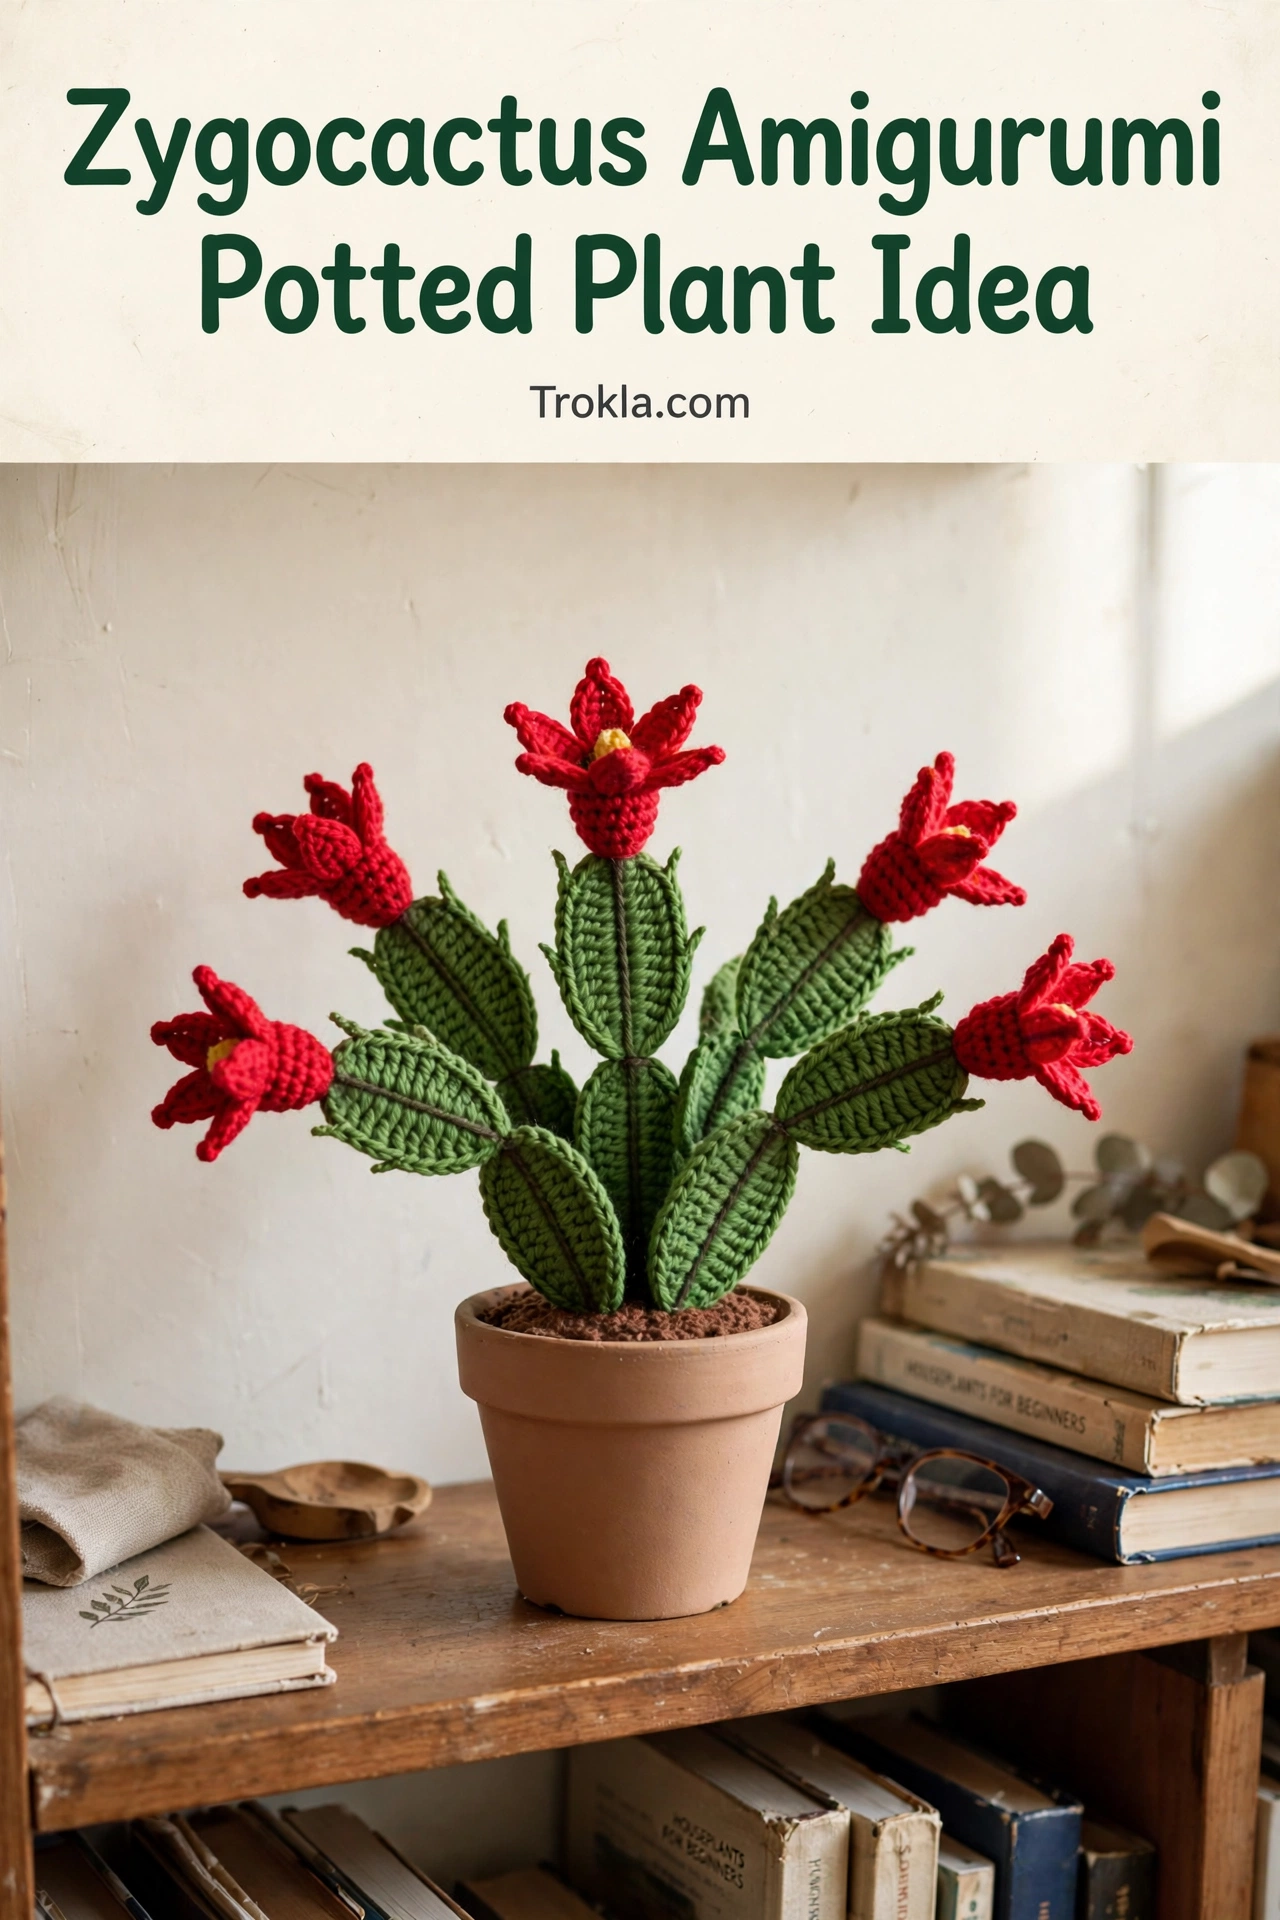
Say it with me: zy-go-cac-tus! This beautifully crafted little plant is the amigurumi version of the classic Christmas cactus, with flat segmented stems and the brightest red blooms. It is small, it is sweet, and it fits absolutely anywhere — a desk, a bookshelf, a windowsill. I think it would also make a lovely Thanksgiving gift, since it blooms right on time for the holiday table!
The amigurumi style means everything is worked in neat little rounds, so it is a wonderfully portable project. I made mine during a road trip and only had to untangle the yarn once. A personal record.
What You’ll Need
- Worsted weight yarn in leaf green (about 180 yards)
- Small amounts of bright red and yellow yarn for the blooms
- Size E (3.5 mm) crochet hook (slightly smaller for tight amigurumi stitches)
- A 3.5-inch pot
- Tapestry needle
- Polyester fiberfill
- Stitch marker
Finished size: Approximately 8 inches tall in a 3.5-inch pot.
The Pattern
Flat Segments (Make 36)
Chain 7. SC in the 2nd chain from the hook, SC in the next 4 chains, 3 SC in the last chain. Working down the other side: SC in the next 4 chains, 2 SC in the last chain, join. (14 SC)
Round 2:
- Chain 1, SC in the next 5 stitches, 2 SC in each of the next 3 stitches, SC in the next 4 stitches, 2 SC in each of the next 2 stitches, join. (20 SC)
Fasten off, leaving a 5-inch tail for joining.
Stems (Make 10)
Sew segments end to end, working in continuous rounds mindset but joining flat pieces:
- 3 stems of 4 segments
- 4 stems of 3 segments
- 3 stems of 2 segments
Keep your joining stitches small and tight — amigurumi style means no gaps!
Red Blooms (Make 9)
With red yarn, make a magic ring.
Round 1: Chain 1, work 6 SC into the ring, join. (6 SC)
Round 2: Chain 1, 2 SC in each stitch, join. (12 SC)
Round 3 (petals): *Chain 4, slip stitch in the 2nd chain from the hook, SC in the next chain, HDC in the next chain, skip 1 stitch of Round 2, slip stitch in the next stitch*, repeat from * to * 6 times. (6 pointed petals)
With yellow, work 3 chain-4 stamens and sew into the center. Fasten off, leaving a tail for sewing.
Soil Disc
With brown yarn, make a magic ring, chain 1, work 8 SC into the ring, join. (8 SC)
Round 2: Chain 1, 2 SC in each stitch, join. (16 SC)
Round 3: Chain 1, *SC in the next stitch, 2 SC in the next*, repeat around, join. (24 SC)
Fasten off.
Assembly
1. Fill the pot firmly with fiberfill — pack it tight so the stems stand up straight — and press the soil disc on top.
2. Sew the 4-segment stems into the center of the disc, the 3-segment stems in a ring around them, and the 2-segment stems around the outer edge.
3. Sew the red blooms to the stem tips, letting a couple peek out from between stems for depth.
4. Fluff gently and place where it will be admired.

Sophie’s Tips
- Use a stitch marker and count your segments as you join them — it is very easy to end up with stems of mystery length otherwise.
- Pack that fiberfill firmly! A loosely stuffed pot means floppy stems, and nobody wants floppy stems.
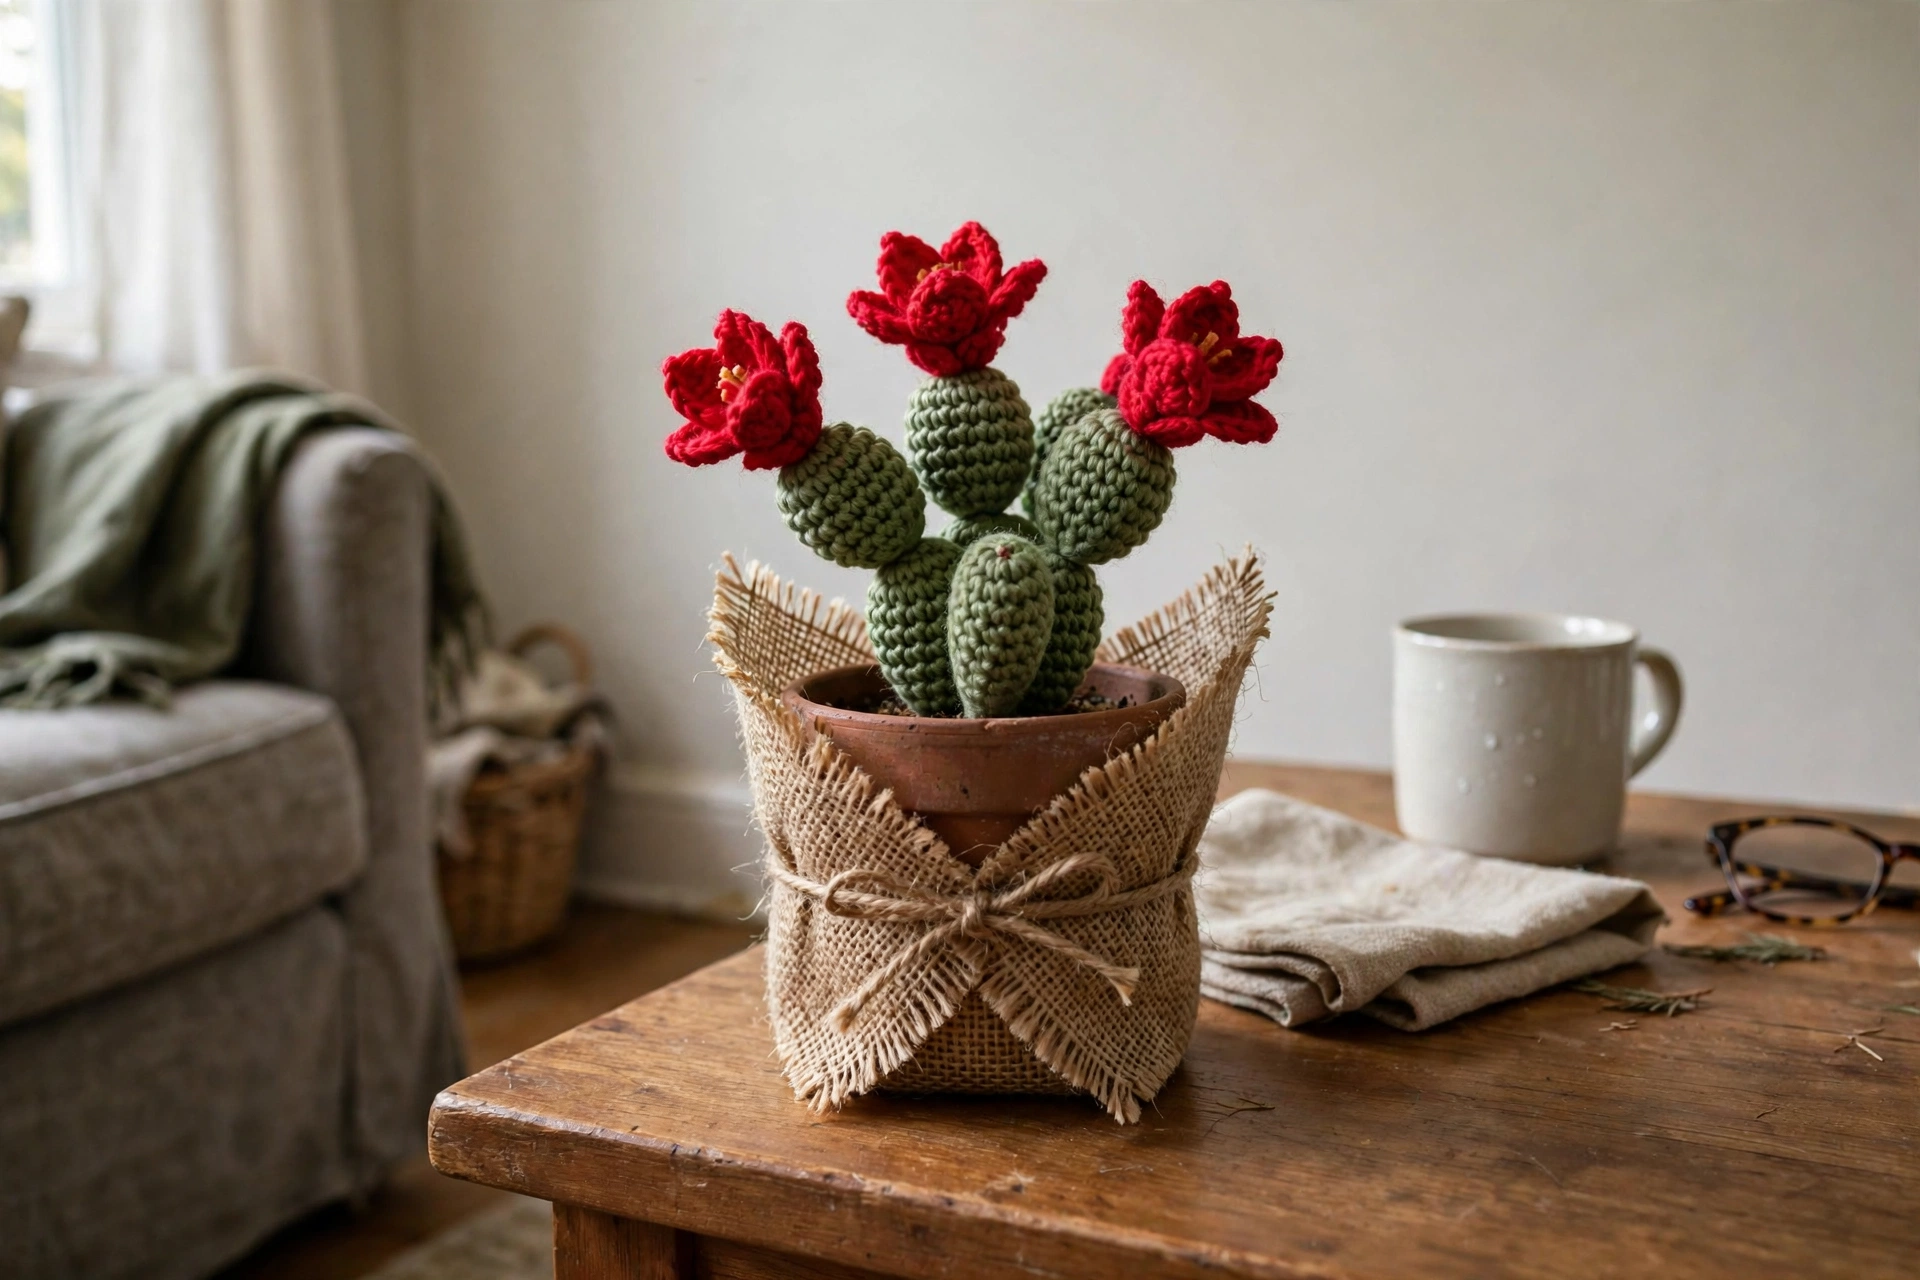
- Wrap the pot in a little burlap square tied with twine for an instant gift-ready Thanksgiving present.
A tiny plant with a big fancy name — happy crocheting, friend!