# Crochet Christmas Pine Leaves Wreath Free Crochet Pattern

Christmas is just around the corner, and this wreath has me reaching for my yarn basket every single time I see it. It’s the prettiest mix of handmade and natural — soft crocheted pine leaves, real pine cones you collect yourself, and a sprinkling of red berries. There’s something so satisfying about gathering your own pine cones on a crisp afternoon and turning them into decor.
The leaves themselves are wonderfully simple: one little leaf shape repeated over and over while you catch up on your favorite shows. Then it’s just assembly — fan the leaves around the base, nestle in the pine cones, and step back to admire your work.
What You’ll Need
- Worsted-weight yarn in two greens (a deep forest green and a lighter sage green)
- Small amount of red yarn for berries
- 5.0 mm (H) crochet hook
- 12-inch round wreath base (wire, foam, or grapevine)
- Pine cones, collected and cleaned (about 10-12 small to medium ones)
- Tapestry needle, scissors, and a hot glue gun
Finished size: Approximately 13 inches across when finished.
The Pattern
Base Cover
With forest green, join yarn to the wreath base with a slip stitch. Chain 1, then work single crochet stitches tightly around the base, inserting your hook under and around it, until it is fully covered. Join with a slip stitch, fasten off, and weave in the ends. A green base peeking between the leaves looks much better than a bare frame.
Pine Leaves (make 40)
With forest green for half and sage green for the other half:
Chain 12. In the second chain from the hook, work: single crochet, half double crochet, double crochet in the next 4, half double crochet, single crochet, then 3 single crochet in the last chain. Now working back down the other side of the chain: single crochet, half double crochet, double crochet in the next 4, half double crochet, single crochet. Join to the first stitch. Fasten off, leaving a tail for sewing.
Red Berries (make 12)
With red, make a magic ring, work 6 single crochet into the ring, then work 2 rounds even. (6) Fasten off, stuff with a tiny pinch of fiberfill or a scrap of yarn, and close.
Cleaning the Pine Cones
Give your collected pine cones a good shake outside to remove loose debris, then bake them on a lined tray at 200°F for about an hour to dry them out and send any tiny critters packing. Let them cool completely before using. They’ll open up beautifully in the warmth of the oven.
Assembling Your Wreath
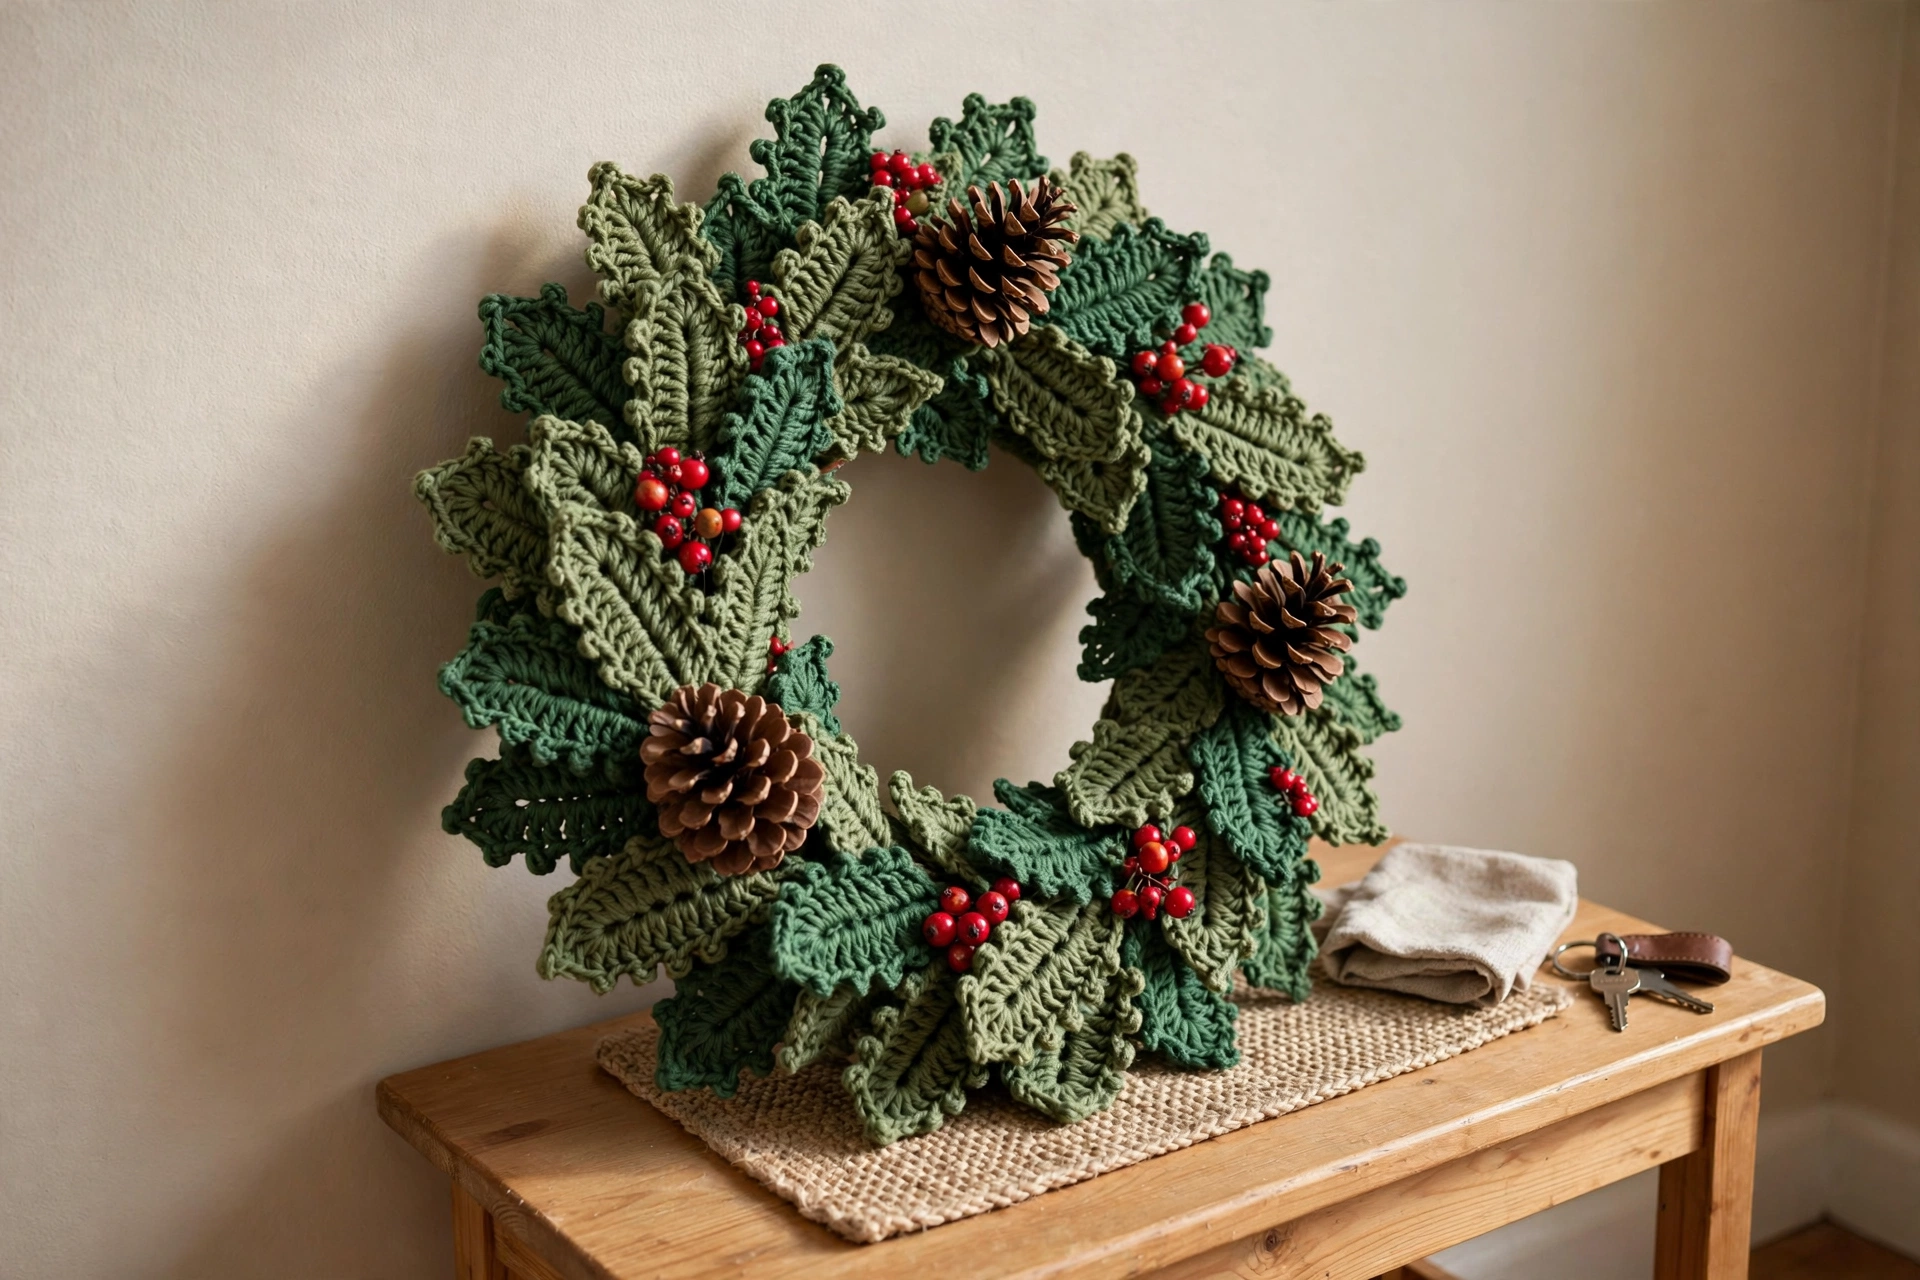
Working in sections, sew or hot-glue the pine leaves around the base, alternating the two greens and overlapping the leaves so they fan outward like real pine boughs. I like to angle them all in the same direction for that classic swirl look.
Once the leaves are on, nestle the cleaned pine cones into the greenery — three clusters of three or four looks lovely — and glue them firmly in place. Tuck the red berries into the gaps between the cones. Let everything cool and set before hanging.

Sophie’s Tips
- Vary your leaf count to fit your base — a thicker grapevine wreath needs fewer leaves than a slim wire one.
- Collect more pine cones than you think you need so you can pick the prettiest, most symmetrical ones.
- A light spritz of pine-scented spray on the finished wreath makes it smell like a real tree.
This one looks like a million bucks on the front door, and it cost you little more than a walk in the woods. Happy hooking!