# Crochet Christmas Cactus with Bushier Branches Free Crochet Pattern
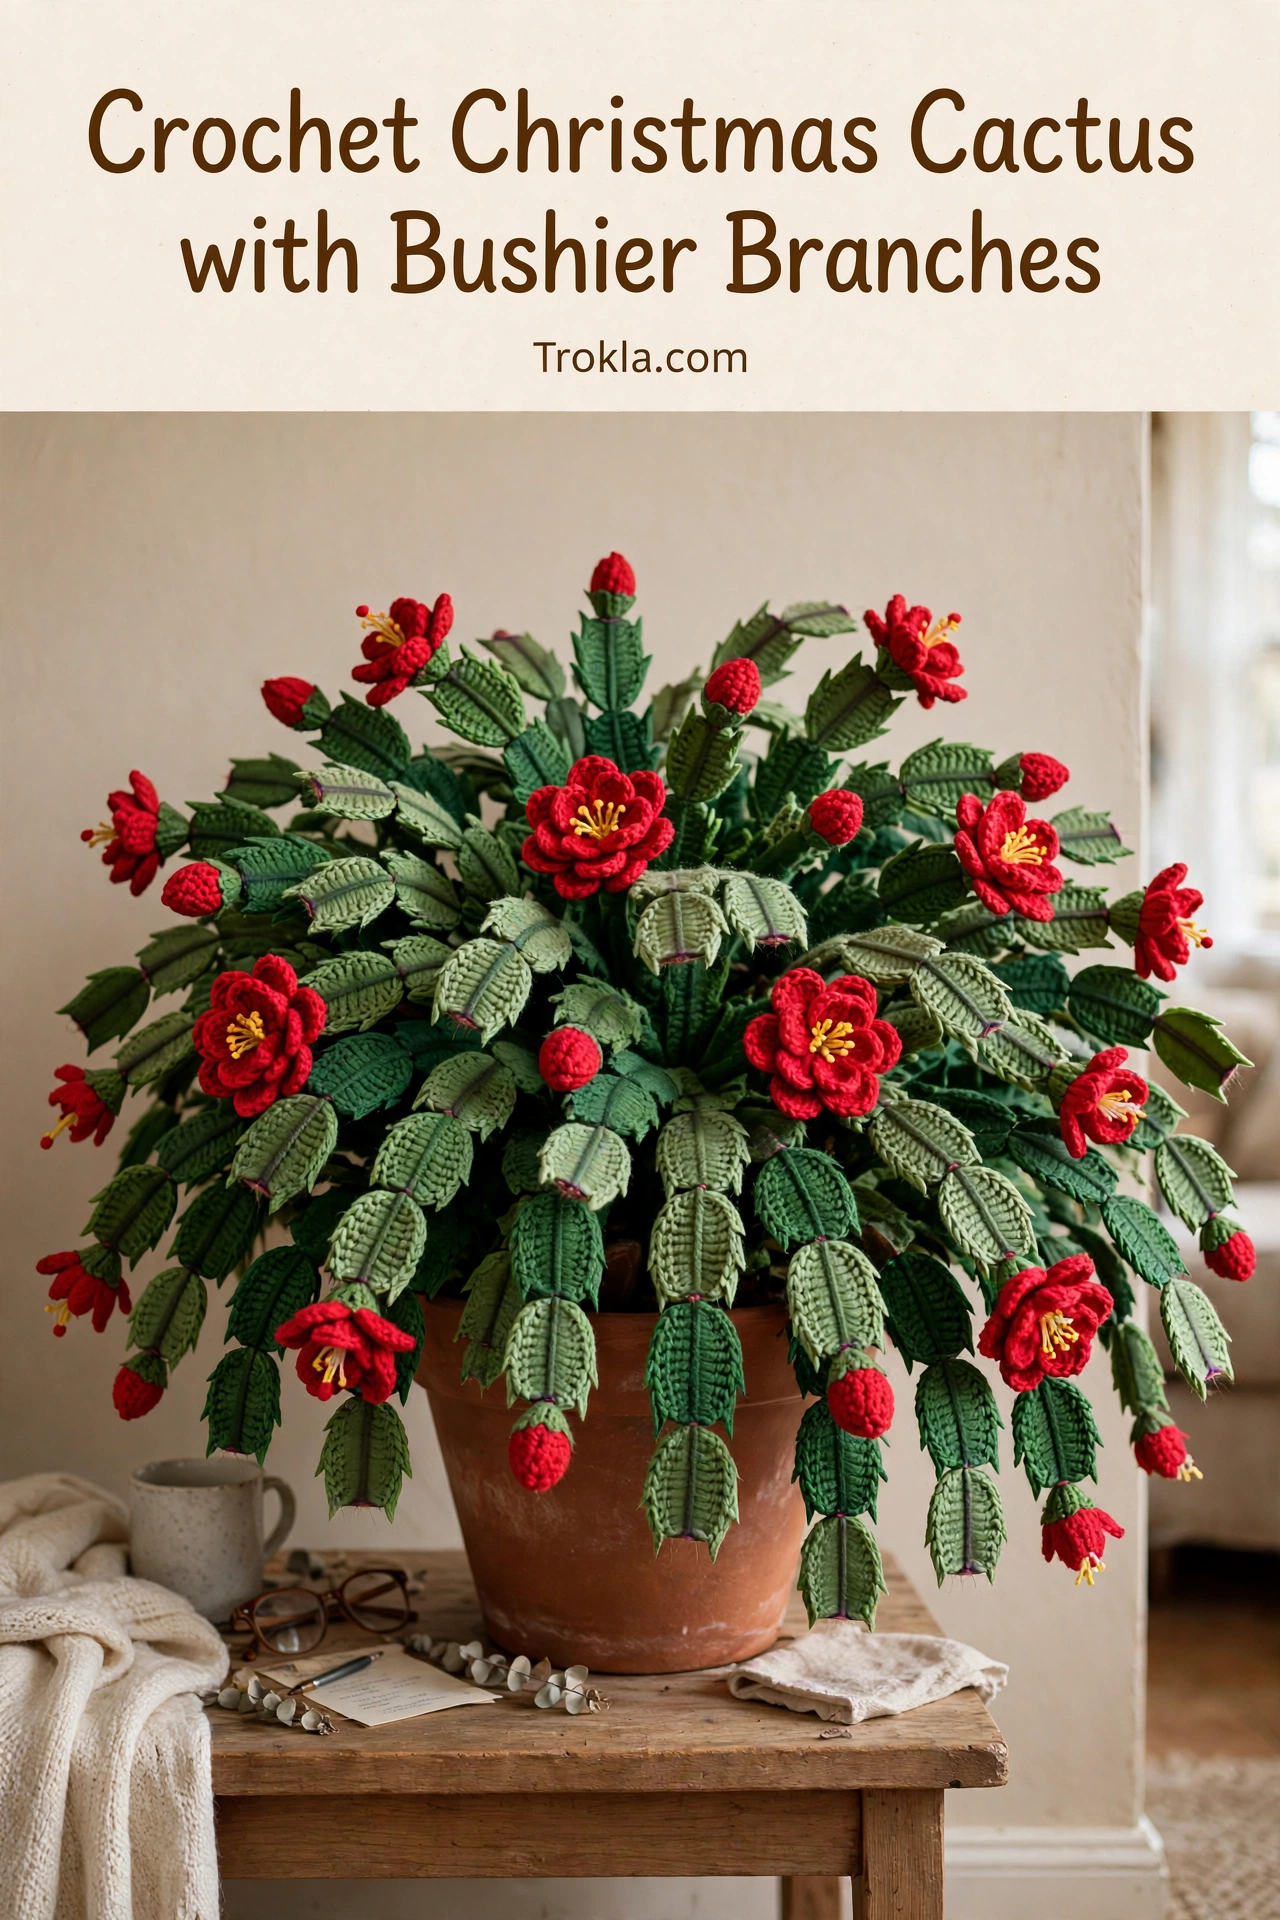
Just look at this lush beauty! If your motto is “go big or go home,” this bushy Christmas cactus is calling your name. It is a true hand-crocheted masterpiece — full, lush, and gloriously overflowing its pot. I love how the branches layer over each other to create that dense, thriving-plant look. Mine sits on our mantel and honestly looks better than any real Christmas cactus I have ever managed to keep alive (which, to be fair, is a low bar).
The secret to the fullness is simple: more branches, attached at different heights. Let me show you how.
What You’ll Need
- Worsted weight yarn in two greens (a main leaf green, about 400 yards, and a darker green, about 150 yards, for depth)
- Small amounts of red and yellow yarn for the blooms
- Size G (4.0 mm) crochet hook
- A 5-inch terracotta or ceramic pot
- Tapestry needle
- Polyester fiberfill
Finished size:
- Approximately 12 inches tall and 10 inches wide in a 5-inch pot
The Pattern
Branch Segments (Make about 75)
Chain 9. SC in the 2nd chain from the hook, SC in the next 6 chains, 3 SC in the last chain. Working down the other side: SC in the next 6 chains, 2 SC in the last chain, join. (18 SC)
Round 2:
- Chain 1, SC in the next 7 stitches, 2 SC in each of the next 3 stitches, SC in the next 6 stitches, 2 SC in each of the next 2 stitches, join. (24 SC)
Fasten off, leaving a 6-inch tail for joining. Make most segments in the main green and about one-third in the darker green — mixing the shades is what gives the plant its lush, dimensional look.
Branches (Make 22)
Sew segments end to end into branches of varying lengths:
- 6 branches of 4 segments (tall center branches)
- 8 branches of 3 segments
- 8 branches of 2 segments (short filler branches)
Alternate the two greens along each branch for a natural variegated effect.
Blooms (Make 14)
With red yarn, make a magic ring.
Round 1: Chain 1, work 8 SC into the ring, join. (8 SC)
Round 2: *Chain 3, 2 DC in the next stitch, chain 3, slip stitch in the next stitch*, repeat from * to * 4 times. (4 petals)
With yellow, make a small French-knot-style cluster (wrap yarn around the needle 4 times and pull through) and sew into the flower center. Fasten off, leaving a tail for sewing.

Soil and Pot
Soil disc: With brown yarn, make a magic ring, chain 1, work 10 SC into the ring, join. (10 SC)
Round 2: Chain 1, 2 SC in each stitch, join. (20 SC)
Round 3: Chain 1, *SC in the next stitch, 2 SC in the next*, repeat around, join. (30 SC)
Round 4: Chain 1, *SC in the next 2 stitches, 2 SC in the next*, repeat around, join. (40 SC)
Fasten off. This should sit snugly inside your 5-inch pot opening.
Assembly
1. Fill the pot three-quarters full with fiberfill and press the soil disc on top.
2. Sew the 4-segment branches into the center of the soil disc first, spacing them in a circle.
3. Add the 3-segment branches in a ring around them, then tuck the 2-segment branches around the outer edge, angling them outward so they spill over the pot rim.
4. Sew the red blooms to branch tips and a few tucked into the middle — the flowers peeking through the foliage look incredibly real.
5. Fluff and arrange the branches with your fingers until it looks full from every angle.

Sophie’s Tips
- The bushiness comes from layering: always attach shorter branches in front of and below the taller ones.
- Mixing two greens is the single biggest upgrade — a single-shade cactus looks flat next to this one.
- If a branch flops, sew a tiny stitch anchoring it to its neighbor. Real cacti lean on each other too!
Enjoy your gloriously high-maintenance-looking, zero-maintenance plant!