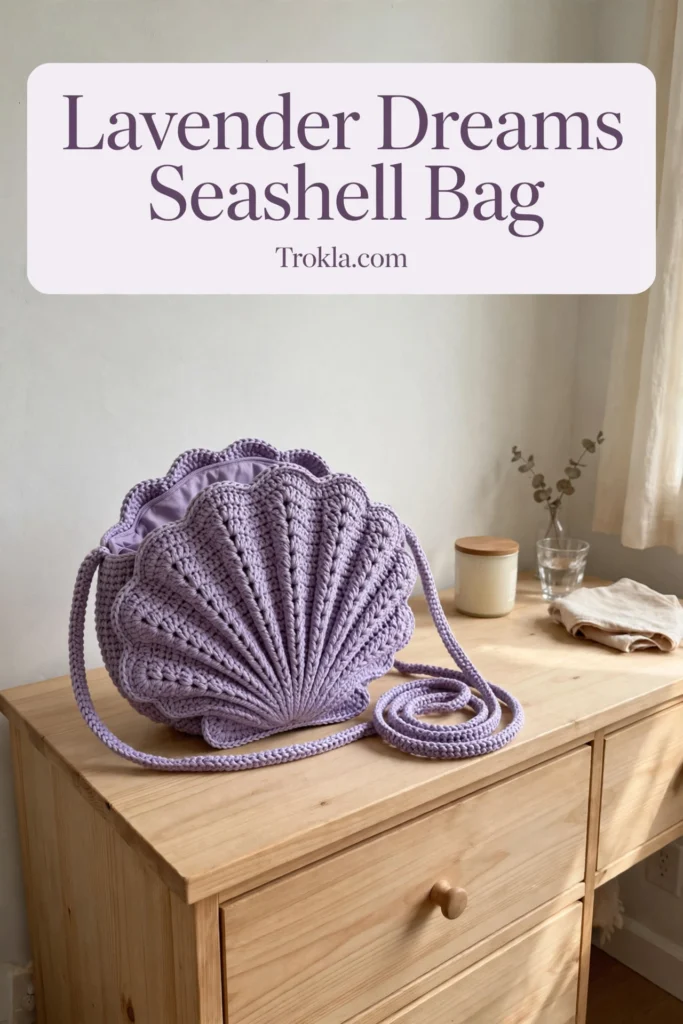
# Lavender Dreams Seashell Bag Free Crochet Pattern
This is the bag that makes people stop and ask, “You made that?!” The sculptural shell shape, those dramatic radiating ridges, the soft lavender color — it all comes together into something truly special. And here is my favorite part: if you can work basic stitches, you can absolutely make this bag.
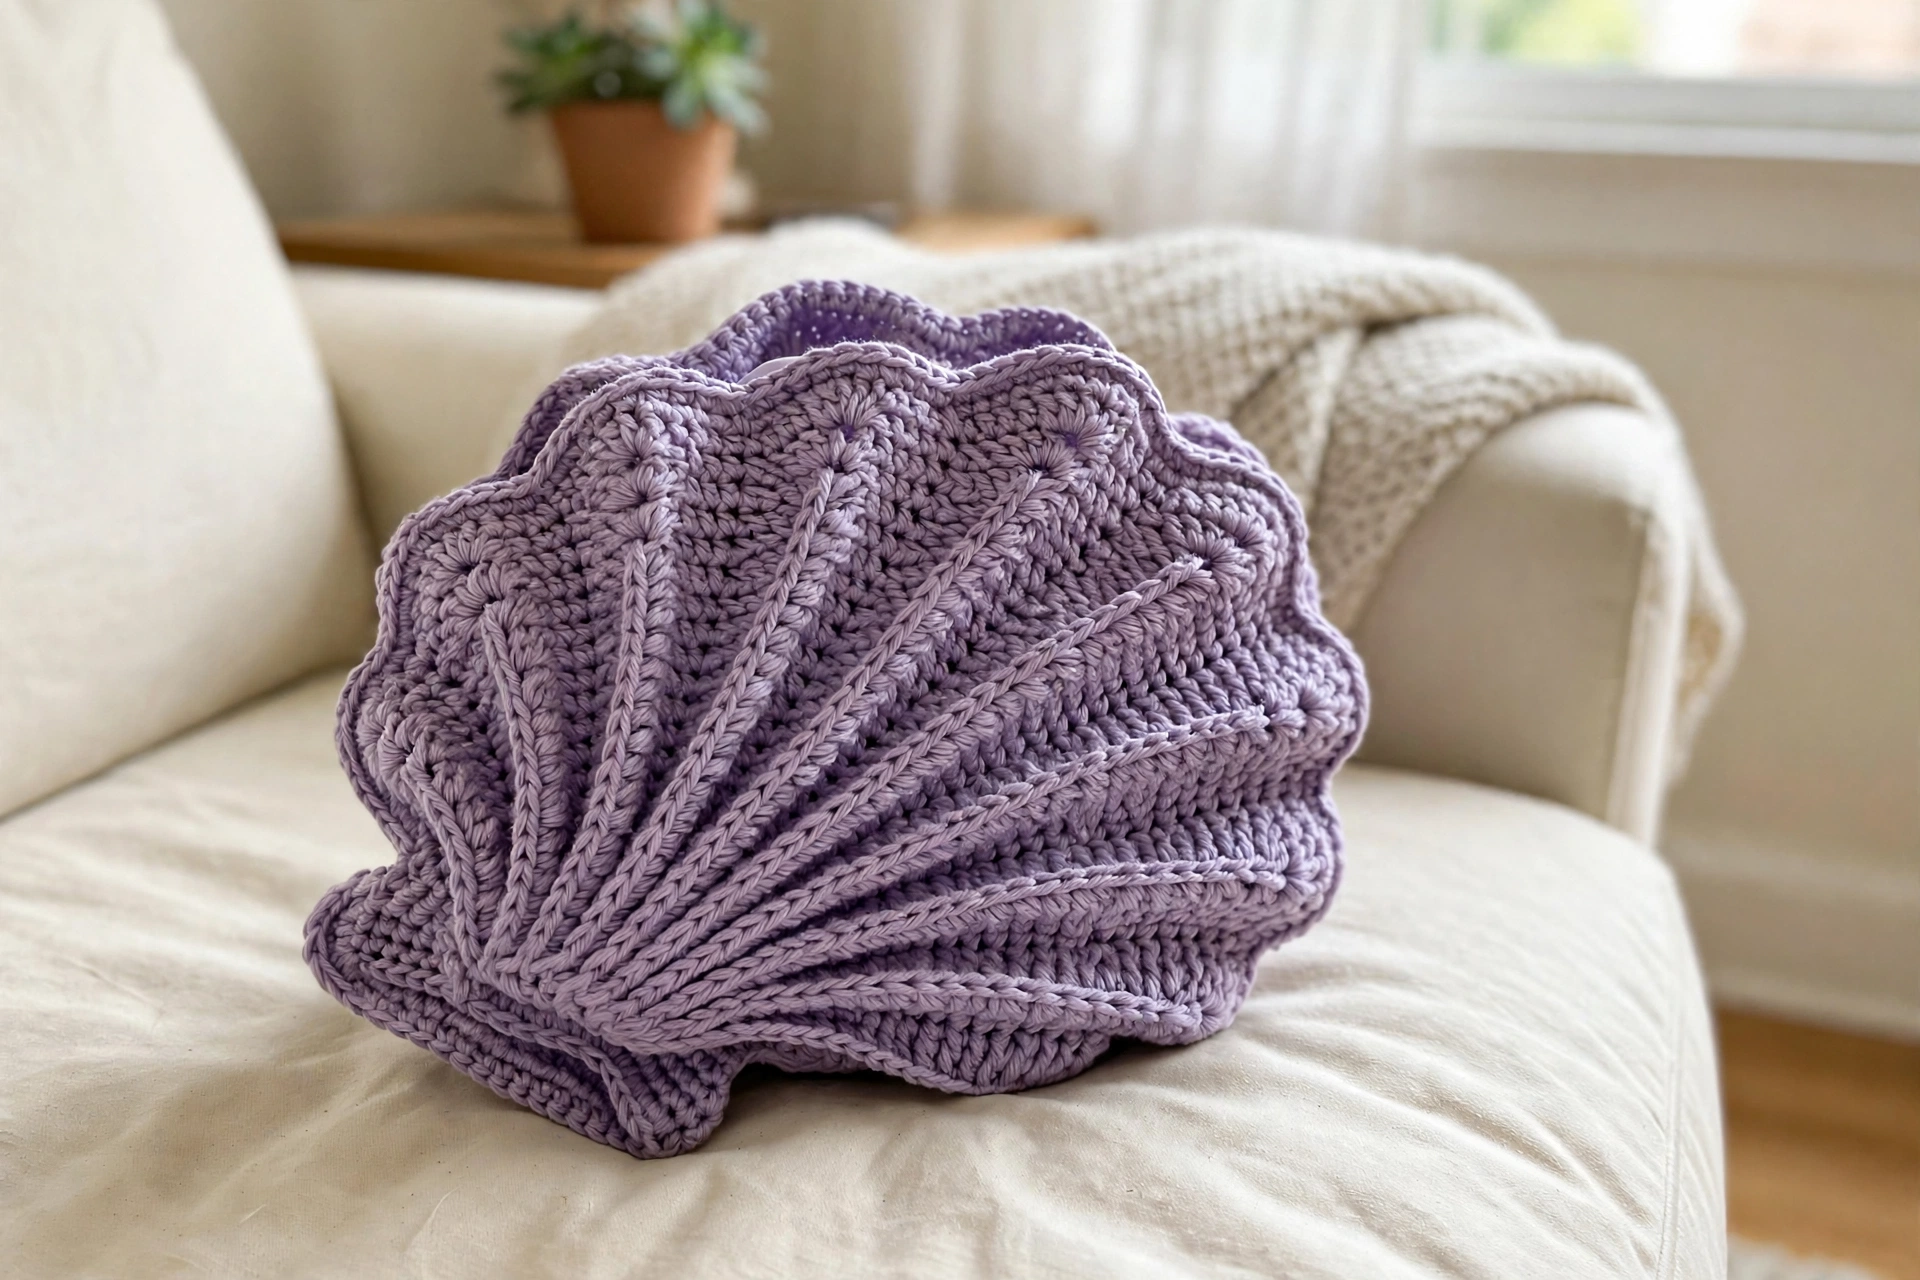
The secret to those beautiful ridges is simple post stitches worked in a strategic pattern. Once you understand the rhythm, your hands take over and the shell shape emerges almost magically. You work the shell body flat in rows as wedge sections, seam them into a half-circle, add a structured top band, and attach the hardware. It comes together faster than you would ever guess.
What You’ll Need
- T-shirt yarn or tube yarn in lavender — approximately 200 to 250 grams total (this chunky recycled cotton gives the substantial body and crisp stitch texture)
- 10 mm or 12 mm crochet hook, depending on your tension (the hook should glide smoothly without splitting the thick yarn)
- 2 D-rings or swivel clips for strap attachment
- 2 leather or faux leather strap tabs with rivets, about 1 inch wide
- 1 braided crossbody strap with lobster clasps
- 1 decorative flower button or brooch for the center front
- Optional beaded charm or tassel
- Tapestry needle with a large eye, stitch markers, and scissors
Finished size:
- Approximately 10 inches wide x 8 inches tall, not including the strap
The Pattern
FPdc = front post double crochet: work your hook from front to back to front around the post of the stitch below, then complete a normal dc. This pushes the stitch forward and creates the raised ridges. BPdc is the same idea worked from back to front to back, recessing the stitch.
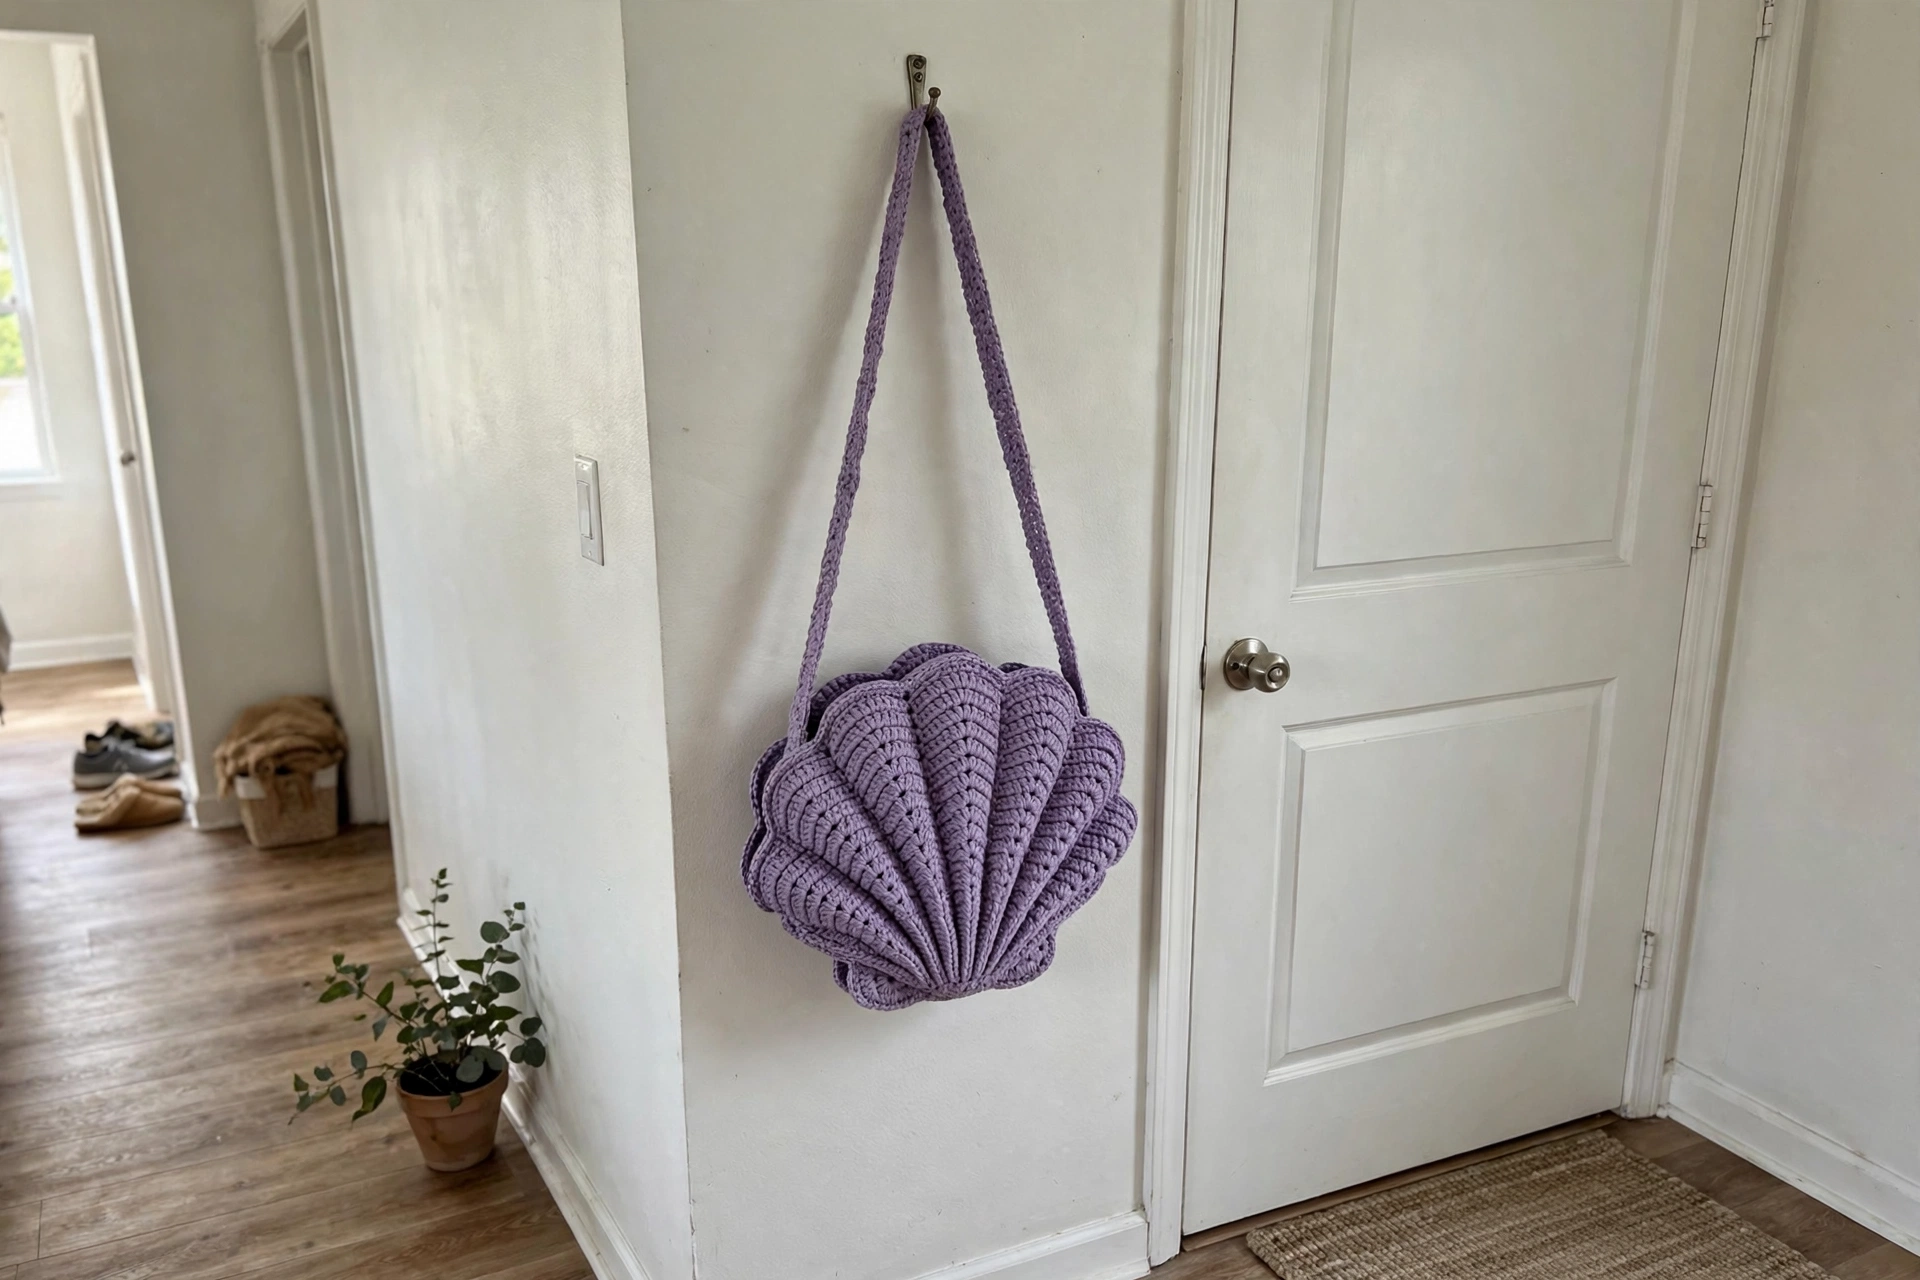
Tension matters with t-shirt yarn — it can be stretchy. Work firmly enough that the fabric holds its shape, but not so tight that your hook struggles. Your finished bag should feel substantial, almost like soft leather.
Shell Panels (make 2)
Foundation: Chain 4.
Row 2: Turn, sc in the 2nd chain from the hook, sc in the next chain, 3 sc in the last chain (this creates the bottom point). Working along the other side of the chain, sc in the next 2 chains. (7 sts)
Row 3: Chain 1, turn, sc in the first stitch, hdc in the next stitch, 3 dc in the center stitch (the tip), hdc in the next stitch, sc in the last stitch. (9 sts) Place a stitch marker in the center stitch — this is the spine where your increases happen.
Row 4: Chain 2, turn, dc in each stitch to the marked center stitch, 3 dc in the center stitch (move the marker to the new center), dc in each stitch to the end. (11 sts)
Row 5: Chain 2, turn. (Dc in the first stitch, FPdc around the post of the next stitch) repeat until you reach the center stitch. Work 3 dc in the center stitch, then continue the pattern to the end. (13 sts) This is where the texture begins — the FPdc stitches stack on top of each other and create the vertical ridges.
Row 6: Chain 2, turn, dc in the first stitch, FPdc around each FPdc from the previous row and dc in the dc spaces, keeping the established pattern. Work 3 dc in the center, mirror the pattern on the other side. (15 sts)
Rows 7-14: Continue in the established pattern. Each row adds 2 stitches (one on each side of the center). By Row 14 you should have about 27 stitches, with visible ridge lines running from the bottom point outward.
Rows 15-20: Continue the pattern, but now work the center increase only every other row to curve the shell instead of sharpening the triangle.
Row 15: Work in pattern with 3 dc in the center. (29 sts)
Row 16: Work in pattern with 2 dc in the center (no increase). (29 sts)
Row 17: Work in pattern with 3 dc in the center. (31 sts)
Row 18: Work in pattern with 2 dc in the center. (31 sts) Continue alternating through Row 20 — your final row should have about 33 to 35 stitches depending on tension.
Scalloped edge: Do not turn. Working along the side edge of the wedge, slip stitch into the end of Row 1, chain 3, 4 dc into the same space, skip the next row end, slip stitch into the next row end. (Chain 3, 4 dc into the same space, skip 1, slip stitch into the next) repeat around the curved bottom edge. This creates about 6 scallops along the bottom curve.
Make 2 identical wedge panels — these become the front and back of the bag.
Joining the Panels
Place both panels with wrong sides together so the textured ridges face outward on both sides. Seam along the scalloped bottom edge and partially up each side with slip stitches or sc, leaving the top 2 to 3 inches open on each side for the bag opening. Weave in all ends — the seam disappears into the textured fabric.
Top Band
Round 1: Join the yarn at a side seam. Chain 1, work sc evenly around the top opening — aim for an even number, about 50 to 54 stitches total. Slip stitch to join. (52 sts)
Round 2: Chain 1, sc in each stitch around. Slip stitch to join. (52 sts)
Round 3: Chain 2, dc in each stitch around. Slip stitch to join. (52 sts)
Rounds 4-6: Repeat Round 3 three more times — this builds a sturdy 1.5-inch band.
Round 7: Chain 1, sc in each stitch around. Slip stitch to join and fasten off. (52 sts) The band should stand upright and hold its shape.
Hardware and Finishing
Position the strap tabs at the side seams, about 1 inch down from the top edge, with the D-ring facing upward, and secure them. Clip the braided strap to both D-rings and adjust to your perfect crossbody or shoulder length. Pin the flower brooch at the center front where the ridges meet at the top of the shell — a pin-back lets you remove it for washing. Add the beaded tassel charm to a D-ring if you like a little movement.
Sophie’s Tips
- Block the panels before assembly if they curl — wet blocking sets the scalloped shape beautifully. Pin, let dry completely, then seam.
- The ridges actually improve with use. They look subtle at first and get more defined the more you handle the bag.
- Rose gold hardware with lavender is a dream, but deep navy yarn with gold hardware gives the whole bag a nautical twist.
Happy hooking, friend — you have totally got this one.