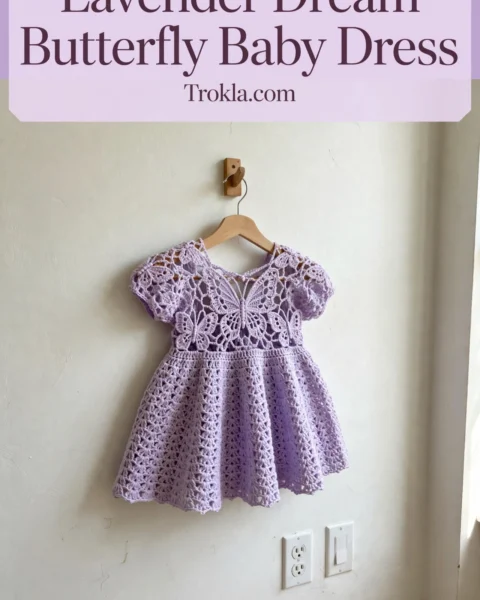
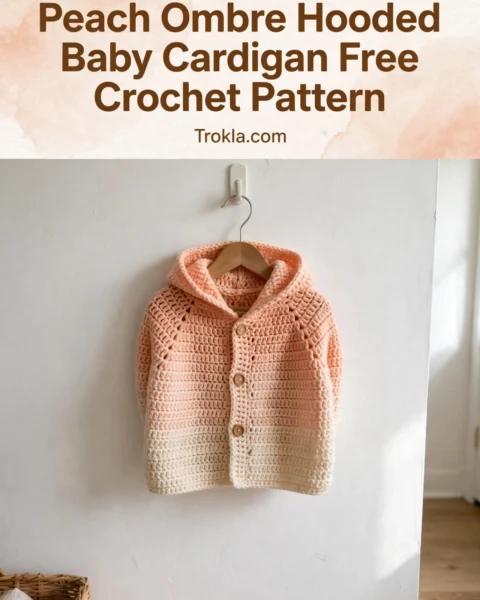
# Lavender Butterfly Baby Cardigan Free Crochet Pattern
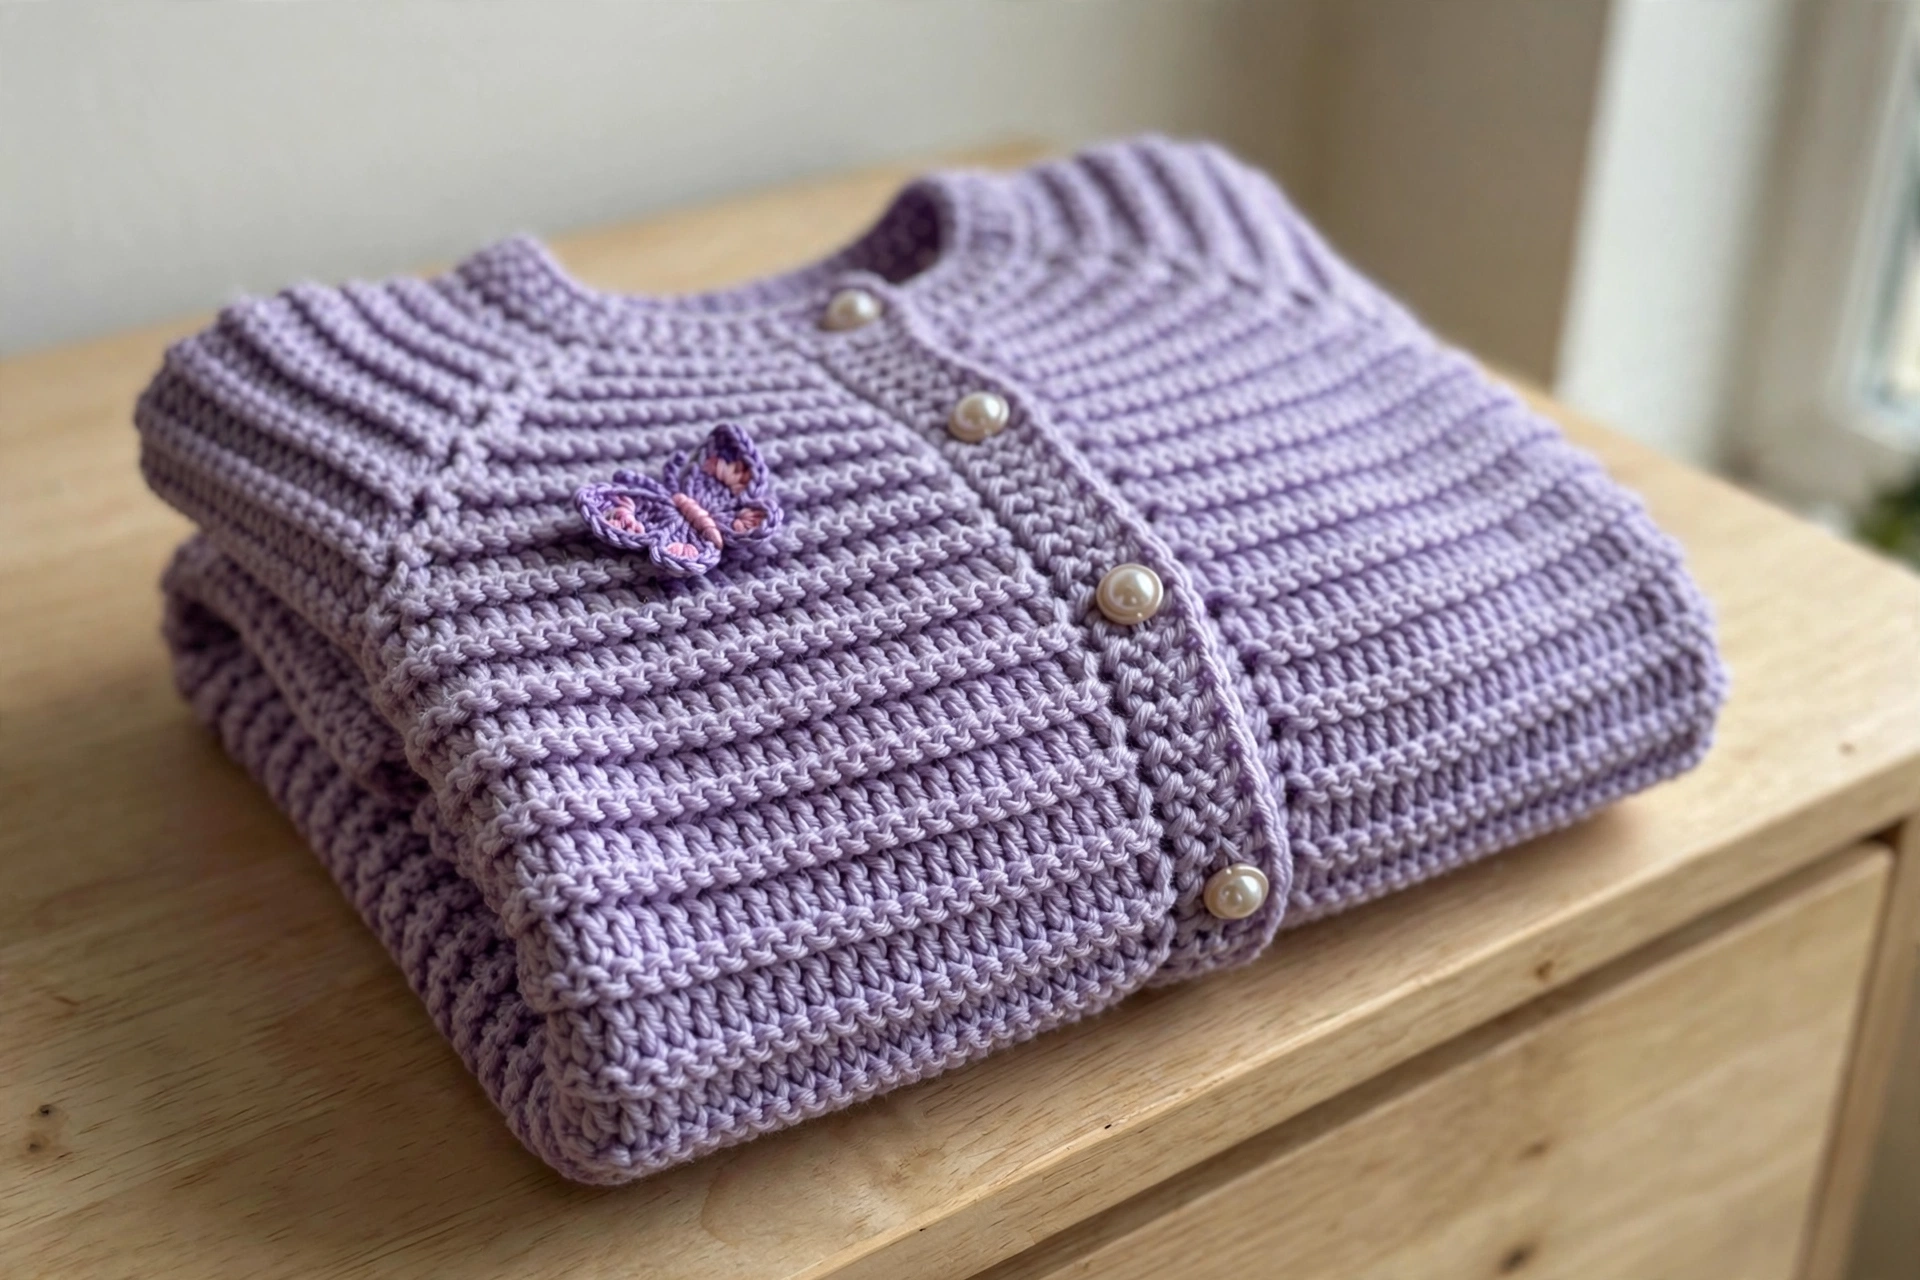
Okay yarn lovers, this is your sign to dig through the stash and pull out that soft lavender skein you have been saving for something special. This baby cardigan is worth it. I am a little obsessed with how the horizontal ridged texture comes from such a simple trick — half double crochet through the back loop only — and looks so much fancier than it actually is.
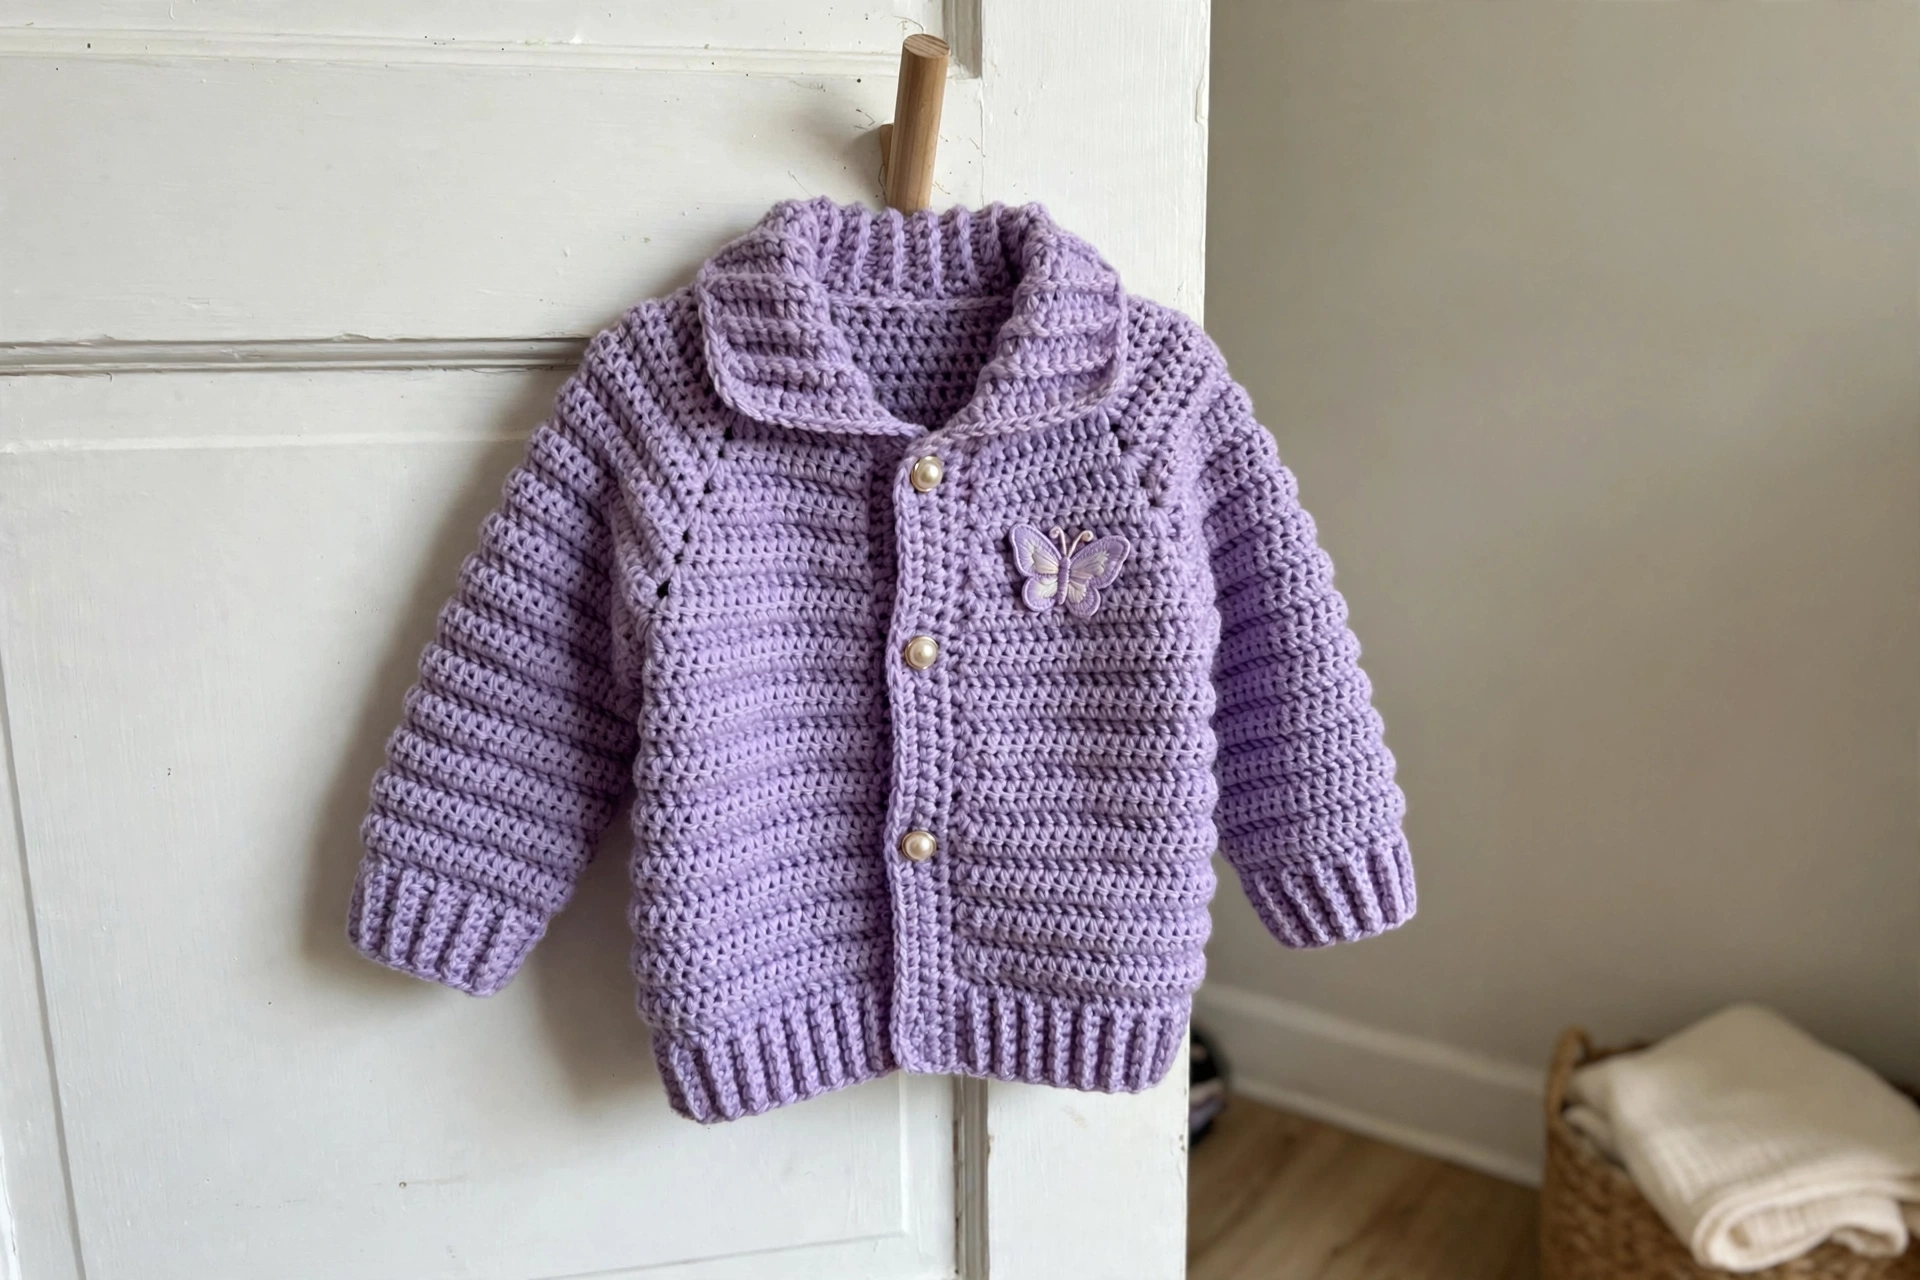
The construction is genuinely interesting: a seamless top-down raglan, so you can measure it against your little one as you go and adjust the length with zero guesswork. Then comes the finishing touch — a sweet crochet butterfly applique in purple, lilac, and pale pink, perched on the lower left panel, with pearl buttons marching down the front. I’ll be honest, this is an intermediate pattern, but if you have made even one garment before, you can absolutely do this. It works up in about 10 to 14 hours — not bad for a handmade heirloom.
What You’ll Need
- DK weight yarn (CYCA 3 Light), approximately 300 yards / 275 meters in main color lavender, plus small amounts of purple, lilac, and pale pink for the butterfly applique
- US size G-6 / 4.0 mm hook for the body and sleeves
- US size F-5 / 3.75 mm hook for cuffs, hem ribbing, neckline edging, and button bands
- 7 pearl-style shank buttons, approximately 10 mm diameter
- Stitch markers (at least 6)
- Yarn needle, scissors, rust-proof pins for blocking
Finished size:
- Sized for 6 to 12 months
- Chest circumference (buttoned): 19 inches / 48 cm
- Total length (back neck to hem): 10 inches / 25.5 cm
- Sleeve length (underarm to cuff): 6.5 inches / 16.5 cm
- Upper arm circumference: 7.5 inches / 19 cm
Gauge:
- with the main color and G-6 hook, in half double crochet through the back loop only, 17 stitches x 12 rows = 4 inches / 10 cm, blocked. Please swatch — wash and dry it the way you plan to care for the cardigan
The Pattern
Raglan Increase
At each marked raglan point: work 1 hdc in the marked stitch, then 2 hdc in the next stitch (the first stitch of the next section), and move the marker to sit between these two increase stitches. Each increase row adds 2 stitches per raglan point — 8 total per increase row.
Yoke
With the main color and the G-6 hook, chain 46.
Foundation Row (WS): Hdc in the 3rd chain from the hook and in each chain across. Turn. (44 hdc)
This row forms the neckline. Your 44 stitches divide as: right front 8, marker A, right sleeve 6, marker B, back 16, marker C, left sleeve 6, marker D, left front 8. Place markers between stitch 8 and 9 (A), 15 and 16 (B), 31 and 32 (C), and 38 and 39 (D).
Row 1 (RS – Increase Row): Chain 2, turn. Hdc in the first 8 sts (right front), 2 hdc in the next st, place marker, 2 hdc in the next st, hdc in the next 4 sts, 2 hdc in the next st, place marker, 2 hdc in the next st, hdc in the next 14 sts, 2 hdc in the next st, place marker, 2 hdc in the next st, hdc in the next 4 sts, 2 hdc in the next st, place marker, 2 hdc in the next st, hdc in the last 8 sts (left front). Turn. (52 hdc)
Row 2 (WS – Plain Row): Chain 2, turn. Hdc in each stitch across. Turn. (52 hdc)
Row 3 (RS – Increase Row): Chain 2, turn. Hdc to 1 stitch before marker A, 2 hdc in the next stitch, slip marker, 2 hdc in the next stitch, hdc to 1 stitch before marker B, 2 hdc in the next stitch, slip marker, 2 hdc in the next stitch, hdc to 1 stitch before marker C, 2 hdc in the next stitch, slip marker, 2 hdc in the next stitch, hdc to 1 stitch before marker D, 2 hdc in the next stitch, slip marker, 2 hdc in the next stitch, hdc to the end. Turn. (60 hdc)
Row 4 (WS – Plain Row): Chain 2, turn. Hdc across. Turn. (60 hdc)
Row 5 (RS – Increase Row): Work the increase row as established. Turn. (68 hdc)
Row 6 (WS – Plain Row): Hdc across. Turn. (68 hdc)
Row 7 (RS – Increase Row): Work the increase row as established. Turn. (76 hdc)
Row 8 (WS – Plain Row): Hdc across. Turn. (76 hdc)
Row 9 (RS – Increase Row): Work the increase row as established. Turn. (84 hdc)
Row 10 (WS – Plain Row): Hdc across. Turn. (84 hdc)
Row 11 (RS – Increase Row): Work the increase row as established. Turn. (92 hdc)
Row 12 (WS – Plain Row): Hdc across. Turn. (92 hdc)
Row 13 (RS – Increase Row): Work the increase row as established. Turn. (100 hdc)
Row 14 (WS – Plain Row): Hdc across. Turn. (100 hdc)
Row 15 (RS – Increase Row): Work the increase row as established. Turn. (108 hdc)
Row 16 (WS – Plain Row): Hdc across. Turn. (108 hdc)
Checkpoint: after Row 16 the yoke should measure approximately 4 inches / 10 cm from the neckline edge, with 16 stitches for each front, 22 for each sleeve, and 32 for the back.
Sleeve Separation and Body
Row 17 (RS – Separation Row): Chain 2, turn. Hdc-blo in the first 16 sts (right front). Skip the next 22 sleeve stitches and place them on a stitch holder. Chain 4, hdc-blo in the next 32 sts (back). Skip the next 22 sleeve stitches and place them on a second holder. Chain 4, hdc-blo in the last 16 sts (left front). Turn. (72 sts — the 4-chain stitches at each underarm bridge the gap)
Row 18 (WS): Chain 2, turn. Hdc-blo in each stitch across. Turn. (72 hdc-blo)
Rows 19–36: Chain 2, turn. Hdc-blo in each stitch across. Turn. (72 hdc-blo)
Continue until the body measures approximately 6.5 inches / 16.5 cm from the separation row, ending with a WS row.
Hem Ribbing
Switch to the smaller hook F-5.
Rows 1–3: Chain 2, turn. Hdc-blo in each stitch across. Turn. (72 hdc-blo)
Fasten off and weave in ends.
Sleeves (make 2)
Return the 22 held sleeve stitches to the G-6 hook. Join the main color with RS facing at the underarm edge.
Round 1 (RS): Chain 2, hdc-blo in each of the 22 held stitches, then work 4 hdc-blo evenly across the 4 underarm chains, slip stitch to the first hdc to join. (26 hdc-blo)
Work in the round from here — do not turn, and mark the first stitch of each round.
Rounds 2–5: Chain 2, hdc-blo in each stitch around, slip stitch to join. (26 hdc-blo)
Round 6 (Decrease Round): Chain 2, hdc2tog over the first 2 stitches, hdc-blo in each stitch to the last 2 stitches, hdc2tog, slip stitch to join. (24 hdc-blo)
Rounds 7–10: Chain 2, hdc-blo in each stitch around, slip stitch to join. (24 hdc-blo)
Round 11 (Decrease Round): Chain 2, hdc2tog, hdc-blo to the last 2 stitches, hdc2tog, slip stitch to join. (22 hdc-blo)
Rounds 12–16: Chain 2, hdc-blo in each stitch around, slip stitch to join. (22 hdc-blo)
Cuff Ribbing
Switch to the smaller hook F-5.
Rounds 17–19: Chain 2, hdc-blo in each stitch around, slip stitch to join. (22 hdc-blo)
Fasten off and weave in ends. Repeat for the second sleeve.
Neckline Edging
With RS facing, the smaller hook, and the main color, join yarn at the top right front corner of the neckline.
Round 1: Sc evenly around the entire neckline edge, working about 1 sc per row end along the sides and 1 sc per stitch along the foundation chain — aim for 44 to 46 sc total. Join with a slip stitch. (44 sc)
Fasten off and weave in the end.
Button Band (Left Front)
With RS facing, the smaller hook, and the main color, join yarn at the bottom left front corner.
Row 1: Chain 1, sc evenly up the left front edge, 1 sc per row end. (38 sc)
Rows 2–3: Chain 1, sc in each sc across. Turn. (38 sc)
Fasten off.
Buttonhole Band (Right Front)
With RS facing, the smaller hook, and the main color, join yarn at the top right front corner.
Row 1: Chain 1, sc evenly down the right front edge. Turn. (38 sc)
Row 2 (Buttonhole Row): Chain 1, sc in the first 2 stitches. (Chain 1, skip 1 stitch, sc in the next 4 stitches) 6 times. Chain 1, skip 1 stitch, sc in the last 3 stitches. Turn. (38 stitches including 7 chain-1 buttonhole spaces)
Row 3: Chain 1, sc in each sc and 1 sc in each chain-1 space across. Fasten off. (38 sc)
Butterfly Applique
Upper wings (one piece with 2 lobes): With the first contrast color (purple or lilac), chain 4 and slip stitch in the first chain to form a ring. Lobe 1: chain 3 (counts as dc), work 5 dc in the ring, chain 2, slip stitch in the ring. Lobe 2: chain 3 (counts as dc), work 5 dc in the ring, slip stitch in the ring. Fasten off, leaving a 10-inch tail.
Lower wings (one piece with 2 lobes): With the second contrast color (pale pink or lilac), chain 4 and slip stitch in the first chain to form a ring. Lobe 1: chain 2 (counts as hdc), work 3 hdc in the ring, chain 1, slip stitch in the ring. Lobe 2: chain 2 (counts as hdc), work 3 hdc in the ring, slip stitch in the ring. Fasten off, leaving a 10-inch tail.
Assembly: Lay the upper wing piece above the lower wing piece. Thread the main color (or a dark contrast) on a yarn needle and wrap it twice around the center join point of both pieces, pulling snugly to cinch and form the butterfly body. Wrap 4 to 6 times, tie securely at the back, and stitch the butterfly to the lower left front panel of the cardigan.
Sew on the pearl buttons, give it a gentle block with rust-proof pins, and watch it turn heads at the baby shower.
Sophie’s Tips
- Choose a solid or semi-solid yarn. The back-loop-only ridges show best when the color isn’t fighting for attention.
- The chain-2 at the beginning of hdc rows does not count as a stitch — work your first hdc into the first stitch at the base of the turning chain, every time.
- Move your raglan markers up as you work. Future-you, counting rows at midnight, will be so grateful.
This cardigan is the kind of piece that gets handed down — go make the heirloom!