# Mint Daisy Baby Dress Free Crochet Pattern
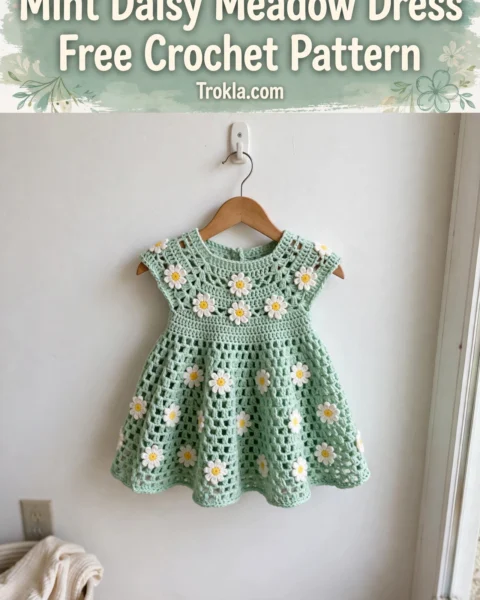
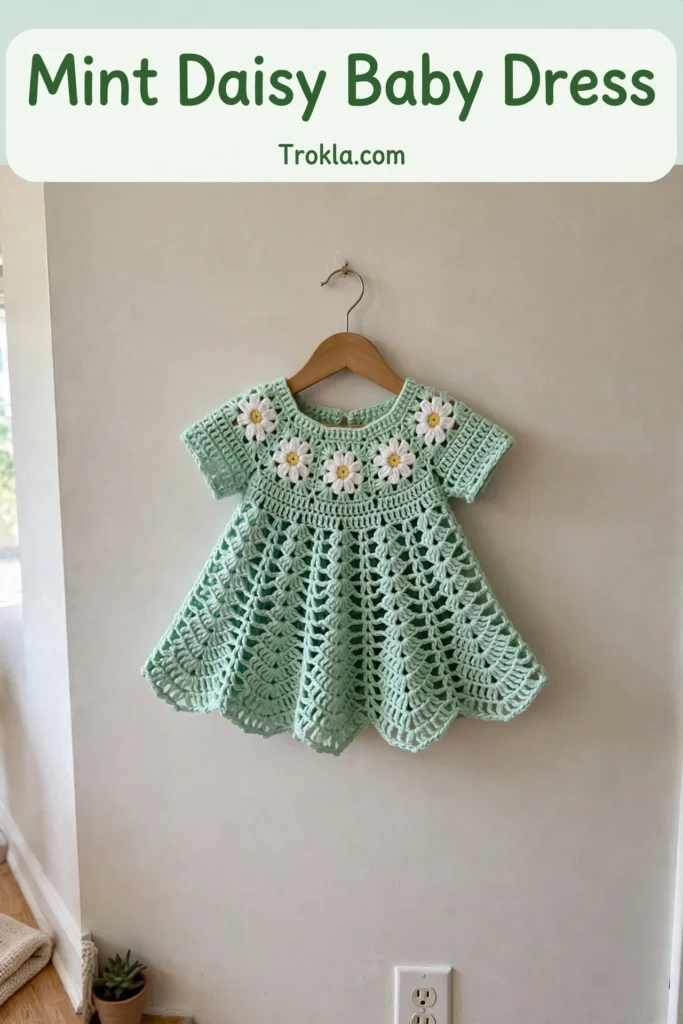
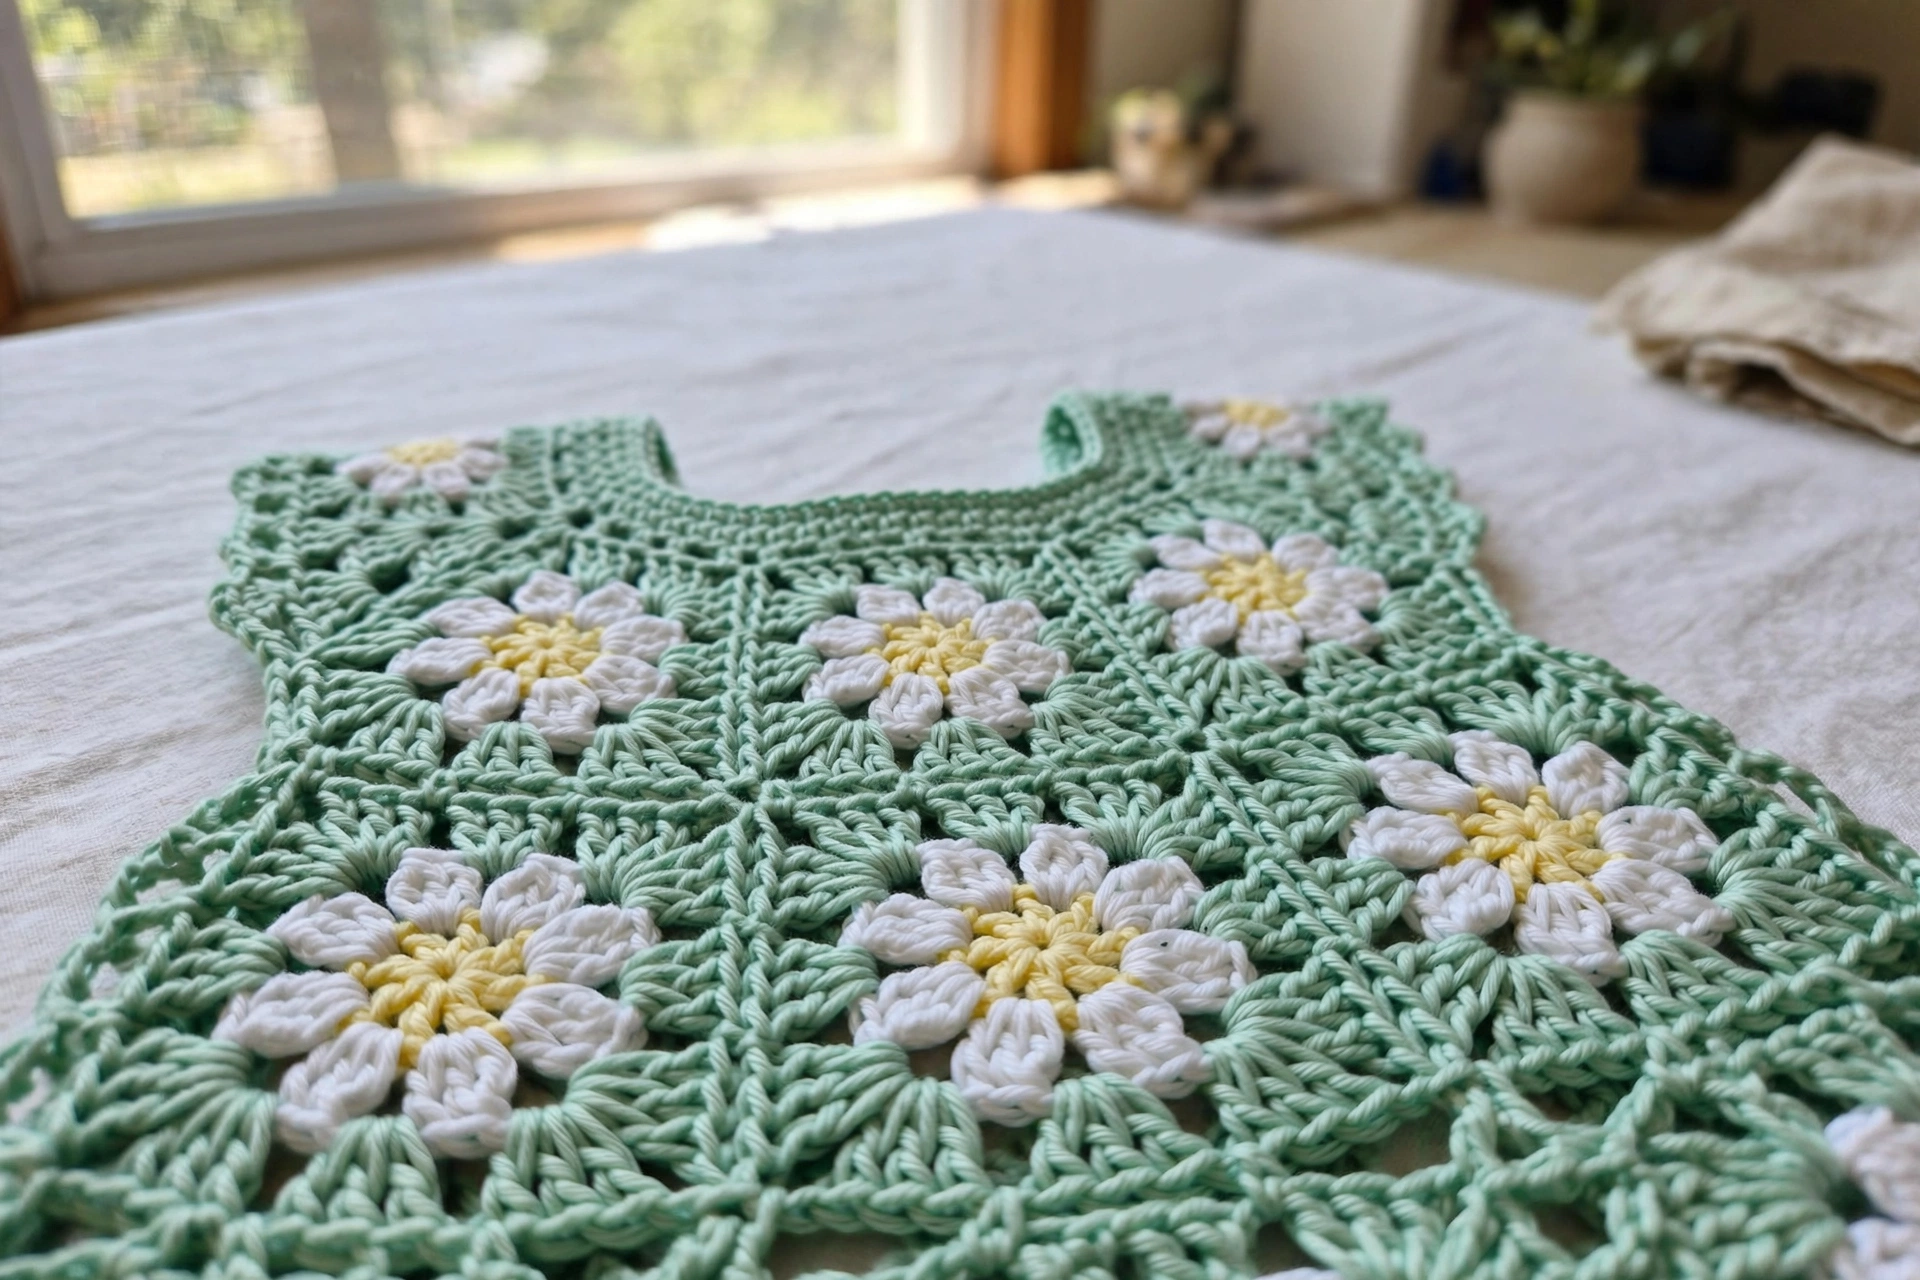
There is something about a mint green baby dress covered in daisies that just makes my whole heart happy. I found an old sketch of a sweet A-line dress with flowers at the bodice — the kind of heirloom piece grandmothers dream about — and I knew I had to turn it into stitches. After a few evenings of swatching, this mint daisy dress came to life: a daisy granny-square yoke, a breezy fan-lace skirt, and little daisies dancing along the hem.
Everything works from the top down, starting with the squares and flowing into the skirt, so there is almost no seaming — just a bit of joining and a ribbon woven through the waist. It is an intermediate make, but if you can join granny squares and count a lace repeat, you have got this.
What You’ll Need
- DK weight yarn: mint green, approximately 350 yards; white, approximately 150 yards; pale yellow, approximately 20 yards; and white, approximately 10 yards (or substitute 36 inches of 3/8-inch white satin ribbon)
- US size E-4 / 3.5 mm crochet hook (for squares and lace body)
- US size D-3 / 3.25 mm crochet hook (for neckline and armhole edging)
- Tapestry needle
- At least 8 stitch markers
- 36 inches of 3/8-inch white satin ribbon
- 4 small white buttons (optional, for back closure)
- Rust-proof pins for blocking
Finished size:
- Fits babies approximately 12 to 18 months
- Chest circumference about 19 inches, total length from shoulder to hem approximately 14.5 inches
The Pattern
Daisy Square (make 16: 12 for the yoke, 4 for the hem)
Each blocked square measures 2.75 inches (7 cm).
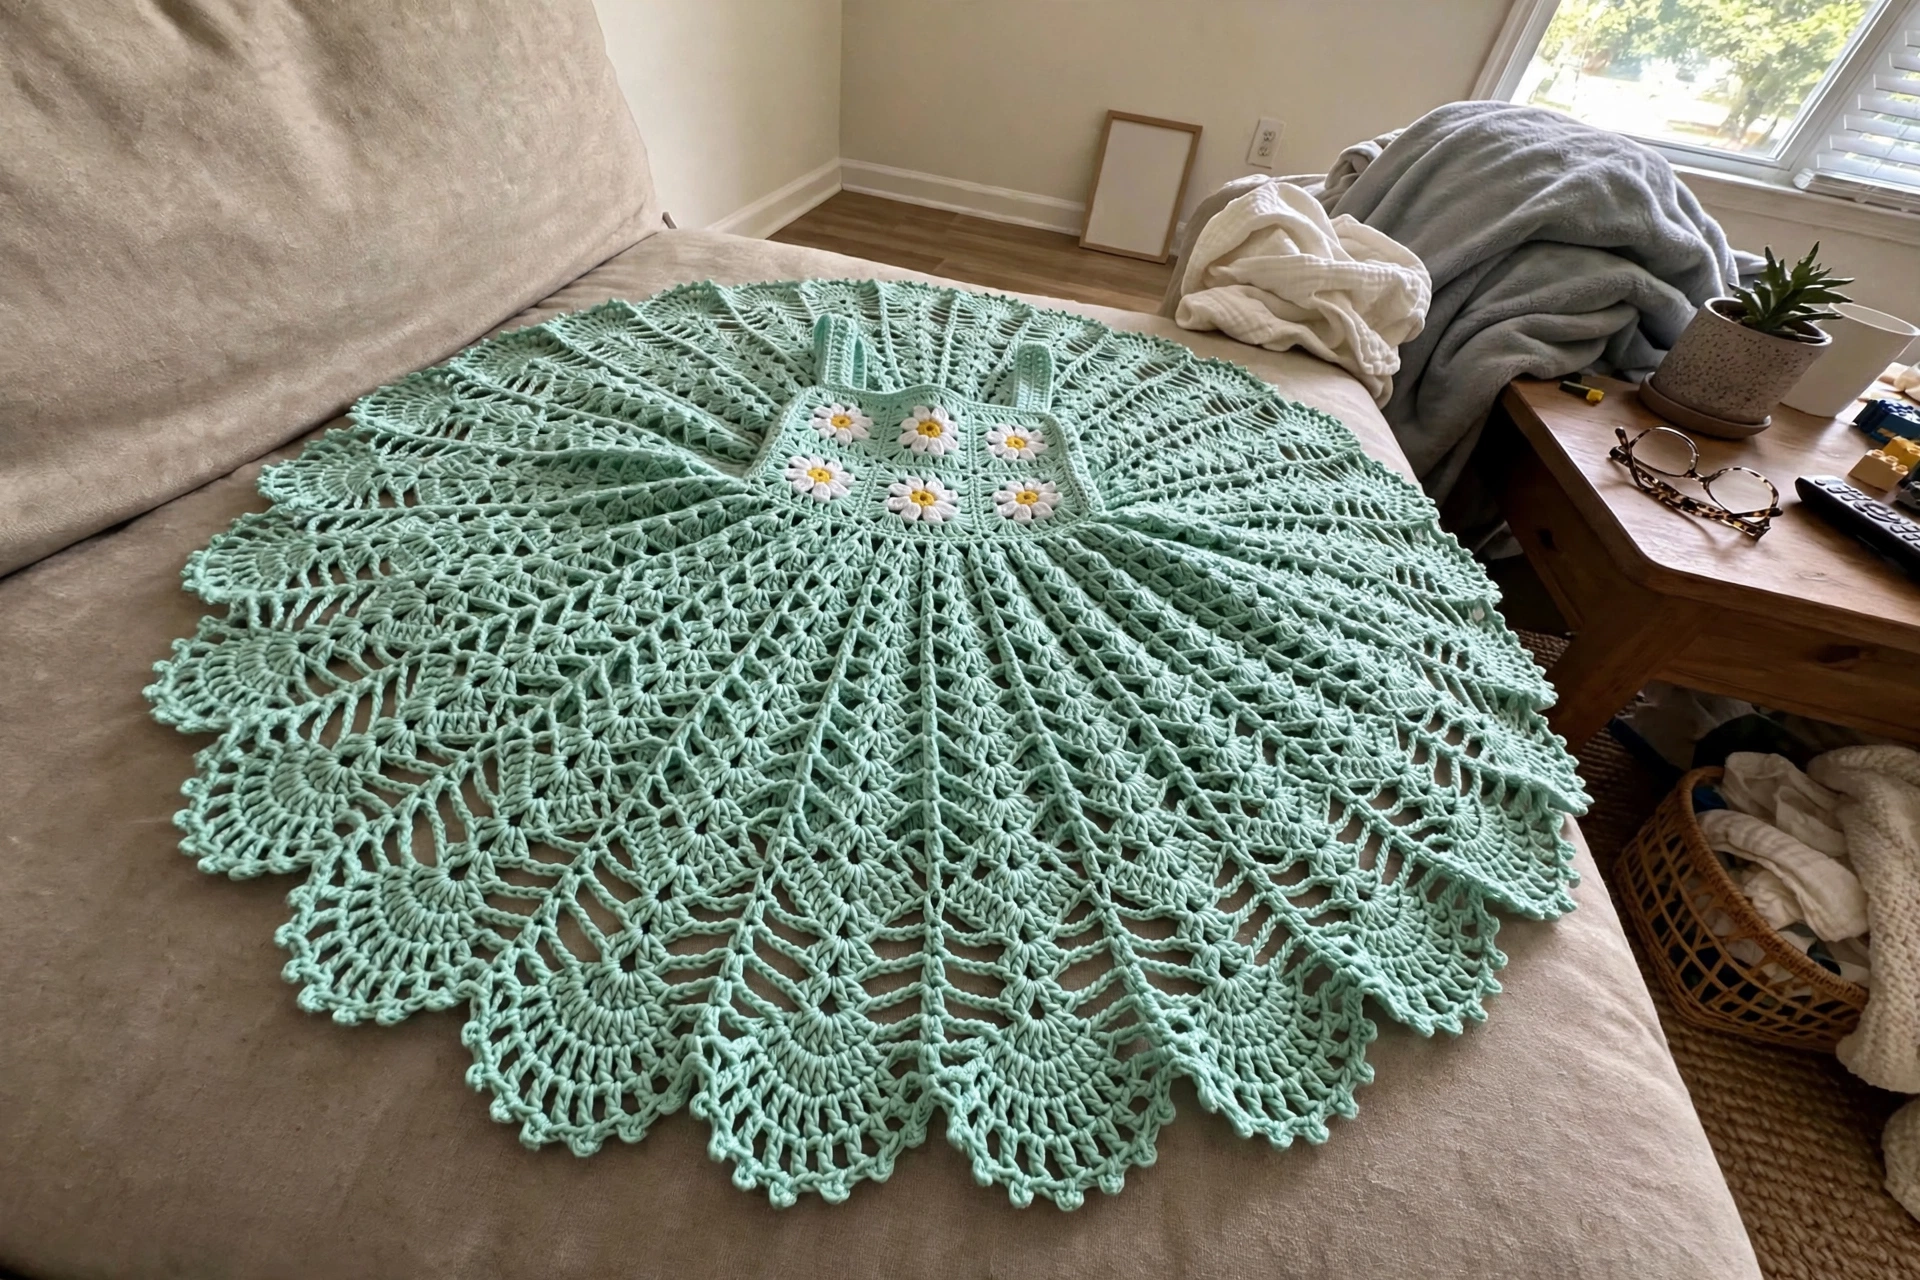
Round 1 (Center): With pale yellow, make a magic ring. Ch 1. Work 12 sc into the ring. Pull ring closed. Sl st to first sc to join. (12 sc)
Round 2 (Petals): Attach white with a sl st into any sc of Round 1. Working into the ring (not into the stitches), work a daisy petal 12 times, one petal between each sc, anchoring with a sl st into the next sc after each petal. Sl st to join. (12 petals, 12 sl st anchors)
*Daisy petal: insert hook into center ring, yarn over, pull up a loop to about 1/2 inch tall, yarn over, pull through both loops; ch 1.*
Round 3 (Inner granny round): With mint, attach with a sl st to any sl st anchor. Ch 3 (does not count as dc throughout). Work 2 dc into same sl st, ch 2, (3 dc, ch 2, 3 dc) into same sl st for corner. Skip 2 sl sts. (3 dc, ch 2, 3 dc) into next sl st. Skip 2 sl sts. Repeat twice more for 4 corners total. Sl st to top of first dc to join. (24 dc, 4 corner ch-2 sps)
Round 4 (Outer granny round): Sl st into first ch-2 corner sp. Ch 3. (2 dc, ch 2, 3 dc) into same corner sp. Ch 1. 3 dc into the space between the two 3-dc clusters on the side. Ch 1. (3 dc, ch 2, 3 dc) into next corner sp. Ch 1. 3 dc into the side space. Ch 1. Repeat around all 4 corners. Sl st to top of first dc to join. (36 dc, 8 ch-1 sps)
Round 5 (Square edging round): Sl st into first ch-2 corner sp. Ch 1. 3 sc into corner sp. 1 sc into each dc and each ch-1 sp across the side (8 sc per side). 3 sc into corner sp. Repeat around. Sl st to first sc to join. (44 sc: 12 corner sc plus 32 side sc)
Fasten off. Weave in ends. Block each square to 2.75 inches square.
Yoke Assembly
Arrange 12 squares in a 4-wide by 3-tall grid (front: 2 wide x 3 tall; back: 2 wide x 3 tall). Holding squares RS together, join shared edges with mint by working sc through corresponding edge stitches. Join only the outermost 5 stitches of each shoulder seam, leaving the center edges open for the neckline. Leave the topmost 8 to 10 stitches of each side seam open for the armholes.
Waist Eyelet Round
With mint, join with sl st to any stitch along the bottom edge of the yoke. Work evenly around, picking up 1 sc in each sc and 1 sc in each joining seam stitch, adjusting to reach exactly 84 stitches (a multiple of 6 for the fan repeat).
Eyelet round: Ch 3 (does not count as dc). Dc in same st. (Ch 1, skip 1 st, dc in next st) around, ending with ch 1, sl st to top of first dc. (42 dc, 42 ch-1 sps)
Skirt
Worked in joined rounds. One fan = (dc, ch 1, dc, ch 1, dc, ch 1, dc, ch 1, dc) all into the same space (5 dc with ch-1 spaces between; a 6-stitch repeat).
Set-up round: Join mint with sl st to any ch-1 sp. Ch 1. Sc in same sp. Sc in each dc and each ch-1 sp around. (84 sc)
Round 1 (Fan set-up): Ch 5 (counts as dc + ch 2). Skip first 5 sts. Dc in 6th st. (Ch 2, skip 2 sts, dc in next st) around, ending with ch 2, sl st to 3rd ch of beg ch-5 to join. (28 dc, 28 ch-2 sps)
Round 2 (First fan round): Sl st into first ch-2 sp. Ch 3. Work a fan into the same ch-2 sp. Ch 1. Sc into next ch-2 sp. Ch 1. Repeat (fan into next ch-2 sp, ch 1, sc into next ch-2 sp, ch 1) around. Sl st to top of first dc to join. (14 fans, 14 sc)
Round 3: Sl st to first ch-1 sp within first fan. Ch 1. Work sc in each of the 4 ch-1 sps within the fan (4 sc). Ch 2. Sc into the single sc between fans. Ch 2. Repeat around. Sl st to first sc. (56 fan sc, 14 between-fan sc, 28 ch-2 sps)
Round 4 (Second fan round): Sl st into first ch-2 sp. Ch 3. Work a fan into the 2nd sc of the 4-sc group of the previous round. Ch 1. Sc into the ch-2 sp before the between-fan sc. Ch 1. Repeat around. Sl st to join. (14 fans, 14 sc)
Rounds 5 through 14: Continue alternating Rounds 3 and 4 for a total of 14 rounds of fan lace.
Hem Border
Pickup round: Join mint with sl st to any sc between fans. Ch 1. Work 1 sc into each st and each ch-sp around to reach exactly 84 sc. Sl st to first sc to join. Mark 4 square positions evenly around the circumference (each square zone uses 11 stitches; each scallop zone between squares uses 10 stitches).
Attach daisy squares: Hold a finished daisy square with RS facing outward, aligned with a square zone. Join with sc through both the square’s top edge and the zone stitches simultaneously (11 sc per square). Repeat for all 4 daisy squares.
Scallop zones: In each 10-stitch zone between squares: sc in first st, skip 1 st, 5 dc in next st, skip 1 st, sc in next st, skip 1 st, 5 dc in next st, skip 1 st, sc in last st. Work the same scallop edging along the lower 11 stitches of each daisy square. Sl st to join. Fasten off.
Neckline and Armhole Edging
With white and the D-3 hook, join with sl st to any stitch along the neckline. Work sc evenly around (approximately 44 sc), then picot edging: *sc in first st, picot (ch 3, sl st in first ch of the ch-3 made) in same st, skip 1 st* — repeat around. Sl st to join. Fasten off. Repeat the same two rounds on each armhole (approximately 28 sc).
Thread the white satin ribbon through the waist eyelet round, beginning and ending at center front. Tie in a bow and trim the ends at an angle.
Sophie’s Tips
- Block one daisy square first and measure it — if it is not 2.75 inches square, change hook size before making the rest.
- Mark the 4 square positions on the hem pickup round with stitch markers so your daisy squares land perfectly even.
- A smooth cotton-blend DK gives the crispest daisy petals; save fuzzy or textured yarns for another project.
It is the kind of dress that gets passed down — and every daisy is a little hug. Happy crocheting!