# Cute Farm Animal Bucket Hats Set Free Crochet Pattern
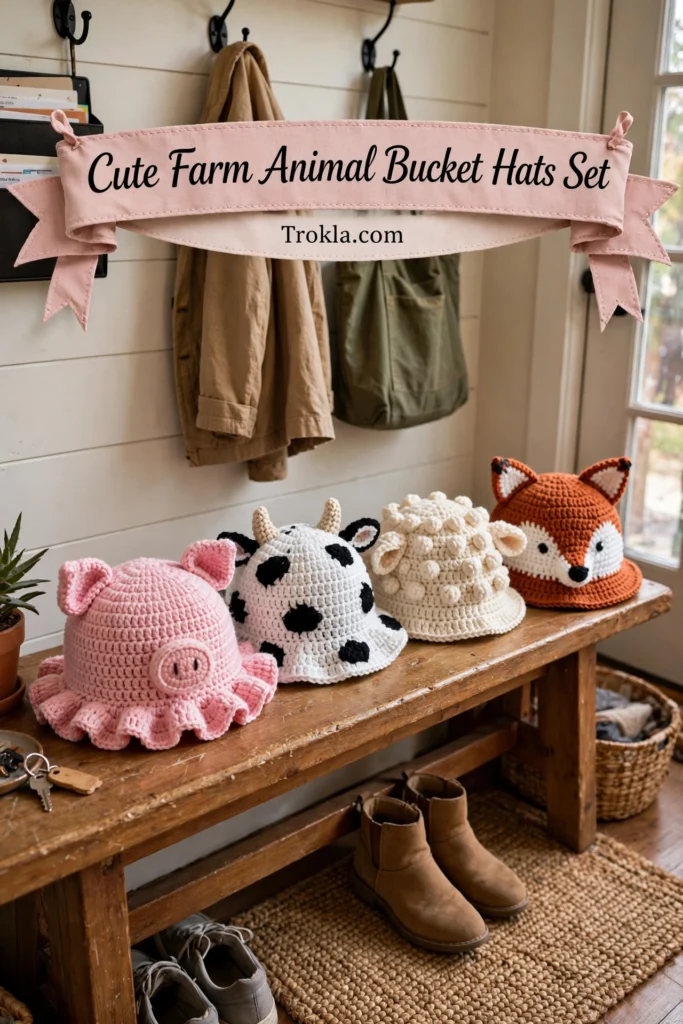
I have been dreaming about a set of animal bucket hats for ages, and this collection of four finally nails it. A sweet pink pig with a ruffled brim, a spotted cow with tiny horns, a fluffy sheep in bobble stitch, and a clever little fox with white face markings. Honestly, I could not pick a favorite if I tried.
Here is the clever part: the base hat is exactly the same for all four animals. You learn one top-down bucket hat, then just swap colors and embellishments to create four completely different characters. It is also the perfect excuse to practice bobbles, simple colorwork, and applique without committing to a whole new pattern each time. Make them for your own little ones, for gifts, or for craft fairs — they will fly.
What You’ll Need
Yarn (worsted weight, category 4, smooth acrylic or blend):
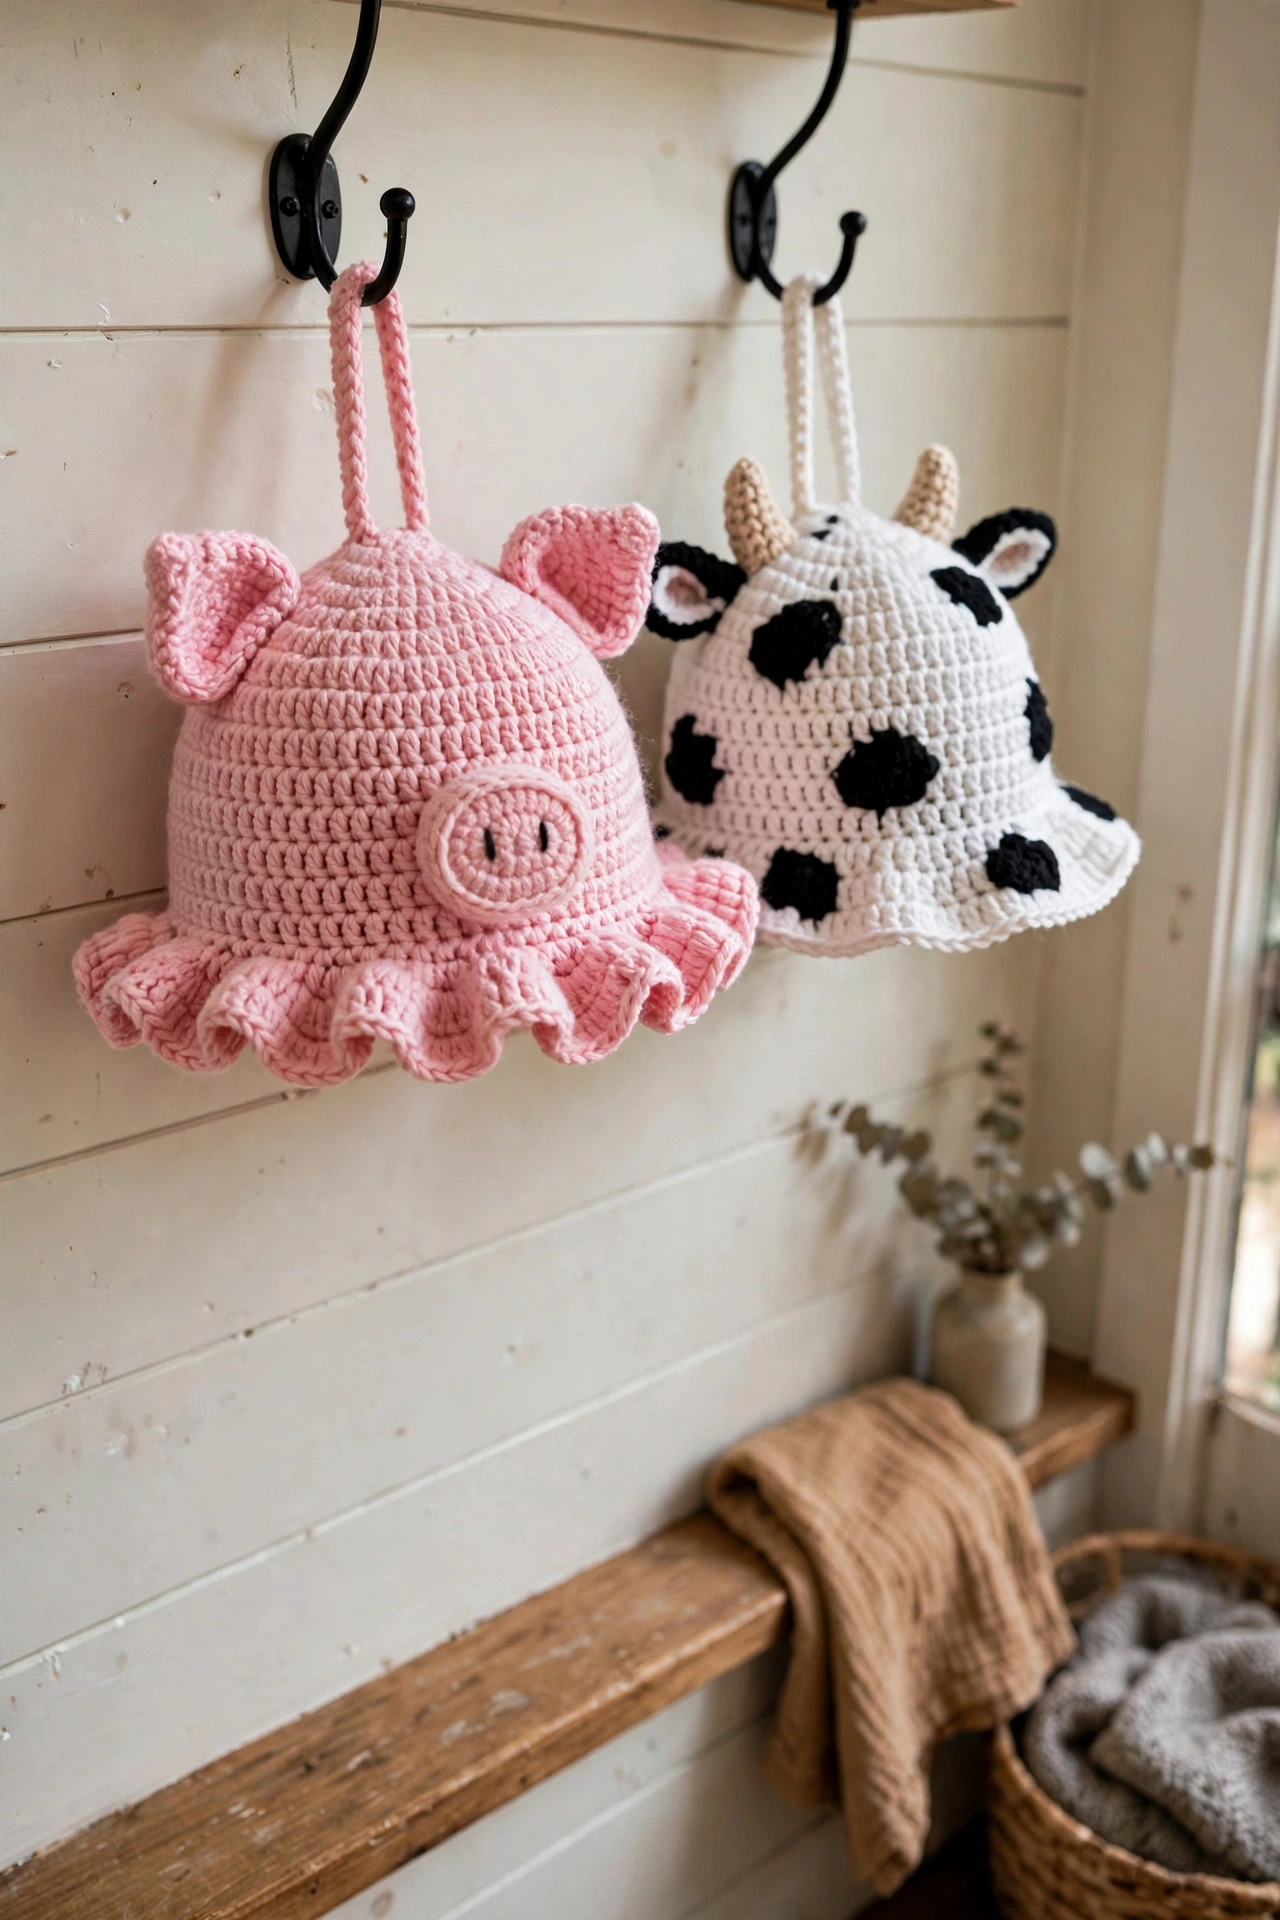
- Pig hat: light pink, approximately 200 yards; medium pink, approximately 30 yards (ruffle edging and snout)
- Cow hat: white, approximately 150 yards; black, approximately 80 yards; light pink, approximately 15 yards; cream or tan, approximately 20 yards
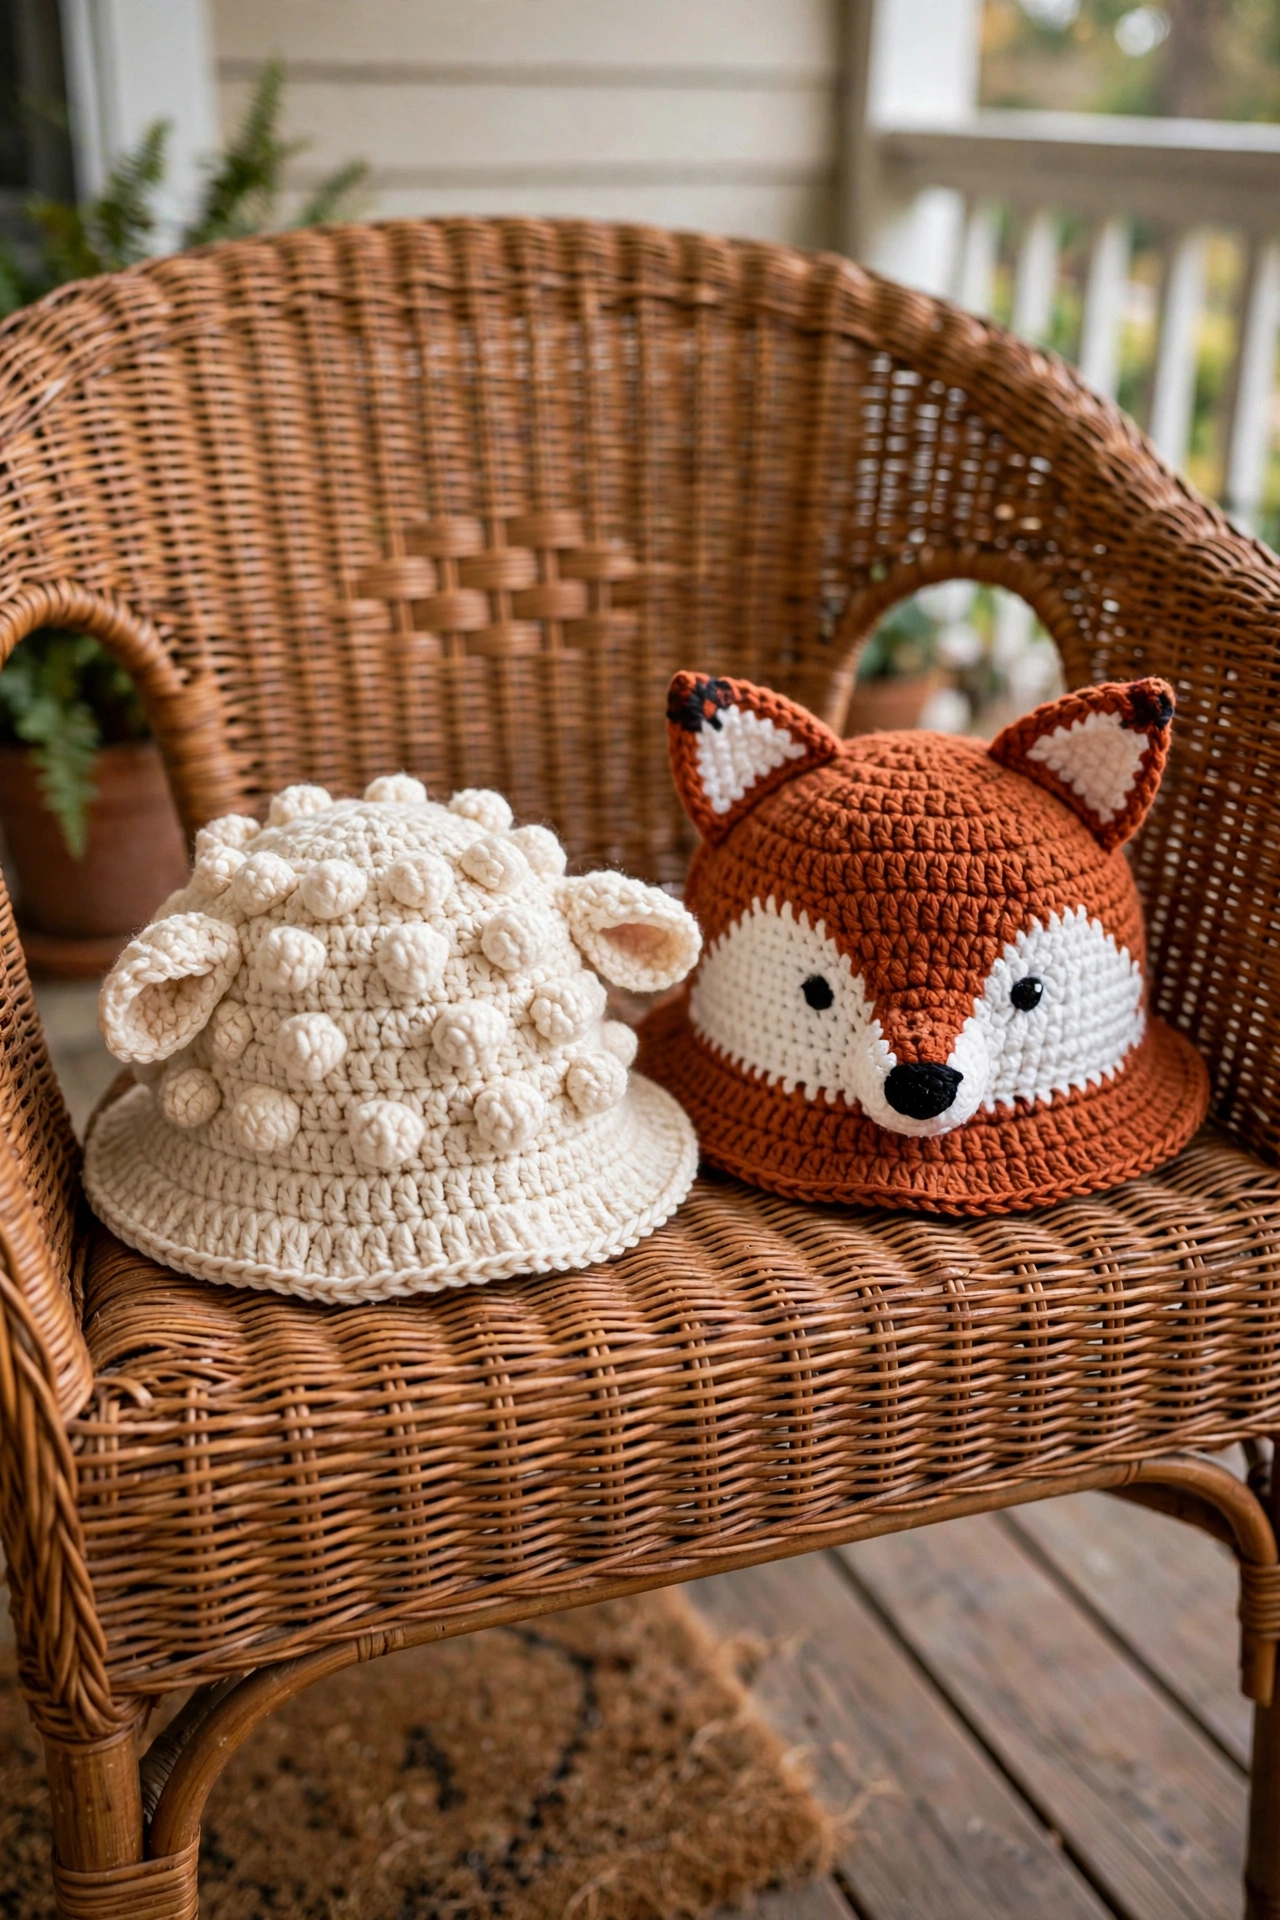
- Sheep hat: cream or off-white, approximately 180 yards; black, approximately 30 yards (ears and face details)
- Fox hat: rust or burnt-orange, approximately 160 yards; white, approximately 60 yards; small amount of black for nose embroidery
Tools and notions:
- US size G-6 (4.0 mm) crochet hook, or size needed for gauge
- At least 4 stitch markers
- Yarn needle, scissors, straight pins
- 12 mm black safety eyes (2 per hat)
- Polyester fiberfill for stuffing ears, snouts, and horns
Finished size:
- Toddler (2-4 years): approximately 18-19 inches (46-48 cm) head circumference, hat height approximately 6 inches (15 cm) including brim. Child (5-10 years): approximately 20-21 inches (51-53 cm) head circumference, hat height approximately 6.5 inches (16.5 cm). Pattern is written for toddler
- Child-size adjustments are in parentheses
The Pattern
Gauge:
- 18 sc stitches and 20 rounds = 4 inches (10 cm) in continuous rounds with the G-6 hook. To check, work Rounds 1-8 of the crown
- After 8 rounds your flat circle should measure approximately 3.5 inches (9 cm) in diameter. Too small? Go up a hook size. Too big? Go down
All hats are worked in continuous spiral rounds — do not join rounds and do not chain 1 between rounds. Place a stitch marker in the first stitch of each round and move it up as you go.
Special techniques: The sheep uses a bobble stitch (bo5): work 5 double crochets into the same stitch, leaving the last loop of each on the hook (6 loops on hook), yarn over and pull through all 6 loops, ch 1 to close — the bobble occupies one stitch position. The pig brim finishes with a ruffle: work 3 dc in each stitch around. For color changes (cow spots, fox markings): work the last stitch before the change until 2 loops remain, drop the old color to the wrong side, and pull the new color through to complete the stitch.
Hat Base Pattern (all four animals)
#### Crown
Rnd 1: MR, 6 sc into ring, pull closed. (6 sc)
Rnd 2: Inc in each st. (12 sc)
Rnd 3: (Sc 1, inc) 6 times. (18 sc)
Rnd 4: (Sc 2, inc) 6 times. (24 sc)
Rnd 5: (Sc 3, inc) 6 times. (30 sc)
Rnd 6: (Sc 4, inc) 6 times. (36 sc)
Rnd 7: (Sc 5, inc) 6 times. (42 sc)
Rnd 8: (Sc 6, inc) 6 times. (48 sc)
Rnd 9: (Sc 7, inc) 6 times. (54 sc)
Rnd 10: (Sc 8, inc) 6 times. (60 sc)
Rnd 11: (Sc 9, inc) 6 times. (66 sc)
Rnd 12: (Sc 10, inc) 6 times. (72 sc)
Checkpoint: the flat crown should measure approximately 6.5 inches (16.5 cm) across. Toddler stops here.
**Child size only —
Rnd 13:** (Sc 11, inc) 6 times. (78 sc)
#### Body (side walls)
Work even with no increases: toddler works Rounds 13-22 (10 rounds, 72 sc each round); child works Rounds 14-24 (11 rounds, 78 sc each round).
Checkpoint: the hat should measure approximately 4 inches (10 cm) from crown center to the working edge when laid flat.
#### Standard Brim
Toddler (72-st base):
Rnd 1: (Sc 11, inc) 6 times. (78 sc)
Rnd 2: (Sc 12, inc) 6 times. (84 sc)
Rnd 3: (Sc 13, inc) 6 times. (90 sc)
Rnd 4: work even. (90 sc)
Rnd 5: work even in BLO. (90 sc)
Child (78-st base):
Rnd 1: (Sc 12, inc) 6 times. (84 sc)
Rnd 2: (Sc 13, inc) 6 times. (90 sc)
Rnd 3: (Sc 14, inc) 6 times. (96 sc)
Rnd 4: work even. (96 sc)
Rnd 5: work even in BLO. (96 sc)
Working the last brim round in BLO creates a ridge that helps the brim lie flat. Fasten off and weave in ends unless a specific edging follows.
Pig Hat
Work the crown and body in light pink following the base pattern.
Pig brim (replaces standard brim): With light pink:
Rnd 1: (Sc 11, inc) 6 times. (78 sc)
Rnd 2: (Sc 12, inc) 6 times. (84 sc)
Rnd 3: (Sc 13, inc) 6 times. (90 sc)
Rnd 4: work even. (90 sc) Join medium pink with a sl st at the end of Rnd 4, ch 1, do not turn.
Rnd 5 (ruffle): work 2 hdc in each st around. Join with sl st. (180 hdc) Fasten off.
Pig ears (make 2): Outer ear (light pink) —
Rnd 1: MR, 6 sc. (6 sc)
Rnd 2: inc in each st. (12 sc)
Rnd 3: (Sc 1, inc) 6 times. (18 sc)
Rnd 4: work even. (18 sc) Do not fasten off. Fold the piece in half, wrong sides together, into a half-moon; working through both layers, sc across the open edge. (9 sc) Fasten off, leaving a 12-inch tail. Inner ear (medium pink) —
Rnd 1: MR, 6 sc. (6 sc)
Rnd 2: inc in each st. (12 sc)
Rnd 3: work even. (12 sc) Fasten off with a tail; sew the inner ear centered on the front face of the outer ear.
Pig snout: With medium pink:
Rnd 1: MR, 6 sc. (6 sc)
Rnd 2: inc in each st. (12 sc)
Rnd 3: (Sc 1, inc) 6 times. (18 sc)
Rnds 4-5: work even. (18 sc) Stuff lightly with fiberfill. Close with (dec) 9 times into a shallow dome. (9 sc) Pull the tail through the remaining sts and cinch. Leave a long tail for sewing. Embroider 2 nostrils with black yarn.
Assembly: Place the safety eyes about 2 rounds below the bottom of the crown, spaced about 1.5 inches (3.8 cm) apart on either side of center front. Center the snout below and between the eyes, about 2 rounds below eye level; pin and sew around the perimeter. Embroider a curved smile just below the snout. Sew the ears at the 10-o’clock and 2-o’clock positions on the crown, about 2 rounds down from the magic ring center.
Cow Hat
Work the crown in white following the base pattern, adding black spots with the color change technique as you go. Work Rounds 1-6 entirely in white. (36 sc after Rnd 6)
From Round 7 on, scatter black spot sections: work (sc 5 in white, sc 4 in black) around for irregular spots, changing colors with the technique above and carrying the unused color loosely inside for spans of 3 stitches or fewer. Work the body rounds with two black spot bands (Rounds 15 and 19), then work the standard brim in white.
Cow ears (make 2): With white:
Rnd 1: MR, 6 sc. (6 sc)
Rnd 2: inc in each st. (12 sc)
Rnds 3-5: work even. (12 sc) Flatten and sew across the open edge (6 sc). Fasten off with a 12-inch tail. Add a small black spot to one ear with a few surface slip stitches.
Cow horns (make 2): With cream/tan:
Rnd 1: MR, 6 sc. (6 sc)
Rnd 2: (Sc 1, inc) 3 times. (9 sc)
Rnds 3-4: work even. (9 sc) Stuff lightly, cinch the opening, and leave a tail for sewing.
Assembly: Place the safety eyes about 2 rounds below the crown, spaced about 1.5 inches apart on either side of center front. Sew the horns at the 11-o’clock and 1-o’clock positions on the crown, tilted slightly outward. Sew the ears just below the horns at the sides. Embroider a sweet smile with black yarn, and sew a small light pink oval snout (worked like the pig snout through Rnd 3 only) centered below the eyes.
Sheep Hat
Work the crown in cream following the base pattern, but replace every 4th round’s sc with bobble rounds for fluff:
Rnd 4 (bobble): (Sc 2, bo5) 6 times. (18 sts)
Rnd 8 (bobble): (Sc 6, bo5) 6 times. (48 sts)
Rnd 12 (bobble): (Sc 10, bo5) 6 times. (72 sc) Work the body in cream with bobbles on Rounds 16 and 20: (Sc 11, bo5) 6 times.
Sheep ears (make 2, black):
Rnd 1: MR, 6 sc. (6 sc)
Rnd 2: inc in each st. (12 sc)
Rnds 3-6: work even. (12 sc) Flatten, sew across the open edge (6 sc), and leave a tail.
Sheep face panel: With black: ch 9.
Row 1: sc in 2nd ch from hook and across. (8 sc)
Rows 2-5: ch 1, sc across. Turn. (8 sc) Fasten off with a tail. This little oval sits on the front of the hat below the crown.
Assembly: Sew the black face panel centered on the front of the hat, about 2 rounds below the crown. Attach the safety eyes to the face panel, spaced about 1.5 inches apart. Sew the black ears flopping down at the sides of the face panel. Embroider a tiny smile on the face panel.
Fox Hat
Work the crown in rust/burnt-orange following the base pattern through Round 8.
Rnd 9 (face marking begins): work the front 18 sts in white (the face panel zone), rust for the rest. Continue with the front 18 sts in white through the body rounds, widening the white zone by 2 sts on each side every 3rd round to shape the face marking. Work the standard brim in rust.
Fox ears (make 2): Outer (rust) —
Rnd 1: MR, 6 sc. (6 sc)
Rnd 2: (Sc 1, inc) 3 times. (9 sc)
Rnd 3: (Sc 2, inc) 3 times. (12 sc)
Rnds 4-5: work even. (12 sc) Fasten off with a tail. Inner (white) —
Rnd 1: MR, 6 sc. (6 sc)
Rnd 2: (Sc 1, inc) 3 times. (9 sc)
Rnd 3: work even. (9 sc) Fasten off; sew the white inner onto the rust outer, then sew the ears upright at the 10-o’clock and 2-o’clock positions.
Assembly: Attach the safety eyes on the white face marking, spaced about 1.5 inches apart. Embroider a small black triangle nose at the bottom point of the white marking and a short vertical line beneath it for the mouth.
Sophie’s Tips
- Insert safety eyes before you stuff and close any 3D pieces like the snout — and if the hat is for a baby under 3, embroider the eyes instead. Safety first, always.
- Work the first hat in the animal you like least, because by hat number four you will be a bucket hat pro and it will look the best. (Ask me how I know.)
- Tails are your friend: leave every embellishment tail long, pin everything in place, and stand back before you sew a single stitch.
Four hats, one base pattern, endless cuteness — go pick your favorite animal first!